

- Plan ItBack
- Design ItBack
- Build ItBack
- Homes
- ProductsBack
- CostsBack
- Self Build Cost Calculator
Estimate your project costs instantly with Build It's interactive self-build cost calculator
Calculate Now - Costs & Finance
- Contracts & Warranties
- Build It Estimating Service
Get an accurate, detailed cost breakdown of your project
Submit plans
- EventsBack


 Login/register to save Article for later
12 Golden Rules For Timber Flooring

When it comes to flooring, there are few materials that match the warmth and character of wood. Available in a range of styles, sizes and species, timber is highly prized amongst self-builders and renovators as an eye-catching, low-maintenance and long-lasting solution.
The right products, properly installed, can add real value to your home and set the tone for your interior decor. Here’s what you need to know to ensure you get a high-quality finish.
1. Plan your flooring look carefully
Before specifying any products it’s worth assessing whether you want to create a traditional or contemporary look. Timber comes in plenty of hues, from chocolate browns to warm golds. The shade depends not only on the tree species, but the grade of the wood and any decorative effects or finishes you select.
Read more: Complete Guide to Flooring for your Home
Premium products taken from the heartwood provide a uniform colour and will have fewer knots and variations. “A prime grade will give you a clean, contemporary look,” says Peter Keane from The Natural Wood Flooring Company. “Darker shades of wood tend to look more traditional.”
Goods from the ‘rustic’ category are likely to feature knots and a prominent grain, which can be handy for camouflaging imperfections.
2. Match the wood floor to the application
Areas that receive heavy footfall, like hallways and kitchens, require a more durable covering than quieter zones. Hardwoods such as oak and walnut are often specified for the busier spaces, while fir or pine may be adequate in a rarely-used bedroom. Bear in mind that softwoods tend to dent and scratch more easily.
Another consideration is that timber expands in humid environments and contracts when it’s cool and dry. How much it moves will depend on the species, moisture content (kiln-dried products are more stable) and where it’s laid.
“Solid wood isn’t suitable for rooms that may experience changes in temperature and humidity, such as bathrooms and kitchens,” says Peter. “Engineered floors cope much better with such conditions as they’re made from layers of hardwood and ply that are sandwiched together.”
Read more: Kitchen Flooring Ideas
These products typically comprise several thicknesses of tangentially-laid plywood, topped by a high-quality hardwood veneer of your choice. They are designed to minimise movement, expanding and contracting relatively little and as a complete floating floor − rather than the individual behaviour you’d get from solid planks.
3. Go for sustainably sourced timber
If you’re planning a home with strong green credentials, choosing products that come from an eco-friendly source is vital. For peace of mind, ensure your chosen flooring comes with a seal of approval from either the Forest Stewardship Council (FSC) or the Programme for the Endorsement of Forest Certification (PEFC). This guarantees the timber is taken from responsibly-managed sources.
If sustainability is an important focus for you, bamboo could be worth consideration. “It grows faster than hardwood trees and has a self-regenerating root so will continue to replenish itself rather than needing to be replanted,” says Chris Elliott from The Bamboo Flooring Company.
4. If you’re planning to install underfloor heating (UFH), an engineered timber flooring solution may be better than solid boards
Because of the close proximity to the heat emitter, solid wood planks – which expand and contract with temperature fluctuations – aren’t an ideal match for UFH. Thanks to their robust, multi-layered construction, however, engineered boards provide an excellent partner for these emitters.
“The majority of engineered options are perfectly suited to this purpose,” says Russell Calder from Havwoods. “Bear in mind that the thickness of the board will affect its thermal resistance, which in turn influences how warm your floors will feel in conjunction with the heating system.”
Timber is a natural insulator, so you may need to specify a higher-output setup than if you were fitting a tiled floor. A layer of insulation will need to be installed beneath the covering, either below or as part of the subfloor, depending on its construction. If you have underfloor heating, the thermally protective layer should be positioned beneath the pipework or heated cables to stop warmth travelling downwards.
5. Prolong the life of your wood floors by applying a protective coating
Most timber products are pre-treated in the factory so they can be delivered to site ready to fit. There are three main choices of finish: lacquer, oil and wax. For areas that receive a high footfall, a lacquered coating adds a hardy layer of protection to the surface of the wood.
A range of matt and glossy finishes is available, with the latter being popular for modern schemes. The downside is that if the floor is badly scratched, the entire surface needs to be re-sanded and the lacquer re-applied to repair the damage.
Oil and wax penetrate into the material to provide protection from within. As well as establishing a smooth, satin-like finish, this means that if the floor is scratched you can carry out spot repairs in the affected area by sanding and re-applying the finish.
But these treatments will need to be re-applied every six months or so. Also, because there is no layer of protection on top the wood, the surface may wear down quicker.
6. Achieve a high-quality finish by preparing the subfloor correctly
Inadequate prep is a common pitfall when installing timber flooring and a likely cause of problems later on. “Prepare the subfloor by checking it’s flat, dry and clean,” says Chris. “Use a straight edge or spirit level to check. Lining a wooden subfloor with plywood or a concrete surface with a self-levelling compound will smooth unevenness out.”
However, bear in mind that this will increase the height of the floor build-up, and is something that will need to be factored into your plans, particularly if you’re renovating.
7. Allow time for the timber planks to acclimatise
When timber boards are transported to site, they may absorb moisture or dry out. It’s therefore important that they be given time to acclimatise to your home’s environment before being fitted.
Some goods will need as little as 24 hours to adjust whereas others may require as long as two weeks, so check with your supplier. If flooring is laid before it’s properly acclimatised, gaps may appear between the boards as the material settles.
8. Don’t fit your flooring too early in your build schedule
To achieve a high-quality finish and rule out the chance of damage, don’t start laying timber coverings until the plastering and rendering work has been completed. The skirting should be fitted after the flooring to attain a neat, professional look. “Once the planks have been laid, check the finished floor height to see if the bottoms of doors need to be shaved down,” says Alex Litcan from Kahrs.
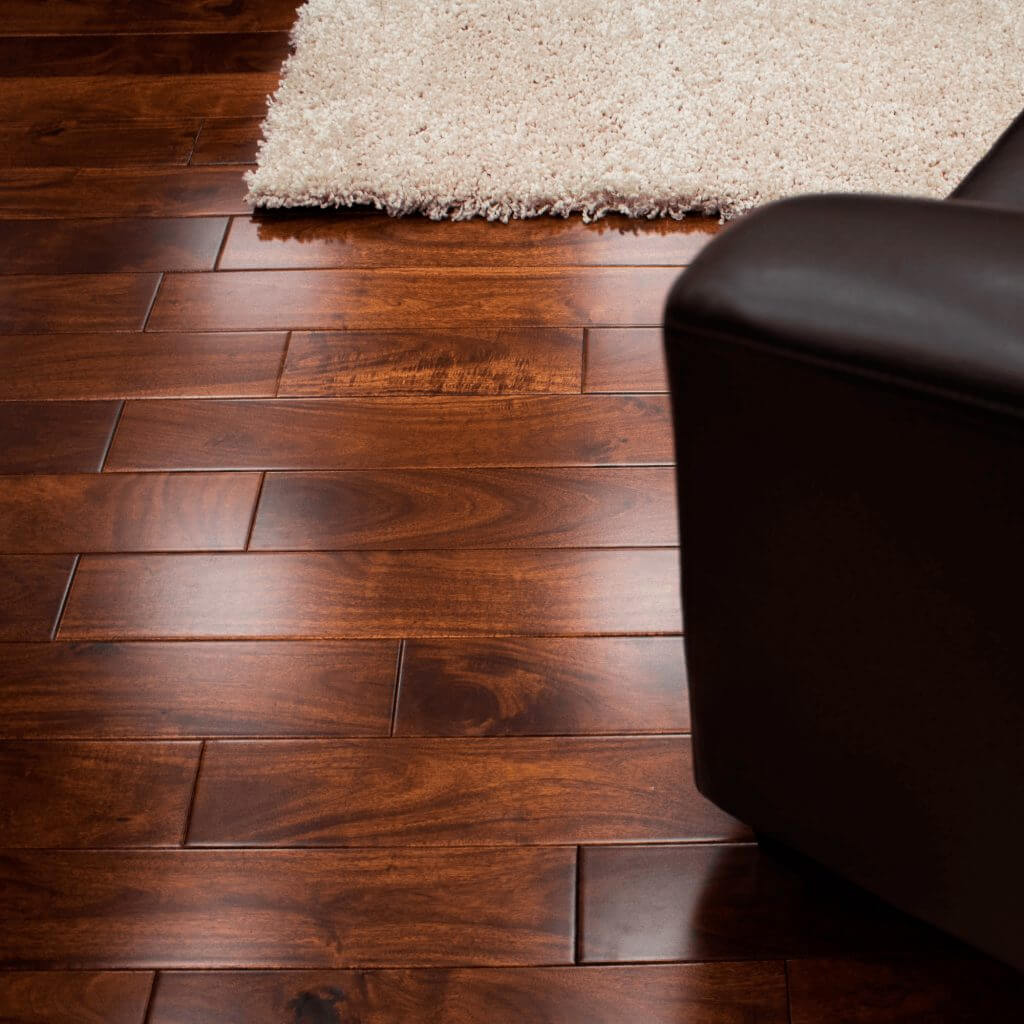
This solid Asian walnut flooring, £30 per m2 from Leader Floors, features a stained and lacquered finish that gives the wood an attractive, uniform colour
9. If you’re not sure about DIY installation, call the professionals in
Many varieties of wood flooring are straightforward for competent DIYers to fit. But it may be a false economy to try and save money by laying it yourself if a bad installation job detracts from the wood’s characterful appeal.
Click-fit engineered solutions can be laid onto a waterproof membrane that sits above the subfloor. This can be a fairly straightforward task, especially in a single room. If you’re tackling a whole storey, the speed and convenience of pro fitting might still be a good choice.
Solid boards tend to be a little trickier, as the planks are either glued to the concrete subfloor or nailed to wooden floor joists. So you might be better off calling in a professional carpenter or joiner to undertake this task for you.
10. Be sure to check the flooring’s ‘wear layer’ thickness
One of the main attractions of a solid wood surface is that it can be sanded down multiple times over its lifespan to maintain a smooth, high-quality finish. It’s recommended that you carry out this form of upkeep every seven years or so.
The number of times an engineered solution can be re-sanded depends on the thickness of the hardwood strip on the board’s surface. For high-quality planks that can be re-sanded several times, look for products with a wear layer of at least 7mm. Those with a veneer of 3mm or less may not be able to be sanded down at all. If you’re unsure, check with your manufacturer.
11. Never clean your timber floors with an unsuitable detergent
On a day-to-day basis, vacuuming or sweeping wood floors to remove any abrasive particles will help to keep them in top-notch condition.
“For deeper cleans, ensure that any products used are pH neutral and suitable for use with a natural surface,” says Alex from Kahrs. “Some general household cleaners could potentially damage the wood.”
12. Don’t write off timber flooring because you think your budget can’t stretch to solid planks
Solid wood flooring can sometimes come with a hefty price tag, ranging from £30 per m2 to £100 per m2 depending on the species and grade of the wood – but the quality and longevity of the finish could add value to your home.
However, technical innovation in the sector means a wide selection of engineered varieties present a more affordable option. These tend to cost upwards of £20 per m2, and can offer a service life of 30 years if they’re well cared for.
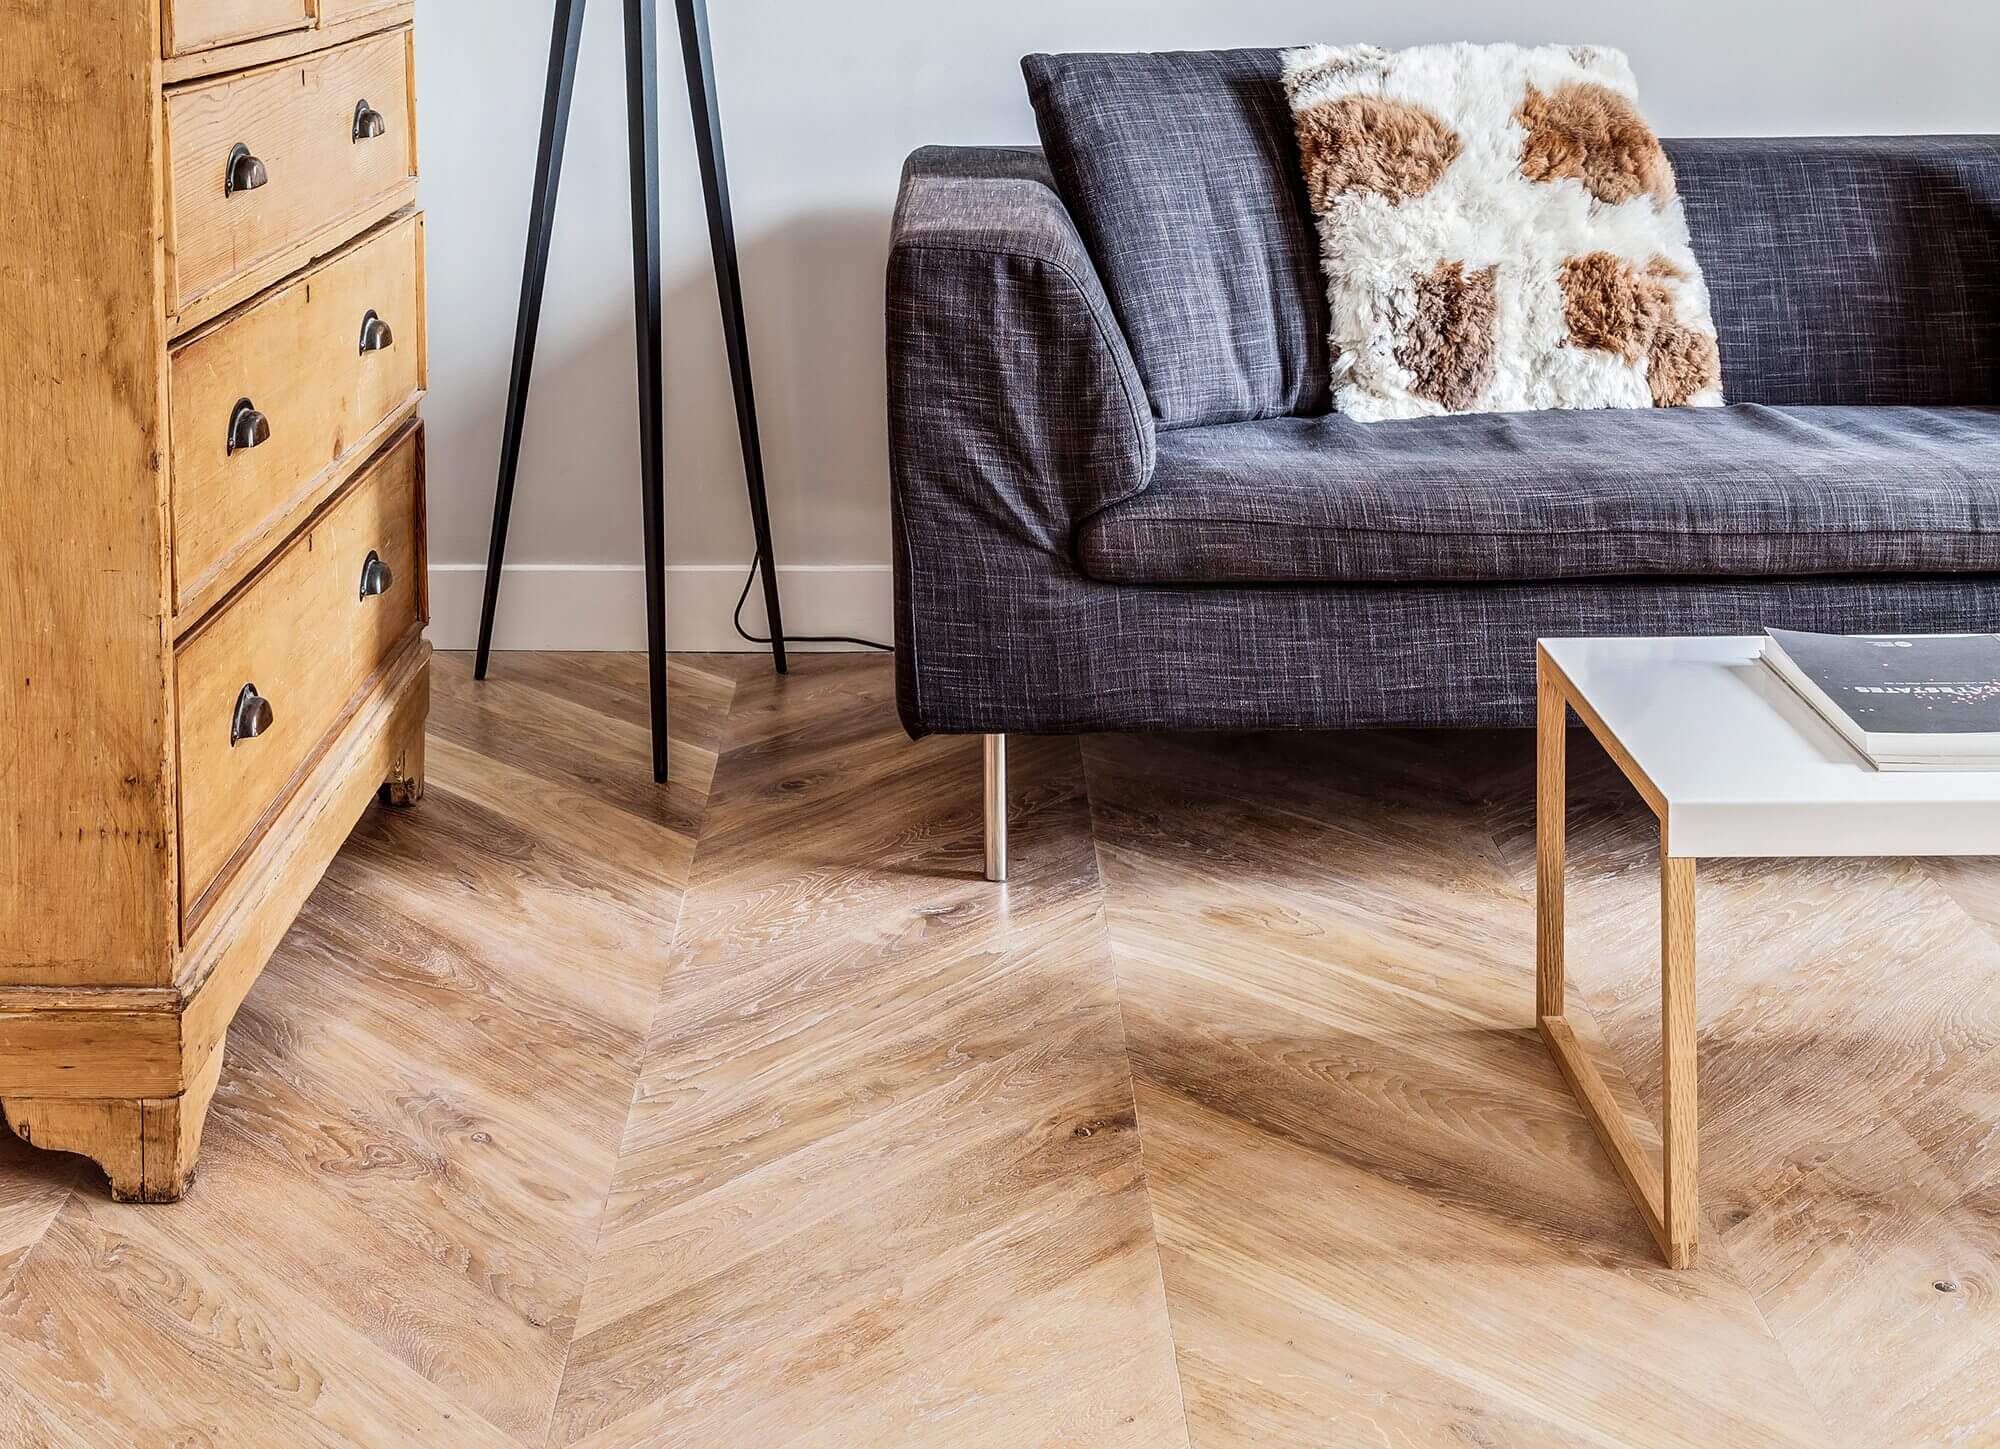
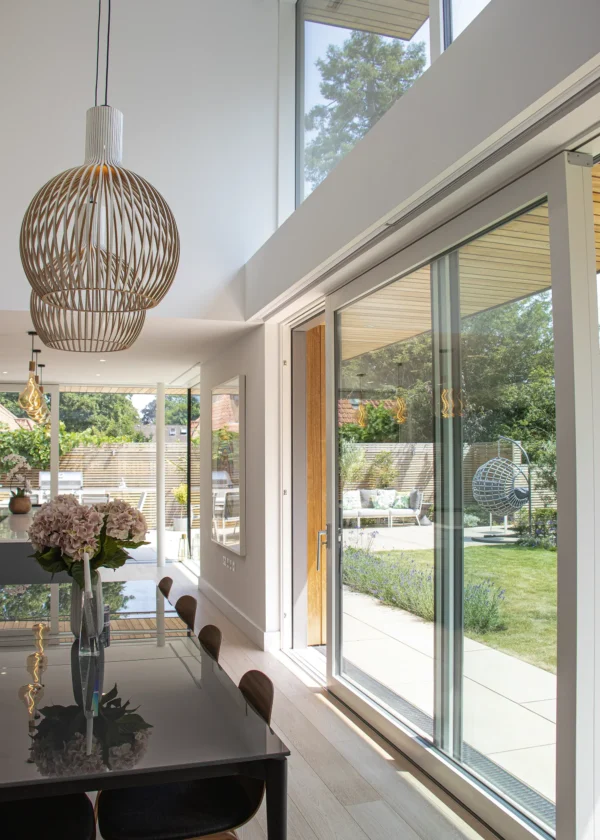
Main image: Havwoods Pallido engineered wood flooring


Comments are closed.