- Plan ItBack
- Design ItBack
- Build ItBack
- Homes
- ProductsBack
- CostsBack
- Self Build Cost Calculator
Estimate your project costs instantly with Build It's interactive self-build cost calculator
Calculate Now - Costs & Finance
- Contracts & Warranties
- Build It Estimating Service
Get an accurate, detailed cost breakdown of your project
Submit plans
- EventsBack


 Login/register to save Article for later
Insulating and Soundproofing Internal Walls

You can build with the best structural materials in the world, but if you don’t get the insulation right, your home will never be an enjoyable place to live. Here we explore the most effective modern ways that you can create a warm and sound-proof living space, considering a variety of different structural systems.
Internal masonry walls
As the external structure rises it will need to be buttressed by the internal walls, or inner leaf. On the ground floor, those walls will be supporting the first-floor structure too. Because of this, they should rise from the foundations as load-bearing walls and be tied into the external structure as it is built.
Learn more: Guide to Thin Joint Masonry
Lightweight or medium-density blocks, 100mm thick, are commonly used at this stage and can be used for the ground floor partitions as well, as long as they are of the same density. Choosing different densities can result in differential movement between the two.
Room partitions on the upper floors are best built in timber studwork; it isn’t wise to build blockwork partitions on timber joists, because apart from the extra dead weight (about twice that of stud partitions), they are likely to crack when the joists dry and shrink back.
Lintels
The walls must be supported by lintels above window and door openings. Lintel types vary, depending on the span of the opening and load they have to support, and there’s a choice between pre-stressed concrete and steel.
The former, at 65-100mm in height, are only suited to standard door openings in non-load-bearing walls. However, 150mm- and 220mm-high precast lintels are also available in this form that are suitable for use in load-bearing situations or for wider openings. If you don’t know what type to use, some lintel manufacturers will calculate, specify and supply lintels on receipt of the plans.
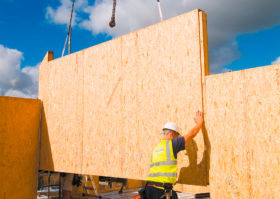
Timber stud internal walls
These lightweight stud partitions are used throughout in timber-framed builds as well as in traditional builds. For load-bearing situations, they can be strengthened with plywood or orientated strand board (OSB) sheathing before plasterboarding, to stiffen the structure.
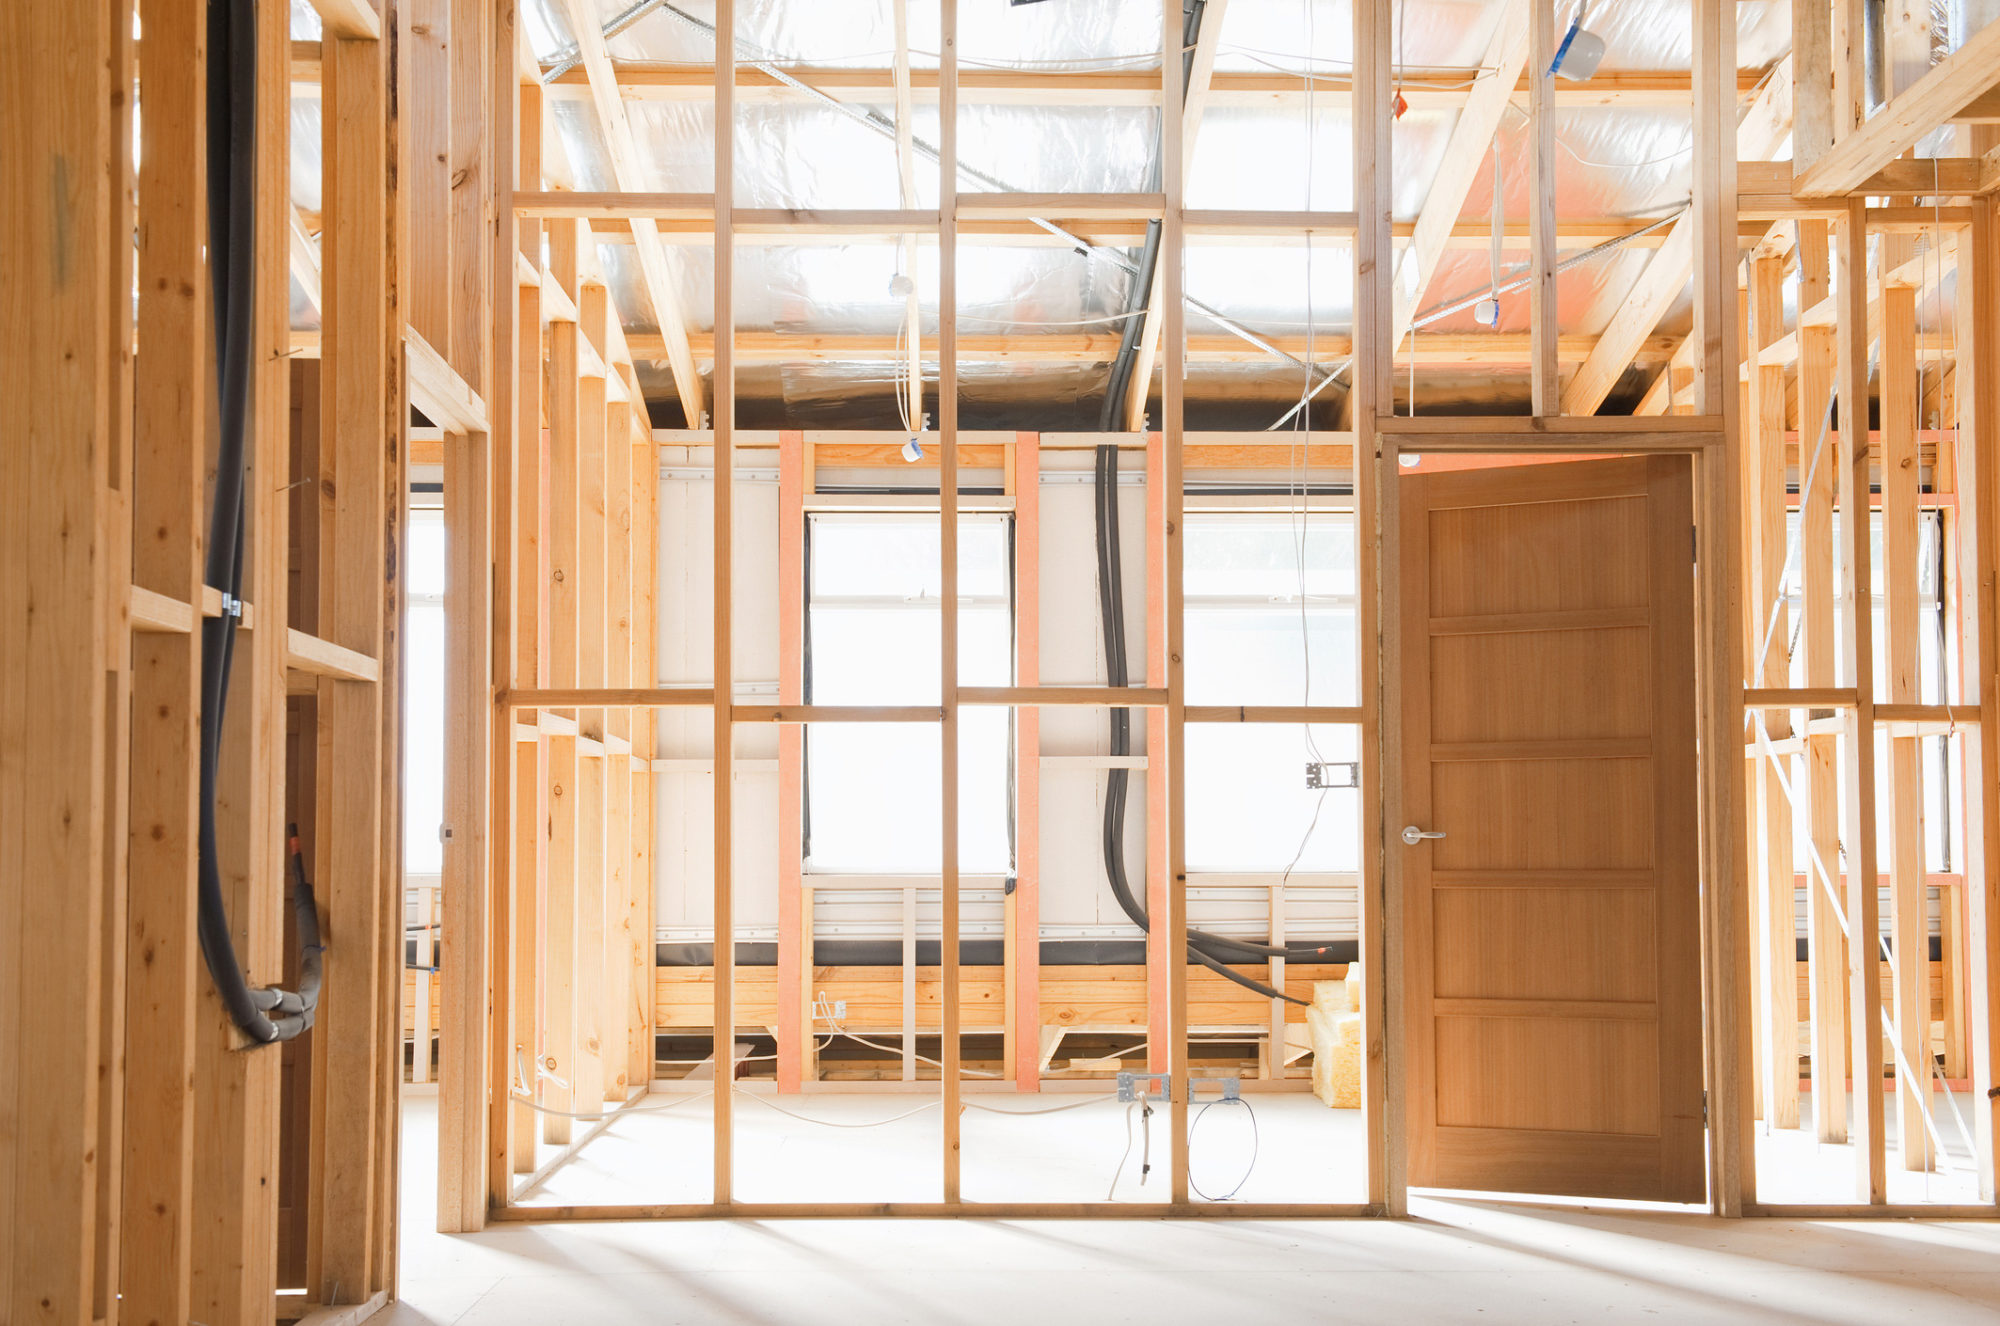
Stud walls are a framework of vertical strips of 50 x 100mm softwood (studs) and horizontal lengths of wood that fit between them, on which sheets of plasterboard are attached.
The studs are fixed to the floor at regular intervals on sole or base plates and to the ceiling with head plates. Before accepting any timber, check for splits, shakes, knots, bent or warped lengths insulation.
Learn more: Choosing Insulation for a Timber Frame Home
The base plates are set in position first, marking the room layout. For the first time, you have a visual clue as to the room sizes and you can check all the dimensions before fixing the plates down.
The spacing of studs depends on your plasterboard size, both in thickness and width of board. For 12.5mm and 15mm thick boards, a 600mm spacing for the studs is needed – but these will need to be closed up to 450mm apart if you are using 9.5mm thick boards and any that are 900mm wide (these are the smaller plank sheets that are more manageable).
Making the frame
Setting up the framing to suit your plasterboard is half the battle and it pays to think it through properly before you start hammering it together. The sole plate is marked out in pencil with the stud positions as a guide. The usual minimum width for plasterboard is 300mm, so don’t create a situation where you end up with a thin strip of plasterboard at one end.
The noggings will need to support any edges of plasterboard that you might have, as well as strengthening the wall, so if you have more than one board’s height, remember to add two 38mm wide noggings to allow for the fixing of both board ends. With one side of the wall clad, you can leave the electrician to first-fix and then add the insulation before cladding the other side.
Checklist for ordering timber
Grading: Structural timber must be stamp marked to say what stress grade it is, C16 or C24, but also to say whether it is dry or kiln dried. C16 is fine for most stud walls. Dry graded timber means that its moisture content is limited to 24 per cent; it is the standard grade of wood used, but if it is left exposed to rain while on site, it can easily soak up more – so keep it covered. Kiln dried wood shrinks less so is often worth the extra expense.
Treating: Order preservative-treated timber carried out under pressure/vacuum to give protection against fungal and insect attack. This is critical in areas known to suffer with house longhorn beetle (Hylotrupes bajulus L) such as parts of Surrey, Berkshire and Hampshire. All timber preservative contains harmful chemicals, so on-site treatment should be avoided.
Quality: Before accepting the delivery of any timber, check for splits, shakes, knots, bent or warped lengths and reject anything unsuitable before signing for it. The quality of timber varies and it isn’t unusual for some of it to be too poor to be usable. If Canadian Lumber Stud (CLS) is available, have it. Planed with rounded corners, it is a pleasure to work with but bear in mind that the section sizes are slightly smaller than UK sizes.
Eco: Timber sourced from sustainable forests will be stamped accordingly with the Forest Stewardship Council (FSC) trademark. This means that the timber has been cut from sustainable managed forests that have been certified by the organisation throughout the world.
Sound insulation
For your internal bedroom and bathroom walls you have to achieve some sound insulation to meet Building Regulations. Since they are likely to be timber stud partitions, they will need to be insulated or given extra linings.
The minimum requirement of 40 decibels isn’t particularly onerous but you might prefer a higher level of soundproofing. Sound-rated plasterboard can be used instead of ordinary wall board, with high density sound absorbing mineral-fibre slabs fitted between the studs.
Look for a mass of at least 10kg per m³ in 100mm thickness or 25kg per m³ in thinner slabs. Sound resistance relies on compact and heavy materials to add mass to the wall and so thermal insulation is not appropriate.
Air tightness
Insulation and air tightness are linked because these are two elements that will have a profound effect on the annual rate of carbon emissions from your home when it is finished. An airtight build is now a requirement of Building Regulations and to comply you must achieve a certain level of air tightness – known as the Target Energy Rating (TER) – or higher; once achieved, it is known as the Dwelling Energy Rating (DER).
Project blog: Creating an Airtight Oak Frame Home
At the design stage of the build, the architect or designer prescribes a rate of air leakage for your home within the DER calculations, between 3 and 15m³ of air per hour per m² of floor area at 50Pa (units of air pressure). The lower the figure the more airtight the building, and the rate equates to an airtight well-sealed building. On completing your build, an air pressure test will be needed to prove that your set DER has been achieved.
Changing or modifying the specification in the build process can alter the rating, which may cause it to fail compliance with the Building Regulations. If the leakage rate is higher, remedial works will be needed.
A benefit of designing and building an airtight home is that you can use a lower standard of insulation to achieve the same energy efficiency. A figure of 7 or 8m³ per hour per m² at 50Pa is a good standard to aim for and attainable with some care.
For most new homes, air can leak out around door and window openings, around loft hatches and service holes for pipes and cables. These are the places where you must be vigilant and look for gaps to be sealed effectively.
Services are commonly brought in via ductwork and the gaps left around them will need to be filled too. Expanding polyurethane foam filler is ideal but if possible, leave the task until the services have been connected up.
It is possible to design a building that has higher air leakage rates but you will have to adhere to higher insulation standards and better energy efficiency measures to compensate. Changing the insulation material or using less will have consequences.
The standard cavity wall is built with a 100mm cavity, entirely filled with mineral fibre slabs or half-filled with phenolic foam slabs to achieve a ‘U’ value of 0.3 watts per m2k. To improve on that value can mean adding an internal lining of extra insulation inside each room with a dry-lined finish later.
Sealing timber-framed walls
With timber-framed construction, the standard depth of the studwork is now 140mm, to allow for mineral fibre insulation to fill the studs. Using phenolic rigid foam boards instead will increase the ‘U’ value considerably, but to achieve good air tightness, the frame will need to be lined effectively on the inside once it and the internal walls are up.
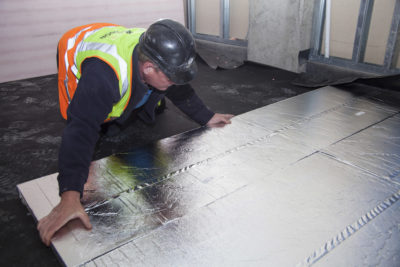
Polythene sheeting can be pinned over the studwork but a better vapour barrier and indeed a better air seal can be found in the laminated aluminium foil sheeting products. Some encase bubble-wrap polythene, while others comprise of many sheets bonded together for added insulation. Aluminium tape is then used to seal the joints before the plasterboarding is commenced.
Backing up dry lining like this, along with quality draughtsealing around windows and doors, should mean you pass the air pressure test, and have an energy-efficienct home.
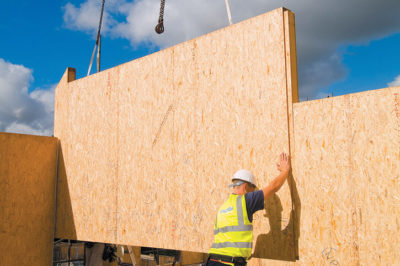
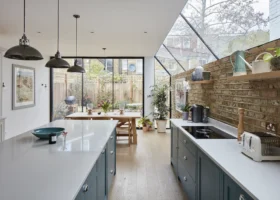
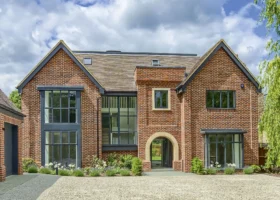
Main image: An installer fits Knauf mineral wool batts, supplied by Travis Perkins, into partition walls