

- Plan ItBack
- Design ItBack
- Build ItBack
- Homes
- ProductsBack
- CostsBack
- Self Build Cost Calculator
Estimate your project costs instantly with Build It's interactive self-build cost calculator
Calculate Now - Costs & Finance
- Contracts & Warranties
- Build It Estimating Service
Get an accurate, detailed cost breakdown of your project
Submit plans
- EventsBack


 Login/register to save Article for later
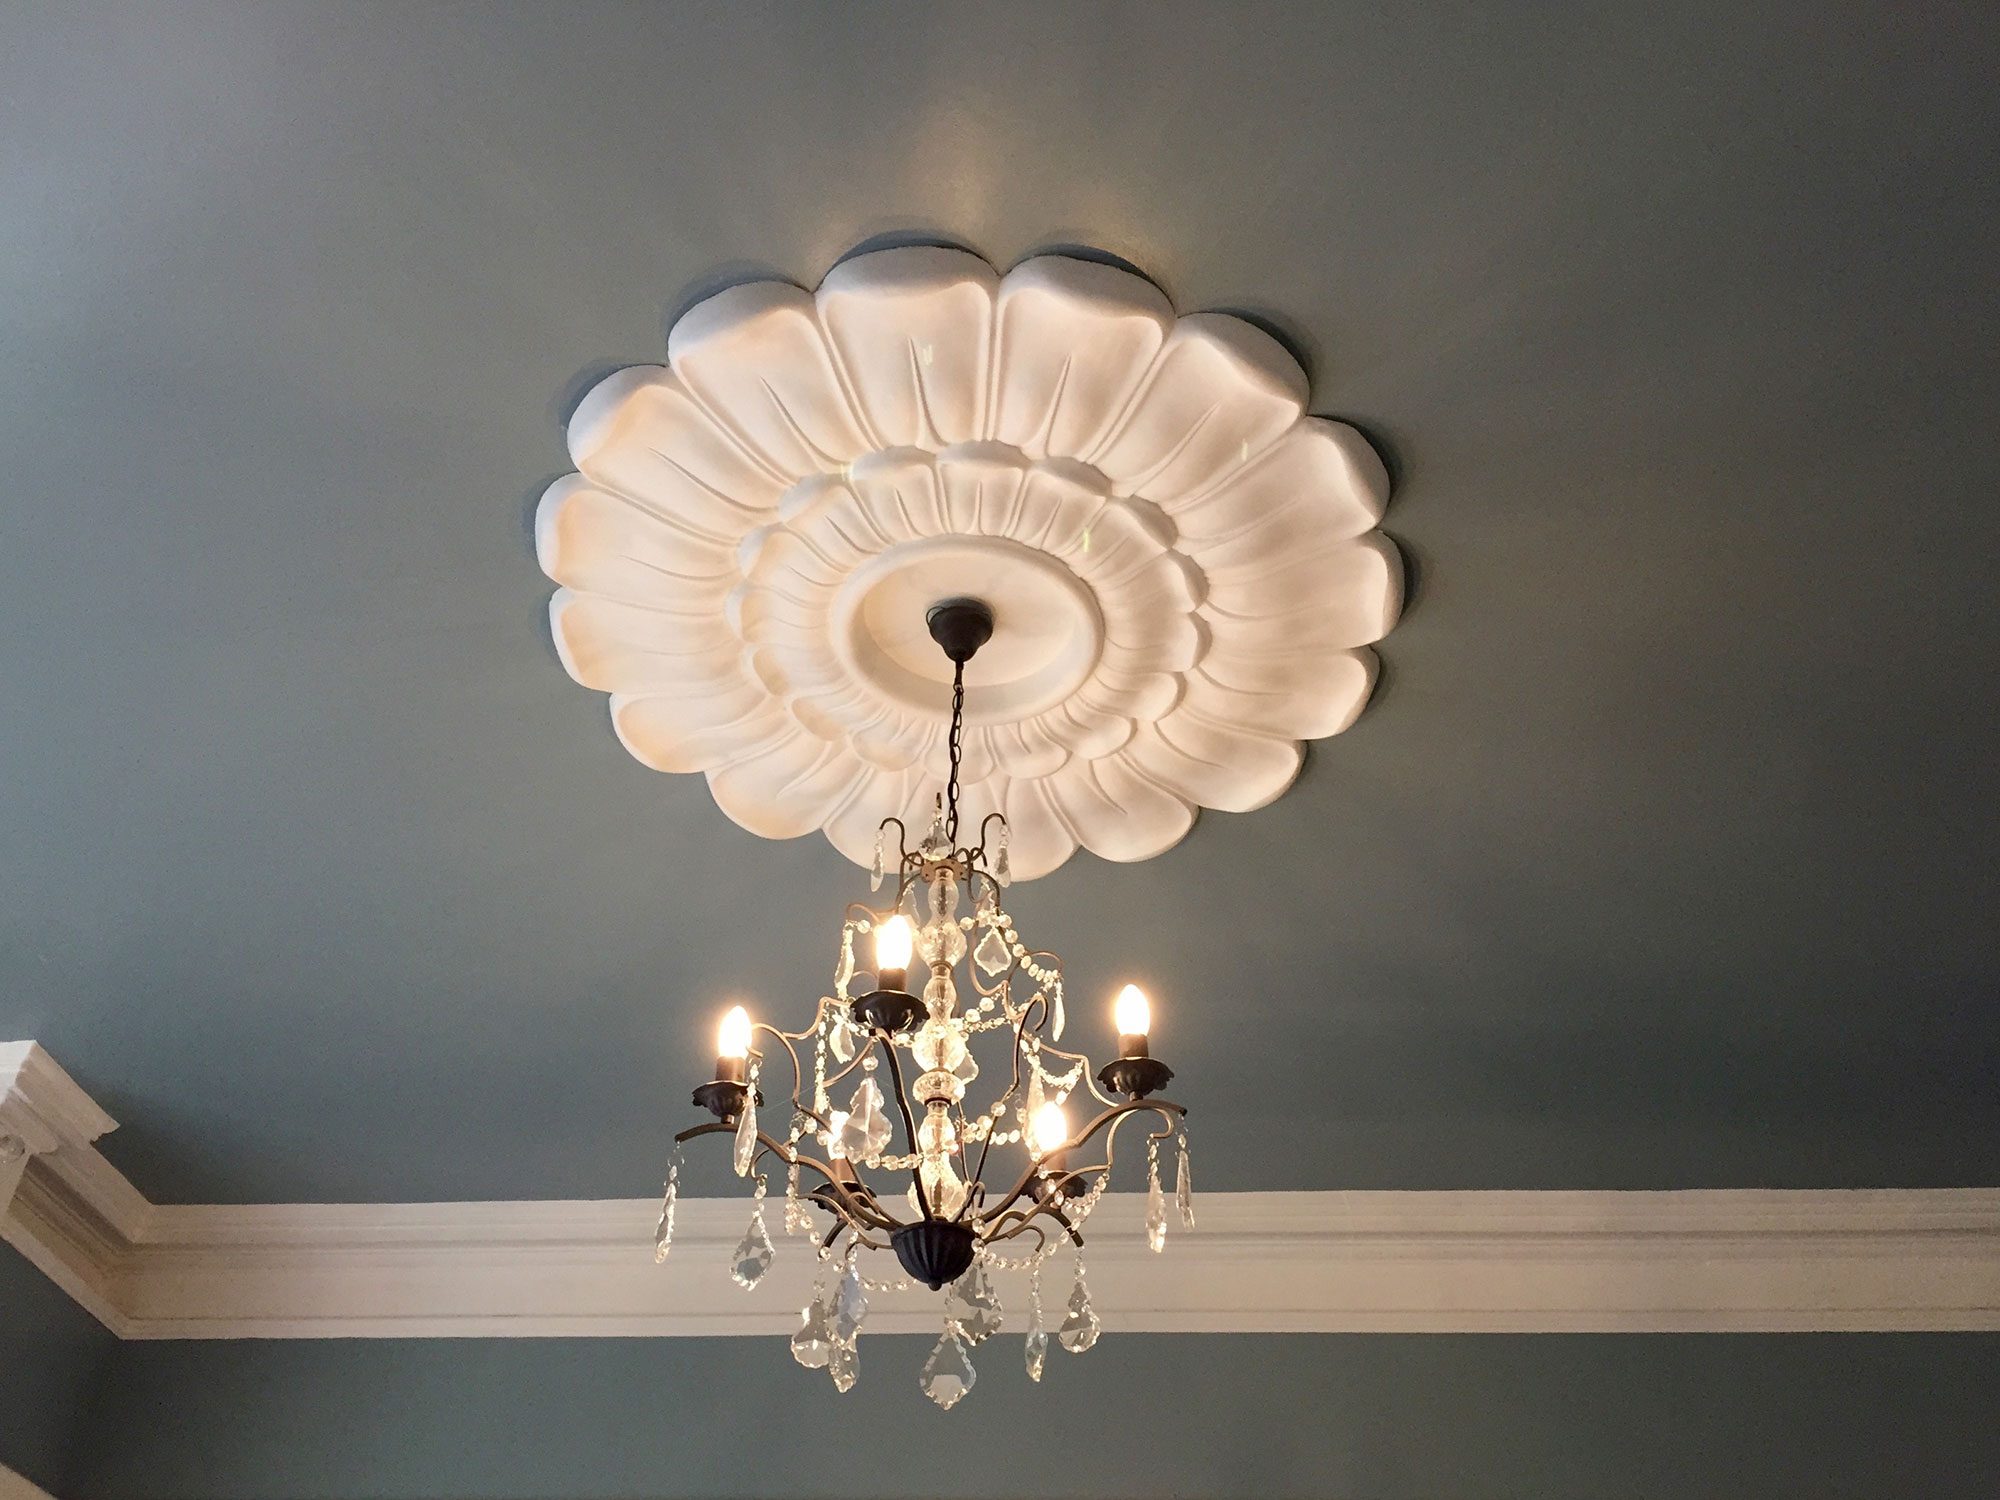
Plasterwork and Cornices

What is a cornice?
Cornices are decorative mouldings that disguise the junction between walls and ceilings. In fact, from the 1700s until Edwardian times no main living room would have been complete without decorative cornicing.
What is a cornice made of?
Original Georgian and Victorian cornicing is usually made of plaster.
From the middle of the 19th century mouldings were mass-produced in reinforced fibrous plaster – that is plaster strengthened with hessian – and these new prefabricated designs were often quite elaborate.
Modern reproduction cornicing can be made of lightweight polystyrene.
How to paint original cornicing
Georgian cornicing would originally have been painted with a glue-bound soft distemper, made from powdered chalk mixed with a ‘glue’ of gelatine.
Later oil was used as a binder, and this type of distemper remained in use until the 1950s, when it was replaced by emulsion.
Even in Victorian times builders would sometimes cheat, applying a single coat of thick whitewash instead or two or three coats of distemper. The whitewash would clog the details in a similar way as accumulated layers of modern emulsion.
How to remove accumulated paint on cornices
In order to reveal the fine details of original cornicing, you’ll have to strip off any accumulated paint, which will probably be a mix of distemper, emulsion and oil-based paints.
Special ready-mixed paste strippers applied as a poultice should do the job – the stripper is applied then covered with sheets of fibrous tissue and left until the paint has emulsified.
Once this has happened, the paint is then absorbed back into the paste as it dries on the cover.
But the whole process is fiddly and time consuming and you may have to have more than one go at it, working paint out of the finer details with a soft toothbrush.
The paint stripper Peel Away 7 System will remove oil or water-based paints, including polyurethanes, varnish, shellac, and most epoxy coatings and costs £110 for 10 litres, including laminated polyethylene and fibrous tissue covers.
If the cornicing is clogged only with layers of distemper, you may be able to remove it with a few drops of paint stripper diluted in a litre of water then sprayed on. As the paint softens, use a soft toothbrush to remove it – you may need to use a cocktail stick to get it out of deep grooves.
Removing the paint from cornicing is, however, a time-consuming and difficult job – particularly if you consider the sheer scale of it – and it’s probably money well spent to get in a team of professionals.
How to replace damaged cornicing
If your cornicing has hairline cracks you can repair it with a filler or plaster of Paris, but beware of larger cracks as they can be a sign of something more serious.
Vibration, water damage or any work carried out under the floorboards above the cornicing can cause damage and may, in extreme cases, cause it to detach and come away from the ceiling – and original plaster is heavy.
You can buy replacement DIY plaster cornicing, but you may not be able to find a pattern ‘match’ and of course, due to differences in manufacture and age, it’ll still have a different look from the original.
Instead it’s better to have a specialist company take a mould of the original, either by coming to you and taking a reverse impression of the detail, or by working with a section of the cornicing which you supply.
Using either method they can then make a new mould and cast your cornicing in whatever quantity you require. A plasterwork specialist will then fit the new sections for you, restoring your room to its former glory.


Comments are closed.