- Plan ItBack
- Design ItBack
- Build ItBack
- Homes
- ProductsBack
- CostsBack
- Self Build Cost Calculator
Estimate your project costs instantly with Build It's interactive self-build cost calculator
Calculate Now - Costs & Finance
- Contracts & Warranties
- Build It Estimating Service
Get an accurate, detailed cost breakdown of your project
Submit plans
- EventsBack


 Login/register to save Article for later

There are 9 steps in this guide
- First Fix Smart Home Electrics at the Build It Education House
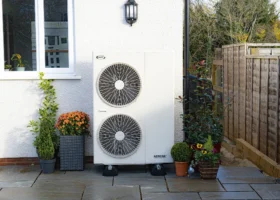
- Heat Pump Ventilation: a Modern Home Heating System
- Underfloor Heating Installation
- Fitting the Rainscreen Cladding
- Installing the Rear Sliding Door
- Applying the Modern Silicone Render
- Plastering Internal Walls
- Roofline and Rainwater Goods
- Installing the AV and Invisible Speakers
Most self builders opt for plasterboard (sometimes known as drywall or tacking) and a skim plaster finish on the internal face of ICF walls. It’s quicker than traditional wet plastering, requires less skilled labour and avoids the usual 14-day drying time (a skim coat will dry in just two or three days).
As our Nudura system has fastening strips at 600mm centres, the boards can be screwed directly to the ICF wall (rather than battening out) to give a solid feel. The majority of our service runs are located in the ceiling voids, with hot-knifed channels in the polystyrene walls down to sockets and switches. We can also plasterboard directly onto the SIPs panels in zones with vaulted ceilings.
In the basement, we’ve glued stud walls to the floor to avoid screwing into the waterproofing membrane. So we need to batten out the load bearing block internal wall in the vaulted hallway, to ensure the boards are flush all the way up. We’re also creating a recessed ceiling with LED lighting in the media zone, achieved using two different batten sizes.
Tacking
Plasterers are busy people, and ideally want to tackle projects in one big push so they can get the job done and move onto the next. On a gantt chart, you’d plan for them to come in once all first fix works are done so they’re basically the only trade working internally.
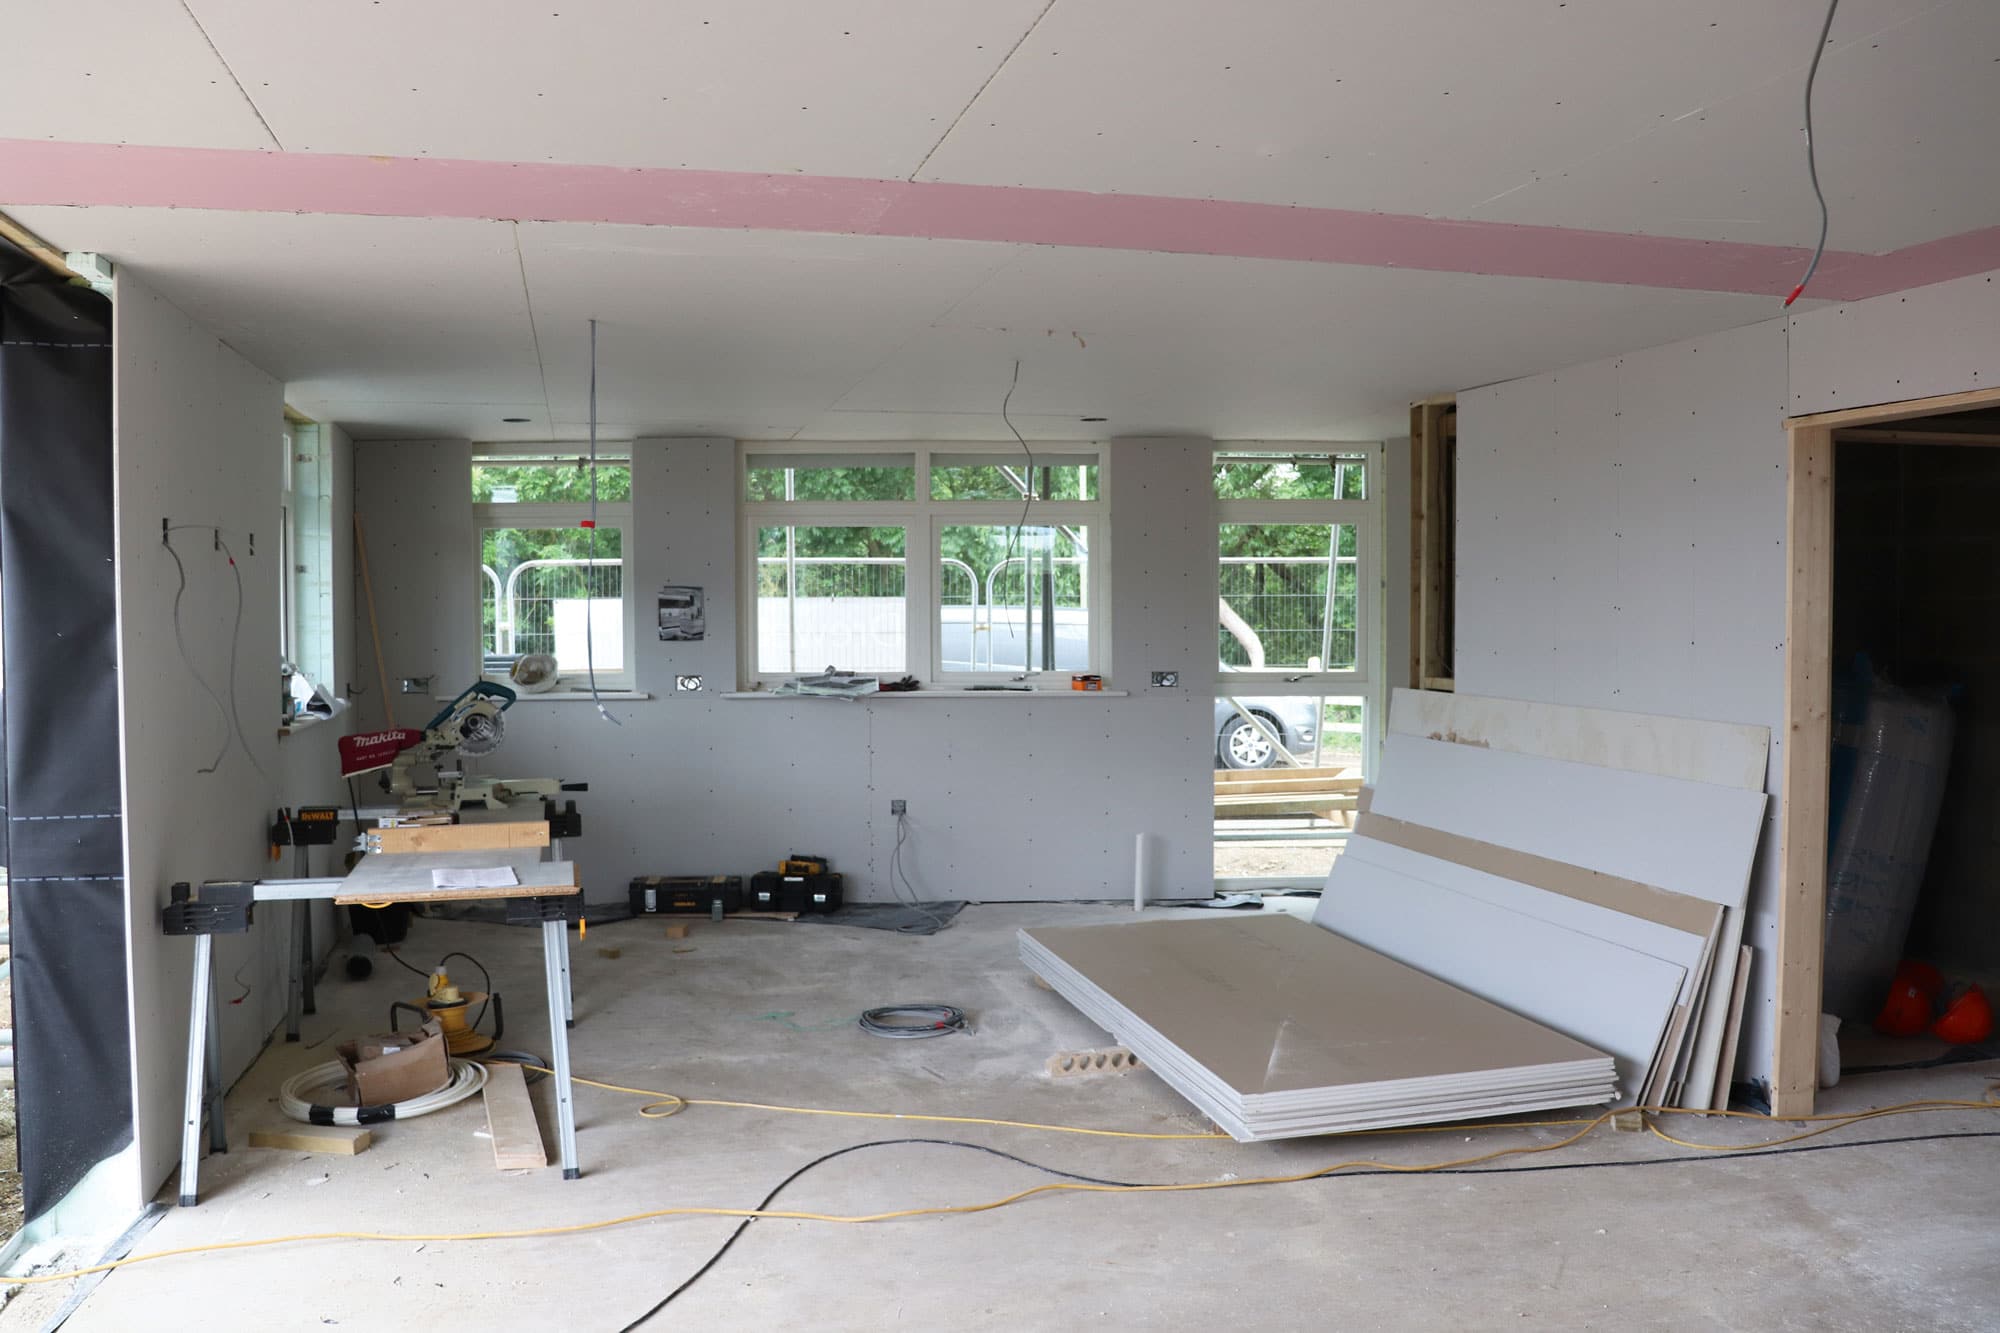
The ground floor part-way through tacking. The pink section in the ceiling is fire-rated plasterboard, which is required by Building Regs to protect structural steel
In practice, however, there are bound to be delays and overlaps somewhere (the eagle eyed among you will have noticed some images of tacked walls in last month’s update). It’s up to you, if you’re self-project managing, or your main contractor to try to minimise the impact of any setbacks.
One trick is to focus your resource on getting works done in sections to stay ahead of the game. Our tackers started in the basement and worked their way up – giving the rest of Drewett and Hunt’s team time to finalise prep on the storeys above.
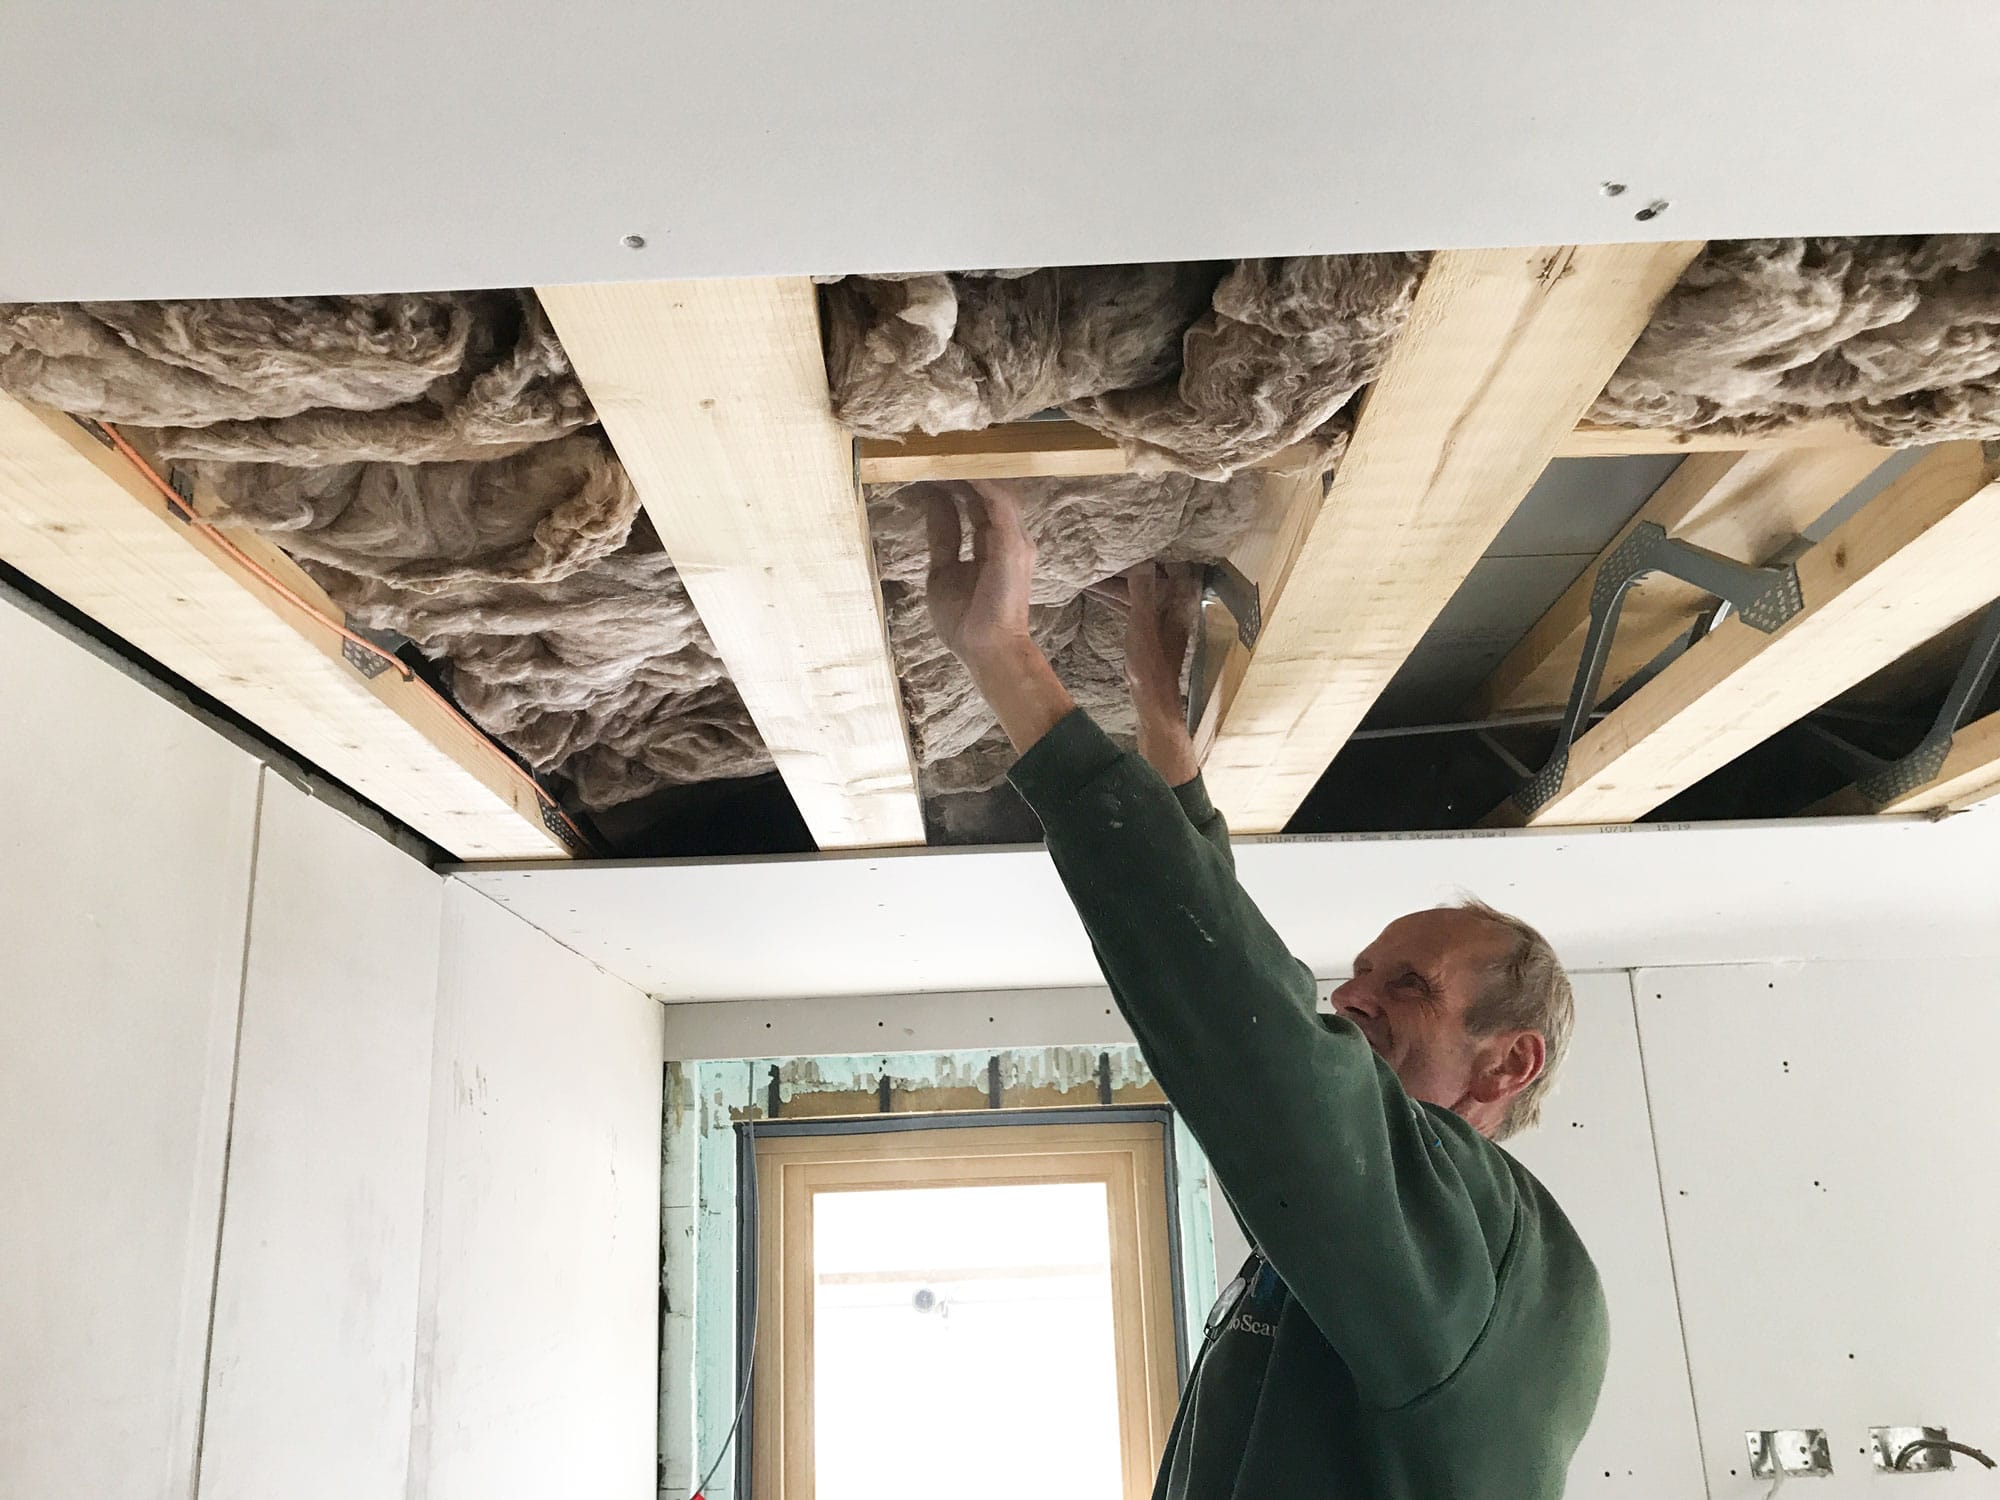
We’ve packed Earthwool acoustic insulation into the first floor ceilings and all the stud walls
Plasterboarding is quick work. For example, with the exception of a few areas of boxing out, the walls and ceilings in the main basement zone were tacked in a couple of days.
In most areas, we’ve used conventional 12.5mm-thick plasterboard, which comes in 1,200mm x 2,400mm sheets. Different thicknesses are available, which can be handy if you need to correct any discrepancies.
We’ve used SoundBloc acoustic board at the main bathroom to reduce noise transfer, but reverted to standard gypsum sheets with Earthwool insulation in the stud walls and ceiling voids. In some places, such as where there are structural steels, there’s pink-hued fire-rated plasterboard to meet Building Regulations.
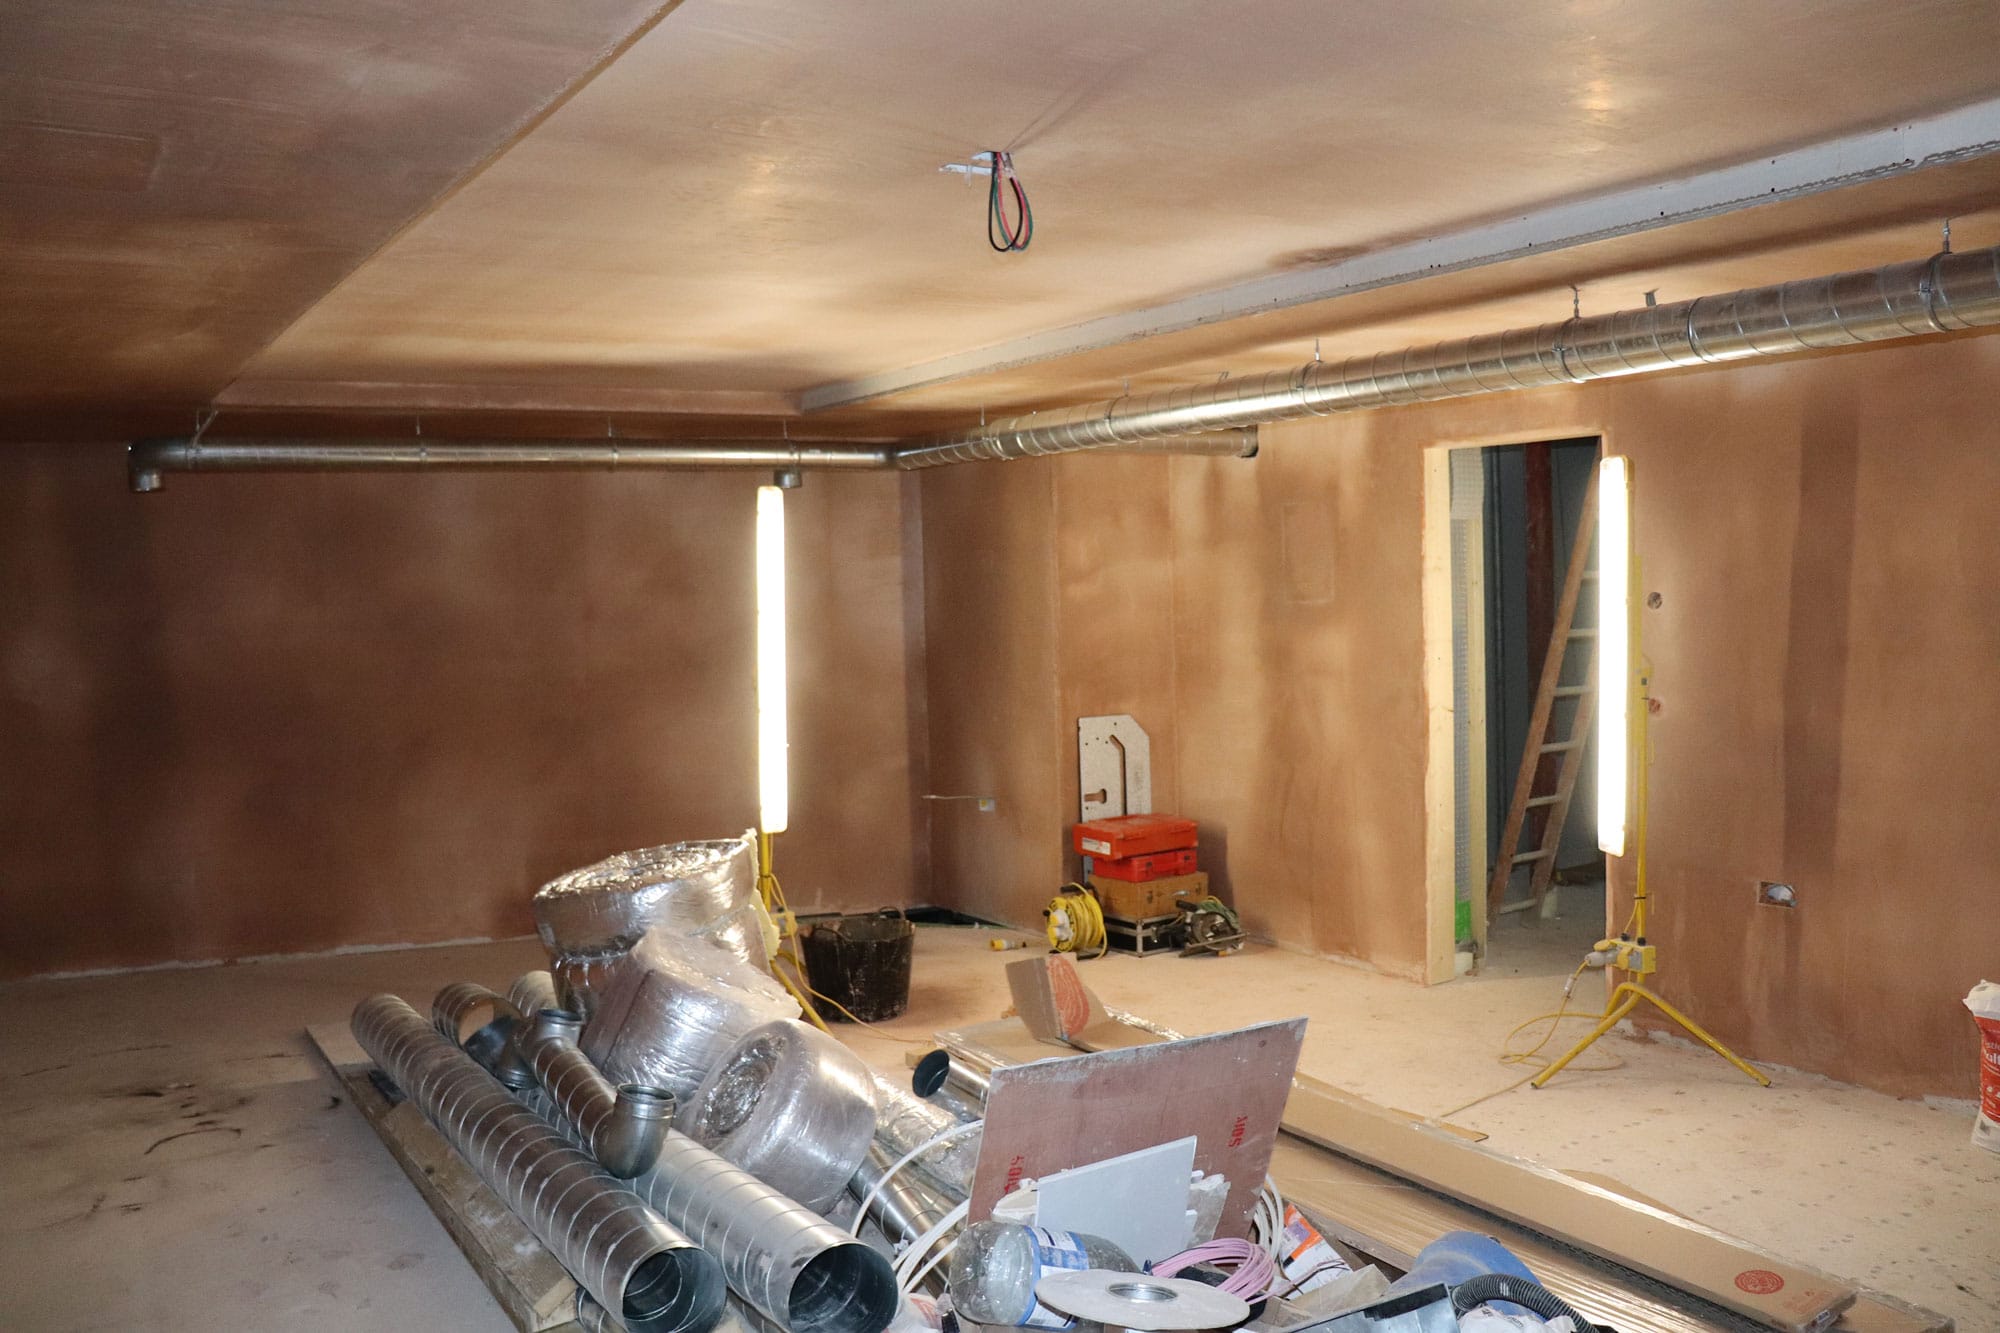
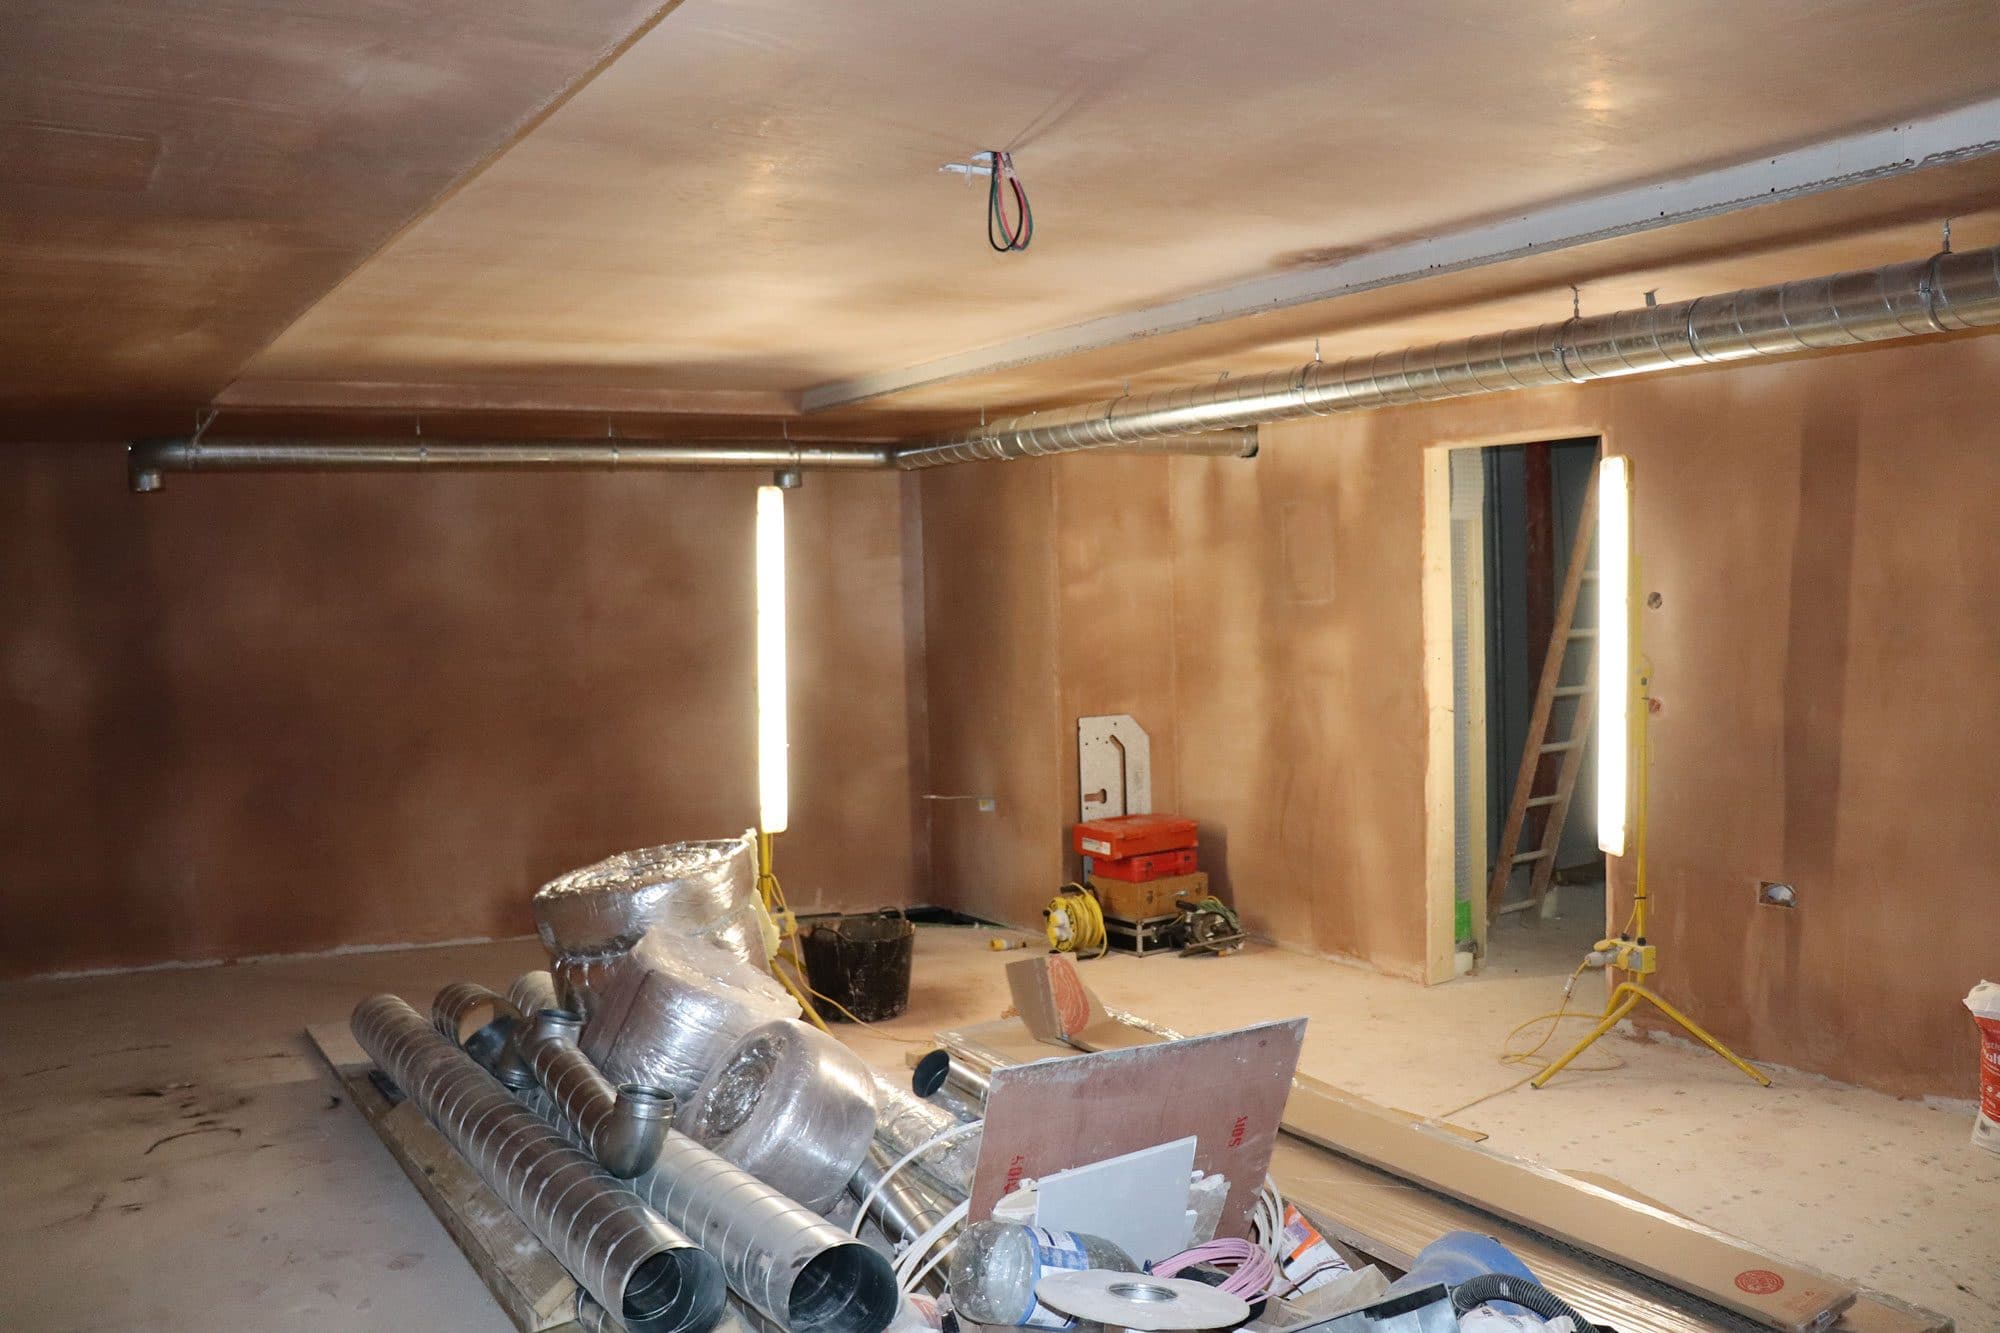
The main basement room, fully skimmed and complete with recessed ceiling
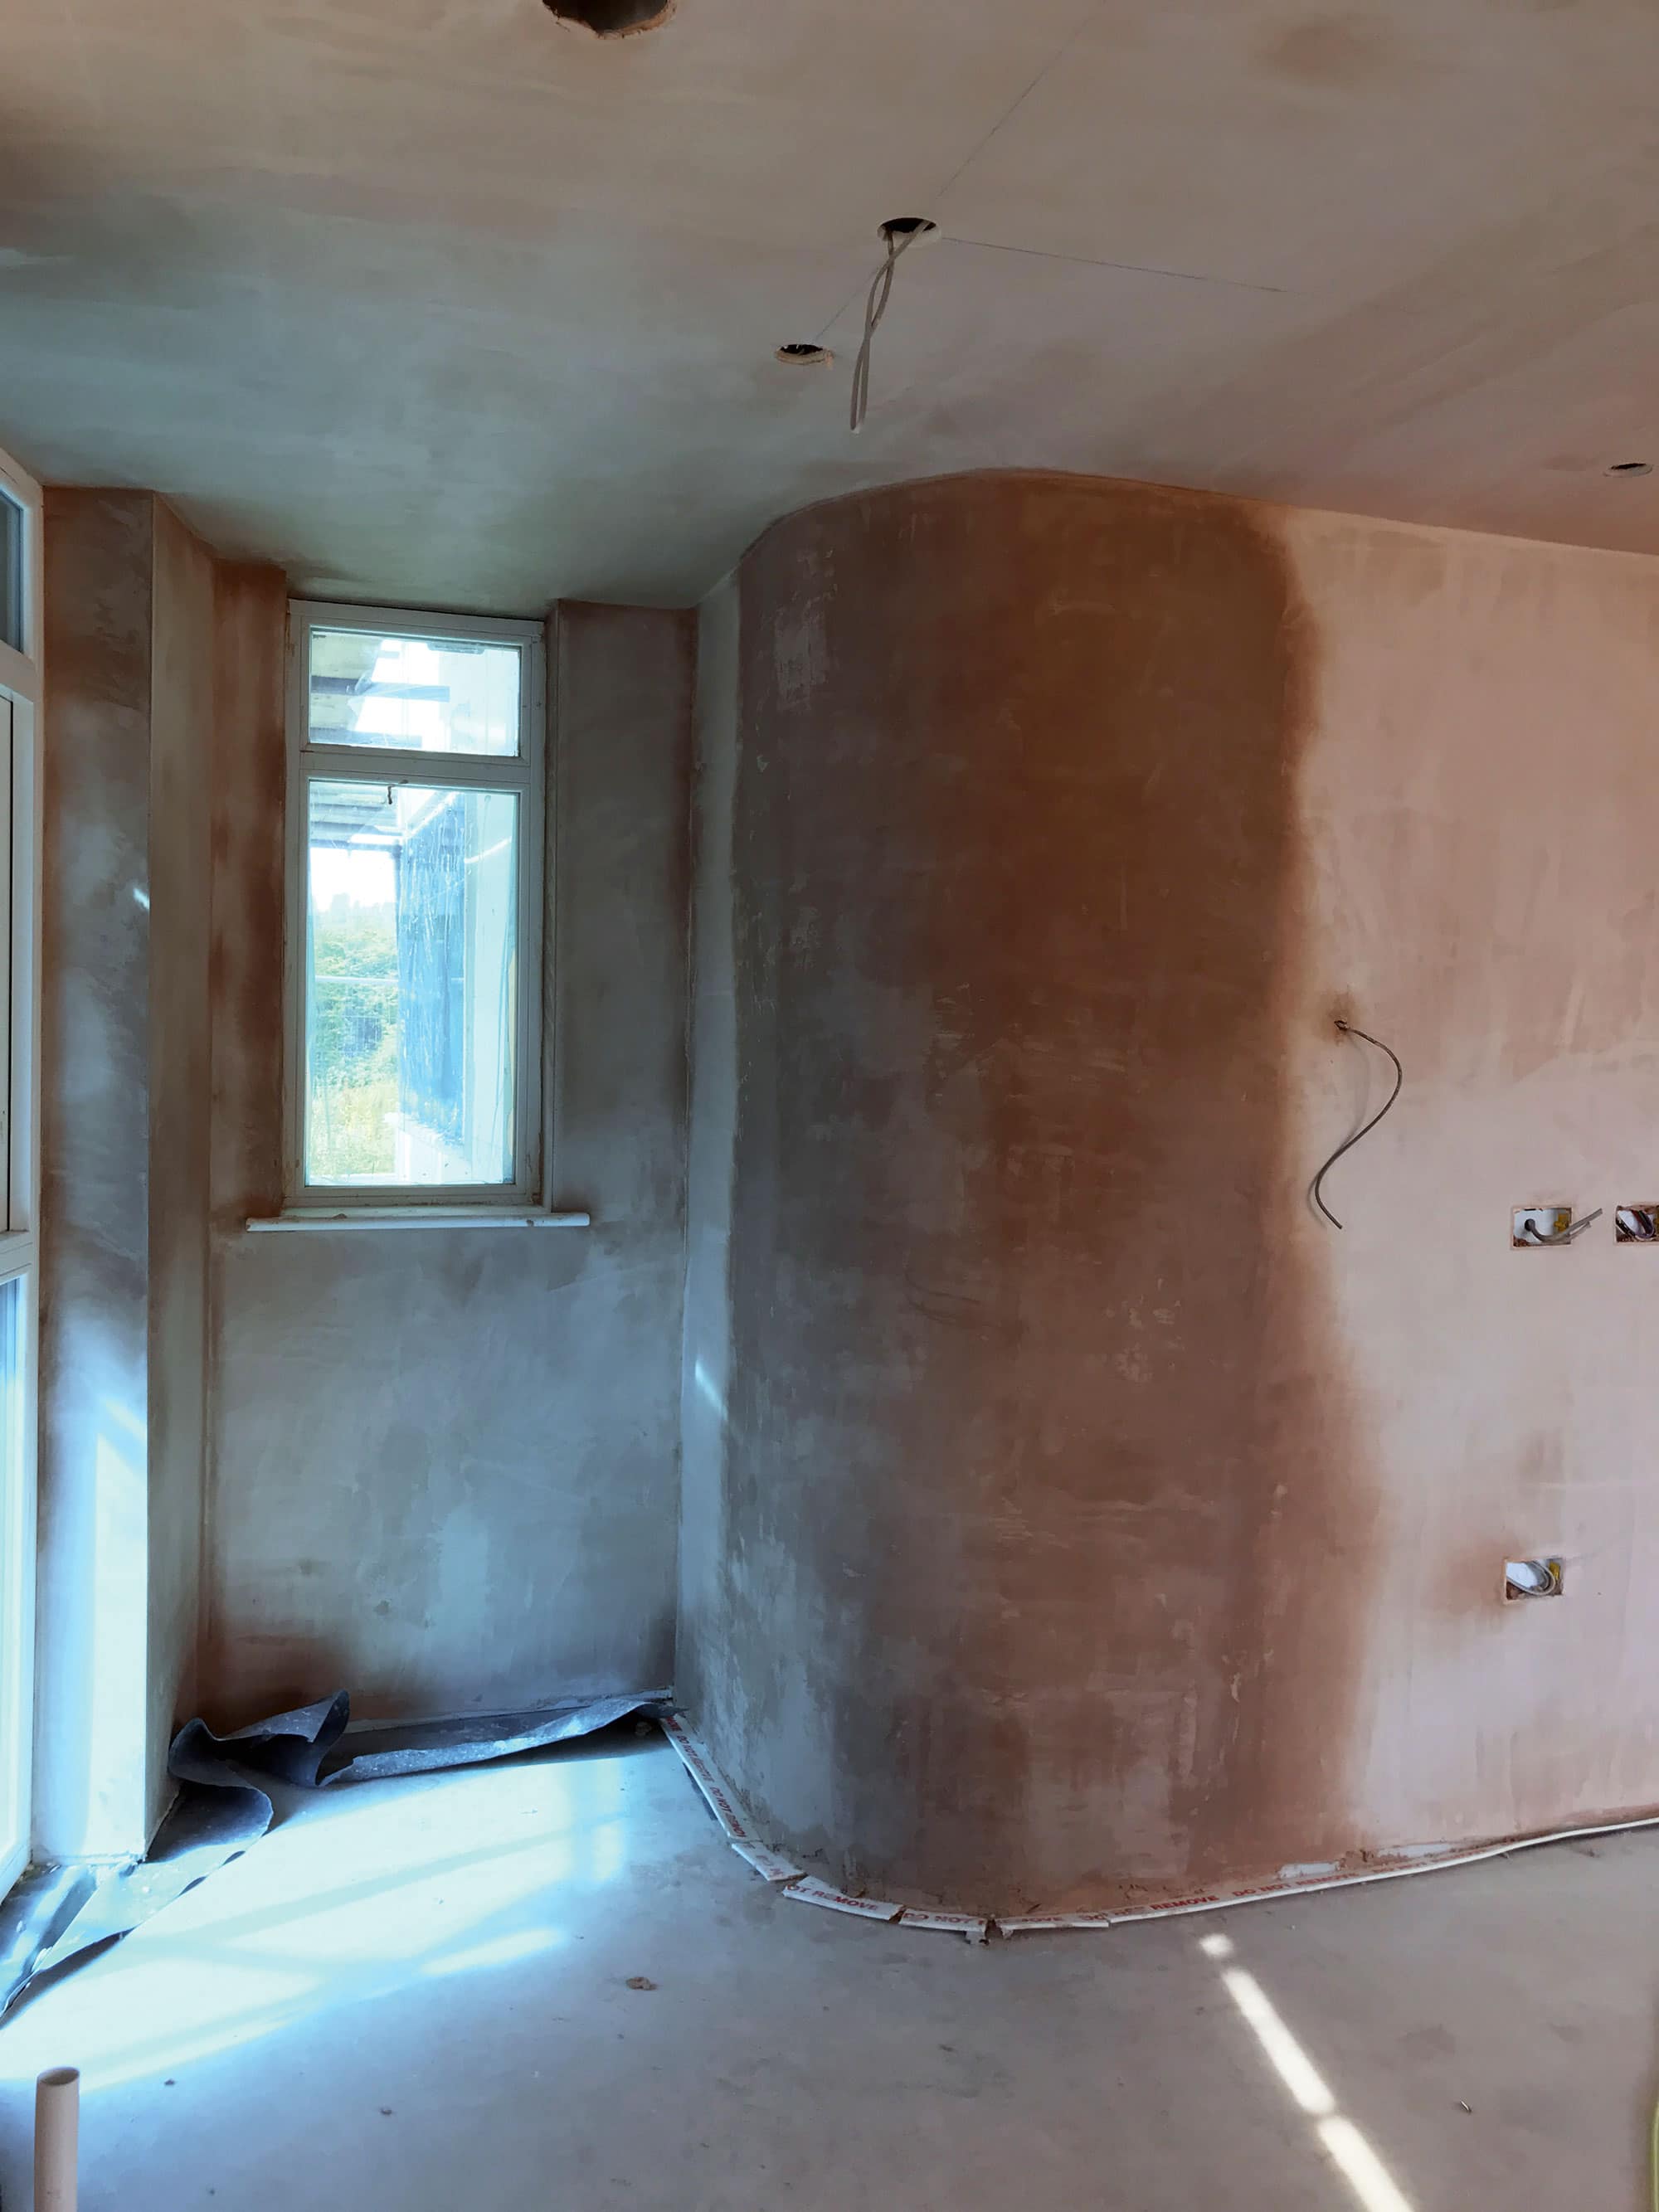
The main area we couldn’t tack until later on in the build was the vaulted hallway. The crew needed an internal scaffold tower for access here, but erecting this too early would have blocked other trades, such as the floor tilers. So we made the decision to hold back on this section and concentrate on the rest of the house.
As we send the mag off to print, this area is mostly tacked and due to be finished imminently.
Skimming
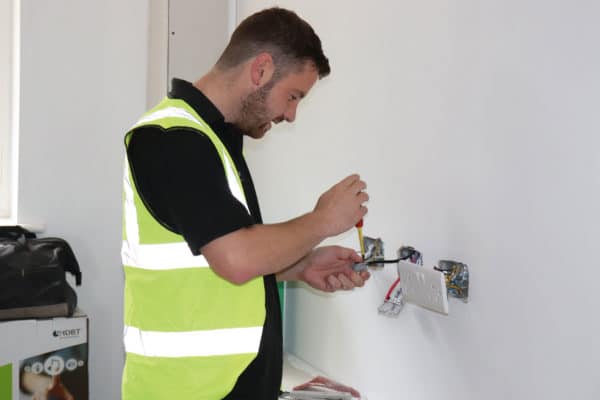
With the boards in place, your other trades can crack on with any remaining first fix works – for example, the electricians will cut out for light fittings and install back boxes for switches and sockets.
Getting this work done before the plasterers return to do the skim will ensure best results – but some small post-plaster tweaks are inevitable. Skimming is done in two coats: the first gets the wall near-perfect, and the second thinner layer gives that ultra-smooth finish.
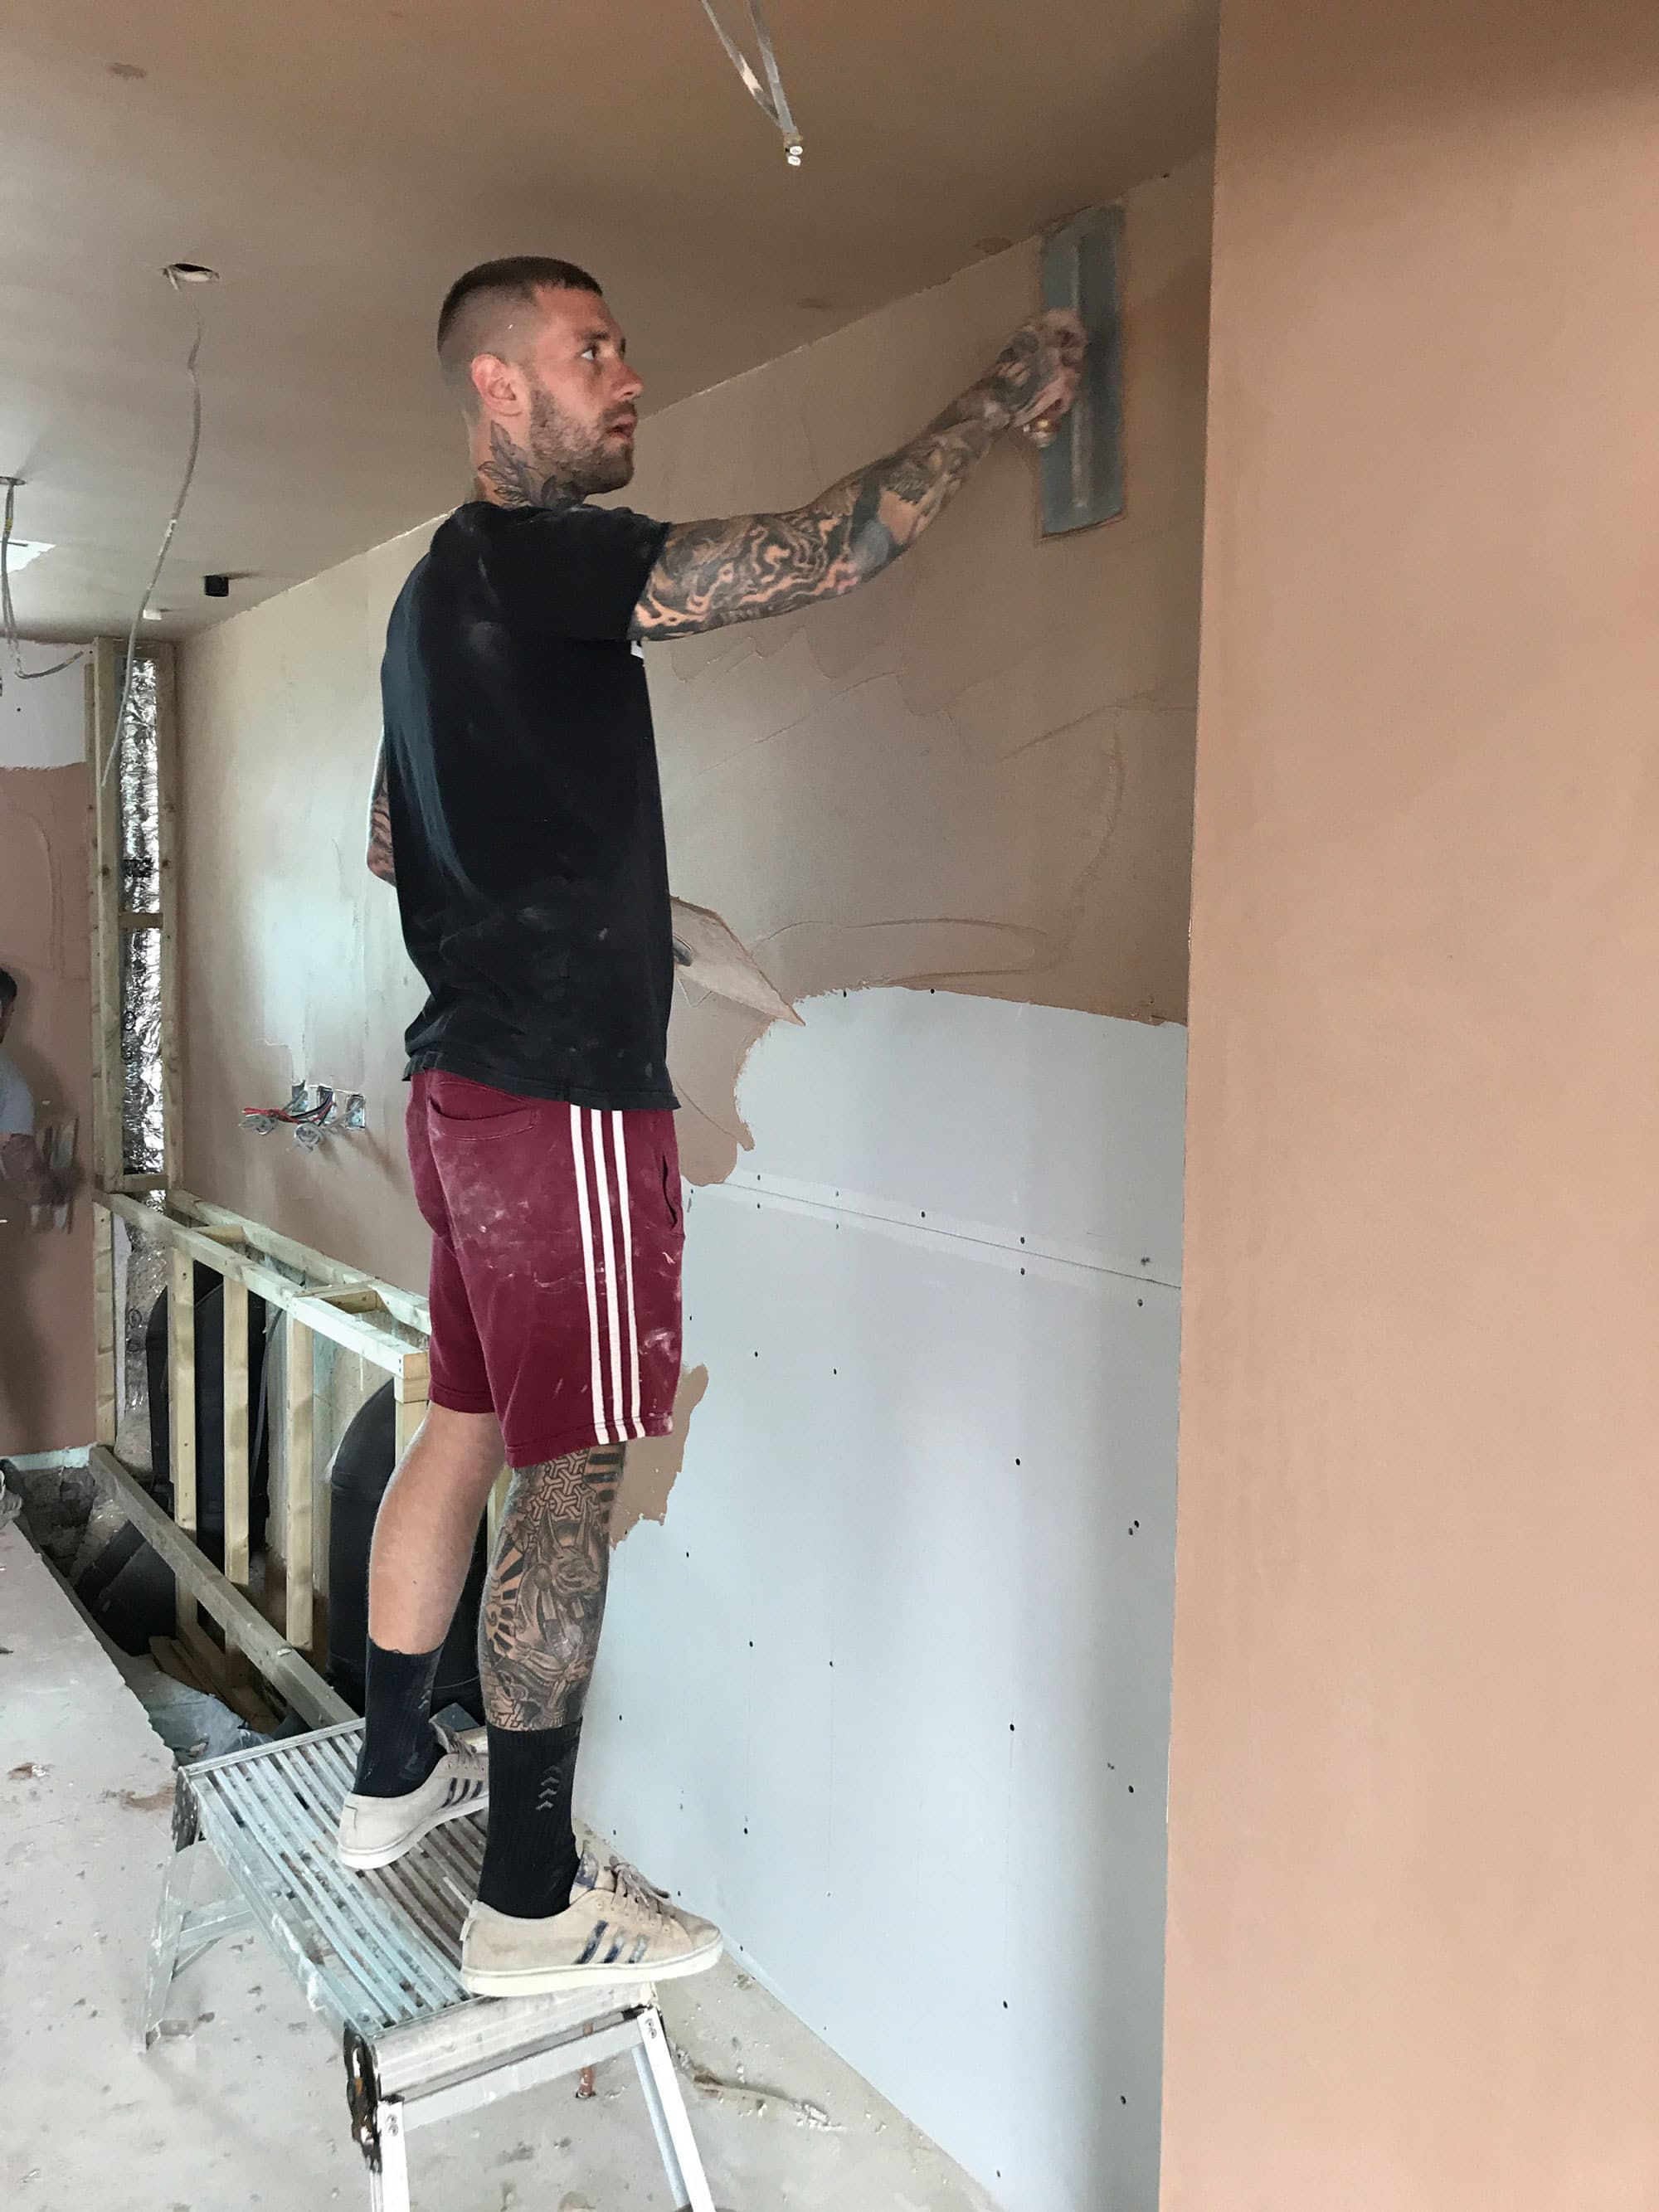
Skimming underway in the ground floor living room. It’s best to do the ceilings first to avoid disturbing the wall finishes with any muck that drops off the trowel. The final stages involve ‘troweling out’ the skim multiple times to achieve a really smooth surface.
The main prep is fitting beading at window reveals etc, and covering any joints with scrim (a special mesh tape helps to prevent cracking). After that, it’s all guns blazing. Drewett & Hunt’s plasterers brought in a big crew for this phase – and most of the ground floor was done in a single day.
That’s partly necessity: once you’ve started applying plaster to a wall, you have to complete it. Seeing the process in action is pretty impressive.
There’s an art to achieving perfectly smooth walls and ceilings ready for decoration – and it’s not something I’d fancy tackling DIY (get it wrong and you’d have to start all over again). But it’s bread and butter to skilled trades who know all the tricks and do it day-in, day-out.