

- Plan ItBack
- Design ItBack
- Build ItBack
- Homes
- ProductsBack
- CostsBack
- Self Build Cost Calculator
Estimate your project costs instantly with Build It's interactive self-build cost calculator
Calculate Now - Costs & Finance
- Contracts & Warranties
- Build It Estimating Service
Get an accurate, detailed cost breakdown of your project
Submit plans
- EventsBack


 Login/register to save Article for later
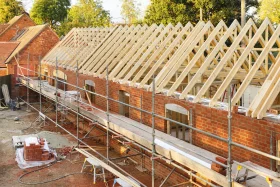
How to Choose an Upper-Storey Floor Structure

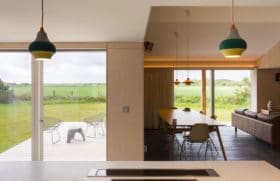
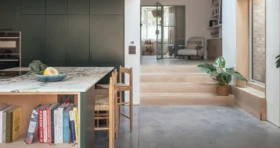
Upper (aka intermediate) floors relate to the second storey and above of a typical dwelling. Their main job is, of course, structural – but they do a lot more besides. For instance, they can offer a route for services, contribute to sound reduction between levels and provide a platform for products such as underfloor heating.
Intermediate floor structures must be designed with two specific loads in mind. The first is their own weight and that of any roof or walling above, known as the dead load. The second is anticipated imposed loads, which will include the occupants and typical furniture.
Standard imposed loads are assumed to be 1.5 kN/m2 (153kg/m2). This should cater for most scenarios but extra consideration should be given for heavy items like water tanks, large baths, pianos etc. Raves and parties, especially with bouncing teenagers, will definitely challenge these standard design loads and due consideration should be given if this kind of entertainment use, if anticipated.
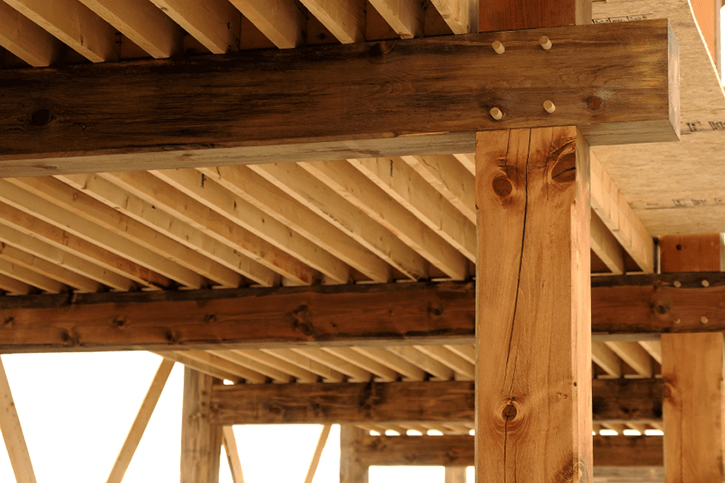
Solid timber joists
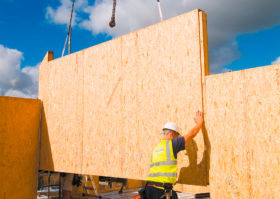
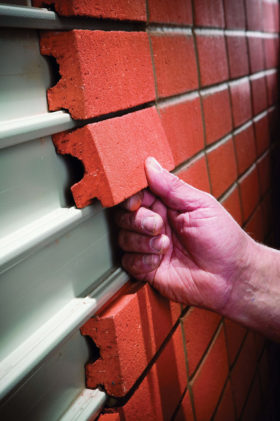
This is probably the most well-understood intermediate floor structure and generally the most affordable. These joists can be used with any building system, with generic details available for how each joist should be installed into the best-known construction types (including masonry cavity walling and timber frame panels).
When it comes to methods such as structural insulated panels (SIPs) and insulating concrete formwork (ICF), the system manufacturers should have their own recommended solutions, which may involve mechanically-fixed timber ledges, hangers and straps.
Maximum spanning tables are available through the National House Building Council (NHBC) and other sources. These provide guidance on the sectional size and grade of timber required to achieve a given clear span (ie how far they can bridge without additional support).
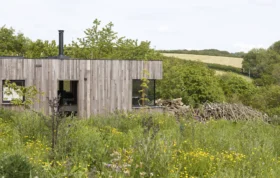
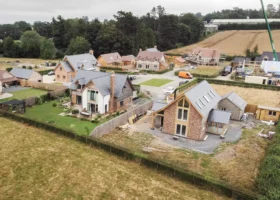
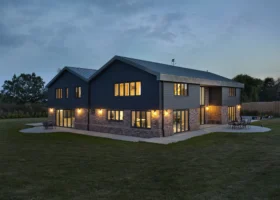
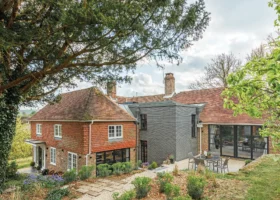
For the first floor structure at the Build It Education House, we chose metal web joists from DWB Timber Engineering
to allow for easy running of services. The ground floor uses a beam and block arrangement, above a basement
The maximum clear span you can expect to achieve with solid timber is around 5m, unless you specify more unusual thicknesses, which will come at a much higher cost. Strutting is required in a central position for most spans – with up to three equally-spaced rows for large distances.
The most effective approach to stabilising the joists is to use a diagonal herringbone or criss-crossed struts, but many contractors prefer to use solid blocking as this is perfectly adequate and quicker to install.
In most domestic dwellings with timber joists, a single layer of plasterboard is fixed to the underside of the joists to form the ceiling below. This supports 100mm of mineral wool insulation (or products such as Rockwool for increased acoustic performance) between the joists and then tongue-and-groove chipboard to form the floor deck above. This would be considered a standard, entry-level specification.
Engineered joists
A popular option with self builders is the use of engineered joists. These fall into two categories: I-beams or metal-web posijoists. The I-beam incorporates a solid web using OSB (oriented strandboard) or similar, with solid timber rails at the top and bottom to form the beam flange. A metal-web joist is effectively two lengths of timber at the top and bottom with continuous herringbone metallic bracing tying the two together, with perfect dimensional control on both sides.
The Screedflo dB system transforms a timber joisted setup into a high-performance, sound-deadening floor suitable for screeded UFH
Both types are capable of bridging greater distances than solid timber but there are no standard span tables. So each system manufacturer will design the joist size and frequency based upon the structural drawings you provide. They’re also lighter and easier to handle on site, although more expensive at perhaps a 30%-40% premium over solid timber. An additional advantage with metal web joists is the ease with which services can be channelled through the large voids between the metallic bracing.
Engineered products can happily sit in hangers or be supported by ledges or, with timber frame, built into the external panelling just like solid timber. Where joists run parallel to external walls, restraining straps may also be incorporated. Continuous bracing through the webs will be needed to tie all of the joists together.
Beam and block
Concrete beams with infill blocks floors can make excellent intermediate floors but they are only suitable for homes built with masonry cavity walls, ICF or solid concrete panels due to their mass.
This extra weight, however, is also one of their key benefits, providing excellent thermal mass in the middle of the building and improved acoustic performance between storeys. Beam and block will increase your budget, as supply and installation costs are higher, plus there are additional plant requirements for lifting the prefab beams.
Learn more: The Benefits of Beam and Block Flooring
Screed is the best joist for decking with this system, so it’s a popular choice for those wanting UFH upstairs. You’ll need to think about how to run your services through the floor. Plumbing pipework and electrical cables may fit beneath the blocks, but to fit deeper services such as ventilation ducting it may be necessary to hang the plasterboard off brackets fixed to the beams, which will add cost.
Cassette floors
This is a generic description for a large section of floor that has been factory produced. Concrete cassettes are common and have been available for some time. However, timber frame manufacturers in particular are also known for prefabricating floors that can be craned into position and bolted together super-quick.
Those with links to the volumetric market will be especially keen on this approach, so if you’re using a system build you could talk to your manufacturer about cassettes being an option.
Decking materials
There are several choices at your disposal for topping joisted floors. Most common is 18mm or 22mm thick tongue-and-groove chipboard, with 22mm being eminently preferable as it provides greater solidity. You can also get OSB and plywood in the same depths, and there may be reasons you prefer one or other of these.
Some deck materials are treated to be moisture resistant, which could be helpful in kitchens or bathrooms. Those of you opting for specialist acoustic floors, such as Screedflo dB, will be less concerned, as you will be applying additional layers once the building is in the dry.
A number of products come with a factory-applied PVC coating that can make them stormproof. Given we erect our buildings in all weathers, and that decking is required as the storeys are completed but before the building is watertight, this level of protection makes great sense.
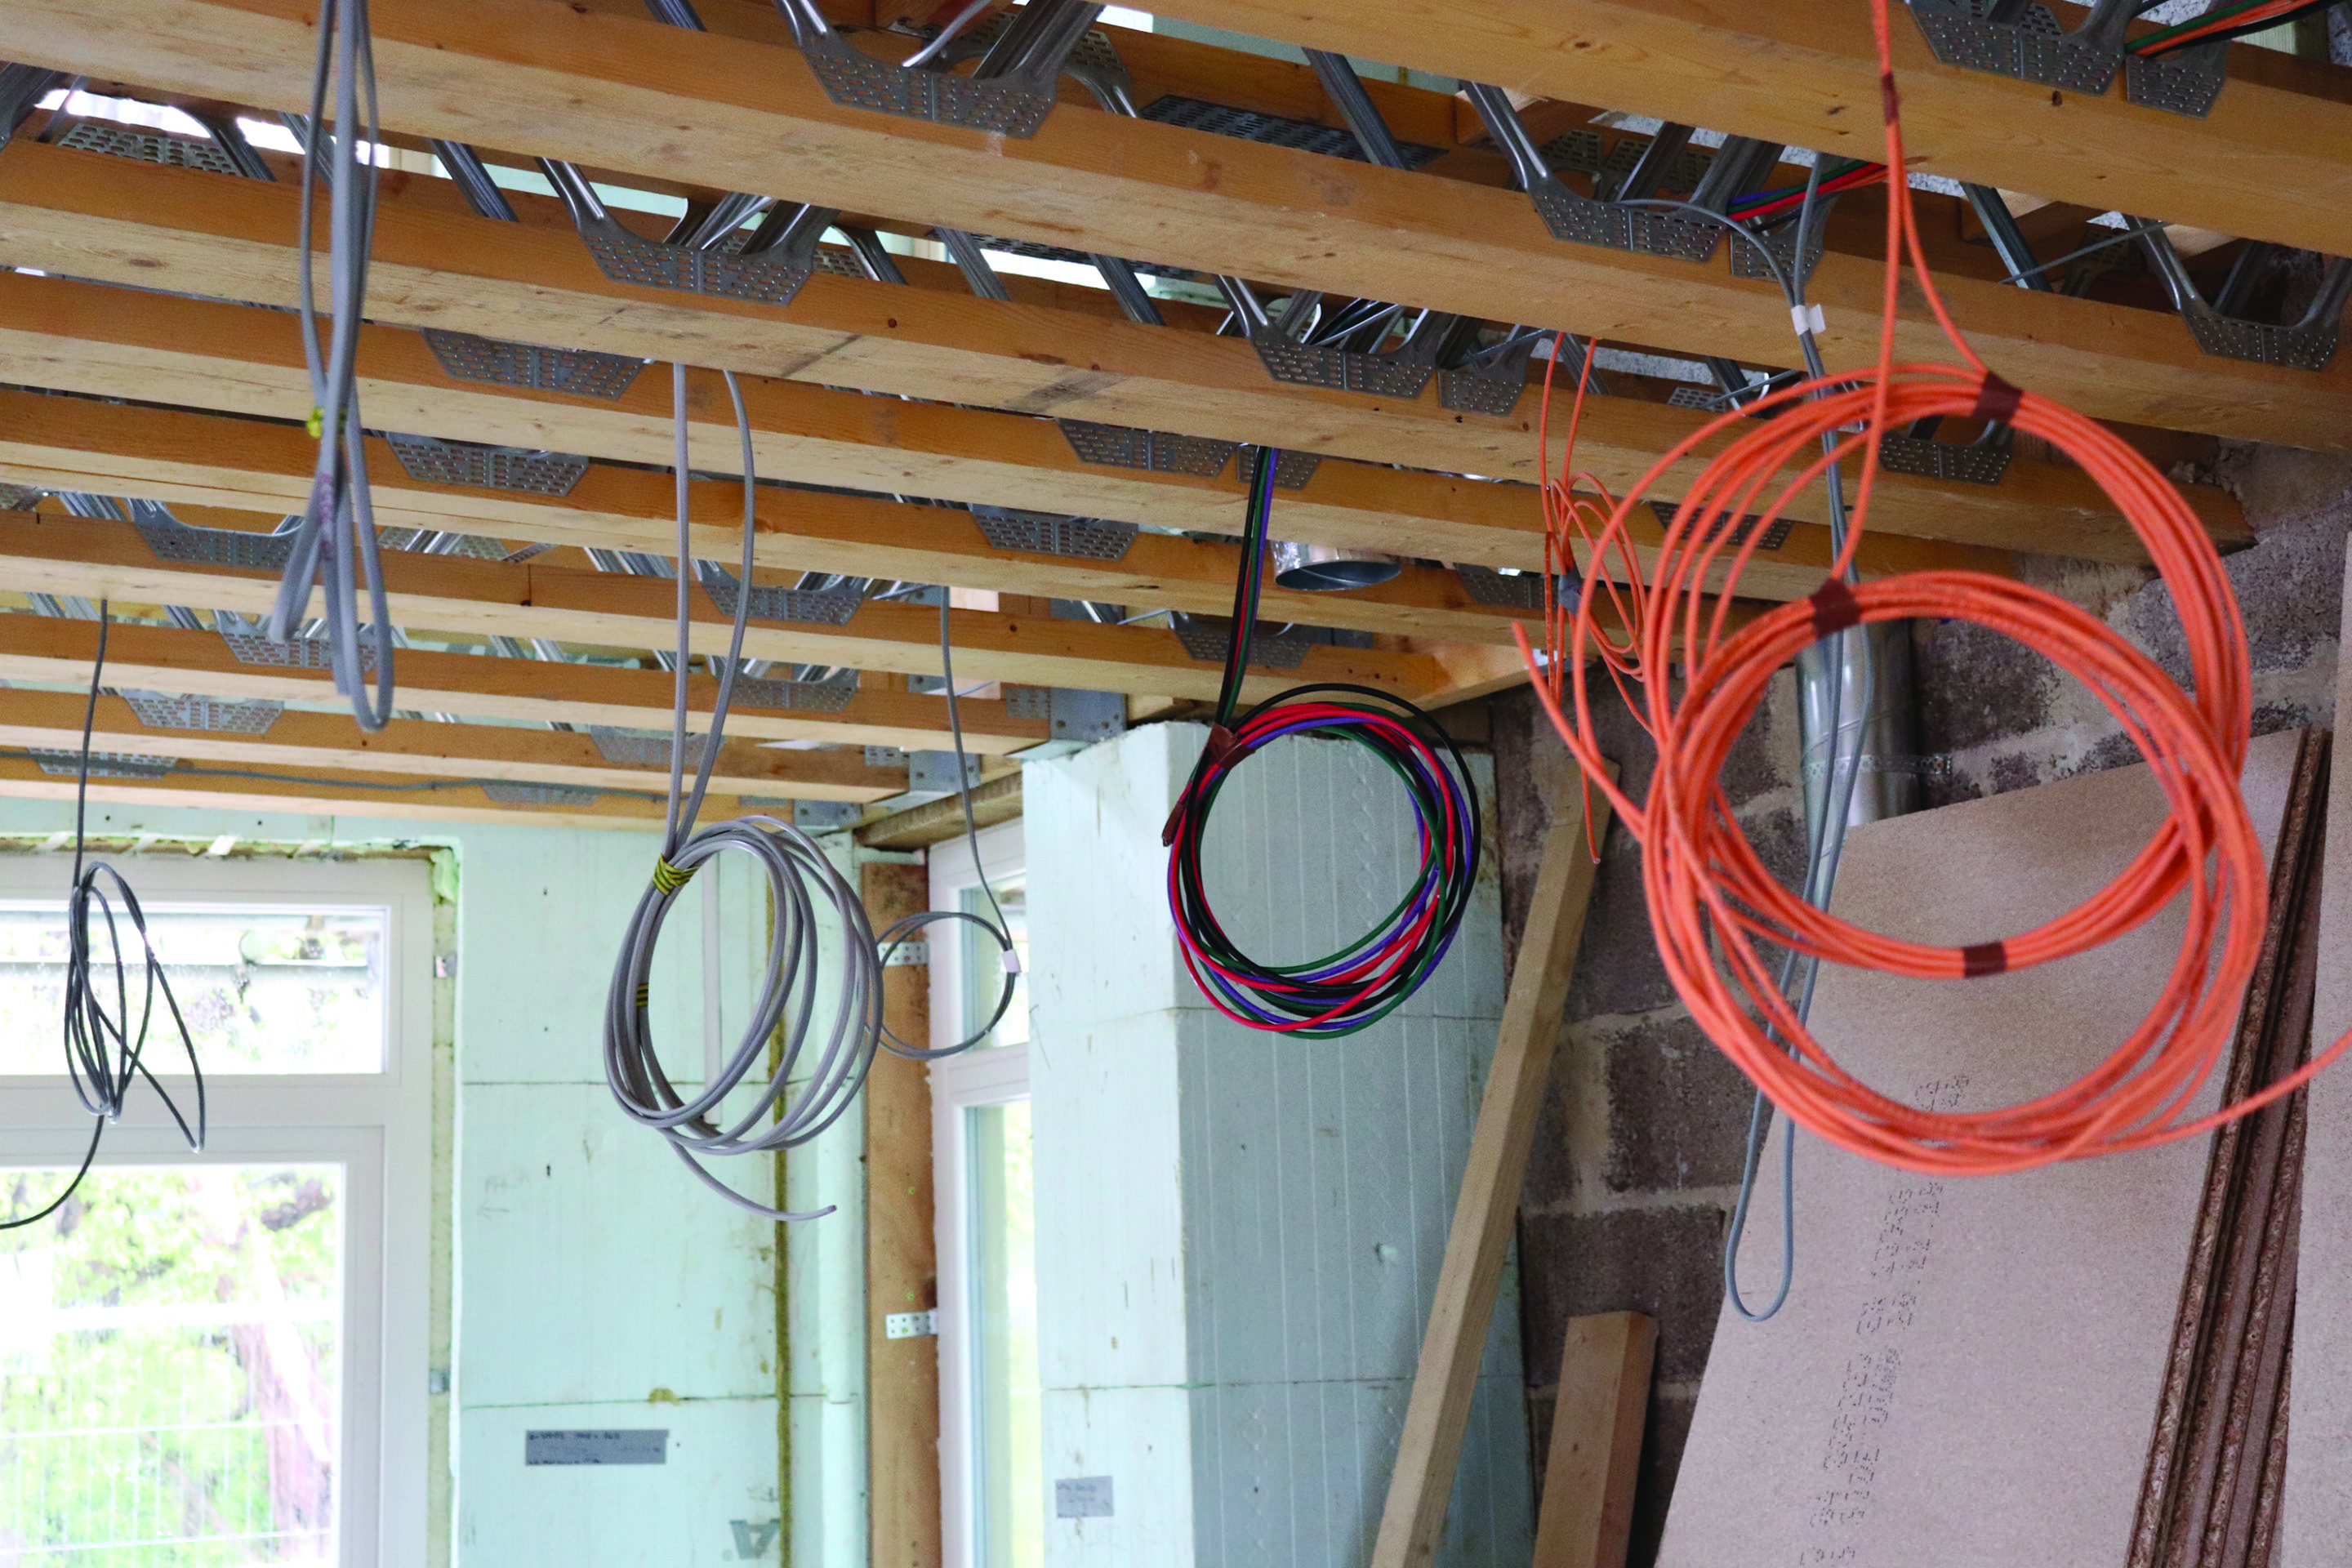
Running services
Service voids have to be provided and your choice of floor structure will influence how this is best achieved. With solid timber joists and I-beams, holes will need to be cut in the webs. Engineers don’t like this unless there is clear guidance available, especially from the I-beam manufacturers, on how to minimise loss of integrity in the joists by carefully deciding on hole diameters and locations.
Some people add counter battens on to the underside of the joists to create a void in which small services can be run.
Quick Guide: Floors in loft conversionLots of people don’t consider the suitability of the intermediate floor structure when extending into their loft space. The visible joists seen in the attic are usually selected purely to support the ceiling below and some nominal insulation above. They’re unlikely to have been designed as a fully fledged floor for domestic use – so they will need upgrading. Learn more: How Much will my Loft Conversion Cost? The issue is head height. Every spare mm is vital for the success of a loft conversion, as we have to dress down from the rafters to achieve adequate insulation and build up the floors to gain adequate strength. In addition, new joists will need support in locations where the headroom gets low and beneath the ashlar walls (low walls at the eaves) in the new room. For this reason, steal beams are often required to support the new floor construction, which will also reduce head height (an alternative is the easy-install Telebeam system). So if you’re considering an attic conversion, make sure you consultant an engineer or competent designer at an early stage. |
As we’ve seen, one of the great advantages of using metal web joists is that larger diameter services can travel through their webs. For short distances, ducting from extractor fans and parts of the installation for mechanical heat recovery can also potentially be lost in the floor. A discreet service void is usually necessary on the underside of a concrete block and beam floor.
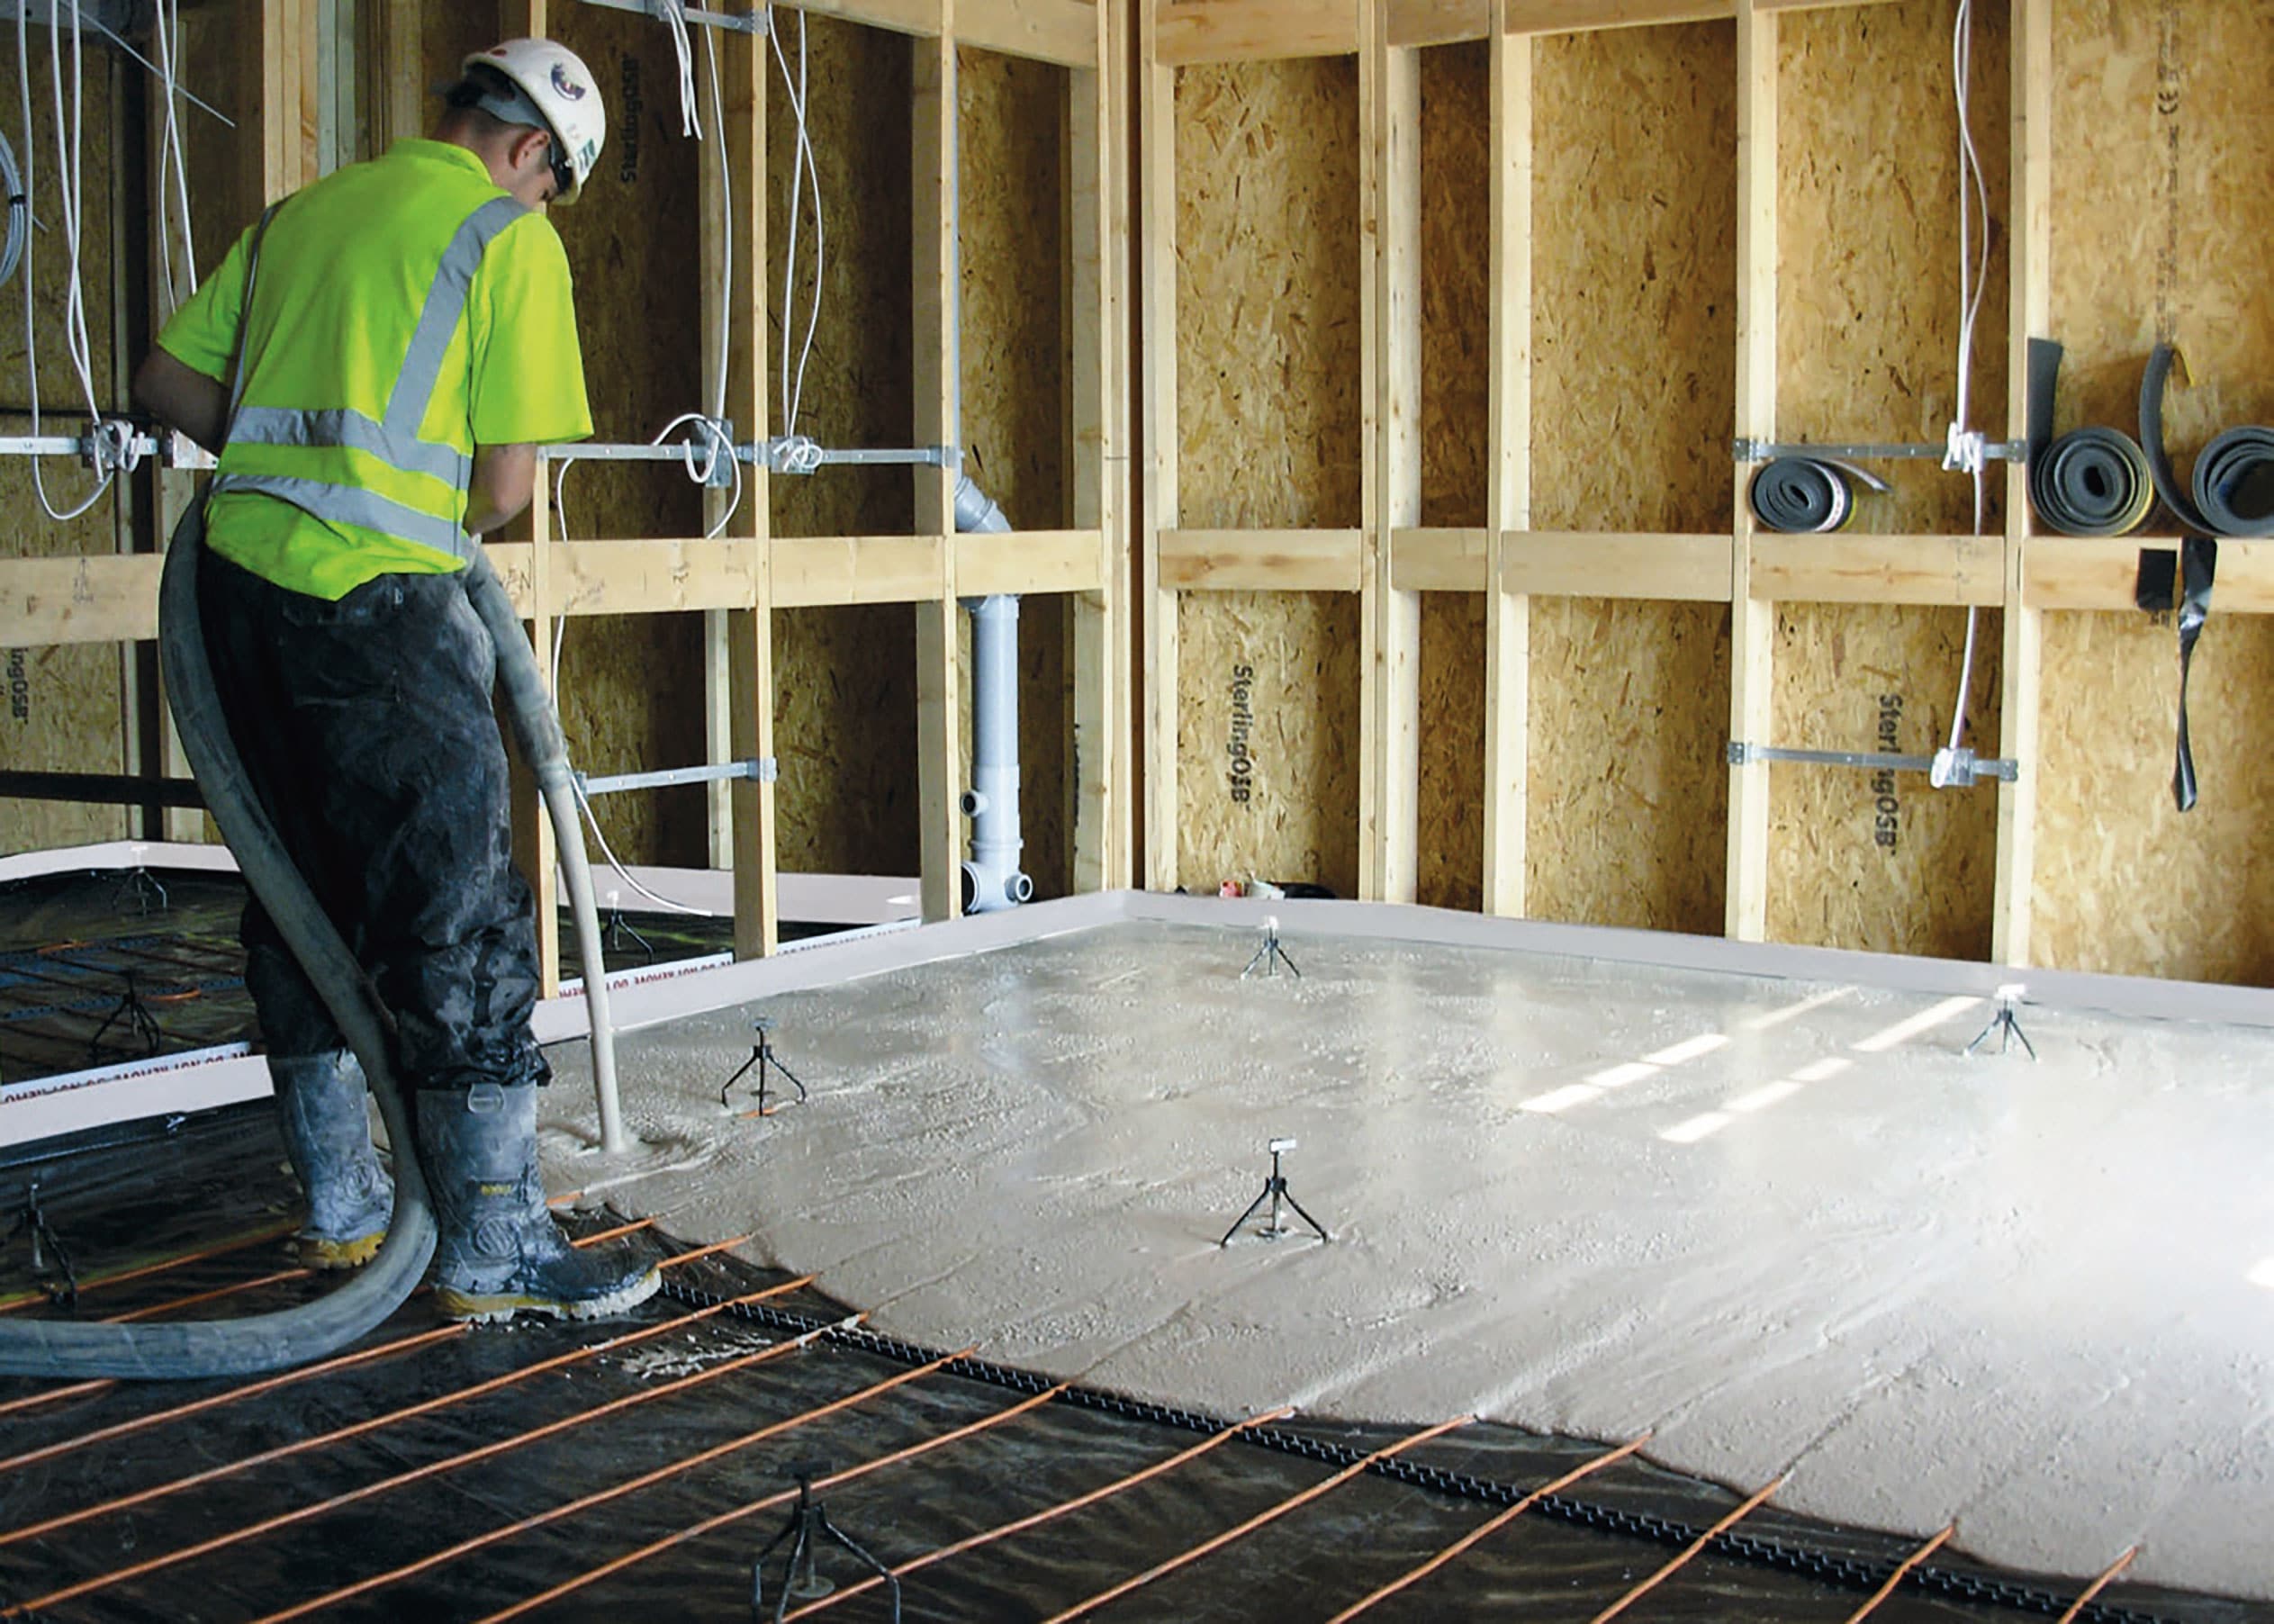
Incorporating underfloor heating
Underfloor heating (UFH) can be readily installed with both solid and engineered joists. Usually this involves a metal spreader plate which spans from the top of each joist to its neighbour and has a pipe recess to conceal the underfloor heating pipes.
This plate should be insulated directly below and also firmly supported so that it does not sag and thus keeps the metal plate in direct contact with the floor deck above for maximum transference. Some manufactures now offer low-profile alternative UFH systems that can sit directly on the floor deck.
A neat alternative with a timber joisted floor is to put 50mm timber battens on top of your floor deck at 400mm centres, lay your underfloor heating pipes between the battens, clip them to the deck and then cover with a lean mix screed.
You can then fit a thin plywood layer over the top to regulate your final floor finish. The advantage of this is the extra density for acoustic gain as well as great dispersion of heat through the screed. But the extra weight needs to be calculated at the outset, as it increases the dead load.
The overall floor build-up will also be thicker, which will affect your staircase and door threshold heights.
Eliminating squeaks
Squeaks arise in timber floors from a combination of factors. First, deflection in the joists causes movement in the floor under load. Second, there could be inappropriate strutting
(or blocking) allowing the joists to finely twist.
The method and type of fixings used to secure the floor deck to the top of the joists also needs to be considered. On top of that, the natural drying process of the intermediate floor once heating has been applied might reduce moisture content from anywhere between 12-14% (at the time of construction) down to 8-10% when fully dried.
Being conscious of all these elements at the design and build stages will help to reduce the risks of eventual floor squeaks. It’s mightily difficult to cure once the house is finished and your final floor coverings are down!


Comments are closed.