

- Plan ItBack
- Design ItBack
- Build ItBack
- Homes
- ProductsBack
- CostsBack
- Self Build Cost Calculator
Estimate your project costs instantly with Build It's interactive self-build cost calculator
Calculate Now - Costs & Finance
- Contracts & Warranties
- Build It Estimating Service
Get an accurate, detailed cost breakdown of your project
Submit plans
- EventsBack


 Login/register to save Article for later
Underfloor heating: Water-based systems

Keen self-builders and renovaters will know that one of the best ways to heat your home is with an underfloor heating (UFH system. There are two types of UFH – wet and dry, both of which have countless benefits for modern homes and lifestyles. This is mainly down to the radiant method in which they heat your home, with warmth rising up from the floor to provide an even temperature throughout. This month we’re looking at how wet systems work and their benefits.
What is wet underfloor heating?
Underfloor heating has a long history, dating back to the Roman Empire when smoke from a furnace was forced through trenches underneath the stone floors of bath houses. Contemporary wet systems work on the same principle – using hot water rather than smoke – but unsurprisingly the technology has evolved significantly.
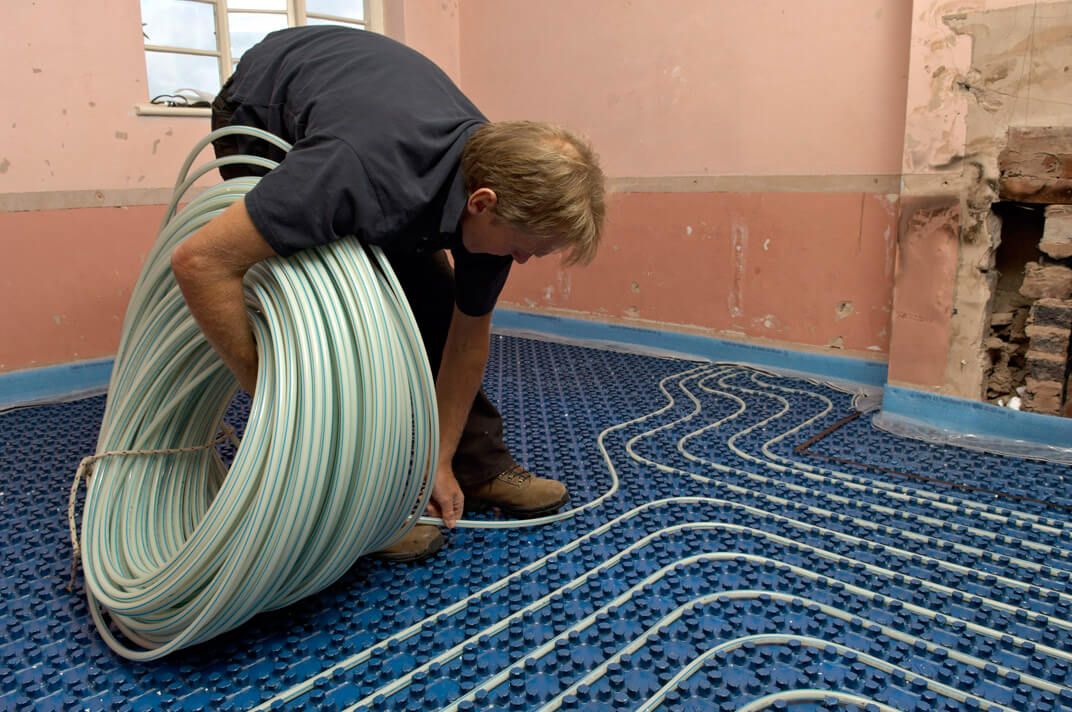
Wet systems circulate warm water through a continuous series of pipes laid in an even configuration of loops in your home’s floor slab. This effectively turns the floor into a large radiant heat emitter.
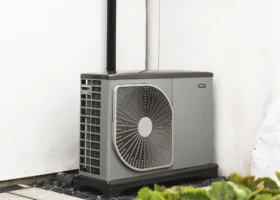
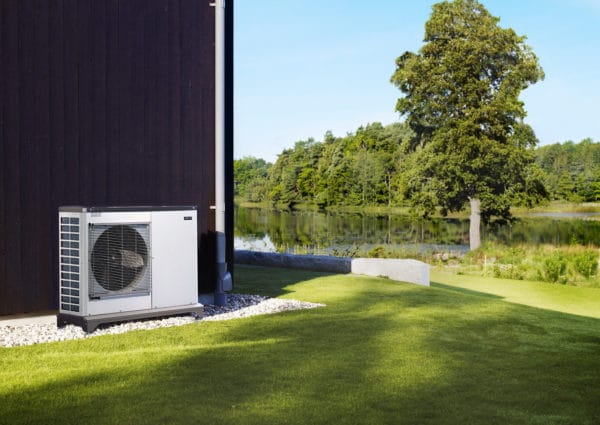
Due to the manner in which it heats, and the large area that the pipes span, UFH requires a lower input temperature to get a room to the desired warmth (in comparison to radiators). That means it’s not only compatible with conventional high-output boilers, but works extremely effectively with renewable heating systems, such as ground source heat pumps and air to water heat pumps. These renewable heat generators produce output temperatures of roughly 30-35°C, which is ideal for UFH, but too low for traditional radiators without additional electric or boiler heating. Companies such as Rayotec are even using solar thermal panels to supply hot water to UFH.
How do I prepare for wet UFH?
Competent DIYers should be able to install pipes themselves, but you’ll need to engage in a design consultation with your supplier, prior to works, to confirm the details. This must include a heat loss survey and a custom-designed system for your project that shows temperature calculations and installation instructions.
Always provide your supplier with a full set of house plans so they can calculate heat loss and thereby determine how many watts per m2 (W/m2) of heat ouput are needed to comfortably warm each room to the required temperature. This will determine how close the pipework has to be laid. In general pipes should be spaced at 150mm to 300mm intervals depending on the heat loss in the room and your power source’s output. For example, a heat pump supplies lower temperatures than a boiler, so tighter pipework spacing would be required.
Before you start, consideration must be given to height, especially if you are installing UFH in an existing property. An efficient system will require floor levels to be raised to accommodate extra layers of insulation, the pipework and floor covering. Some wet systems can raise floor levels by up to 100mm, though in some cases you can dig down to offset this.
As warmth passes into the room from the floor, it is important to prevent downward heat losses into the ground or the floor below. In a new building that meets the regulations, there should always be an adequate level of floor insulation in place. With renovation projects, however, it’s important to increase the levels of insulation – at the very least, look to meet current Building Regs standards.
How is it installed?
UFH pipework is laid as a single continuous loop or circuit in each room or zone. On screeded floors, pipes can simply be clipped on top of insulation, then covered with another layer of screed. A screeded system will provide a higher W/m2 output than other options.
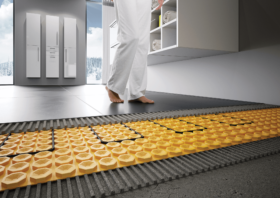
Floating floors are a popular choice for renovation projects, as height build-up is minimal. These systems consists of a pre-grooved polystyrene base layer, which can be laid on top of standard floor insulation or existing deck. The tube is simply run through the groves, and the final flooring material is placed on top. On suspended timber floors, ‘plate’ or ‘foil’ systems can be used, whereby an aluminium heating plate is fitted on top of the joist, and below the deck. It’s easiest to do this from below.
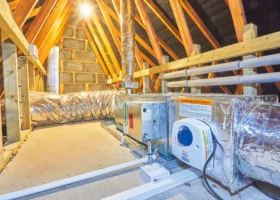
Each zone is connected to its own manifold that takes water from the heat source. When the room reaches the required temperature, air or floor sensors alert the thermostat, and the manifold shuts-off the water. This means that a UFH system allows you to easily control and vary temperatures in different rooms and zones. Seek expert advice about the right manifold for your requirements, as having isolation valves in the right place makes installation and maintenance easier.
What are the cost implications?
In general, wet UFH is more costly to install than a standard radiator system. The subfloor, type of fixing, number of zones, size of your project and complexity of controls will determine costs.
The associated technology, especially in terms of controls, intelligent manifold systems and motorised valves, will add to your project outlay – especially if you’re fitting a complex multi-zone system. A basic starting price is £20 per m2, but expect the extras to increase this significantly.However, it is possible to save money by installing on a DIY basis. The high efficiency of wet UFH means you’ll also recude your long-term costs through reduced heating bills thanks to low operating temperatures.
Main image: An installer laying pipework for a Worcester, Bosch Group Greenfloor hydronic UFH system
Anna-Marie DeSouza

You may be interested in


Comments are closed.