

- Plan ItBack
- Design ItBack
- Build ItBack
- Homes
- ProductsBack
- CostsBack
- Self Build Cost Calculator
Estimate your project costs instantly with Build It's interactive self-build cost calculator
Calculate Now - Costs & Finance
- Contracts & Warranties
- Build It Estimating Service
Get an accurate, detailed cost breakdown of your project
Submit plans
- EventsBack


 Login/register to save Article for later
Insulating a New Roof
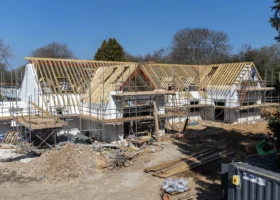
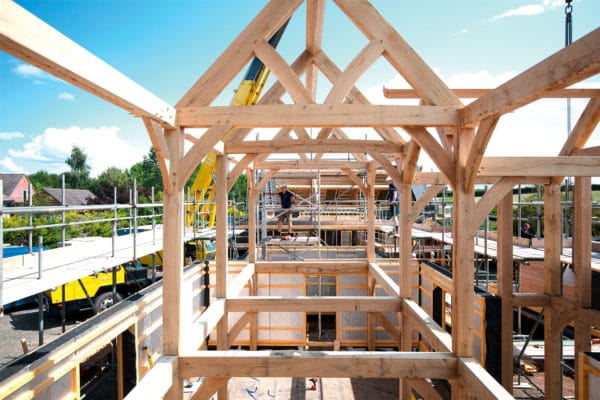
With the walls raised to the ceiling level of the top storey and timber wall plates bedded and level in the cement mortar on top of them for the roof to sit on, the roof structure can be erected and the building made weatherproof. The gable ends are built after the roof structure is in place, so that the rafters can be used as a guide, then the roof can be felted, battened and tiled.
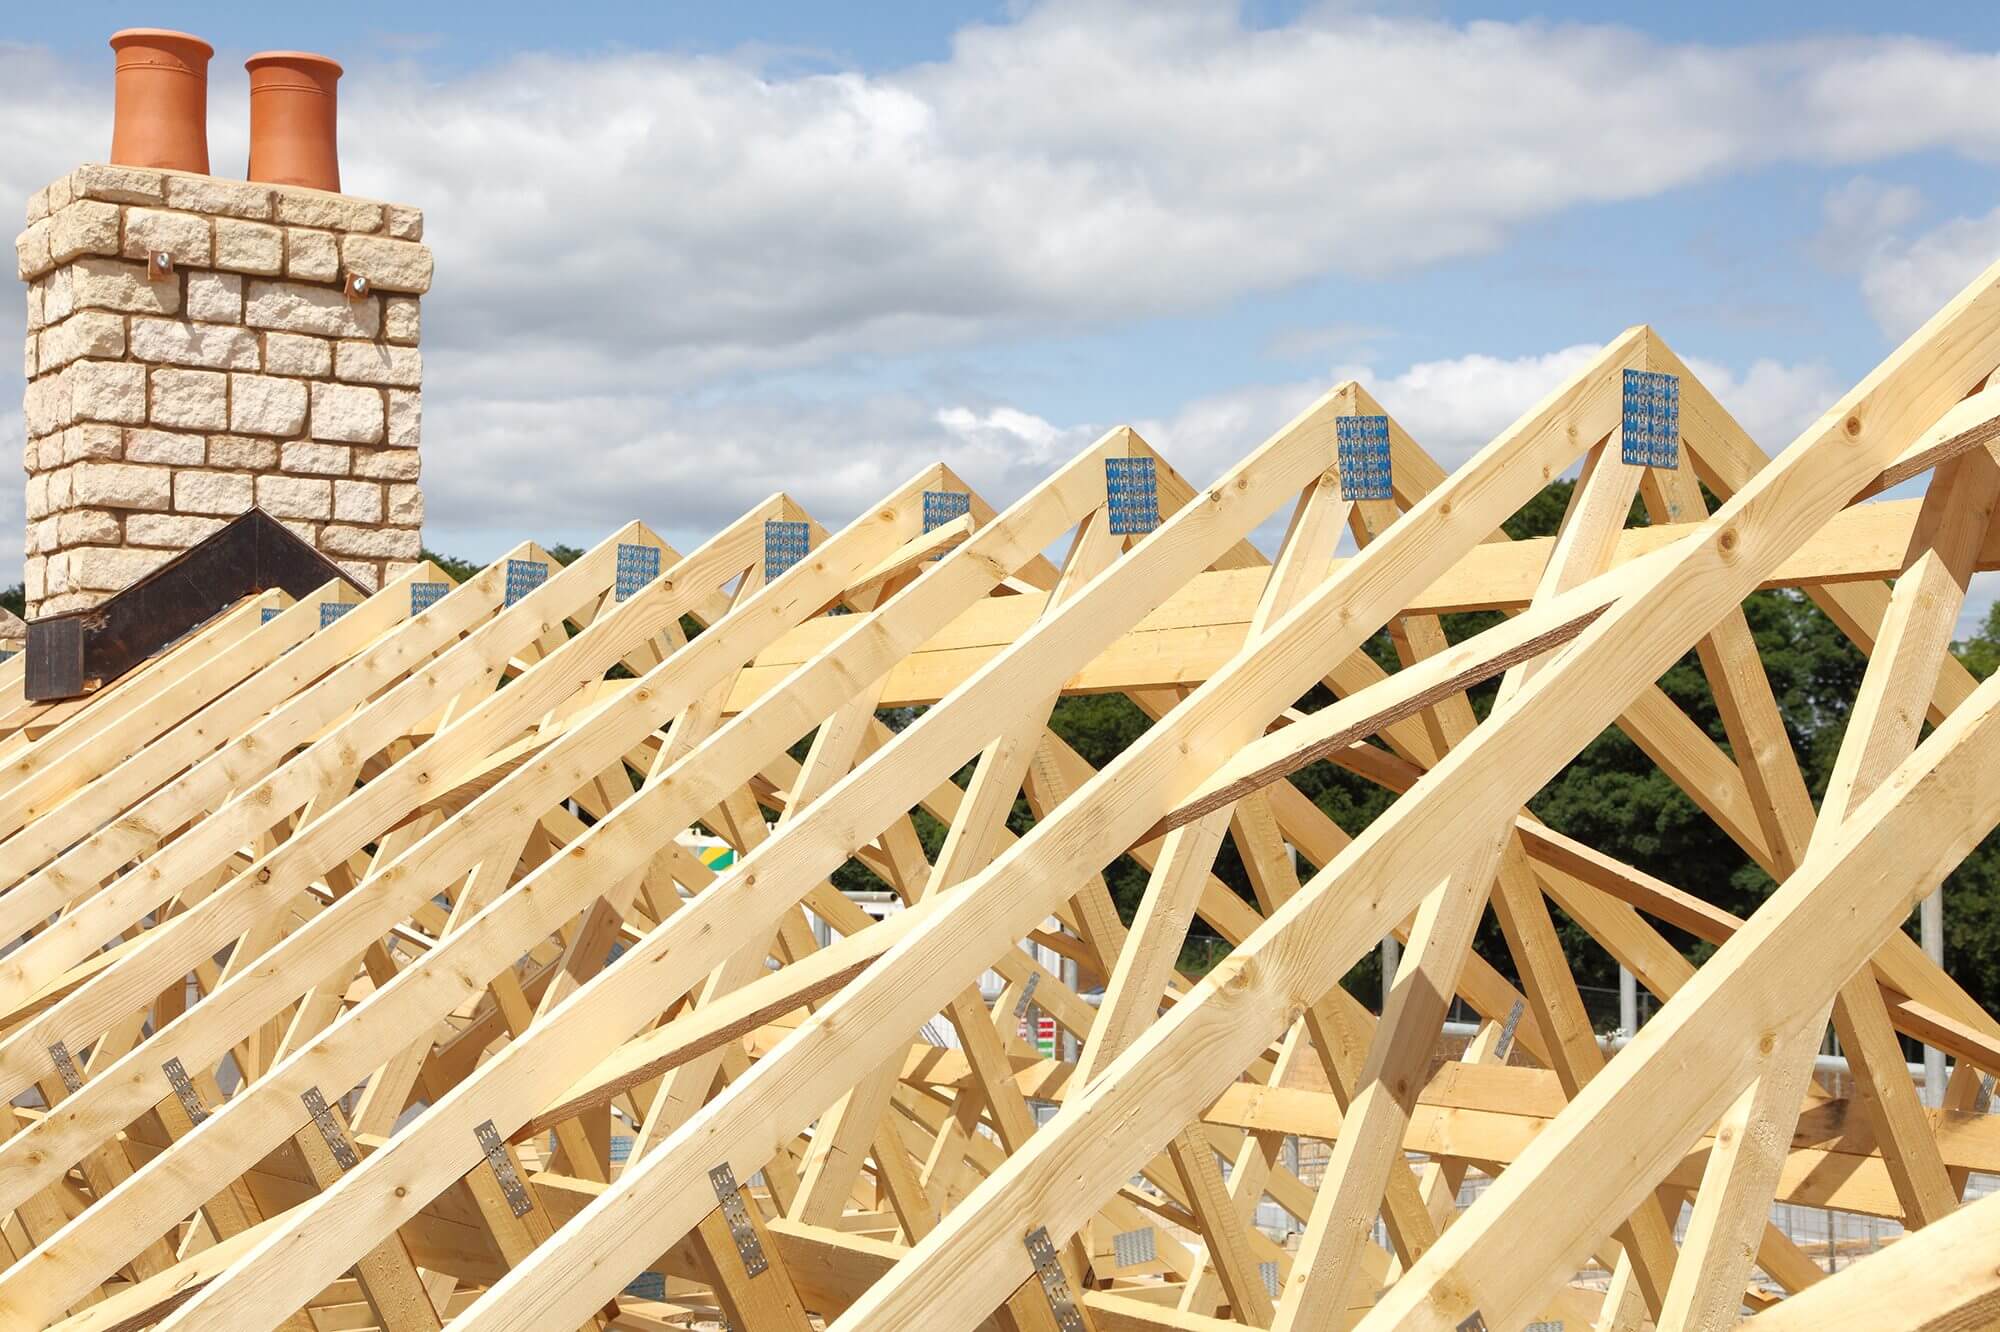
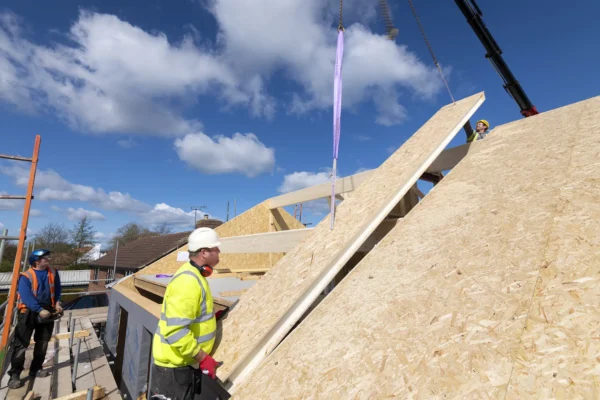
Trussed rafter roofs
Prefabricated timber roof trusses are the most popular method of forming a pitched roof. They are generally only supported by the external walls, with a span of up to 11m, and are fixed together by metal nailplates. Trussed rafters are both economical and quick to erect on site and as soon as the underlay felt is on, your building is in the dry. The ability to get ‘weathered in’ quickly is critical for timber framed homes but just as beneficial for traditional builds.
Trussed rafters are set closer together than a site cut and pitched roof and the stability of the trussed rafter roof relies upon other elements than just the trusses themselves. To form a roof that is stable they must be braced together with additional timbers running across them both lengthways and diagonally. Even the tiling battens will later help to strengthen them against the wind, as long as the joints are staggered. If wind bracing is improperly installed, the stability of the roof will be compromised.
Trussed rafter manufacturers will provide information regarding the position of wind braces, as well as structural design calculations for the trusses themselves, once a firm order has been made with the relevant information (see below). They don’t visit the site to take measurements, you supply them, so double check that your information is accurate before placing the order. You will also need to let them know whether you require their restraint straps, truss clips, gable ladders (to fix to the top of the gable walls to support the verge) and wind-bracing timber.
Place your order a few months in advance, as it is far better to get in early and store them on site than to have to stop work and wait for delivery. Store trusses stacked clear of the ground on blocks or timber bearers and protect from the weather by properly attached tarpaulin. When ordering a quote for trusses or confirming an order, plans and forms should include the following:
- The measured-on-site (not off-plan) span including over the wall plates (not the clear span between walls)
- The roof pitch
- The type and size of eave overhangs
- The type and weight of all roof coverings
- The size and position of any water tanks to be housed
- The details and positions of the supports for the roof (although the truss manufacturer will not design these supports, they do need to know where they are)
- The positions and sizes of any openings for chimneys, loft hatches, skylights or dormer windows, etc.
Give some thought to how the rafters are going to be lifted into position. Large trusses can’t always be manhandled and may need lifting mechanically. For example, a single fink truss of 30 degrees pitch and a span of 7.7m weighing about 35kg could be lifted by three people. But an attic truss, for where you are creating useable space in the roof and of the same span, will weigh 110kg, due to the much larger rafter and ceiling ties.
Once in situ, upright and correctly spaced out, timber braces, or struts, can be nailed across to hold them in place while they are being fixed to the wall plates. Use truss clips and not wire nails, as the metal-plated joints are easily damaged by ‘skew nailing’. Square twisted nails should be used in all the truss clip holes for the best possible fixing.
Without wind bracing, trusses are unable to share the loads exerted on them by the wind, and the roof structure as a whole could ‘rack’ over. Four different methods of bracing exist, each comprising 25 x 100mm softwood boards – longitudinal, diagonal rafter, diagonal ceiling and chevron bracing – and you could require some or all of them in your roof. The shape and span of the roof, together with its degree of exposure, have a bearing on which method will apply. All bracing should be twice-nailed to each truss member it crosses, to ensure proper transmission of the wind load.
Complex roof shapes with numbers of smaller intersecting roofs, hip ends or dormer structures get a bit too fiddly for the truss system and extra pieces of timber, referred to as loose infill, will be necessary to form these parts, marked on the plans as ‘infill by GC’ (general contractor). Trusses also have the disadvantage of creating a roof space that is difficult to use because of the web of diagonal supporting timbers within each truss.
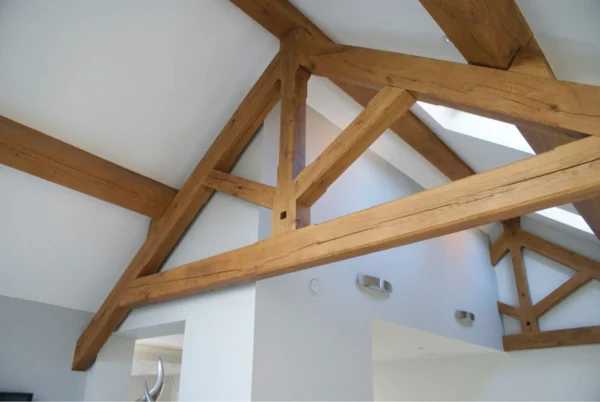
Cut and pitched roofs
Many self-builders, who usually have more time for their build than mass house builders, prefer to erect a cut and pitched roof as it can provide a more robust structure of higher quality than a trussed rafter roof. For complex structures, a pitched roof cut on site is also a better option.
Built on site from individual rafters, joists and purlins (horizontal roof beams), cut and pitched roofs can appear stronger and create a more accessible loft space. But these, too, have limits and can be difficult (if not virtually impossible) to form over large spans if there are no internal load-bearing walls or beams for support.
The rafters are generally not a problem since 50 x 150mm sections will cover most roofs, but ceiling joists can often be underestimated. Without some internal support they will have to be excessively large. For example, to span across 4m, ceiling joists 200mm deep are necessary. Having deep joists will however help later, when it comes to insulating the roof and gaining access.
Cut and pitched roofs can be nailed together with large galvanised round nails, but for improved fixings you can’t beat bolted connections with toothed plate connectors that bite into the wood and prevent joints from rotating.
Restraint straps
At a maximum of every 2m, vertical restraint straps should be screwed in place to anchor the wall plates down to the walls. Don’t fit these straps until the roof structure is complete, as you may place them where the joists or trusses need to go rather than in between them. Lateral restraint straps will also have to be fixed to the gable end walls across both the rafters and ceiling ties below and, as with floor joist strapping, they should be braced beneath with noggings (horizontal lengths of timber) then built into the gable wall when it is raised.
Roof ventilation
Cold roof spaces are prone to condensation. The warm moist air from your home will rise and permeate the ceiling and the insulation, condensing on the cold inside face of the roof unless it is dispersed by ventilation. Although some breathable roofing felts are available, to make sure that you keep the air and its vapour moving on and out, air vents can also be created and the most discreet are those fixed over the fascia boards to form a continuous inlet at the eaves before tiling.
Weatherproofing
Roofs in Britain have to cope with the elements at their worst at some time or another. If you don’t follow the manufacturer’s guidance on the recommended minimum pitch for the roof tiles, they can’t be relied upon for weather resistance. In these situations, the guarantee of the tile is usually voided and the underlay becomes the sole means of defence. Roof felt underlay does help to keep out the weather – if it is well lapped and supported at the eaves by tilting fillets (horizontal boards across the bottom of the rafters) and if vertical battens are fixed along the rafters before cross battening is attached, roof felt can work as a drainage system to carry water to the gutters. Felt should be extended out at the eaves into the gutter in any case.
Tiling
Timber roof battens are nailed across and through the felt to the rafters at intervals to suit the dimension of the roof, and the tiles are hooked or nailed on. In some cases, manufacturers advise that only the seventh or eighth course of tiles needs to be nailed and, in others, only the tiles at the edges of the roof. Whatever their minimum requirements, you may actually want to nail all the tiles to add peace of mind the next time a storm comes along.
Tiles are most vulnerable along the ridge and verge (edge of gable walls). Tiles along the verge only have a modest overhang of 20-30mm and wind pressure can force these off in severe gales. Verge tiles tend to be weatherproofed at the edge with mortar filled to an undercloak material, such as fibre cement board or tiles, that is fixed to the gable wall. If you are building in a severe exposure zone, you should choose a tiling system with dry fixings so that the tiles at the ridge and verges can be screwed or clip-locked down rather than bedded in mortar.
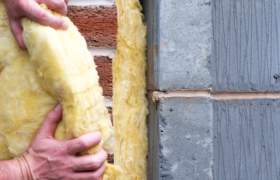
Roof insulation
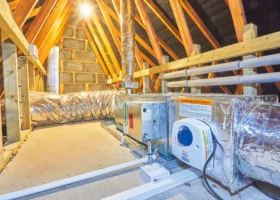
The current standards for loft insulation can be met with two layers of glass fibre quilt, one between the joists and one crossing over the other. Together they should add up to at least 270mm thick. However, this thickness prevents access to the loft unless a raised platform is constructed over the insulation material. Alternatively, use a higher performance insulation material, such as rigid board insulation, which takes up less space. Remember, the roof is one place where you can easily upgrade the insulation and increase the energy efficiency of your home. In a warm pitched roof it is important to ventilate above the insulation line to avoid condensation, so ensure that fascia vents give access for cold air to circulate.
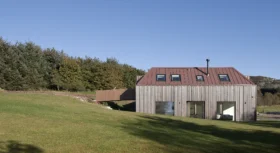
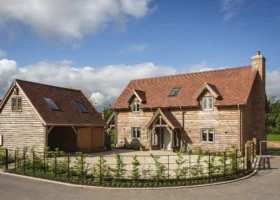
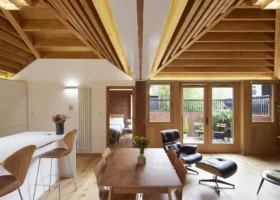
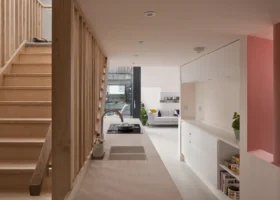
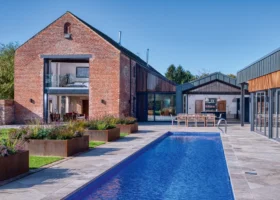
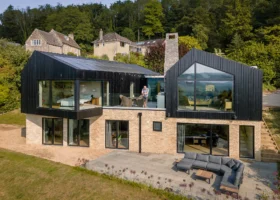
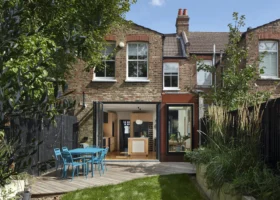
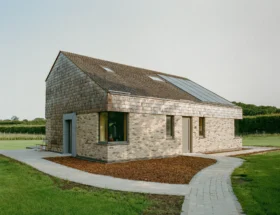
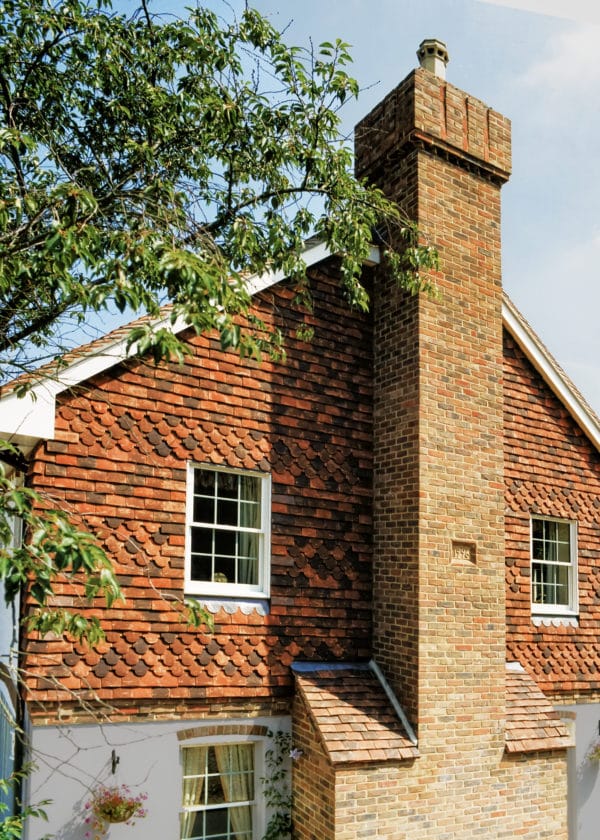
Main image: Barrie Lane’s self-build includes liveable loft space in the form of a warm roof with dormers
Paul Hymers
You may be interested in


Comments are closed.