

- Plan ItBack
- Design ItBack
- Build ItBack
- Homes
- ProductsBack
- CostsBack
- Self Build Cost Calculator
Estimate your project costs instantly with Build It's interactive self-build cost calculator
Calculate Now - Costs & Finance
- Contracts & Warranties
- Build It Estimating Service
Get an accurate, detailed cost breakdown of your project
Submit plans
- EventsBack


 Login/register to save Article for later
Self Build Planner: Schedule Your Project

While every project is unique, the sequence of a typical self build will follow broadly the same pattern, regardless of where and when it is taking place.
There are a number of scheduling programmes out there, many of which cost a fair bit of money and are primarily aimed at developers who will benefit from the investment in software spread over a number of schemes.
But for a one-off project, most self builders and renovators manage to track their finances and block out a basic timetable on a spreadsheet, in conjunction with their contractor.
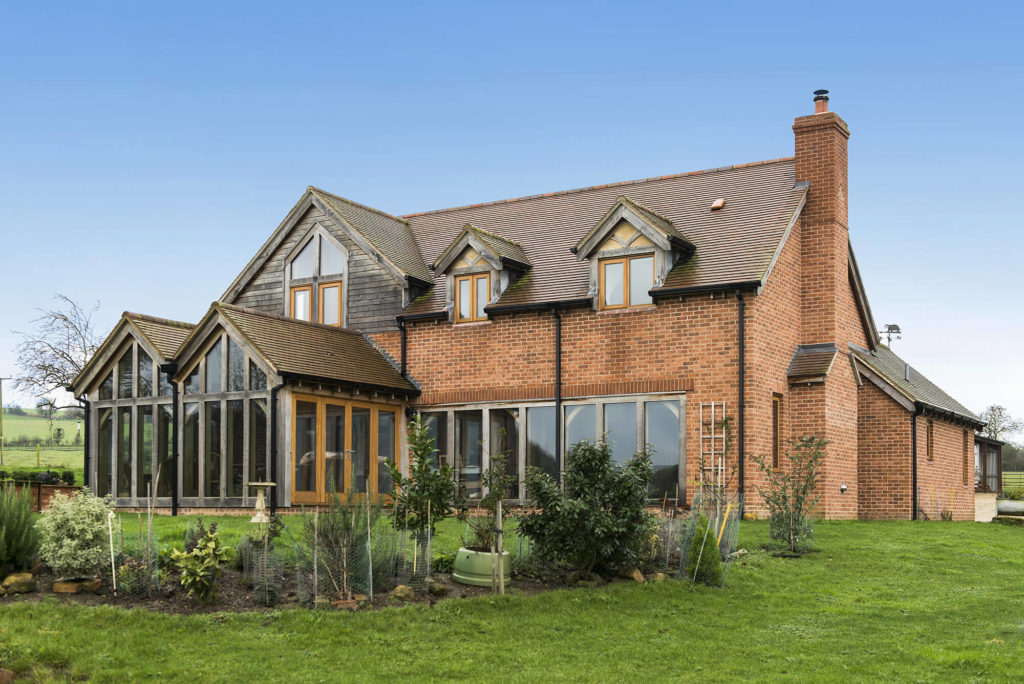
I’ve pulled together a simple schedule based on the average construction time for a large detached house. The calendar spans 30 weeks, offering an idea of what happens and when during a typical build.
The programme shadows both a masonry and conventional timber frame home, each with standard trench foundations. I’ve restricted the plan to these systems because trying to apply a universal timetable to other build routes simply won’t work.
More resources: Get a cost breakdown for your project with Build It’s Estimating Service
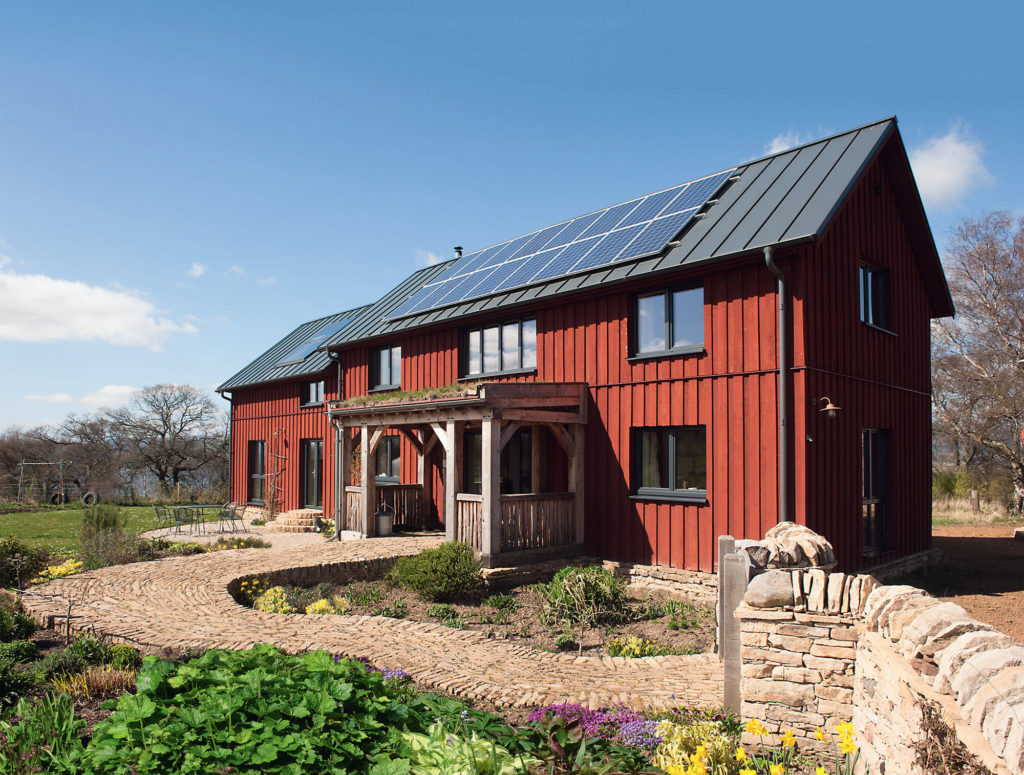
For instance, some flat pack structures that come ready with insulation, doors and windows already installed can be erected in a matter of days, so your schedule of works will be advised by the supplier and their construction team.
Be aware that this sequence of events is indicative only – some activities may take more or less time for your particular project (depending on the size and complexity). It’s up to you to agree a precise itinerary and appropriate programme to work to with your contractors.
Always be prepared to amend the timetable on the advice of your tradesmen and the reality of the situation at the time. For example, you can’t slavishly stick to a schedule if you’ve just had a week’s delay because of heavy snowfall.
Before you startThe 30-week plan begins when construction work starts on site, but before any of this can go ahead, you’ll need to ensure the following is completed:
|
Key:
(M.O): Masonry only
(T.O): Timber frame only
Weeks 1-2 : Before building work starts
- Notify building control (BC) of commencement (48 hours before work begins)
- Create site access
- Clear plot and strip topsoil for later reuse in landscaping
- Set up land in accordance with the site plan
- Arrange temporary services (electricity & water)
- Form secure storage on site
- Install site office, portaloo and temporary fencing
- Mark out foundations (using a surveyor if necessary)
Read more: Project Preliminaries & Costs
Weeks 2-3 : Foundations, footings & oversite
- Excavate foundation trenches and wait for BC inspection
- Fit foundation reinforcement and pour concrete (inspection may be required)
- Build foundation blockwork to damp proof course (DPC, inspection may be required)
- Backfill foundation cavities to ground level
- Pour concrete slab oversite to form the ground floor structure/install beam and block oversite to specification
- Fit at least 100mm insulation above or below slab
- Make sure the foundations are accurate enough for the timber frame’s tolerances (T.O)
Week 4 : External works
- Excavate service/drainage trenches (inspection may be required) and install ducting and drawstrings
- Connect to mains sewer
- Install off-mains solution (treatment plant etc) if required
- Position rainwater harvesting tank (if specified)
Week 5 : Scaffolding & structural system
- Construct outer leaf walls to DPC (M.O)
- Install foot scaffolding as required (M.O)
- Lay drainage pipes in pea shingle
- Check falls and connections
- Erect scaffolding framework (T.O)
Week 6-9 : First floor construction
- Construct lower storey walls from DPC upwards (M.O)
- Install cavity insulation (M.O)
- Place meter boxes (M.O)
- Build in structural openings and lintels (M.O)
- Raise scaffolding as required (M.O)
- Position first floor joists or beam and block intermediate floor
- Erect timber frame — including roof structure (T.O)
- Apply breathable membrane to the outside of the frame (T.O)
Weeks 10-12 : Superstructure construction
- Construct upper storey walls (M.O)
- Build in structural openings and lintels (M.O)
- Install cavity trays (M.O)
- Position cavity closers (M.O)
- Bed wall plate (M.O)
- Build up gables (M.O)
- Form chimneys (M.O)
- Place lead soakers (M.O)
- Fix windows and external doors (T.O)
- Internally, begin first fix electrics, joinery and plumbing/ducting (see week 18) (T.O)
- Fit insulation (T.O)
- Tape joints (T.O)
- Install vapour barrier (T.O)


Weeks 13-14 : Roof structure/tiling
- Install roof trusses (M.O)
- Affix wind bracing (M.O)
- Build in gable ladders (M.O)
- Construct dormers if required (M.O)
- Batten out and fit undercloak (T.O)
- Fit roof and ridge tiles (T.O)
- Apply flashing (T.O)
- Affix soffits, fascia and bargeboards (T.O)
- Apply external cladding — brick, render etc (T.O)
- Gutters and downpipes (T.O)
- Take down scaffolding (T.O)
Note: The erection of a timber frame superstructure is generally much quicker than a masonry build, so you’re likely to get to watertight up to six weeks earlier. For the sake of simplicity, the next few weeks in this schedule allow for the remaining masonry elements, with timber continuing at weeks 18-19. Please allow for this in your timeframe.
Weeks 15-16 : Roof tiling
- Lay sarking/breathable membrane (M.O)
- Fit undercloak (M.O)
- Set down battening at correct gauge (M.O)
- Lay roof tiles (M.O)
- Fit ridge tiles (M.O)
- Apply mortar and bargeboards (M.O)
- Put in flashings (M.O)
Weeks 17-18 : Works to watertight
- Install windows and doors (M.O)
- Affix soffits and fascias (M.O)
- Apply external render if required (M.O)
- Fit guttering and downpipes and connect to drainage (M.O)
- Drop scaffolding (M.O)
- Conduct airtightness testing once structure is wind and watertight and all potential air leakage points are sealed
Weeks 18-19 : First fix
Joinery:
- Fit floor deck
- Door linings
- Install staircase (with protective cover)
- Studwork for partition walls and plasterboard noggins
- Loft hatch framework
- Tank stands
Plumbing:
- Position waste pipes
- Lay hot/cold feeds for taps and outlets
- Install heating pipework and gas meter
- Fit underfloor heating pipework and manifolds
- Run ducting for mechanical ventilation and heat recovery (MVHR) unit
Electrics:
- Run carcass wiring for power, lighting, broadband etc
- Insert back boxes for sockets and switches
- External wiring for lighting and security features
- Armoured cable to external areas such as garage, pond, patio areas as required
Read more: Lighting Planning & Cost Guide
Weeks 20-22 : Plastering/tacking
- Lay floor screeds
- Tack ceilings
- Fit coving
- Wet plaster or ‘dot and dab’ plasterboard (M.O)
- Allow plaster to dry (M.O)
- Dry lining (T.O)
Weeks 23-24 : Internal fit out
Weeks 25-26 : Second fix
Joinery:
- Hang doors
- Fit balustrades and hand rails
- Apply skirting and architraves
- Board out loft if required
- Install wardrobes
Plumbing:
- Fit cooker
- Install woodburner (if specified)
- Fix radiators/connect underfloor heating
- Put in boiler or equivalent
- Install and commission heating system
- Fit MVHR unit
Electrics:
- Affix faceplates for sockets and switches
- Set in place consumer unit fuse board
- Install internal and external light fittings
- Fit alarm system
- Arrange garage supply
Weeks 27-29 : Painting, decorating & landscaping
- Sweep up
- Internal decoration (only apply a mist coat to wet plaster while it’s still drying out)
- Ceramic tiling
- External decoration
- Test drains and backfill trenches when BC are happy
- Lay paths
- Build retaining walls
- Set down driveways
- Establish patios and outdoor decking
- Boundary treatments (fences, hedging, walls and gates)
- Install turf/seed lawns
Weeks 30 : Completion & post contract work
- Final building control inspection
- Completion certification
- VAT reclaim
- Clean up
- Snagging
- Move in!
Mike Hardwick


You may be interested in


This is really helpful and useful. I wondered how different the plan would look if the self build was a SIPS kit home, have you done a similar plan for this type of build?