Estimate your project costs instantly with Build It's interactive self-build cost calculator
Calculate NowGet an accurate, detailed cost breakdown of your project
Submit plans
Back in 2014, Martin and Julie Smart moved into their very own self build home. “We had carried out extensive improvements to our first house, and had brought up our children there,” says Martin, an architect who runs his own company, Martin Smart Design, “but when they left, we decided that we would be better off downsizing.”
The couple self built a contemporary home on a nearby plot with amazing views. However, within a few years, they realised that the move wasn’t quite everything they wanted. They felt isolated in their rural home and wanted to move back to a village for the feeling of community. And not just any village, but the one they had lived in for 20 years previously: Tysoe in Warwickshire.
The couple went back one afternoon and found the exact cottage they were looking for. “It had just sold, but we rang the agent next day and said we’d like to know should it come back on the market,” says Martin. “Amazingly, the following day the agent rang us back and said the sale had fallen through.”
The Smarts went for a viewing, and found the home consisted of an 18th-century core with later alterations and additions – including a 1970s single-storey bathroom extension tacked on to the rear.
“There were hardly any original features left except for an inglenook fireplace and a bread oven,” says Martin, who was nevertheless taken by the charming setting. “A brook ran along the bottom of the garden and there were uninterrupted views of the fields beyond.”
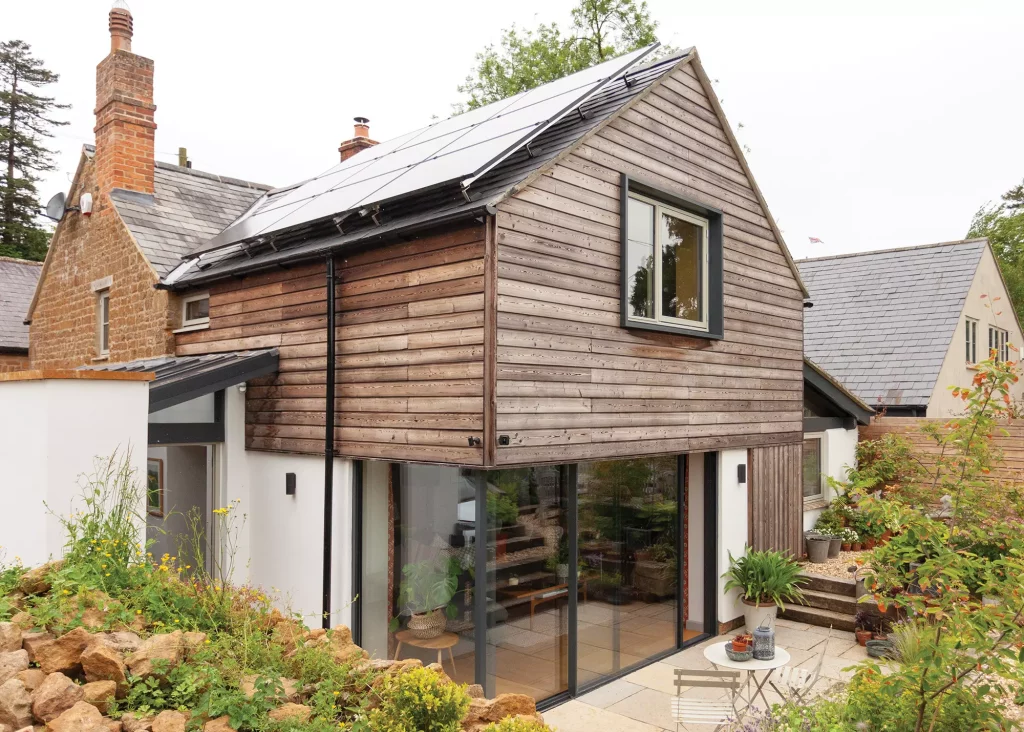
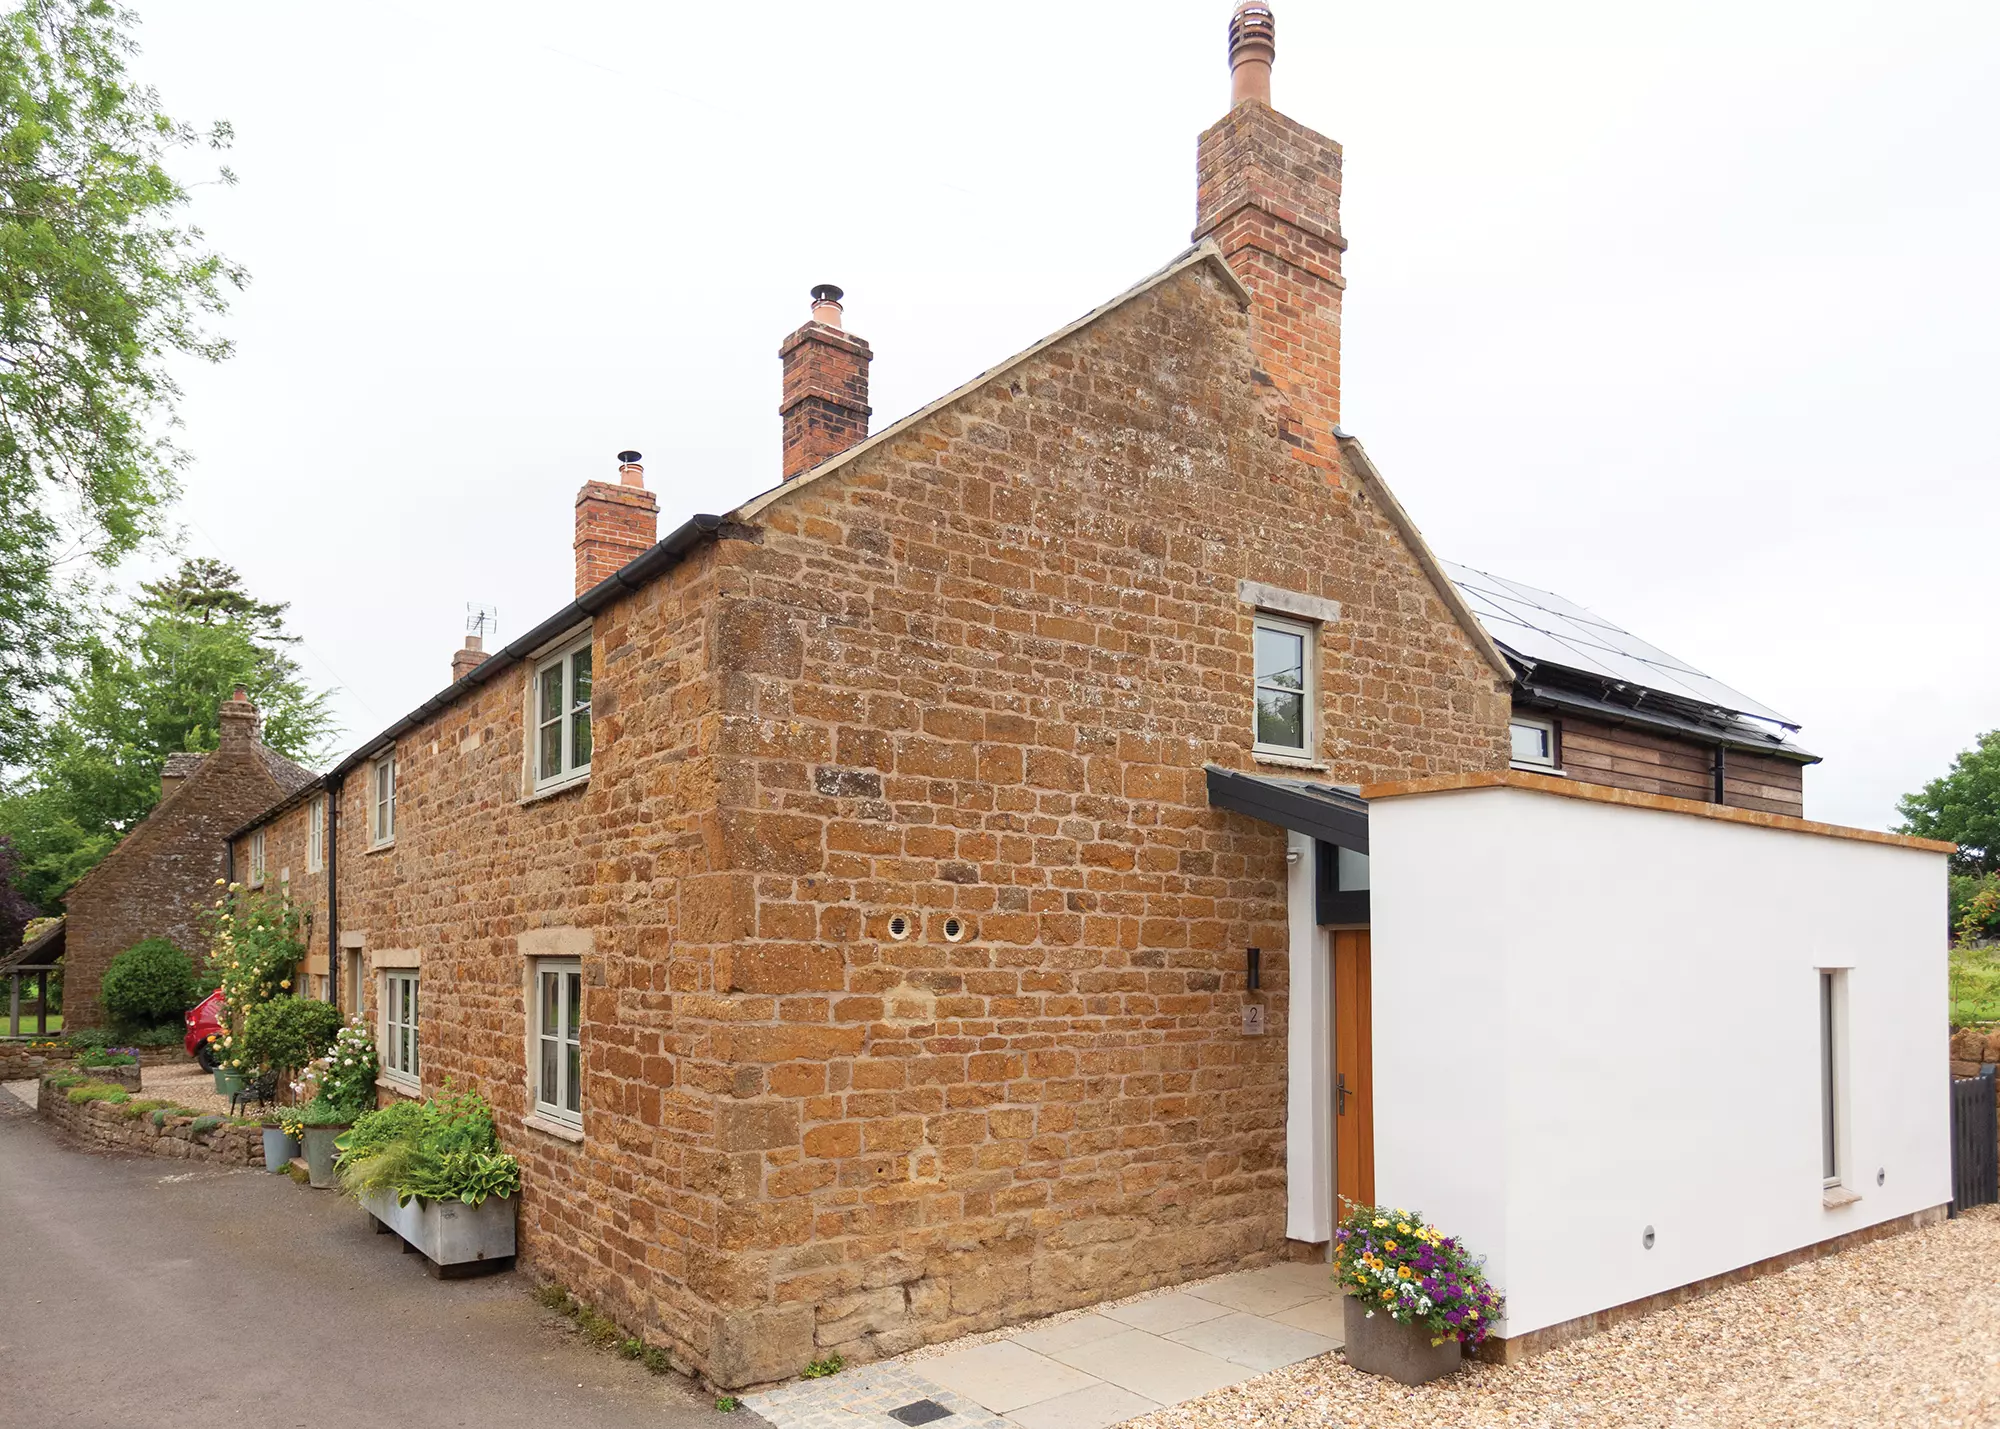
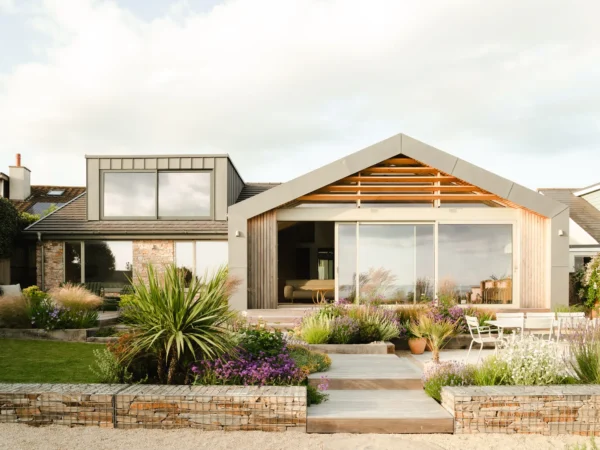
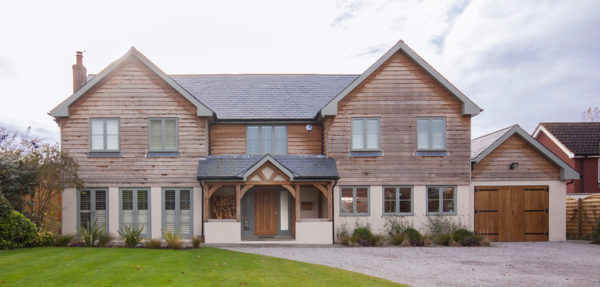
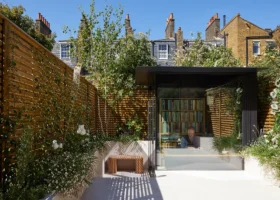
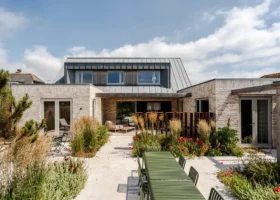
Martin chose charred larch cladding for the two-storey extension but kept the exterior of the single storey kitchen area rendered in white as a contrast
The couple bought the three-bedroom period cottage in the early part of 2018 by remortgaging their existing property. “We then rented it out until 2019, but we had a longer-term plan to extend and renovate the cottage and move in one day,” says Martin. “Luckily it isn’t listed, although it is in a conservation area.”
When the time came, Martin naturally took on the design himself. “We wanted a large two-storey rear extension with a single-storey addition to the side, which would create a new, open-plan sitting-kitchen-dining room,” he says. There would be changes at the front of the house, too.
“The original main entrance opened straight onto the sitting room, which wasn’t ideal. We were also keen to add a further single-storey extension on the opposite side, containing an entrance hall and new oak front door.” Upstairs, the couple added a new master bedroom with ensuite.
“The planners objected to the size and the timber external cladding. So, I reduced the length by about a metre and suggested render instead,” says Martin. The revised design was soon accepted.
Then, after a pause, Martin reapplied for the cladding – and this time it was approved. “It’s charred larch, which seals the timber and requires no maintenance,” he says. “Altogether, it took about nine months to get permission. I had to go through several applications and amendments to achieve almost all of what I’d initially submitted.”
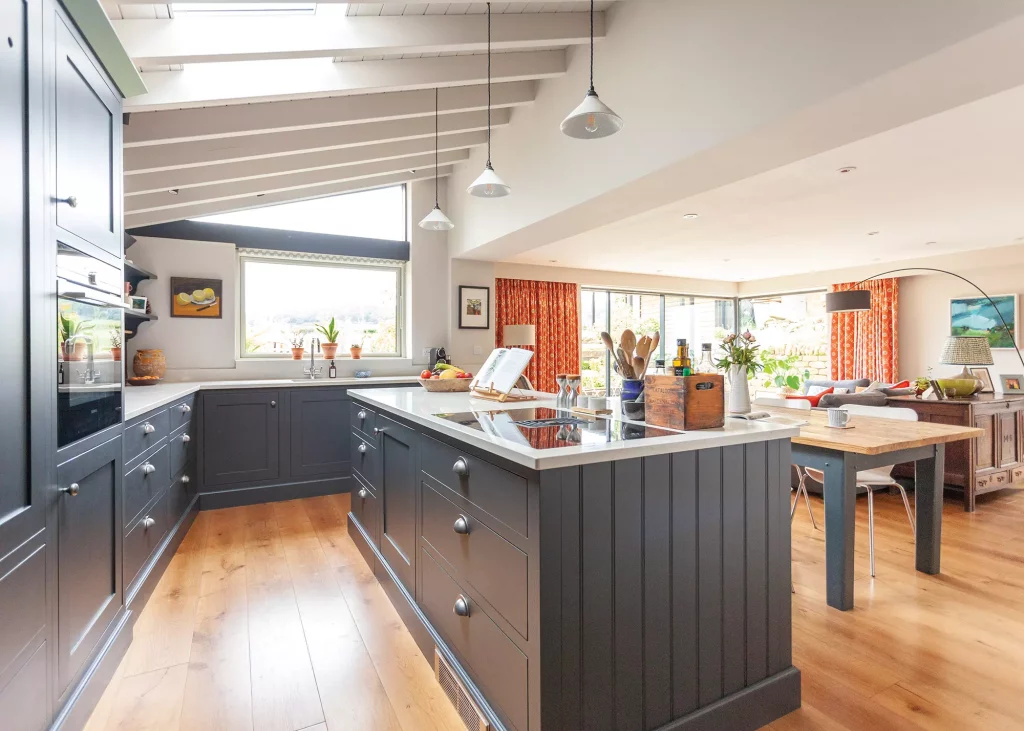
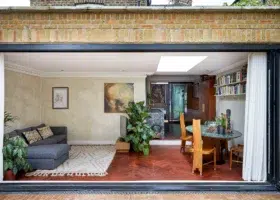
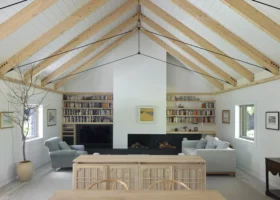
The exposed new timber joists in the extension’s ceiling have been painted the same pale grey as the walls. The engineered oak floorboards are from Broadleaf Timber
With consent in the bag, the first thing Martin did was single-handedly gut the interior. “I took out all the plumbing, old oil-fired boiler and radiators, plaster, wiring, floor coverings, tiling, kitchen, bathroom and so on,” he says.
The couple then brought in builder Paul Merrick of Town & Country Renovations. “He demolished the tacked-on bathroom, excavated the ground floor areas that were to be replaced with concrete screed, underpinned the foundations, reconfigured the interior and then built the extension,” says Martin.
The cottage sits below the back garden, so Paul had to reduce the ground level to accommodate the rear addition. This involved excavating several tonnes of topsoil and removing the existing paving and retaining structures.
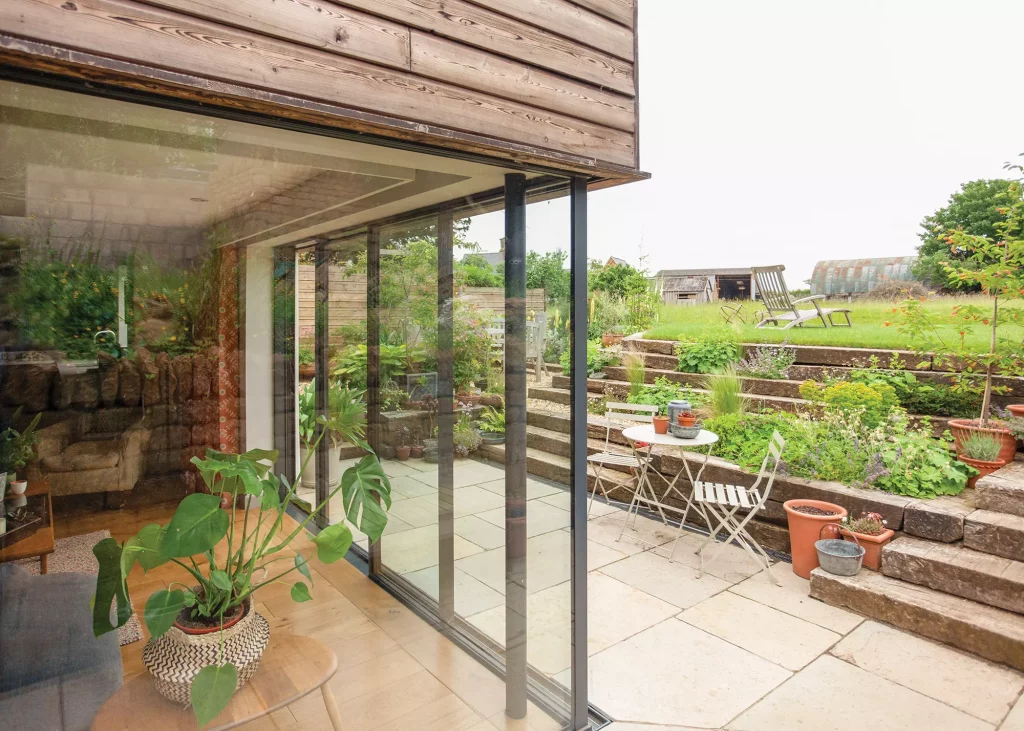
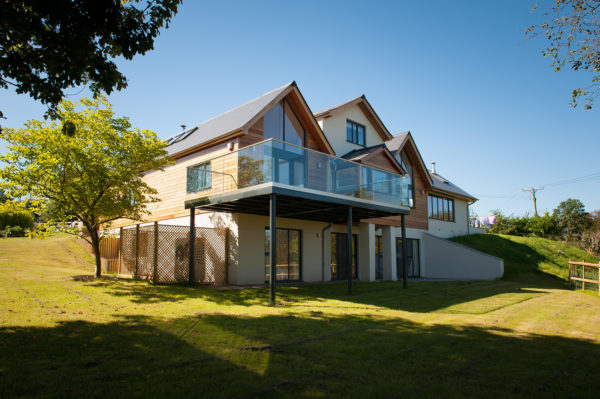
A floor-to-ceiling picture window and sliding doors open up the whole corner of the extension to the garden
The whole process of renovating and extending took a year, starting in January 2020, but the couple weren’t in a great rush; Covid had an impact, too, breaking out just as they were about to put their current home on the market.
“It could have been done quicker, but the pandemic and lockdowns delayed viewings for selling our house. It was only when we had sold it and the buyers wanted to move in straight away that we had to speed things up,” says Martin. “In fact, we had to move into the cottage about four weeks before it was ready – which meant there was no heating. And this was in January 2021.”
It took just two days for the Smarts to realise they couldn’t possibly carry on trying to survive there for the next four weeks. “It was icy. Fortunately we have friends in the village whose holiday cottage was available, and with Covid raging no-one was booking it,” says Martin. “We were able to stay there for about a month – and yes, it did have proper heating!”
By the time the couple moved back into the cottage, it had been given an energy-efficient makeover. The home is now complete with a great deal of insulation and makes use of an air-source heat pump and underfloor heating (UFH) from Omnie.
The new ground floors in the cottage have 100mm-thick rigid insulation board, while the roof space has 400mm of Rockwool quilt plus 70mm of rigid insulation to the sloping ceilings.
“We didn’t insulate the half metre-thick solid stone walls but instead let them breathe, relying on their thermal mass to maintain internal temperatures,” says Martin. On the lower storey, the underfloor heating is set in screed as part of the new floor, while upstairs uses a UFH system that’s just 20mm thick so can be retrofitted to timber floors with little height build-up.
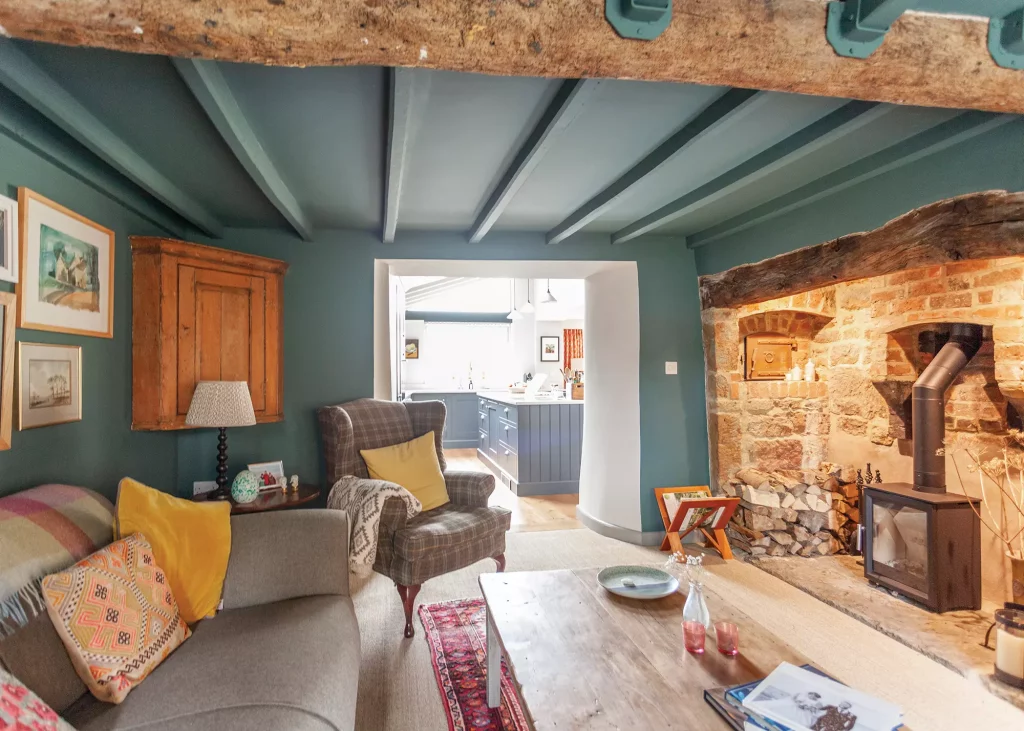
Part of the old bread oven still remains in the inglenook; the Smarts have installed a 5kW woodburner, and stone flags reclaimed from the building work form the hearth
The Renewable Heat Incentive (RHI) was still in place when they installed the air source heat pump, giving the couple quarterly cashback payments for seven years. The scheme is no longer available, but both self builders and renovators can currently access the Boiler Upgrade Scheme, which provides grants of up to £5,000 to install air-source heat pumps and £6,000 for ground source. The whole house runs off electricity, and the couple have two electric cars, so they’ve fitted solar photovoltaic (PV) panels on the roof of the extension.
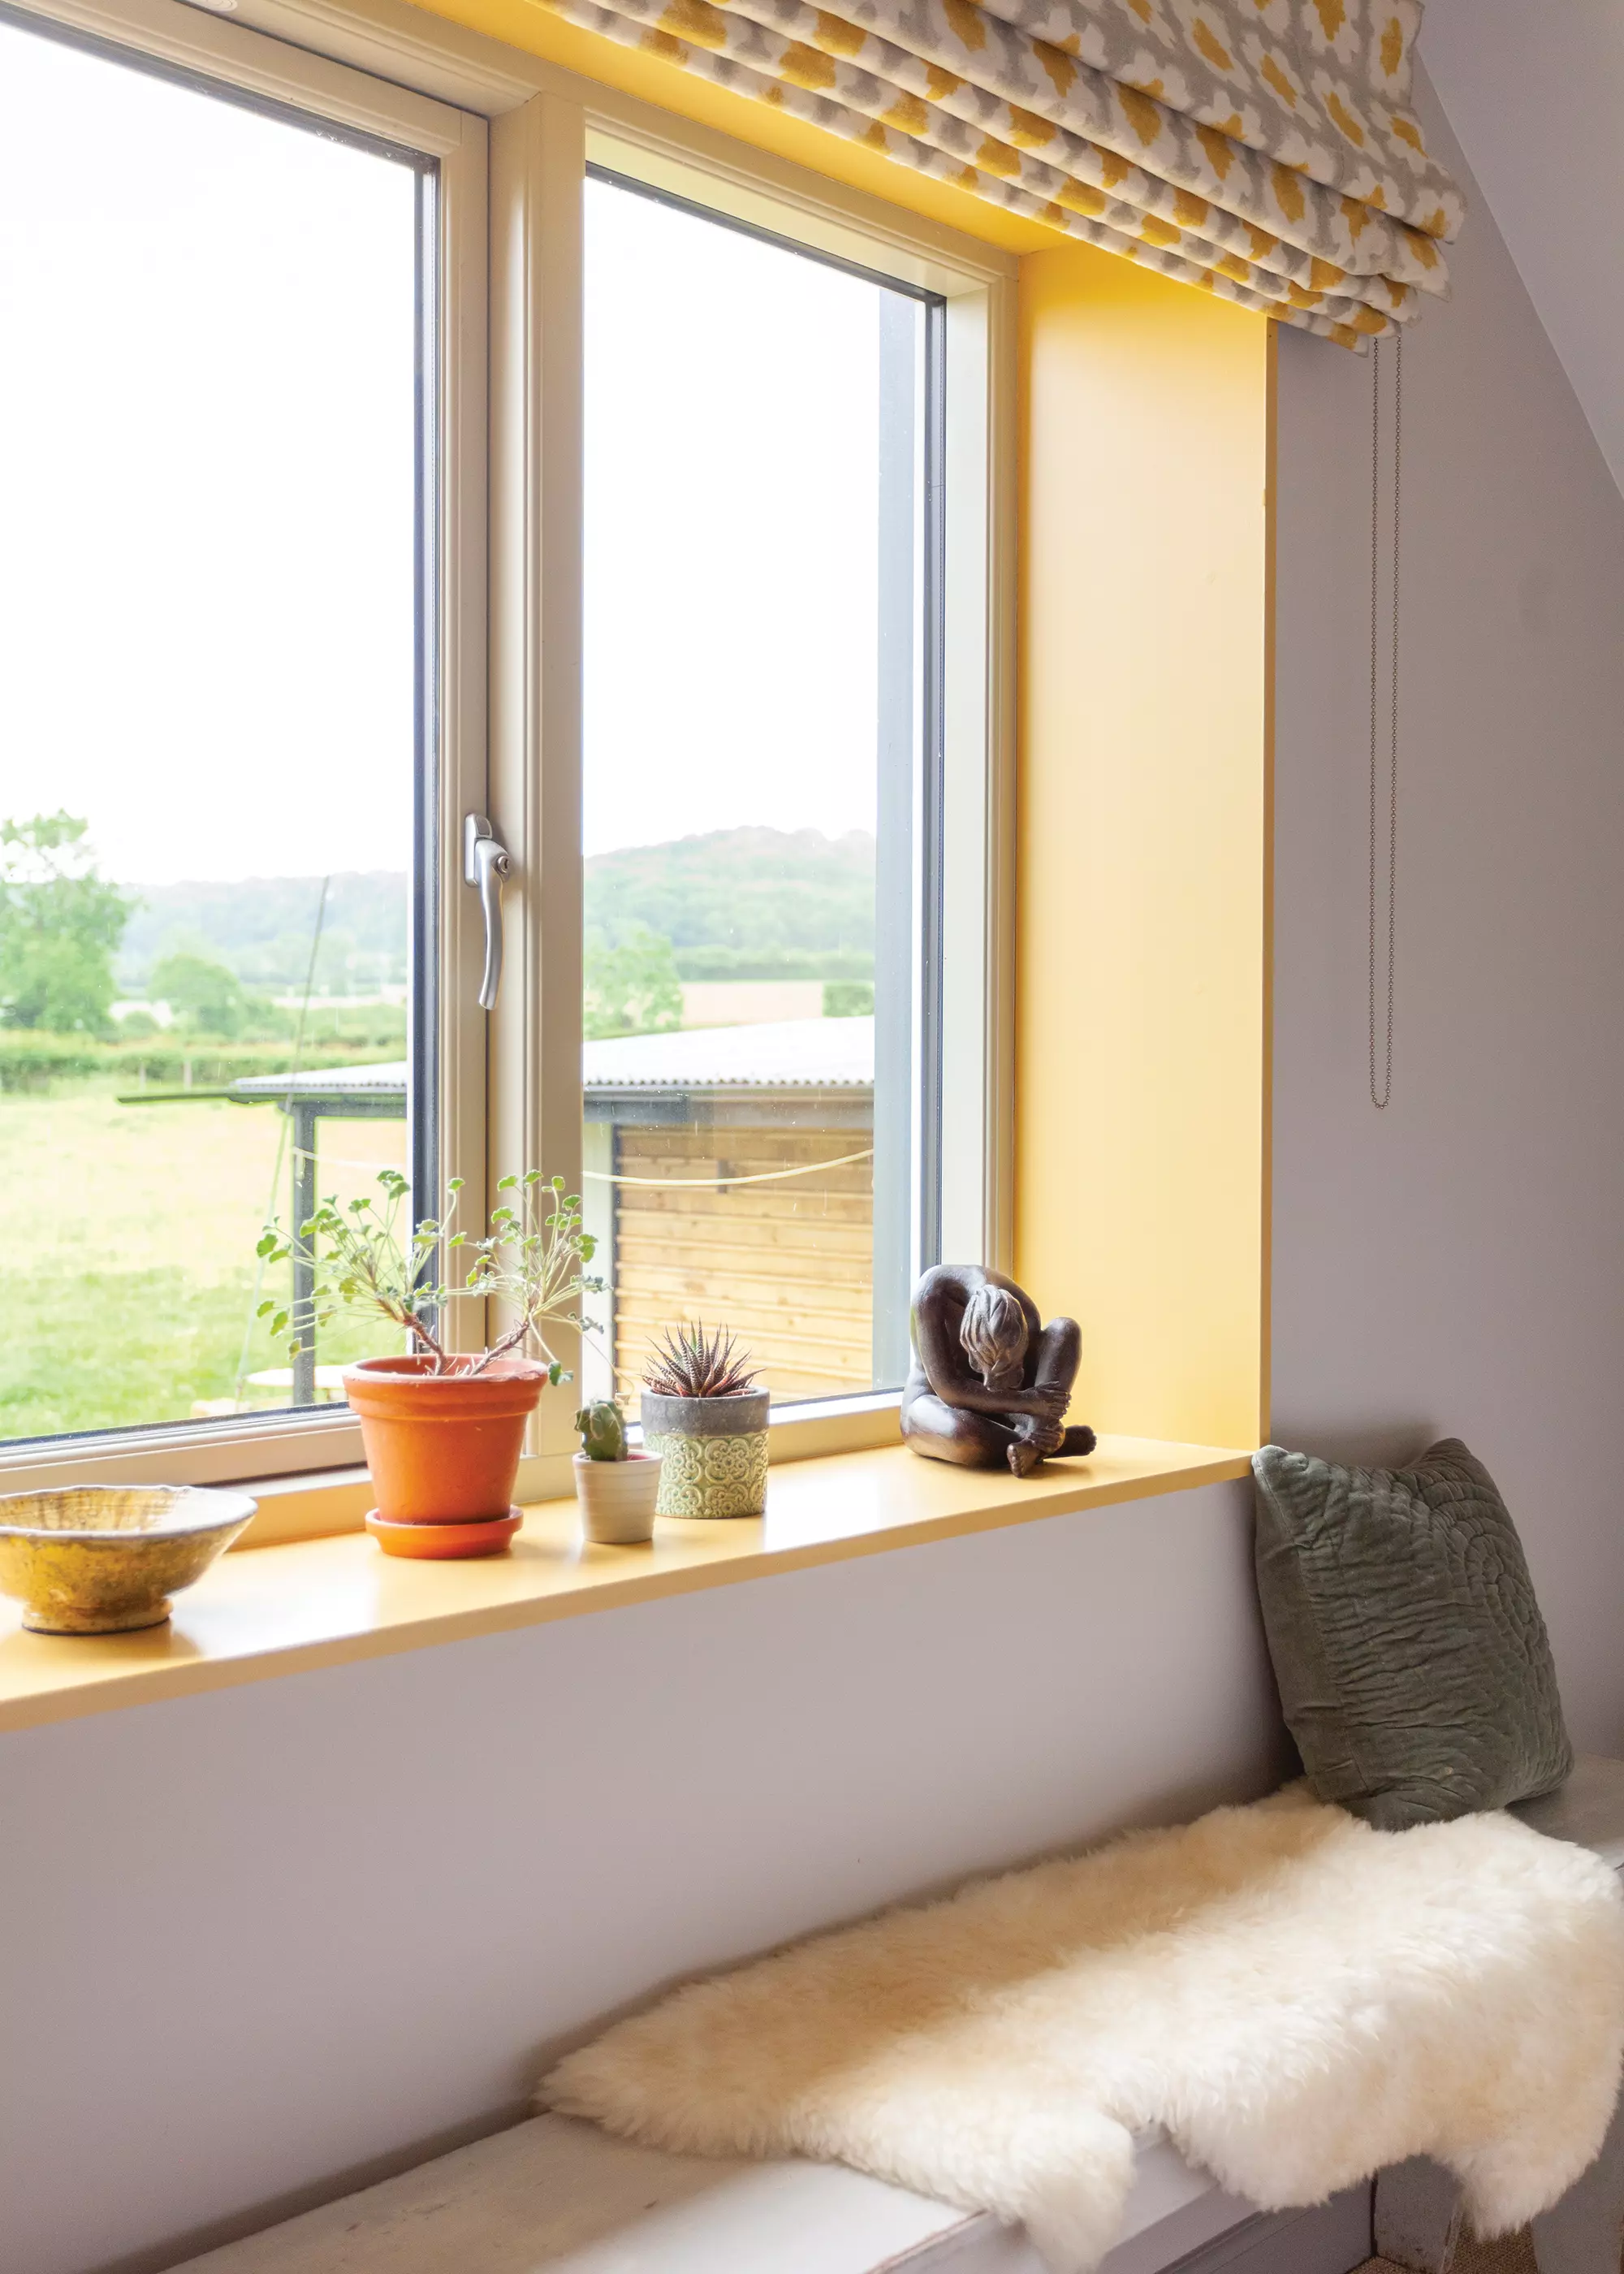
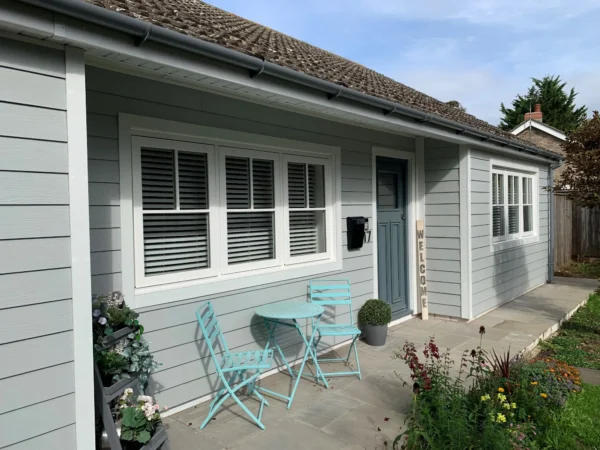
Among other upgrades to the period cottage are new aluminium-clad hardwood windows in a traditional style, sourced from Enlightened Windows, which replace some old PVCu units.
Inside, Martin chose to move the staircase, replacing it with a stylish pine design, and there’s new flooring in most of the rooms. “There were two different floor levels upstairs that I had to correct, which makes me think that the cottage may once have been two tiny houses,” he says.
CLOSER LOOK Moving the staircaseIf you’re thinking of adding more space to your home, it’s always best to be open-minded about changing the existing house. One of the key decisions is the right location for the staircase – something people often view as fixed. But repositioning this feature can be fundamental to maximising space and creating a better flow, as it has been in this cottage renovation and extension. Martin’s decision to relocate it has reduced the need for corridors to link different rooms, freeing up living space.
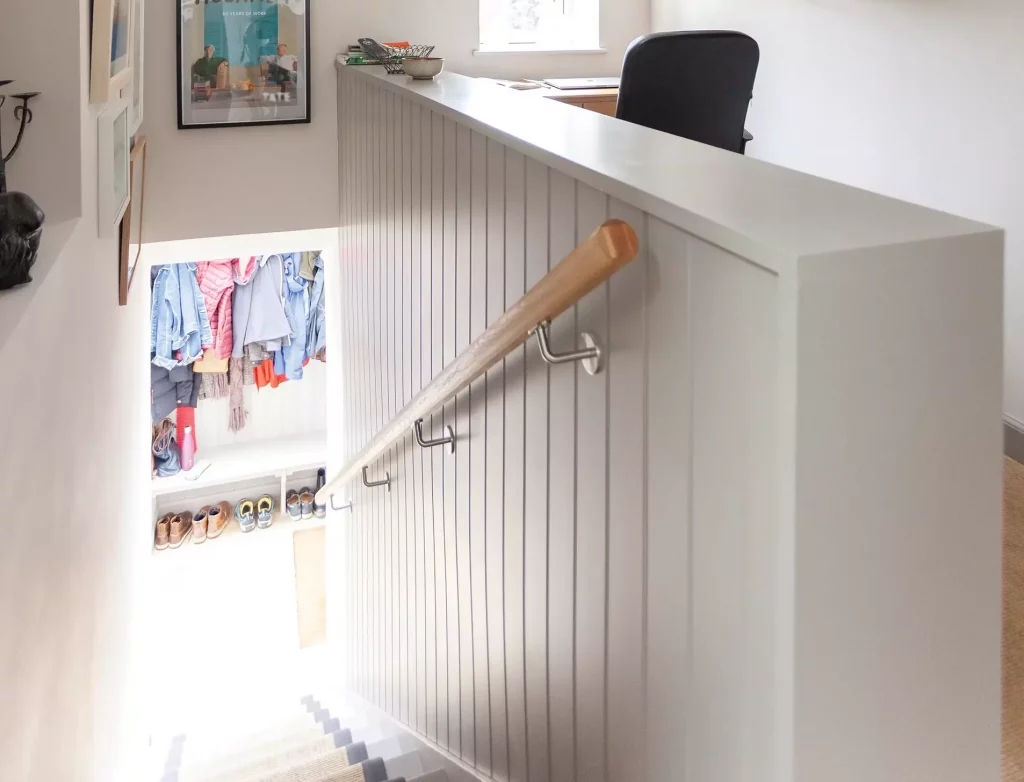
The staircase represents a great opportunity to make a stylish statement and it doesn’t have to be expensive. Martin has achieved a wow result on a budget thanks to online design and supply company StairBox. This enabled him to produce a tailor-made flight for less than £300. The installation was then enhanced using bead-and-butt painted boarding on one of the walls, with a simple oak handrail. It opens onto a light-filled landing space that doubles up as a study. |
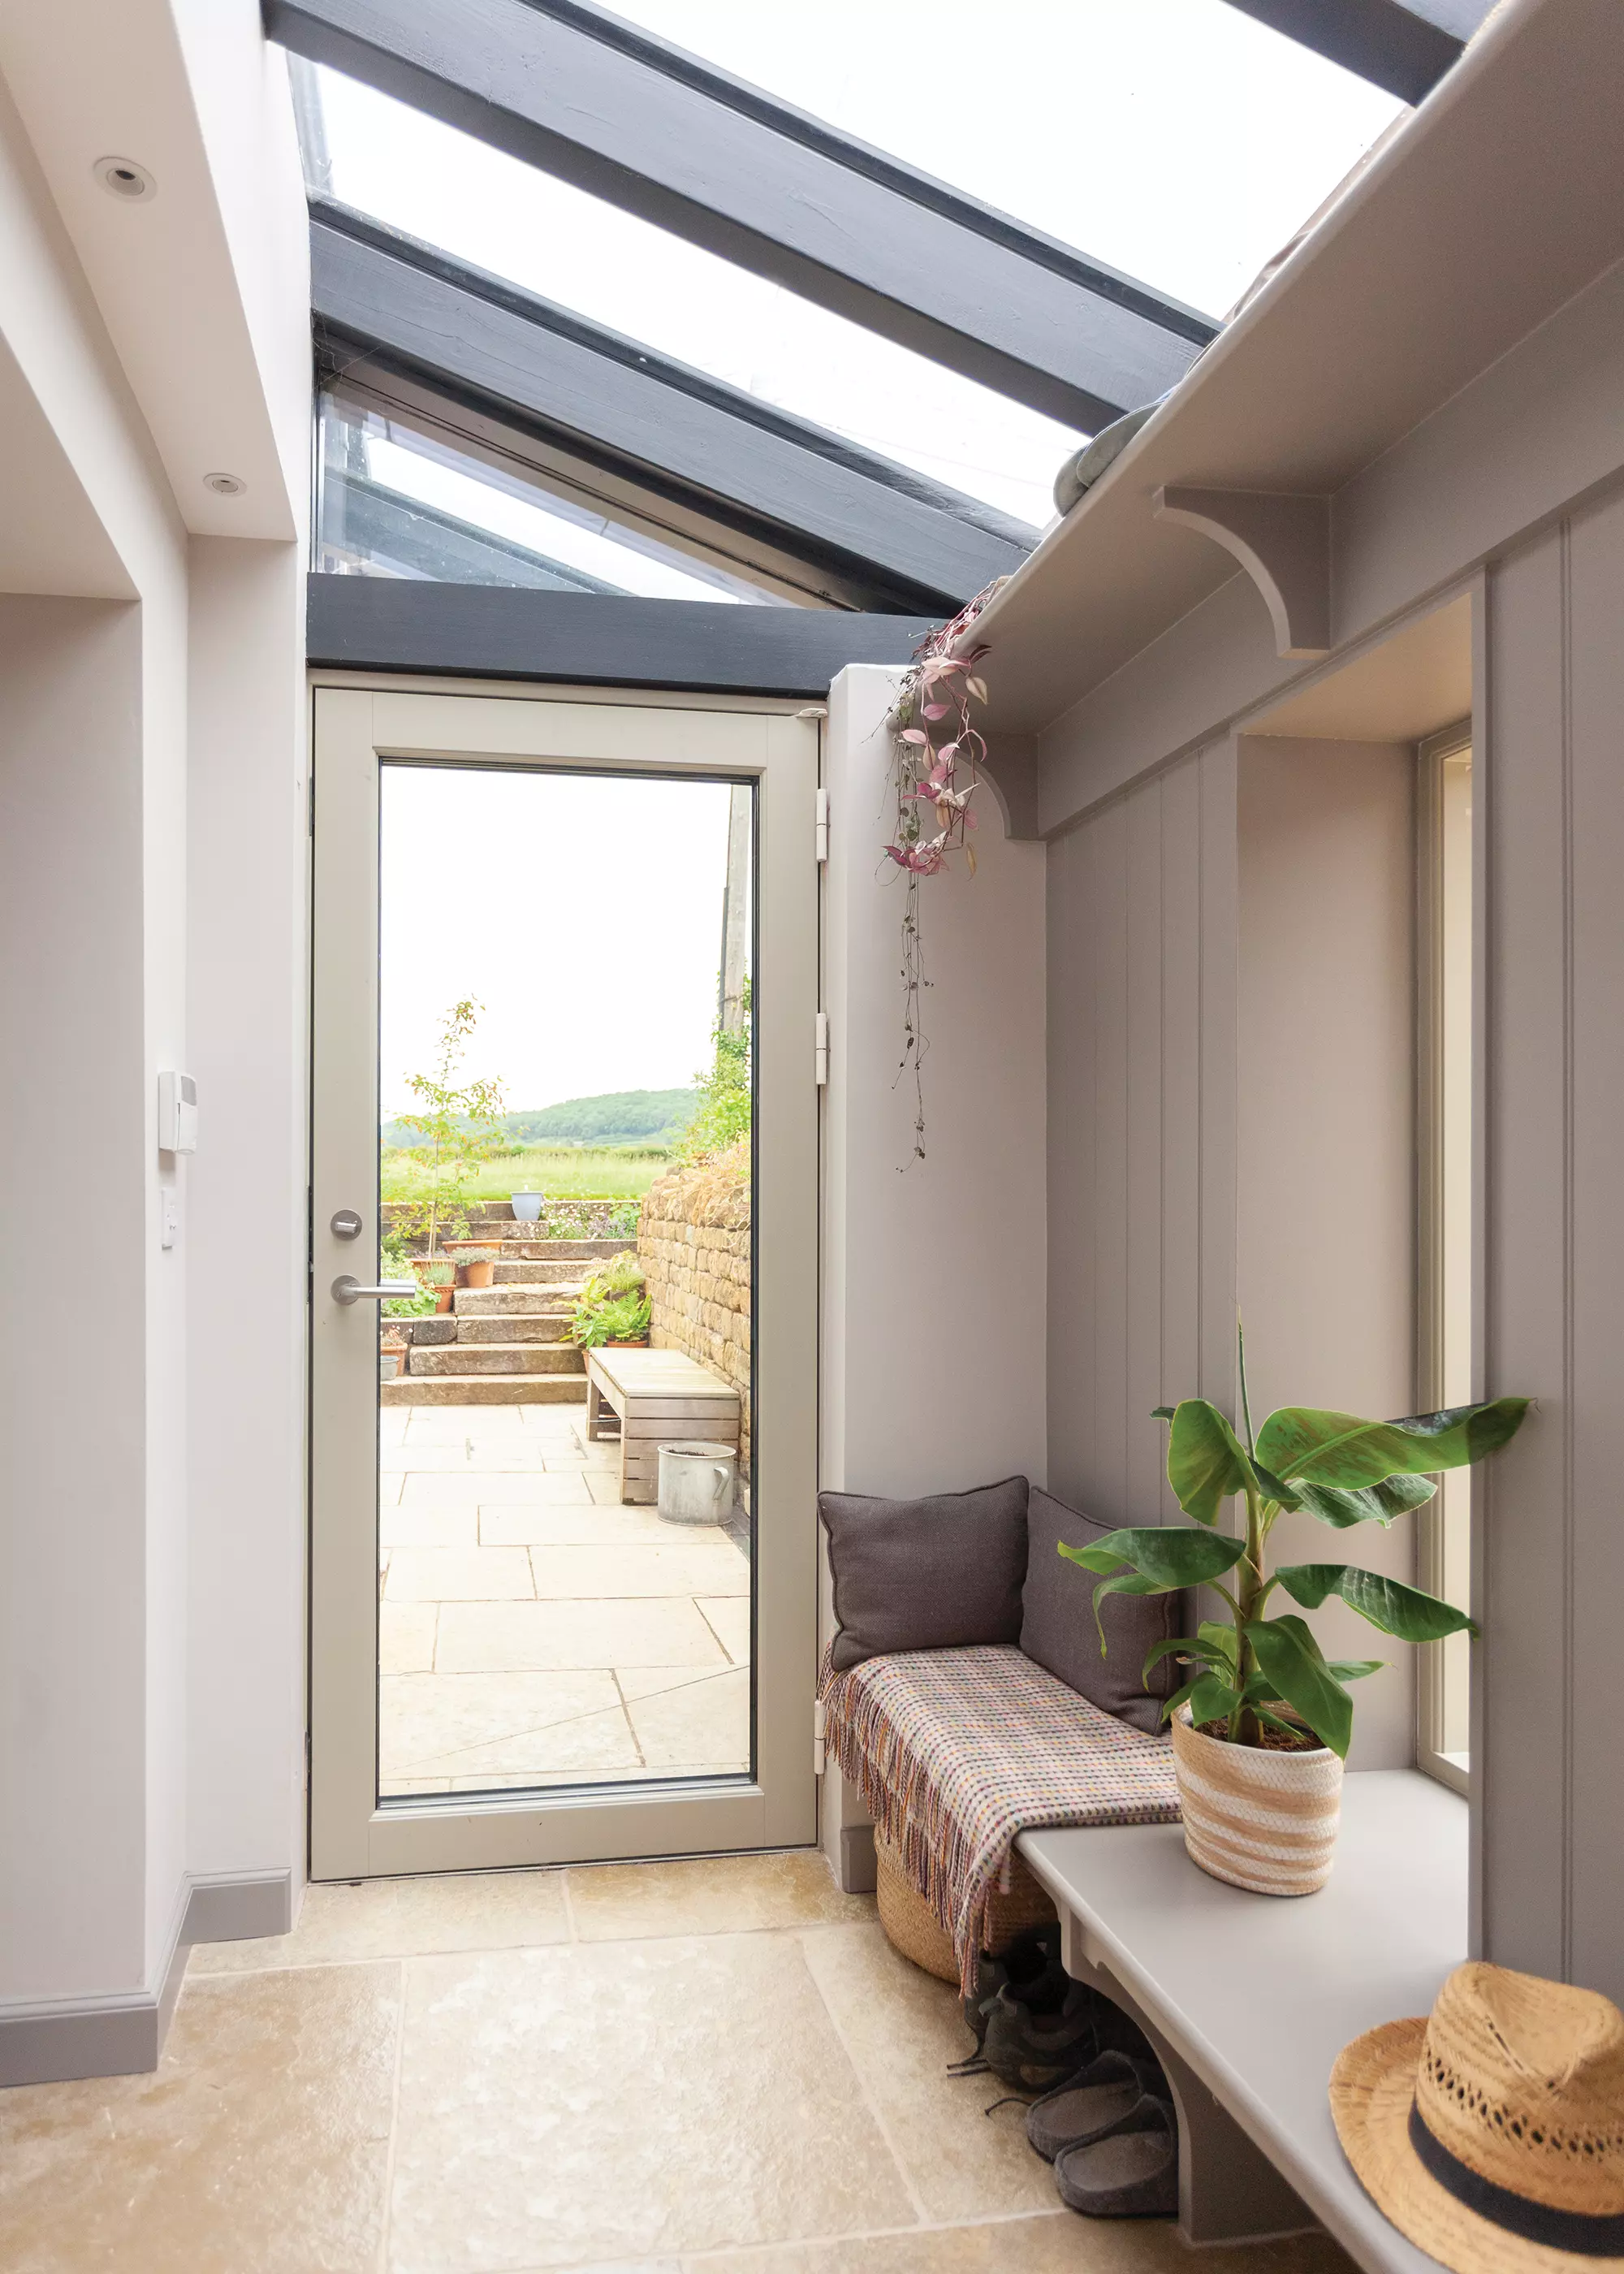
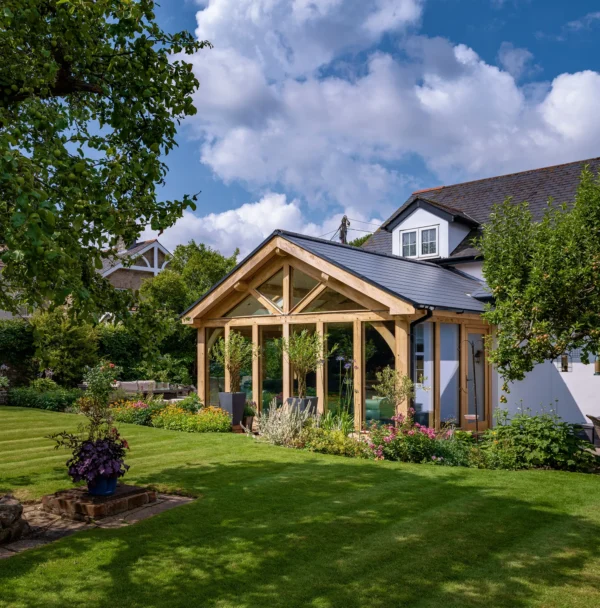
The extension now contains an open-plan kitchen-living-dining room, with the ensuite main bedroom above. To the side is a single-storey entrance hall with a glass roof and oak front door.
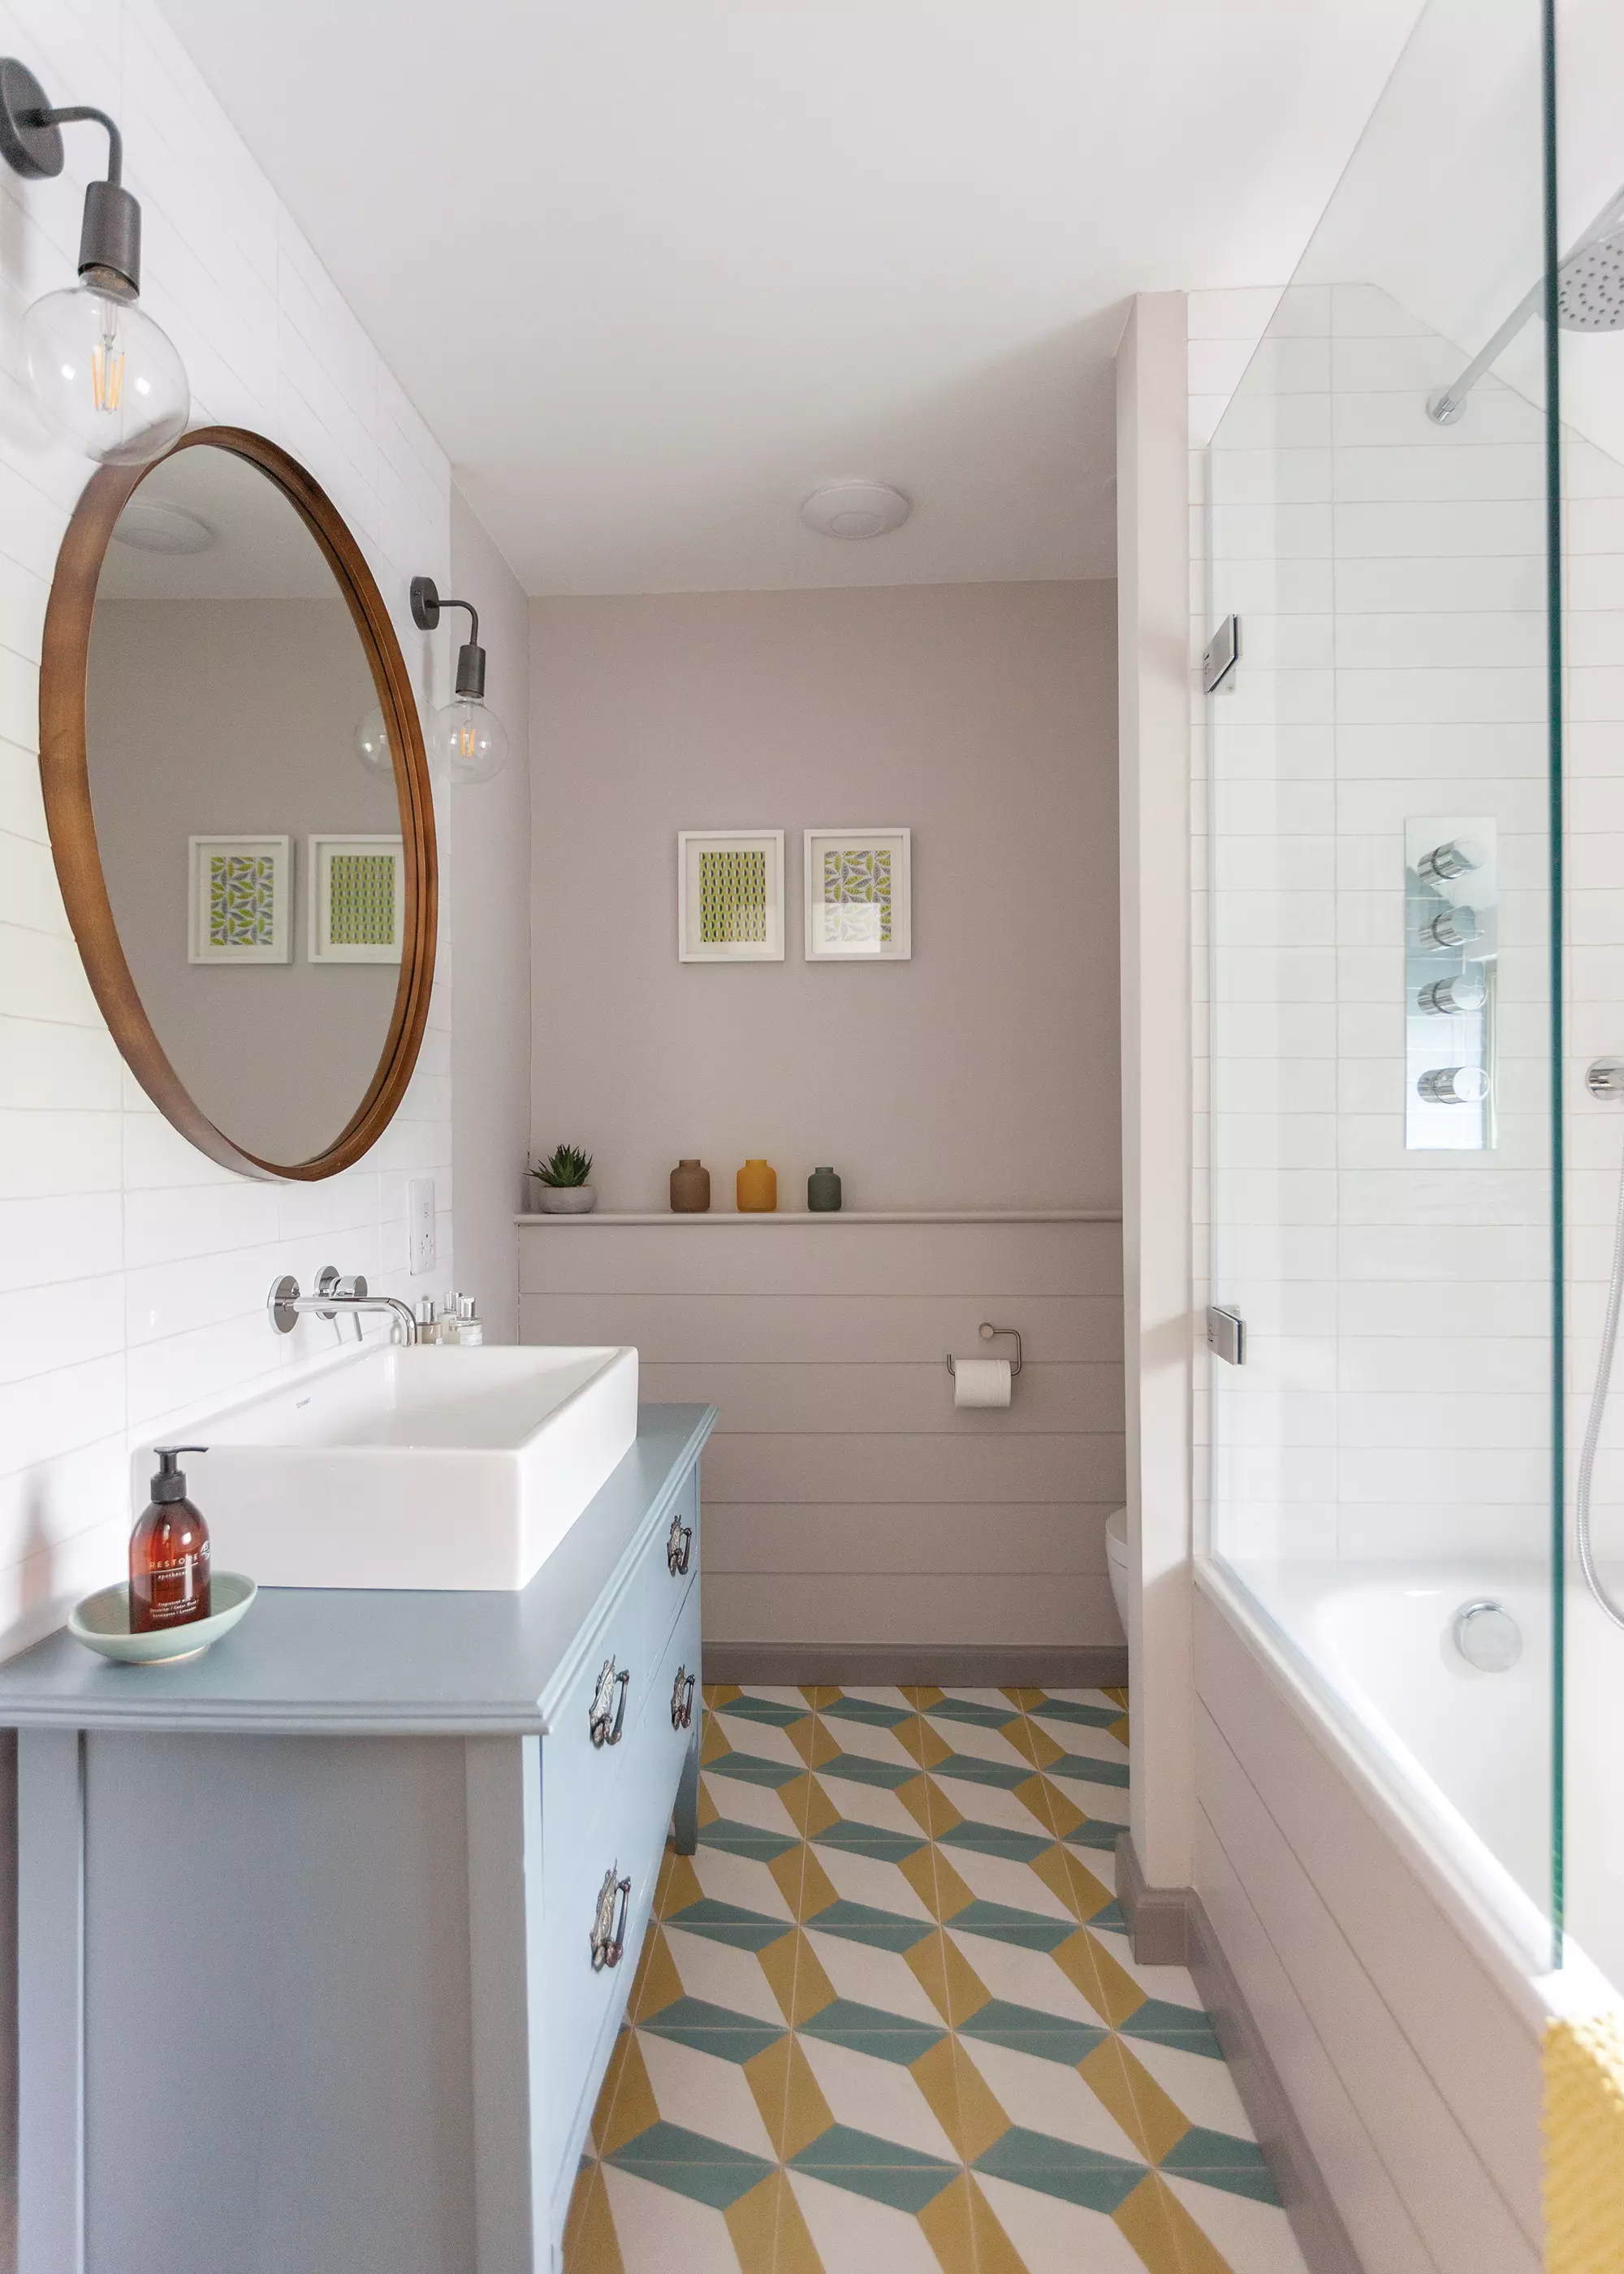
The original cottage now houses the sitting room with inglenook fireplace plus a utility and cloakroom formed from the old kitchen; above are two bedrooms and the newly created family bathroom.
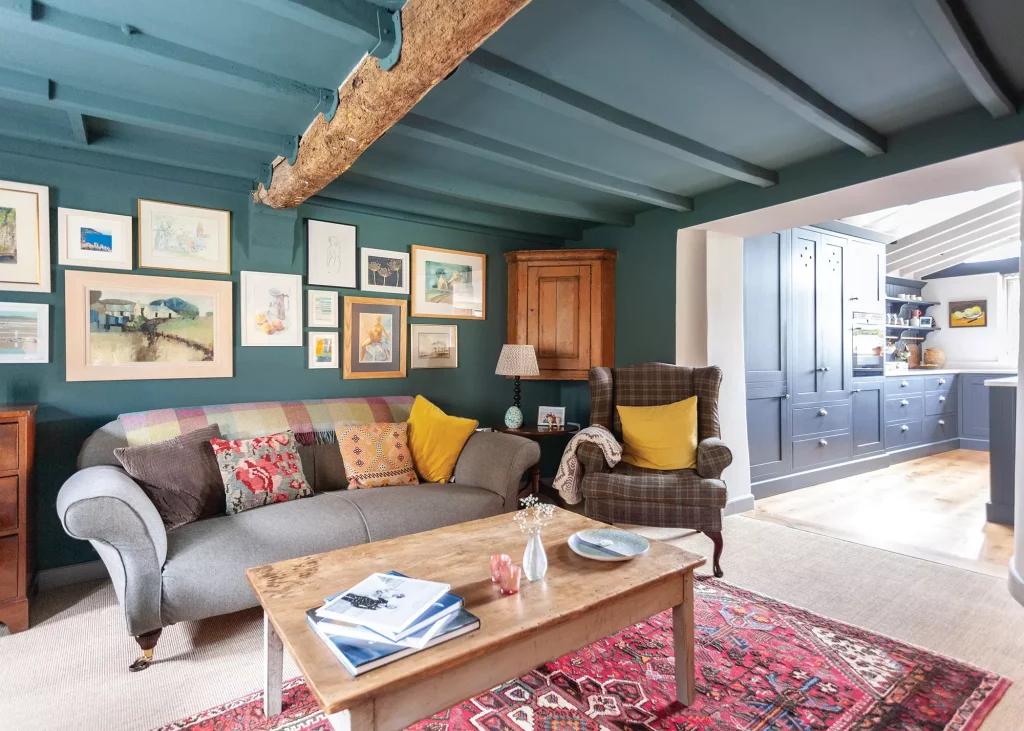
A window opening in the cottage’s sitting room was enlarged to create access to the extension
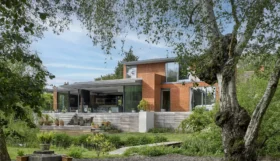
Part of the cottage’s bread oven protruded at the exterior wall, and this had to be removed to make way for the extension. But the couple were able to keep a small section of the oven, complete with its door, in the original inglenook. They’ve also installed a woodburning stove, having cleaned the chimney and fitted a new flue liner. Via sliding doors, the house leads through to an attractive garden creating that coveted indoor-outdoor connection. The lawn to the rear is 1.5m above the cottage’s floor level.
“The change is dealt with by a number of stepped reclaimed sleepers and planting beds. The fields appear to be an extension of the lawn, separated by a brook which is out of sight, and give a lovely feeling of space,” says Martin.
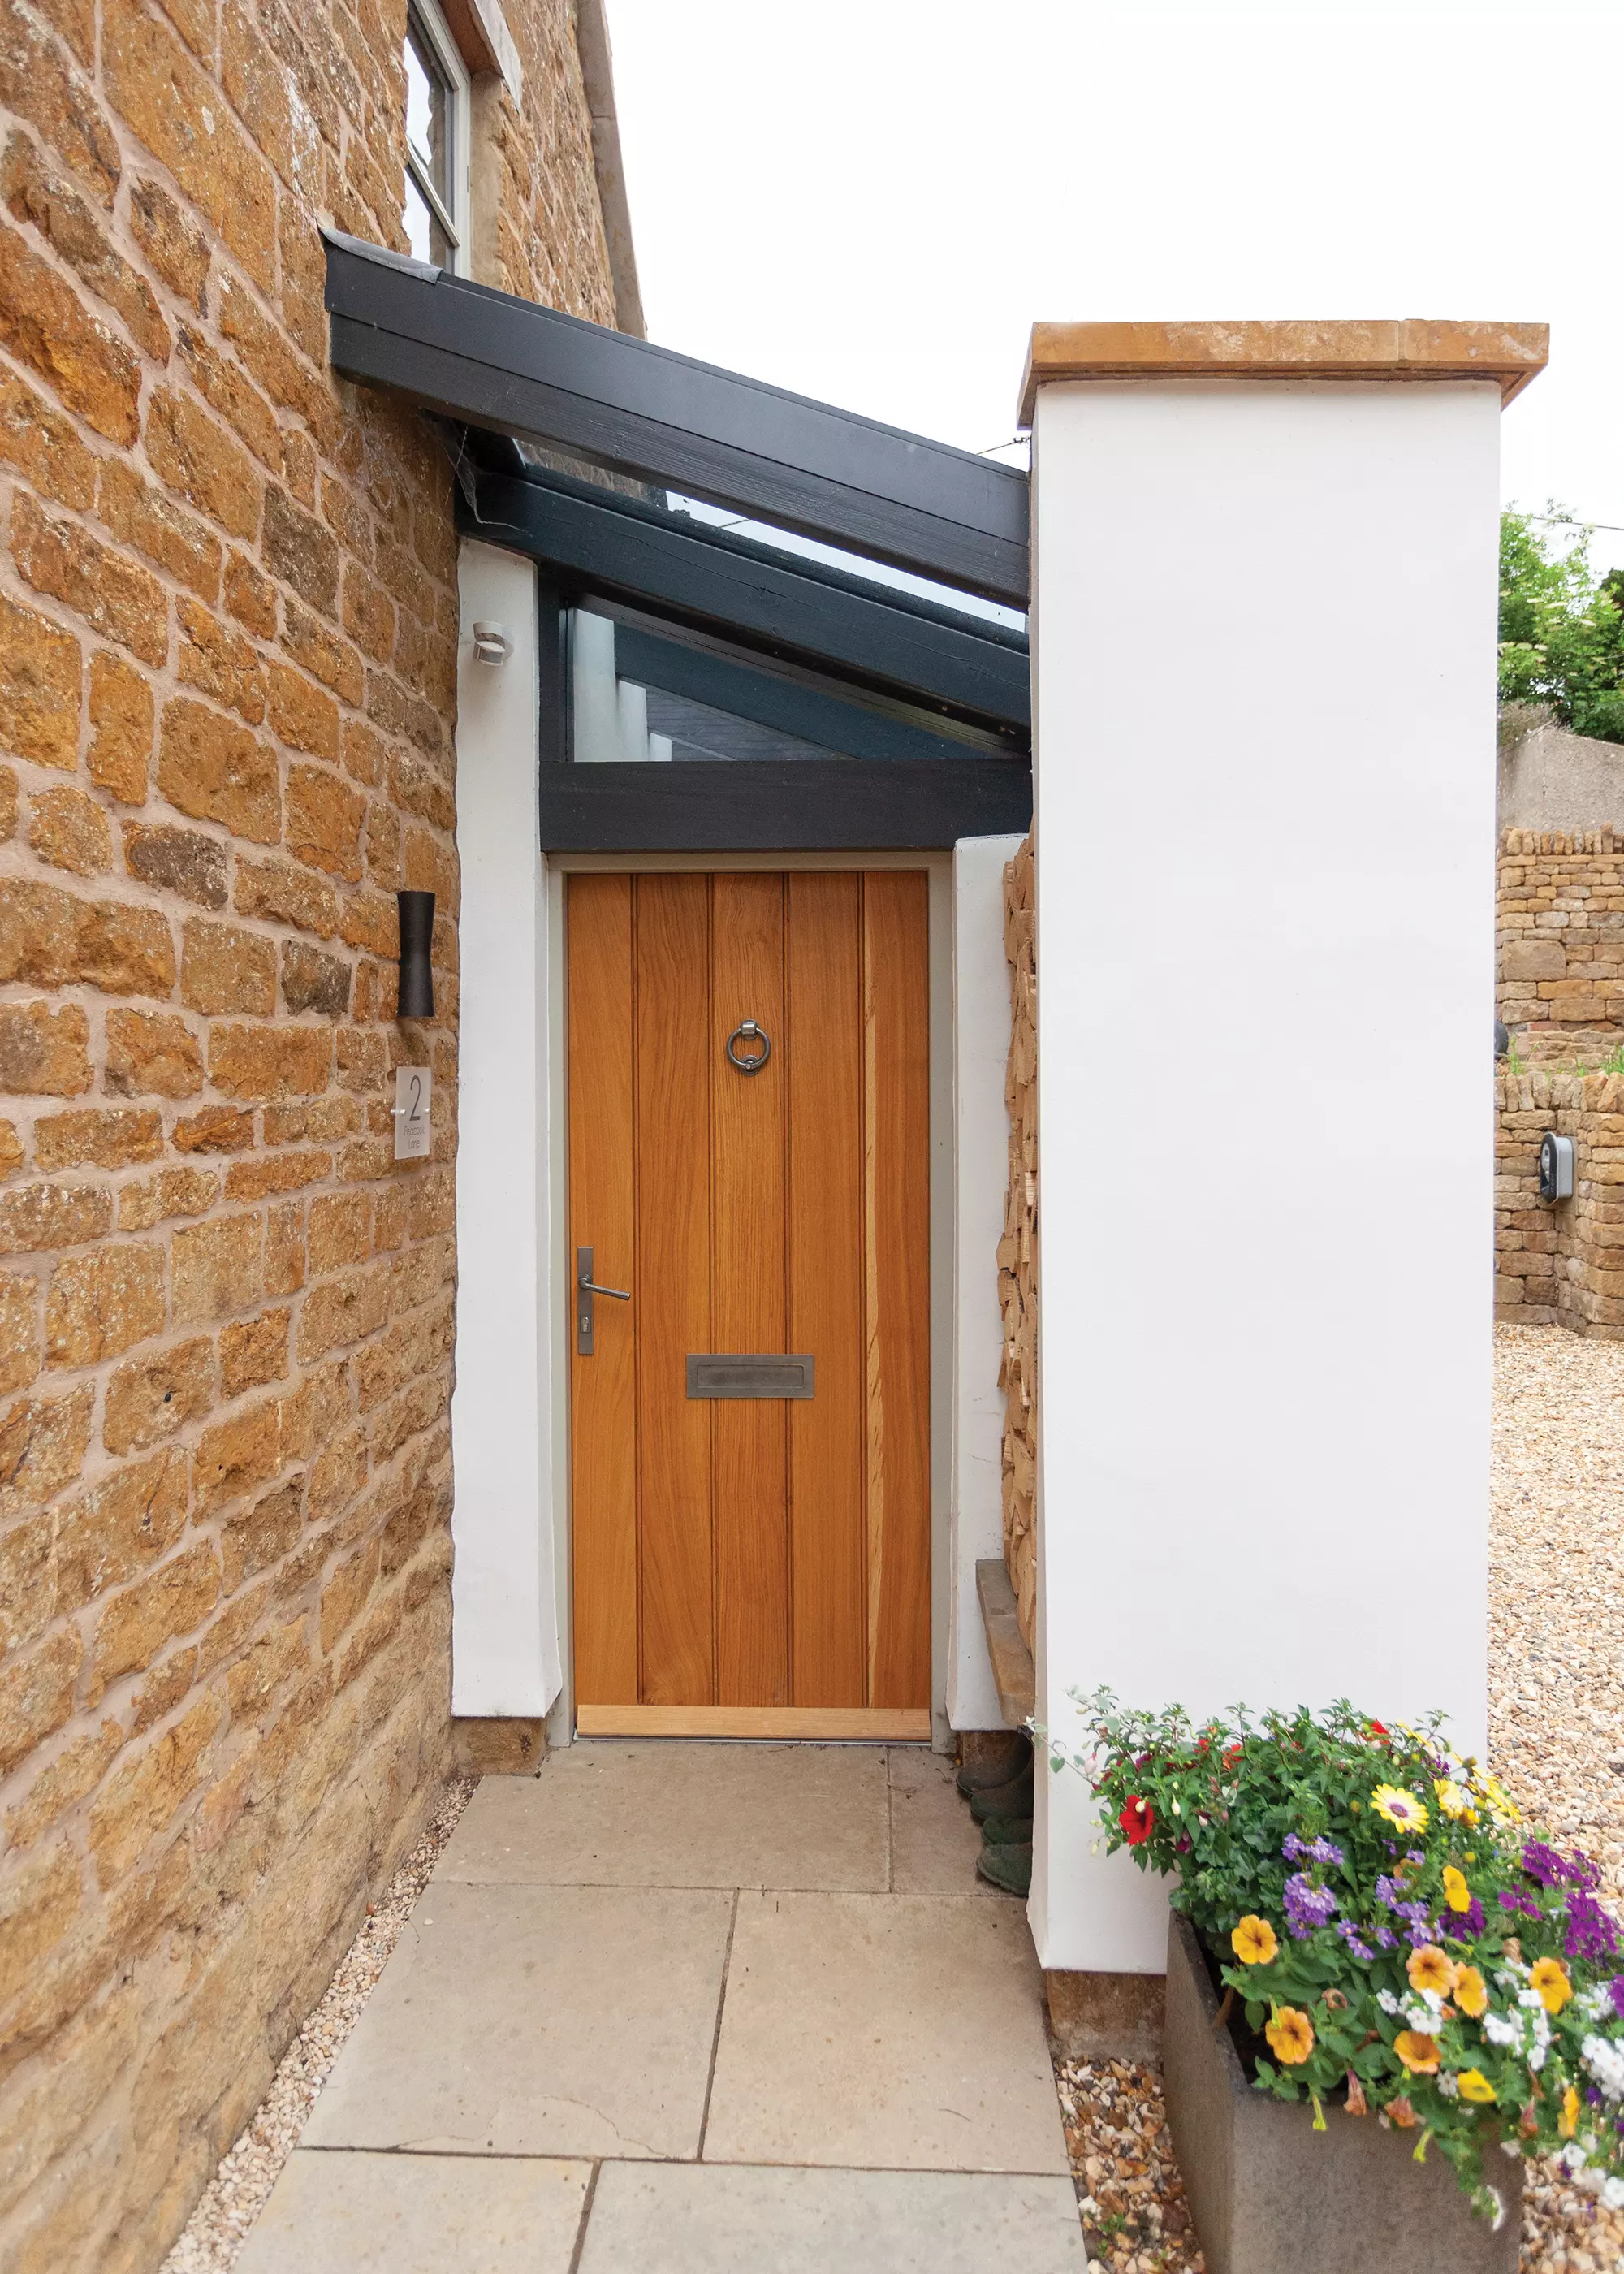
“The character of the cottage is not adversely affected by the alterations and extensions,” he continues. “From the front it remains simple and unassuming, improved by replacing the windows.But as you approach the new front door to the side you get a glimpse of the rear extension.”
On entering the hallway, there is a fully glazed door at the other end which provides a view of fields beyond, and “when you look up through the glass roof you see the new charred larch cladding to the rear extension, which leads you into the building.”
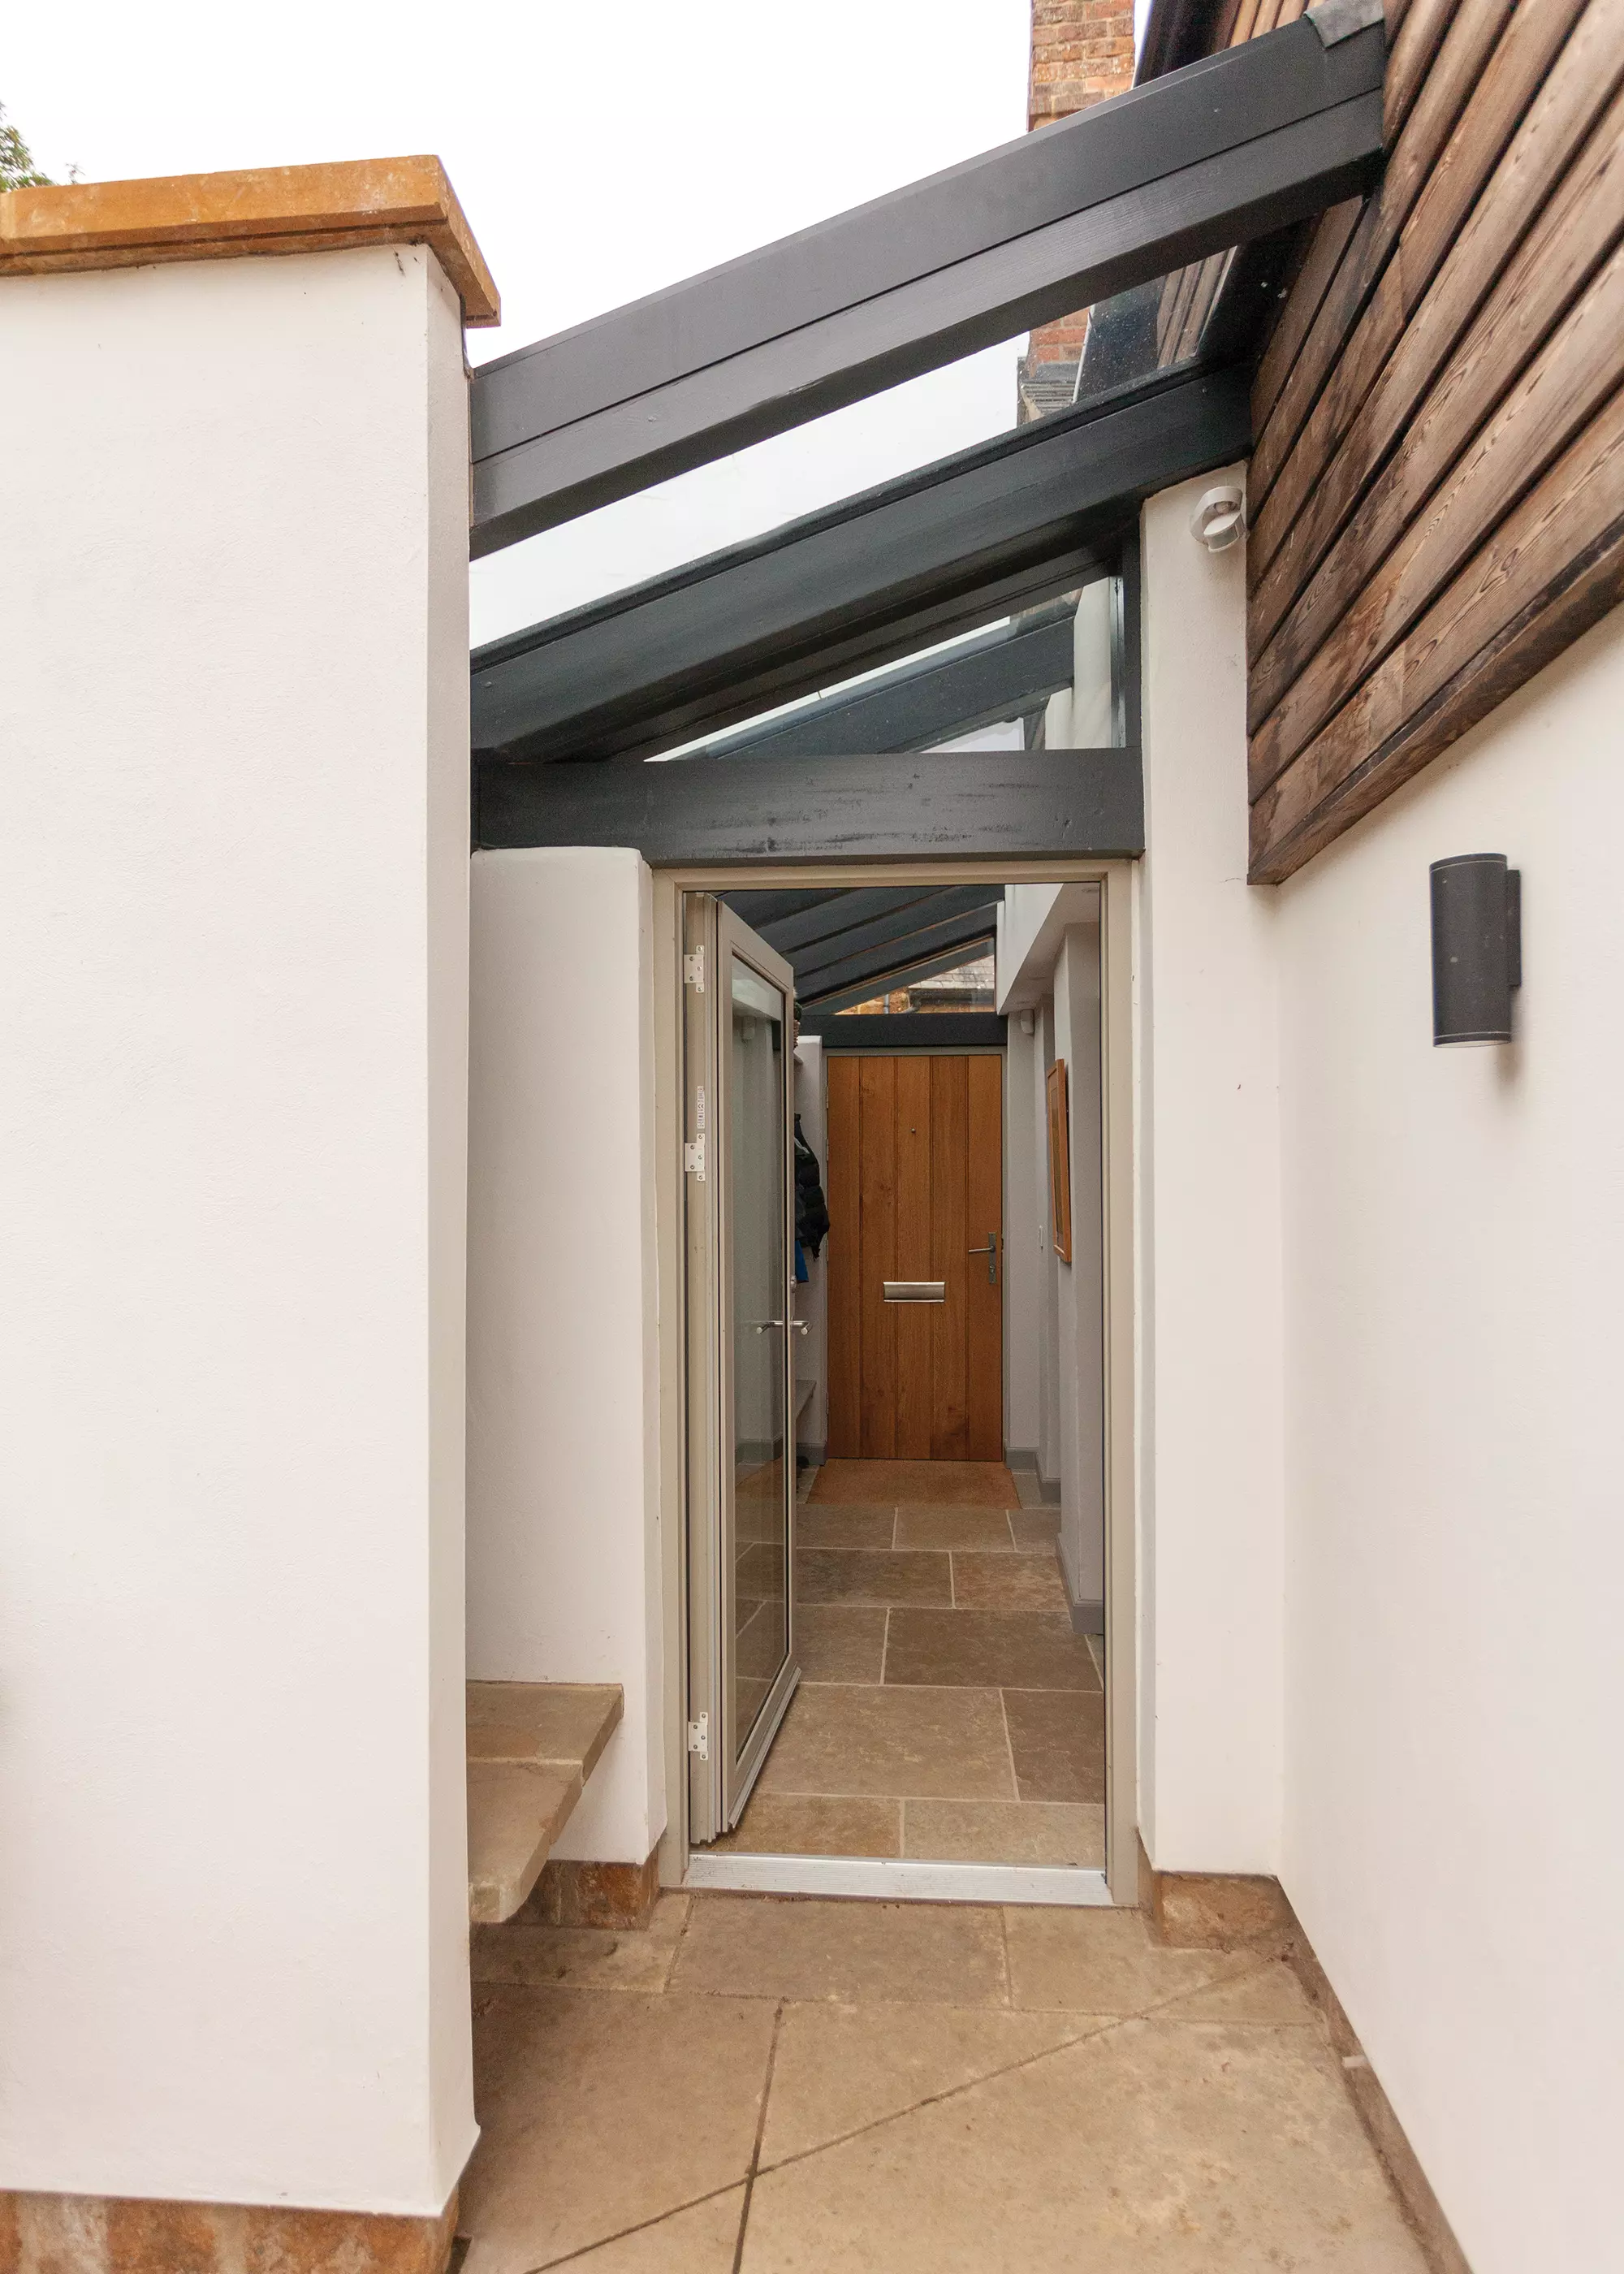
A view from the rear garden through the glazed door and into the new hallway
The best of old and new have been united in this project. “We love the juxtaposition of the old cottage with the contemporary extension,” says Martin. “The original house has thick walls and small windows, which give it a robust and cosy feel, whereas the extension benefits from larger windows, sliding doors and open-plan living to create a sense of space and light.”
We learned
|


 Login/register to save Article for later