- Plan ItBack
- Design ItBack
- Build ItBack
- Homes
- ProductsBack
- CostsBack
- Self Build Cost Calculator
Estimate your project costs instantly with Build It's interactive self-build cost calculator
Calculate Now - Costs & Finance
- Contracts & Warranties
- Build It Estimating Service
Get an accurate, detailed cost breakdown of your project
Submit plans
- EventsBack


 Login/register to save Article for later
Home Insulation: Best Ways to Reduce Heat Loss & Stay Warm

There are many ways to insulate or draught-proof a home. In doing so, you’ll reduce heat loss, create a more comfortable living space, save money by reducing your home energy bills and cut carbon emissions.
So, for most people undertaking a major renovation project, upgrading the house’s energy efficiency will be a key goal. To get insulation improvements right, you need to address each of the core components of the external envelope (floors, walls, windows and roof) and look at how their performance could be improved.
In this article, I’ll explore the main options for upgrading each thermal element. But it’s important to take a holistic, whole-house insulation and ventilation approach so that everything works together.
Here’s how to approach a home insulation project to ensure you save energy and money without compromising your property.
Upgrading Home Insulation: Before You Start
Before insulating your home, you’ll need to account for the risks involved in altering a property’s structural fabric and be careful to avoid cold spots (which can cause condensation). You may also need to make adjustments to heating systems and ensure there’s adequate ventilation.
Without a proper assessment of the property, it’s impossible to predict exactly how much energy saving any particular insulation strategy will deliver. That’s because homes vary widely in terms of shape, construction, location, condition and services.
Even apparently homogenous buildings, such as those on terraced streets, may have been altered or extended in different ways. What’s more, patterns of occupation and energy use will also differ significantly. But the underlying principles remain the same.
Don’t upgrade insulation before you’ve dealt with basic upkeep. A well-maintained building will perform relatively efficiently, whereas a wet wall leaks energy fast – so it’s important to ensure that your property is dry and free from defects.
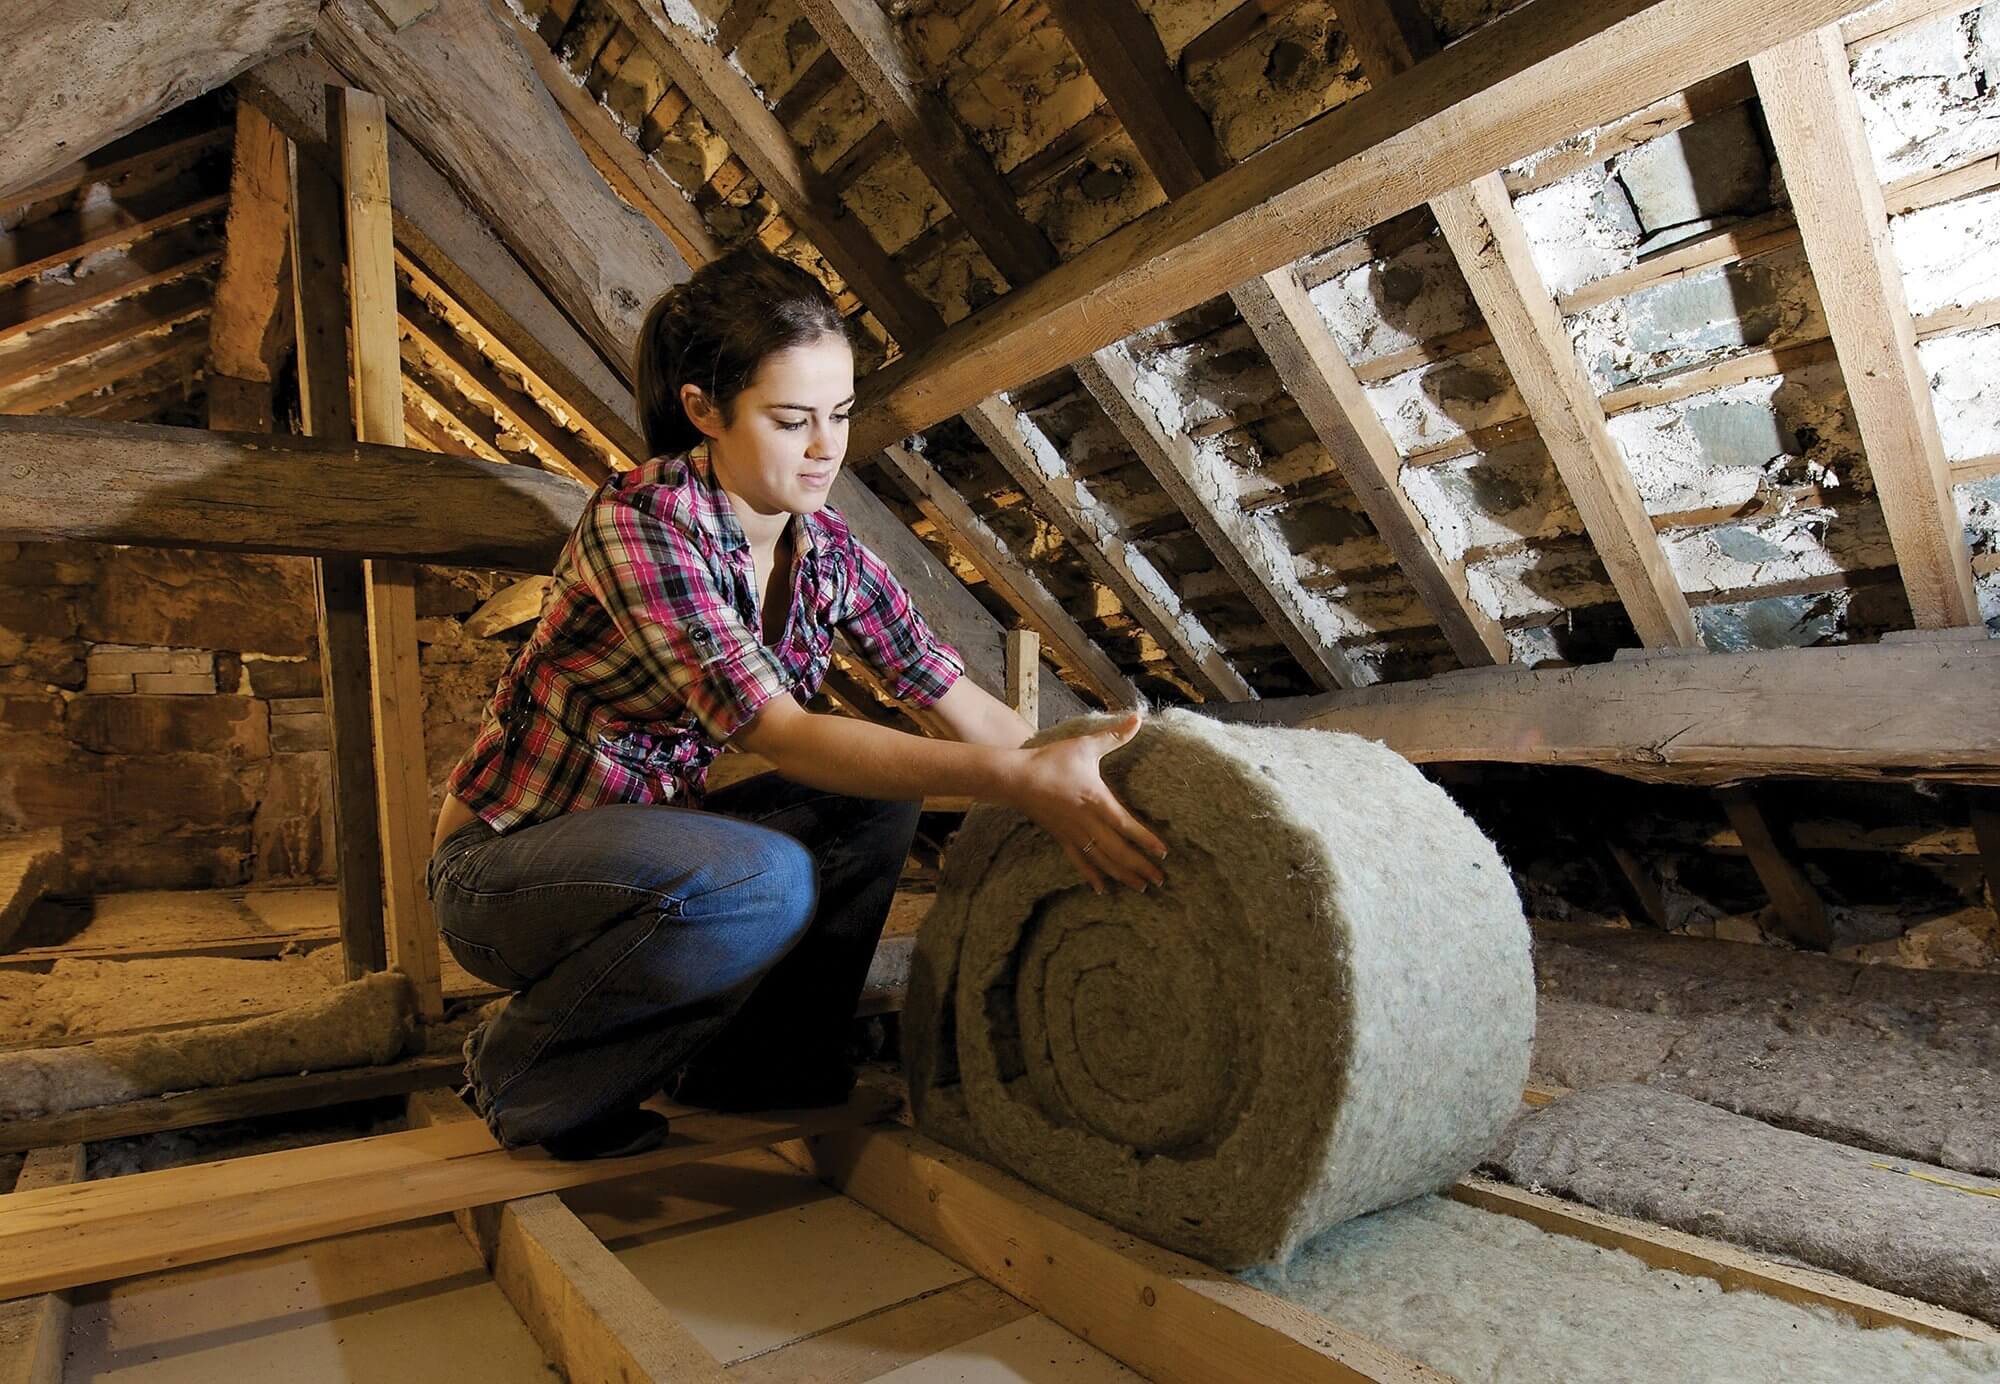
1. Loft Insulation & Insulating the Roof
Heat rises, so a great deal of energy can be lost through an untreated attic void. If your home has a pitched roof and a flat ceiling below, leaving you with an unoccupied loft, it should be simple, cheap and cost-effective to add insulation.
Typically, you’ll be aiming to incorporate 270mm of mineral wool tucked between (and possibly over) the joists. There are a few things to bear in mind, however:
- Don’t make the common mistake of forgetting to insulate the loft hatch.
- Never block the eaves – in most cases, these need to be kept clear to allow for adequate ventilation and thus prevent condensation.
- The loft void will move outside of the house’s thermal envelope, so you may need to insulate round cold water tanks to prevent freezing.
- A little insulation goes a long way, whereas it takes a lot to do a little more work. It might not be worth topping up loft insulation if, say, you already have 150mm of mineral wool.
- You may want to consider other products, such as sheep’s wool for its natural sustainability or options such as blown cellulose if the space is difficult to access.
If the roof has already been converted to offer living space, any thermal top-up would need to be integrated into the sloping ceilings – which can present more of a challenge.
In most retrofits, insulation is added between the rafters. It will be necessary to leave an air gap above this to allow for sufficient cross-ventilation, to prevent condensation and damp.
Learn more: Insulating a New Roof
You can complement this with a layer of insulation below the rafters, but this will of course reduce head height. To minimise this effect, high-performance rigid foam insulation is normally used.
EXPERT VIEWHow to Board a Loft without Compromising Insulation PerformanceGareth Storey from Loft Leg explains how you can maximise storage space while ensuring your loft insulation performs as expected:
Gareth Storey is technical director at Loft Leg and has spent over 10 years developing loft storage solutions for homeowners. The company offers a range of loft flooring, boarding, storage and lighting solutions. |
2. Insulating Ground Floors
Solid ground floors are difficult – and sometimes impossible – to insulate. It’s not usually cost-effective to dig them out and add thermal protection beneath them, while adding insulation over the top will raise the floor level and is likely to cause issues at doorways and staircases.
Instead, consider investing in a good quality carpet underlay, which will do an effective job in most cases.
| Measure | Main risks | Actions | Level |
|---|---|---|---|
| Loft insulation | Moisture risk | Ensure ventilation at eaves Check roof for condensation | Low |
| Cavity wall insulation | Moisture build-up | Assess location for suitability Repair walls before injection Monitor internal walls | Medium |
| Improving air tightness | Indoor air quality Moisture risk | Add ventilation if required Monitor moisture levels | High |
| Solid wall insulation | Heritage impact Moisture build-up Indoor air quality Thermal bridging | Assess condition of building Use a whole-house approach Employ qualified contractors | High |
| Suspended floor insulation | Moisture risk Indoor air quality | Ventilate below floor Check effect on ventilation within the building | High |
| Window upgrade | Heritage impact Thermal bridging at window reveals | Seek expert advice for historic windows Use a whole-house approach | High |
If there’s sufficient space and access, suspended timber ground floors can be insulated from below. Alternatively, the floorboards can be lifted and insulation retrofitted between the joists from above.
This should be done very carefully if you’re dealing with an historic floor, as it may be an important part of the house’s character and value.
It’s also essential to ensure that air bricks at all sides of the property are left clear and unobstructed, as insulating groud floors reduces natural ventilation. If the sub-floor airflow is insufficient, you could end up with rotting joists.
3. Draught-Proofing & Upgrading Windows
You might be surprised to learn that, often, more energy is lost through gaps around window frames than through the glass itself.
With that in mind, maintaining and upgrading existing units is always a solid plan. Existing frames can usually be repaired and retained, deeper casements inserted with double-glazed panels and new seals fitted for draught-proofing.
Even adding a thick set of curtains – or opting for well-fitting shutters – will substantially reduce heat losses.
If a single-glazed window has a U-value (a measure of heat loss, where lower figures indicate better performance) of 4.3 W/m2K, investing in heavy curtains could drop the figure to as low as 2.5 W/m2K. You can even achieve 1.7 W/m2K with well-fitting shutters.

Replacing windows can appear to be the best solution to improve performance – and in some cases it makes sense. This market has become saturated with PVCu double glazing, which to my mind is unfortunate. Good-quality, heritage-style timber windows are widely available and will preserve the look and value of a period property.
However, the majority of the benefits you’d get from replacing old windows with double glazing could also be achieved through secondary glazing. Installing secondary glazing is not only much cheaper than replacement, but involves a far lower environmental impact.
Using secondary glazing also means you can also preserve the historic single-glazed cylinder glass, with all its attractive imperfections. And you’ll simultaneously improve performance: U-values can reach as low as 1.8 W/m2K, or even better if combined with other measures.
If your property has already been fitted with early double glazing, it’s unlikely to be as efficient as modern units manufactured to current regulations. Nevertheless, in most cases the in-use savings made by replacing such windows with newer double or triple glazed versions would be outweighed by the energy and cost of replacement.
4. Insulating Walls
There are three main classes of walling in the UK housing stock, and the period of your property can help to indicate which one is likely to have been used. Each type requires a different approach when upgrading wall insulation.
The dates given below are approximate – and you should always investigate your property’s makeup thoroughly before you undertake any upgrades – but they set out a worthwhile general overview:
- Solid wall (single leaf) construction – brick or stone – pre 1919
- Cavity walls, uninsulated – brick and block – 1920-1975
- Cavity walls, insulated – brick and block – post 1975
Solid Walls: External Wall Insulation or Internal Wall Insulation?
Solid walls can be insulated on the inside or outside. Either way, it’s an expensive process and the benefits need to be carefully weighed up, especially where an elevation contains a high proportion of windows or doors.
External wall insulation (EWI) has the advantage that the original masonry becomes a heat store, able to absorb and radiate warmth back into the living space – so you get a very thermally effective result. The method adds a new weathering layer to the outside of the property, and it’s essential this is accurately detailed.
Sealants should be avoided, as these break down over time. It’s also a good idea to use moisture-open insulation products, such as sheepswool, as otherwise any water that enters the wall matrix will become trapped, which will lead to damp internal walls.
A key consideration is that, with period homes, it may be essential to retain the appearance of the original building – which may make it difficult to use EWI. It could, however, still be considered on some rear elevations or on properties that have been rendered later in their lifetime.
Internal wall insulation (IWI), by comparison, is not quite so effective, as it reduces the masonry’s ability to store useful heat. It will also reduce internal floor area slightly – plus there’s still potential to impact on the house’s heritage, as original skirting boards and cornicing are difficult to retain or replicate accurately. You’ll also need to remove and reinstate any services currently in place, such as radiators and power outlets.
Applying IWI will mean the original masonry walls become colder, which in turn reduces their ability to deal with moisture ingress. It’s therefore essential to ensure the building is weathertight before installation.


You’ll need an independent expert to assess the risk of condensation and mould growth at the interface between the IWI and the walling – and, again, you should always specify moisture-open products.
Bear in mind, too, that there will be thermal bridging (where heat escapes across a structural element that has a direct connection between inside and out) at locations where the IWI can’t be applied. This could include the likes of staircases abutting external walls and suspended upper floor matrixes. Condensation is more likely to occur at these points.
Cavity Wall Insulation
Up until the mid 1970s, cavity walls were constructed without insulation, as the outer layer was simply viewed as protection from the elements. It’s now common to retrofit insulation by injecting it into the cavity – a relatively cheap and simple process, with no disruption to the internal space.
However, in recent years there has been an increase in the failure rate of this kind of cavity wall insulation (CWI). This is because the gaps between masonry leafs were designed to be ventilated – and retrofit CWI prevents this.
If there are any imperfections in the external skin, such as cracked render, water will enter and become trapped. It will then be conveyed to the inner skin, resulting in mould growth where previously there was none.
In such cases, the old insulation will have to be removed by professionals, which is an expensive job. So, it’s important the installation is completed correctly. For the same reasons, in areas of high exposure to driven rain, it simply may not be appropriate to fit CWI.
Later cavity walls already have insulation built-in, although there may not be a great amount of it. Yet even where there’s space to add more, it’s usually pointless to do so. That’s because the cost and impact of topping up existing cavity wall insulation is likely to outweigh the minimal improvements in energy savings.
Bear in mind that retrofitting any wall insulation will reduce natural ventilation to some degree. So, the adequacy of a fresh supply needs to be checked afterwards to ensure good indoor air quality.
5. Improving airtightness
Airtightness is often overlooked as a means of saving energy. In an unaltered building of traditional construction, air will leak through gaps between floorboards, floor/wall junctions, sash windows, services penetrations, open chimneys etc.
All told, air leakage can amount to 30% or more of heat losses in an existing house.
Many of these air pathways are simple and cheap to seal up. Effective draught-proofing measures include replacing seals around window frames, closing chimneys (leaving through-ventilation by means of an air brick) or using a good quality underlay on butt-jointed timber ground floors.
Sash windows can be upgraded by inserting draught-proofing strips to seal the gaps between the casement and the frame. This kind of restoration work is normally carried out by specialists.
However, we all need fresh air – and natural (sometimes called uncontrolled) ventilation is an important way of keeping older homes dry.
After 100 years or more, buildings inevitably develop some weaknesses. Many will be admitting water through faults in masonry, missing or broken seals, incorrect ground levels and – most commonly – defective rainwater goods.
So when improving airtightness, it’s essential to retain sufficient ventilation to provide decent indoor air quality and help the building deal with any moisture ingress.
Read more: Creating an Airtight New Eco Home >
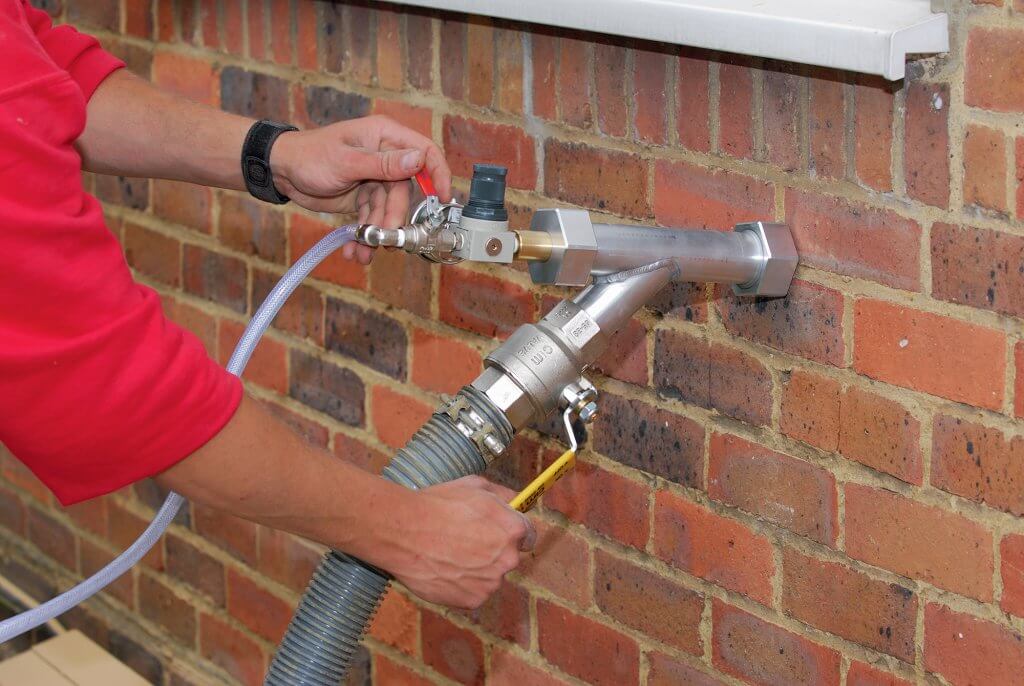
6. Hot Water Pipe Insulation
The pipes used to distribute space heating around your home usually don’t need to be insulated, as the heat given off from them is no different to that emitted by radiators
or underfloor heating.
However, the situation is different with the pipework for domestic hot water (the water we use for washing, showering and bathing).
It’s not uncommon for kitchens or bathrooms to be some distance from the boiler or hot water cylinder. So, hot water which is stationary in these pipes will gradually lose heat and may even be cold by the time you turn the tap on again.
It therefore makes sense to insulate all domestic hot water distribution pipework. This is now standard practice in new build properties but rare to find in most pre-21st-century dwellings.
Retrofitting pipe installation is as easy to do as it might seem. Floor coverings need to be lifted and floorboards or panels removed (carefully, so they can be reinstated). Where pipes have been run through holes drilled in the joists, the insulation will have to be fitted in short sections between the joists.
Installing the insulation itself can be done DIY, but you will find that there are many obstacles including other pipes and cables which make it virtually impossible to get complete coverage of all the pipes.
The joy of insulating your hot water distribution pipework is most notably felt with handbasins, which are used intermittently. The water can stay sufficiently warm that you do not have to wait for a freshly heated supply from the boiler.
This not only produces energy and carbon savings, but also reduces water use.
Top image: Ecoroll from Thermafleece is a natural sheepswool insulation, suitable for use in walls, floors and roofs.
This article was first published in November 2020 and updated in October 2022
Nigel Griffiths
You may be interested in