Estimate your project costs instantly with Build It's interactive self-build cost calculator
Calculate NowGet an accurate, detailed cost breakdown of your project
Submit plans

There’s a lot to think about when you embark on a self build or major renovation project. It’s only natural that you won’t think of everything that could happen along the way. Every scheme is unique, so without the gift of second sight, you simply can’t know exactly what will crop up. But you can definitely learn from the mistakes others have made.
To help make your home building journey as smooth as possible, I’ve jotted down some of the things people regularly forget to sort out. The usual caveat applies in that this isn’t an exhaustive list – but hopefully one or two of them might spark an ‘I never thought of that’ moment and save you some time and effort as you get your project underway in 2026.
When your consent arrives from the local planning office, there will almost certainly be restrictions attached to it – these are called planning conditions. All of these conditions will need to be addressed, but special attention should always be given to those that have been flagged up as needing to be discharged before any development commences (Pre-commencement conditions). These ones will usually be to do with approving your choice of external materials (such as the exact bricks or windows you’ll be using).
Jonathan and Joanna Lunn left city life behind to build their own contemporary home on a stunning woodland site in the South Downs National Park. The couple also had to pay for ecology surveys as part of the planning process. “There was evidence of bats in the roof of the existing dwelling and, although there weren’t any in the end, our planning conditions required us to build bat boxes into the fascia of the house to accommodate them in future,” adds Jonathan. Photo: Baufritz
There are a couple of standard terms that appear on almost all decision notices. The first gives you three years to start work (or else the permission expires). The second is known as approved plan conditions and lists the planning drawings that the council assessed in making its decision and requires that you build according to those exact plans.
Aside from these, there are then three main kinds of conditions:
If you have been asked to carry out an ecological survey, it’s important to get the timing right – especially when it comes to these critters. Bats hibernate from October to April, and during this period there’s no way to watch them flying in and out of their roosts to verify numbers and species. Get it wrong and you’ll add six months to the planning stage of your project.
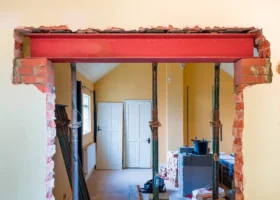
Soil types can vary from one region to another in the UK, and even within a small area. So, it is vital to assess your soil’s properties, including its bearing capacity, susceptibility to movement and drainage when choosing your project’s type of foundations. You should always get a geotechnical soil survey done to understand the soil structure and its bearing pressure. Plus, if you need a self build mortgage to get your project started, your lender and structural warranty provider will require a soil survey.
When Calum & Sally Land found a run-down bungalow in Bath, they decided it was the perfect spot to knock down and rebuild their new home. With the plot being on a slope, getting around a few construction challenges and incurring additional expenses were an inevitable part of the process. They used a reinforced concrete raft with a mass-fill toe that sits on the rock to prevent any downward movement of the structure. Photo: Pete Helme
Soil surveys and searches will usually identify the big stuff, but be aware that there can be miscellaneous pipes and cables under the surface that don’t appear on any plans. It’s because of issues like this that self builders should always set aside a decent contingency budget – typically at least 10% on top of the total construction cost.
Premium Content
Where should you start when planning your home building project? Build It’s in-depth downloadable guide to self building a house contains everything you need to know to make your project a success.
find out more
You have a legal duty to alert building control 48 hours before you commence any notifiable work. It could be you, your contractor or your project manager who does this – but it needs to be done, so make sure somebody takes responsibility, otherwise you may have to redo work.
Don’t assume that all your trades will arrive on site with everything they need. You should check in with contractors regarding what they will be bringing along themselves and what they will expect you to provide. Cement mixers, spot boards for mortar and rough terrain forklift trucks are examples of just a few of the things you might be expected to source.
The ideal time to build is in spring and summer, when the skies are clear and unlikely to threaten progress. But in the real world, you might find yourself getting underway in autumn and possibly over winter. Frost and cement don’t go well together, so prepare for cold snaps by providing rolls of hessian to protect fresh mortar from unexpected frost. And check in advance where you can get your hands on a submersible pump in case you need one to deal with heavy rain after excavating your foundation trenches.
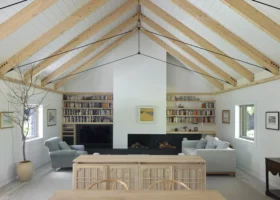
Period properties are complicated, so you need to develop a very detailed understanding of the building and how it works to ensure success. If you employ designers and contractors whose experience is in modern construction rather than heritage projects, that is exactly what you are likely to get.
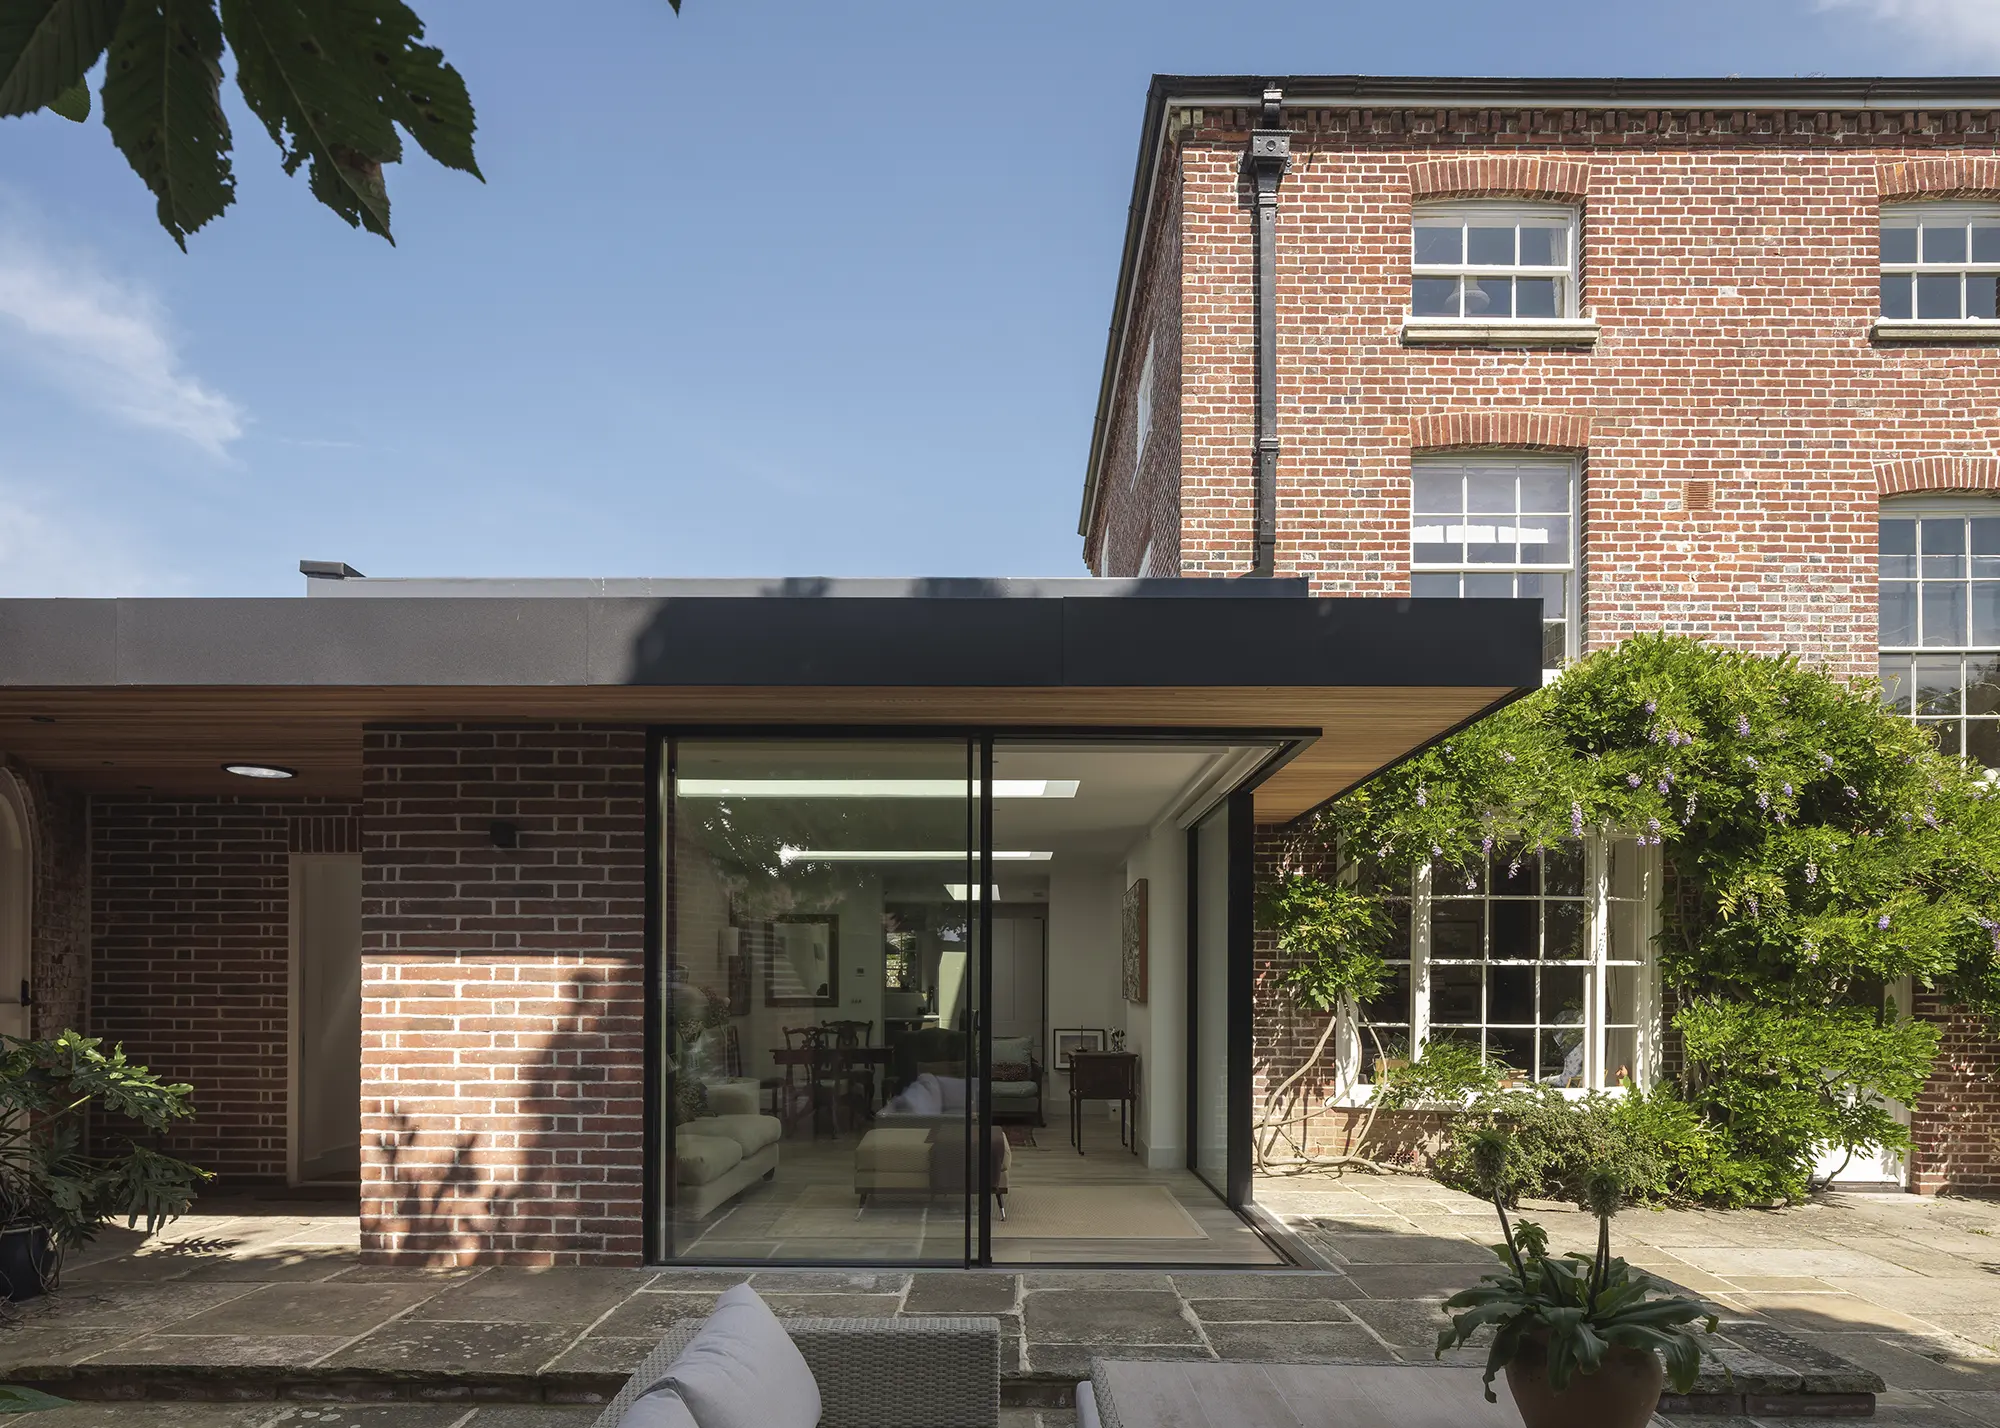
Helyer Davies Architects designed a new contemporary extension for this listed 19th-century home. The structure comprises a sensitive palette of materials, including red brick, dark aluminium and cedar cladding. Photo: Matt Smith
Old properties inevitably have wobbly walls, uneven ceilings, strange angles and odd bits sticking out here and there; nothing is plumb. This means sharp angles, square edges and flat plasterboard ceilings full of downlighters will look out of place. Much of the intangible character of old houses lies in the thousands of tiny details that have survived from all different periods of their history. If you hand the whole project over to the designers and contractors, you will get the result they want instead of what you want.
A building site, particularly in the early stages, will have lots of valuable tools and materials around – and this can prove irresistible to any keen opportunists who spot it. Hire a security cabin to keep the expensive stuff in overnight. An old shipping container can be a cost-effective option if you want to avoid hire charges.
You’re taking on a project that will make you part of the community – and it will affect those around you. So explain to your neighbours what you’re planning, when work will be taking place, how long you expect it to go on for and – importantly – who they can contact if there’s a problem at any time, whether day or night.
If you are undertaking any sort of knock down or demolition there will be a large amount of waste on the site, and you need to agree with your builder where it is stored and how often it’s collected. You’ll need to think about the location of your skip as you’ll need a skip license from your council if you need to keep this on the roadside.
One of the big unplanned costs can be connection to the essential utilities. Never assume that you can tap into electricity, water and mains drainage just because next door has them. You need to speak to service suppliers early on (ideally before you offer on a plot) to determine how you can access utilities, how long the process will take and how much connections are likely to cost.
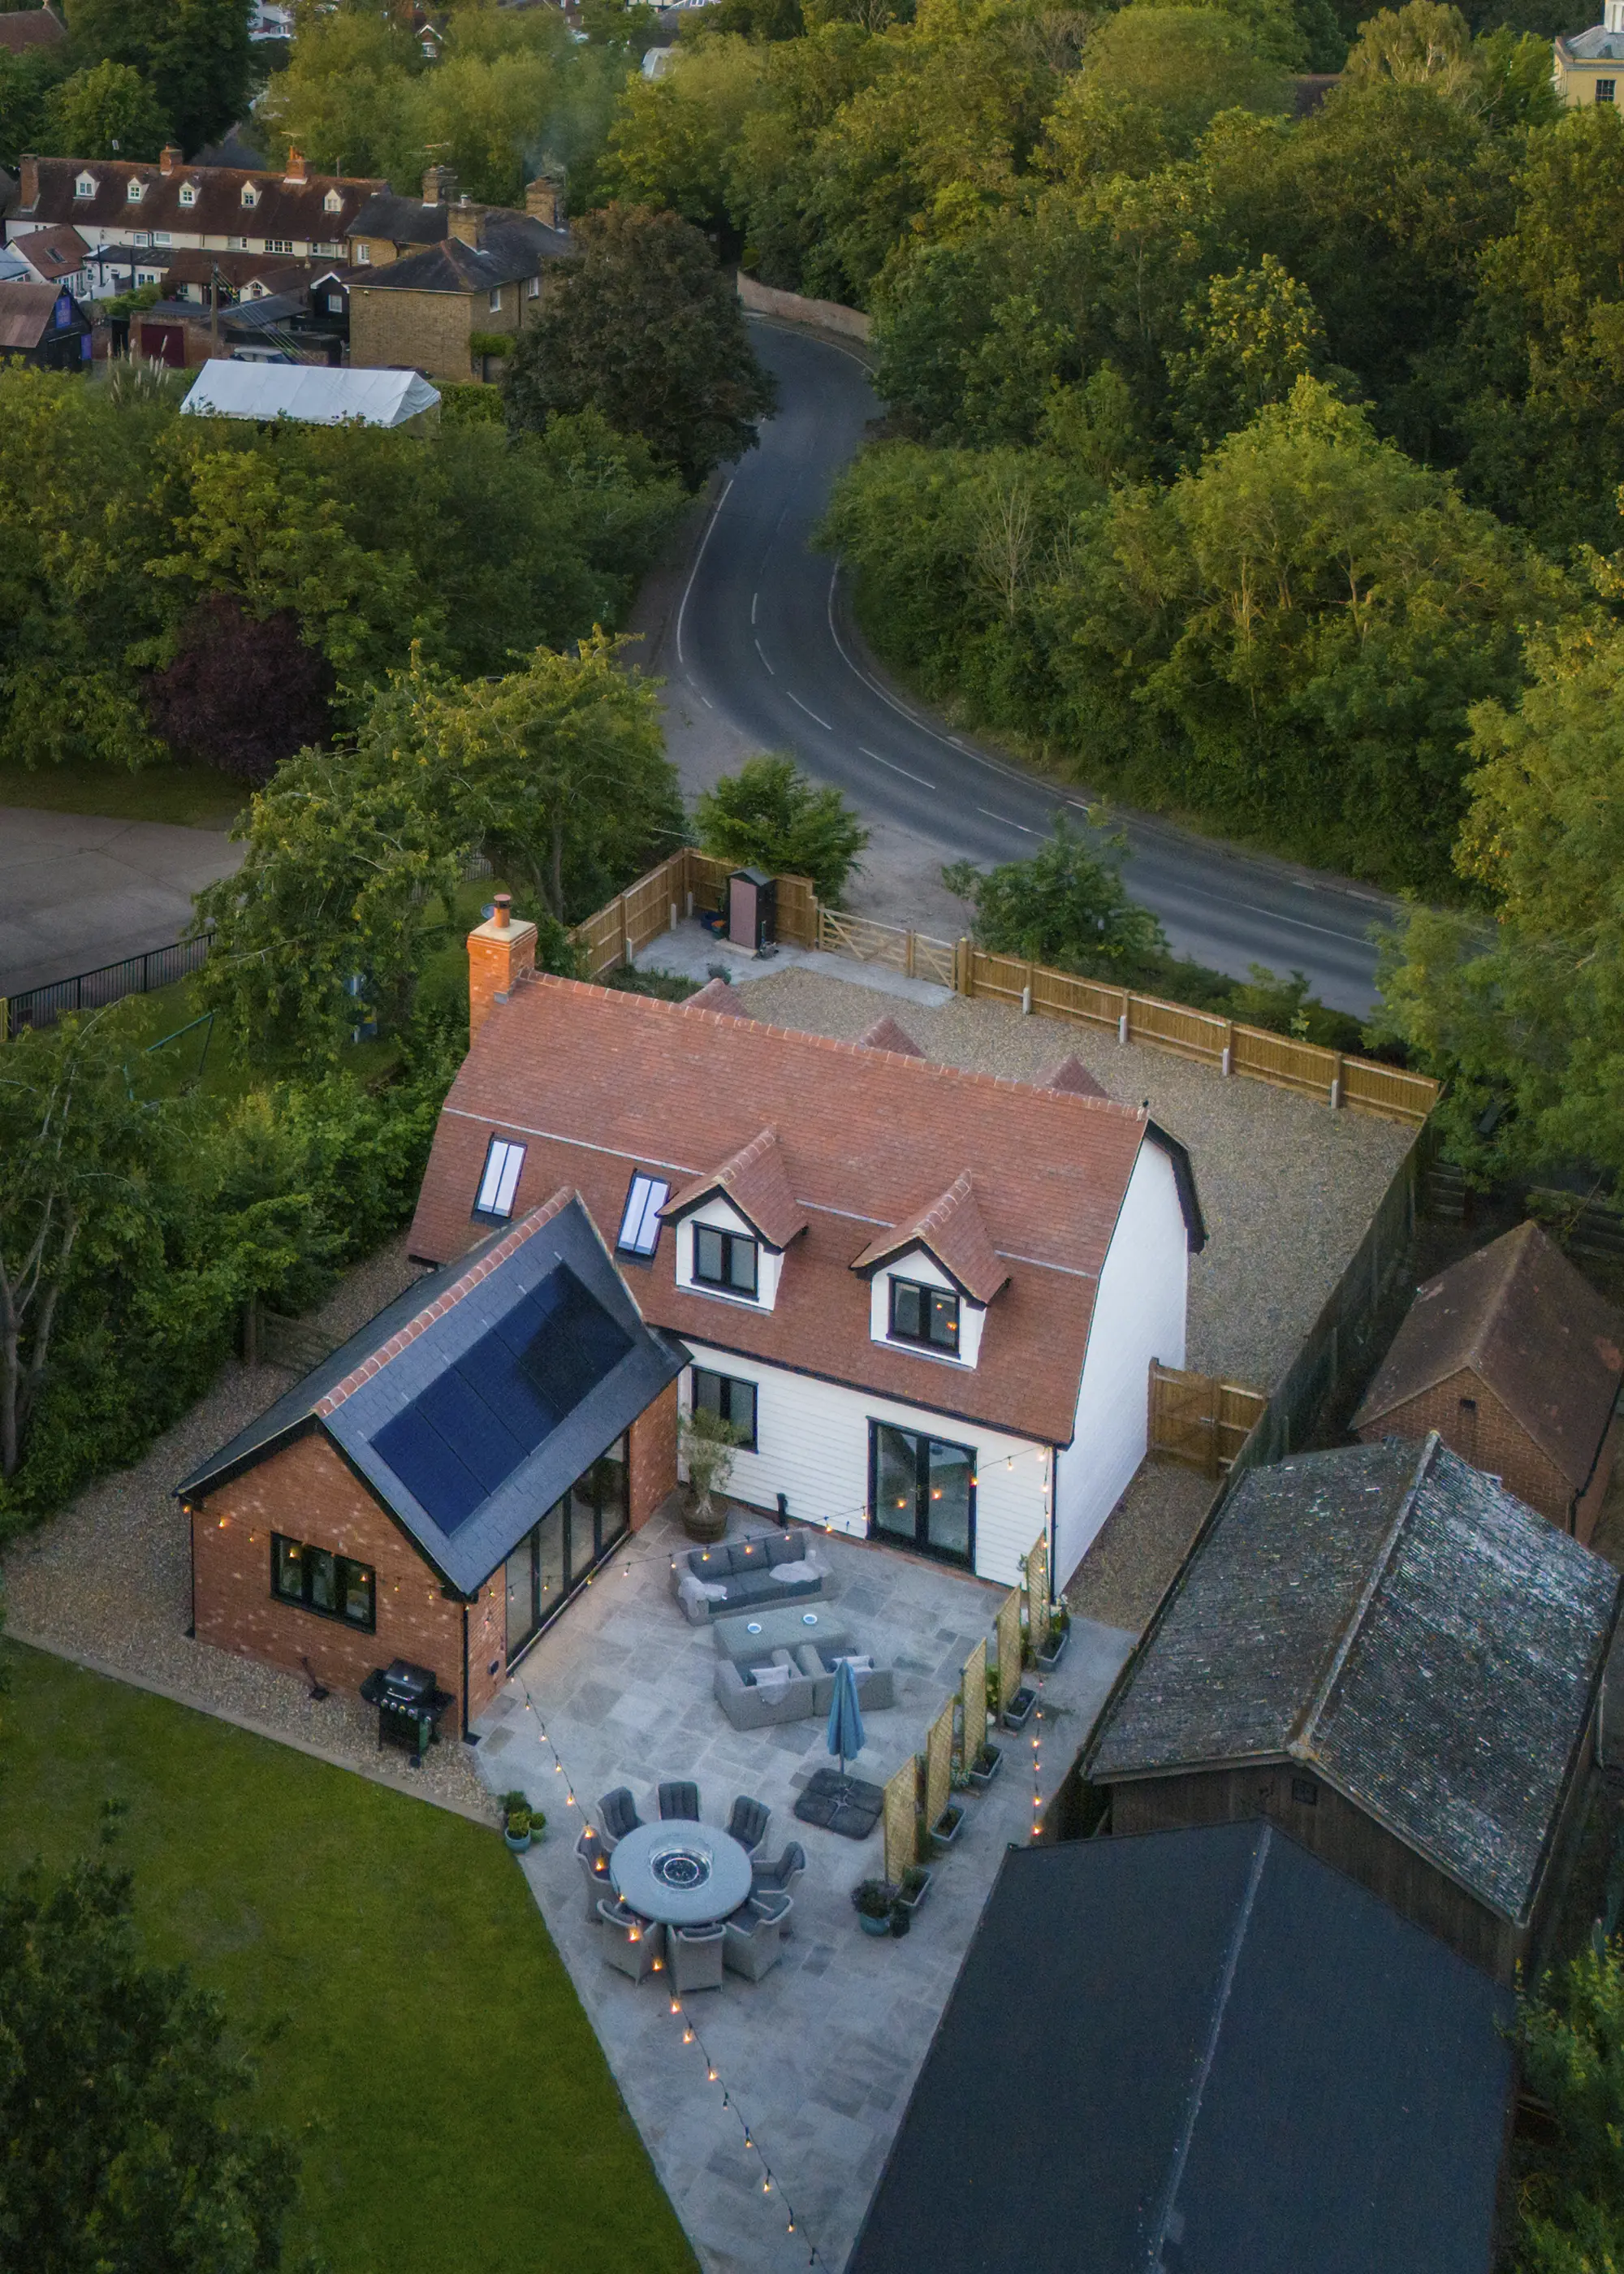
Katy and Alan Pateman worked with Welsh Oak Frame to design and build their charming cottage-style home in Essex. The build team used a generator until services were finally connected. The water company shut off traffic to lay its pipework, while the distribution network operator ran the electric supply on the same day – both up to the property’s border. Greg’s experienced team then picked up the feed, taking it to the site of the cottage. Photo: Nikhilesh Haval
Building sites can be dangerous places, so it’s important to safeguard yourself and others. Protective clothing is very cheap and is the last line of defence in preventing injury or worse. You can buy a hard hat, steel toe-capped wellies, goggles, ear defenders and a hi-vis vest for around £35 all-in from Screwfix. So, buy a set for the sake of your own safety, and insist that others (operatives and visitors) wear the right protective clothing on site, too.
You might think that you’ll save money by ordering just enough bricks or tiles to meet the exact m² requirements of your project – but you’d be wrong. This is a false economy. There will always be cuts to make and breakages on site, and purchasing another pallet load at this point will cost you a bomb in terms of the transport charges. Always over-order on bricks and tiles by at least 10% (or 15% for reclaimed items).
This is an important one. If your self build project qualifies for an exemption from the Community Infrastructure Levy (CIL) development tax, there are four steps to take. At the planning stages, you first have to assume liability and then submit Part 1 of Form 7 to claim your exemption. The next step is the one that many people forget: before you start work on site, you must notify your local authority by submitting Form 6 (Notification of the Commencement of Work). If you don’t, the full CIL charge will become due. When you’ve finished the scheme, you must submit Part 2 of Form 7 within six months of completion.
If you’re self building, you have a great opportunity to create a home that can be as tailored to your lifestyle now as it is in 10 years’ time. A good example is the roof space. If there’s potential to expand into this with a loft conversion at some future date, then think about where the stairs could go to make this happen. You will need 2m of headroom above the pitch line of the stairs (1.9m is acceptable in some instances but will feel a bit cramped).
Neil and Sandra Caul‘s property is fully futureproofed. “Everything’s in place if we want to install electric car charging points,” says Neil. “And Ann designed a bedroom downstairs so that when we get too old to climb the stairs, we can live on the ground floor. The house was five years in the making, but we now have a very practical multi-generational home. Photo: David Barbour
As the UK is moving towards widespread electric heating systems, such as heat pumps, you should ensure that your electrical installation is capable of supporting these provisions in the future. In many cases, a switch to electric heating as part of a large-scale renovation or retrofit will be the best future-proofing option. Usually that means a heat pump, though there are other options such as dynamic storage heaters.
It’s fairly cost-effective to put in a double power socket during first fix work, but it’s expensive and disruptive to retrofit one after completion. Think hard about where they should go and if in doubt, put one in. You’ll always need more sockets than you think you do.
Think about what electrical fixtures and fittings you’re going to have outside, and lay armoured cables to feed them. Garages, sheds, electric gates, ponds, patios and garden lighting are common examples. Again, it’s relatively inexpensive to put these in at the early stages but a real pain if you subsequently need to dig up newly laid drives and pathways to install power.


 Login/register to save Article for later