Estimate your project costs instantly with Build It's interactive self-build cost calculator
Calculate NowGet an accurate, detailed cost breakdown of your project
Submit plans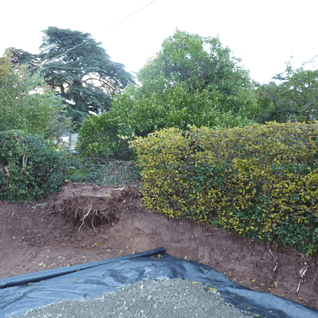

At the start of week two of the build, I was awoken in the morning by the sound of strong winds howling.
When I stepped outside, I discovered that – as a result of these tremendous gales – one of our trees had been completely uprooted and it was lying stricken through the hedge and right out into the main road.
Fortunately there was very little damage, but the collapse did mean that there was an enforced hold up in progress on site while we waited for the council to come round and clear it off the road.
It’s typical – just one full week into the build and we’ve already uncovered a well and suffered a fallen tree. What next?!
It just goes to show that, no matter how much construction experience you have, there will always be some surprises along the way when it comes to taking on your own self build project.
 We were soon back on track, thankfully, with our site foreman, Buster the dog (no doubt you’ll see plenty of him later on in the build!) keeping a careful eye on proceedings.
Early this week the first concrete blocks arrived on site and the team set about laying the foundation walls. The image to the right shows a cross section of the foundations – we’ve currently reached up to hardcore level, with the first few rows of blocks in place around the permiter and where internal loadbearing elements are required. We’ve also put in the drainage pipes ready to connect to sinks, toilets etc.
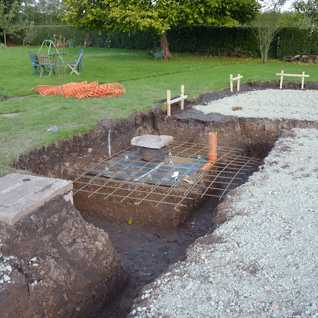 If you remember from last week’s blog, Jan, myself and the engineer had decided to cover the old well the groundworkers discovered rather than fill it in. We’ve now achieved this by placing a sheet of metal over the top of the well. Attached to this, using plastic spacers, is a reinforcing mesh. A manhole has been built into this, as well as a ventilation pipe (which is necessary in case of any build up of gases inside the well).
Once this was complete the remaining foundations were filled with concrete – leaving only the manhole cover and top of the ventilation pipe exposed. Job done!


 Login/register to save Article for later