Estimate your project costs instantly with Build It's interactive self-build cost calculator
Calculate NowGet an accurate, detailed cost breakdown of your project
Submit plans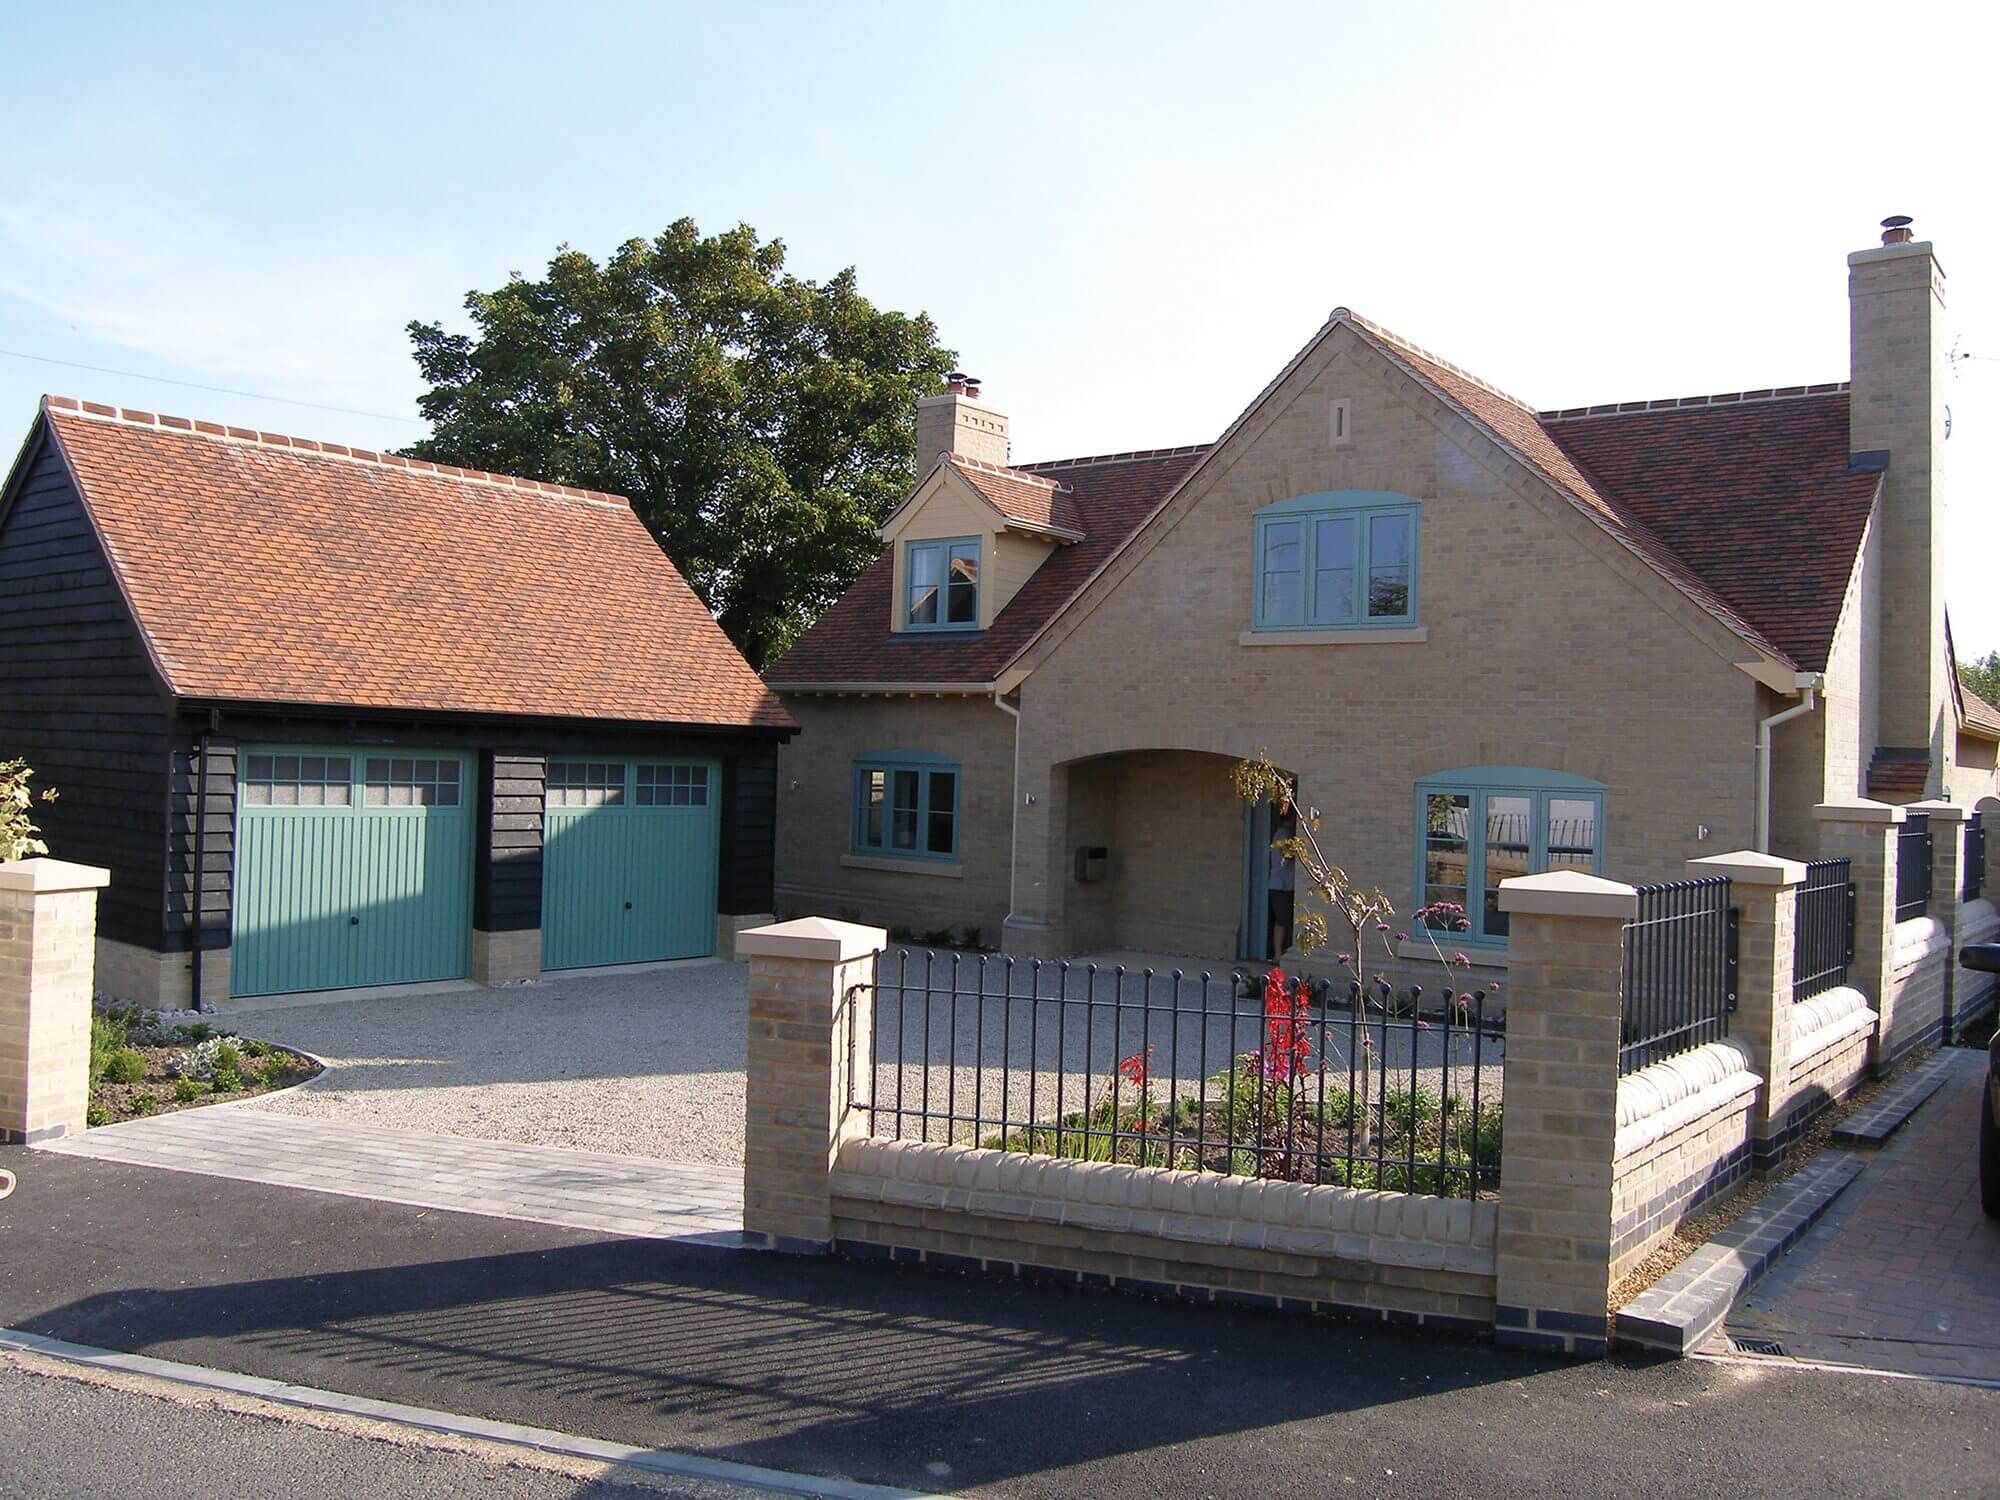
FENSA (Fenestration Self-Assessment Scheme) was created in April 2002 when the Building Regulations were amended to include replacement window and doors.
To avoid the prospect of having every replaced window in the country inspected by council officers, the FENSA scheme was created as a self-certification system in which members can regulate themselves and avoid making applications for Building Regulation Approval.
It isn’t relevant to a new build where the windows and doors will be included as part of the whole project and it shouldn’t be considered as a sign of quality.
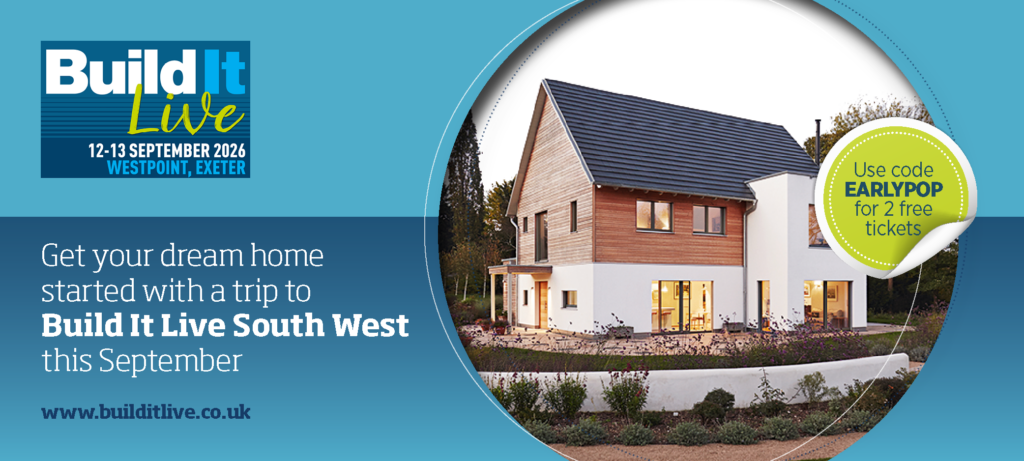
Choosing doors and windows for your home?Find the perfect finishing touches for your project at Build It Live. Watch live presentations on a variety of self build and renovation topics, browse thousands of products and get your specific questions answered. Build It Live takes place three times a year in Exeter, Kent and Malvern. The next show will be on 12th and 13th September 2026 in Exeter, Devon. Claim a pair of free tickets today and start planning your visit. |
If you have closed your cavity walls at the openings with preformed cavity closures, window/door frames can be fixed against the flanges of them. The traditional vertical damp-proof course method will leave at least 50 mm of the damp-proof course sticking out and this should be turned in behind the frames rebated jambs.
Screws are used to secure the frames in place after drilling and plugging the masonry. In cavity construction they are normally fixed to the outer leaf.
It is important to pack out around PVCu frames with plastic wedges (known as shims) before tightening the screws because the frames are easily pulled out of shape by fixing to uneven masonry.
If they are distorted by poor installation, the draught seals around the openings will leak. Expanding foam filler can only be used to seal the gap around the frame after the screw fixing is complete. A bead of silicone mastic pointing finishes the sealing work.
As well as providing ventilation to each room, windows in inner rooms and upstairs have to provide emergency escape as well.
Giving a clear opening area of at least a third of a square metre, and not less than 450mm in height and width is enough to get out through if you have to, but sometimes the modern scissor hinges restrict the opening width and egress style hinges are necessary.
Make sure your window suppliers are fitting the right hinges. Trickle ventilators have to be fitted to windows sufficient to provide background ventilation and, because they are now mandatory (since 2006), window suppliers should be including them as standard. As usual, though, it will be down to you to make sure they do.
The insulating qualities of double-glazing are always improving. Thicker units with wider cavities filled with argon gas and low emissivity (low-e) glass all help to reduce the rate at which room heat can be lost through them.
Low-e coatings are normally on the inner pane and marked accordingly to tell the installer which way round to fit them. Without an optical glass detector, though, it is impossible to see if they’ve got it right, so check before the labels are removed.
Not all coatings are hardwearing. Indeed some are soft and can be easily scratched during installation so take some time to inspect your windows once they are fitted and keep them protected by leaving the film on the frames for now.
Polythene taped over the glass will also help, but keep the taping sufficiently away from the frame edges to allow the plasterers to plaster the window reveals right up to the frames. You need to be able to remove the protection smoothly once the decorating is done without having to trim away at polythene trapped behind plaster.
Aimed particularly at preventing children from serious injury, windows fitted below 800mm of the floor and glazed doors and their sidelights have to be fitted with safety glazing.
Laminated or toughened glass is the preferred option but it may be possible to use tempered or annealed in certain situations. Your suppliers may not know what the sill height is in your project so check for yourself and advise them when safety glass is needed.
In conservation areas thick double glazed windows are not highly thought of. They don’t sit too well in small paned sash windows and thermal insulation may have to be compromised. Some thinner double-glazed panes with low-e coatings and argon gas filled cavities can still provide some insulation in units that may be 4mm on the outer pane, 6mm on the inside and with only a 4mm wide cavity between them.
It is the thinner outer sheet and cavity that make these units more acceptable in conservation terms and the fact that they can be glazed into traditional narrow wooden glazing beads. It is a compromise that’s not often explored between single glazing and contemporary double, when thermal insulation standards are so demanding today.
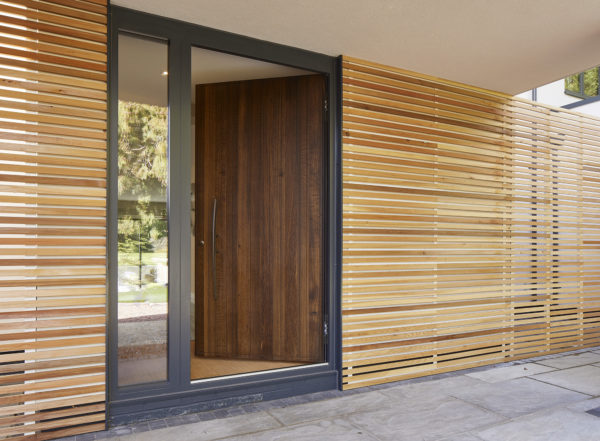
The entrance to your home deserves a lot of consideration. Good access and security mixed with a fine appearance are essential since it will be there to welcome you home for sometime to come. The standard width of the front door has increased in recent years to provide better access and with it the doorstep has been replaced by level thresholds.
The path or drive up to the door must grade up to meet this threshold on all but steeply sloping sites and it is critical that you provide good drainage in front of this low sill to avoid rainwater being blown in under the door. A sheltered front door will help enormously to avoid this.
For security, three 100mm steel hinges should be located internally on the door. If your hinges are external (and the door opens out) hinge bolts should be fitted. You can add a restraint arm or chain but at the moment the five lever mortice locks with handles on both sides are more popular than deadlock mechanisms known as ‘slamaction latches’. At least with these it isn’t possible to lock yourself out of the house when the door latches shut behind you.
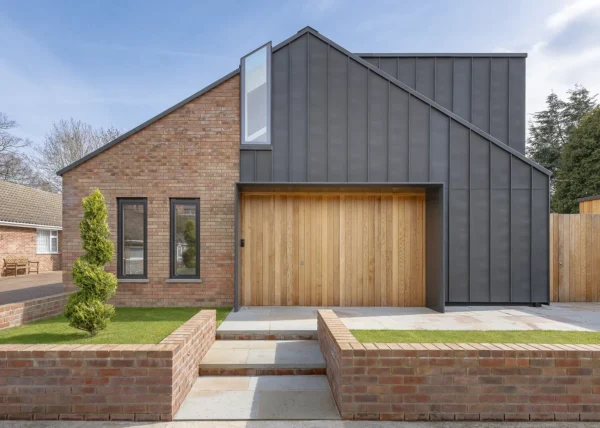
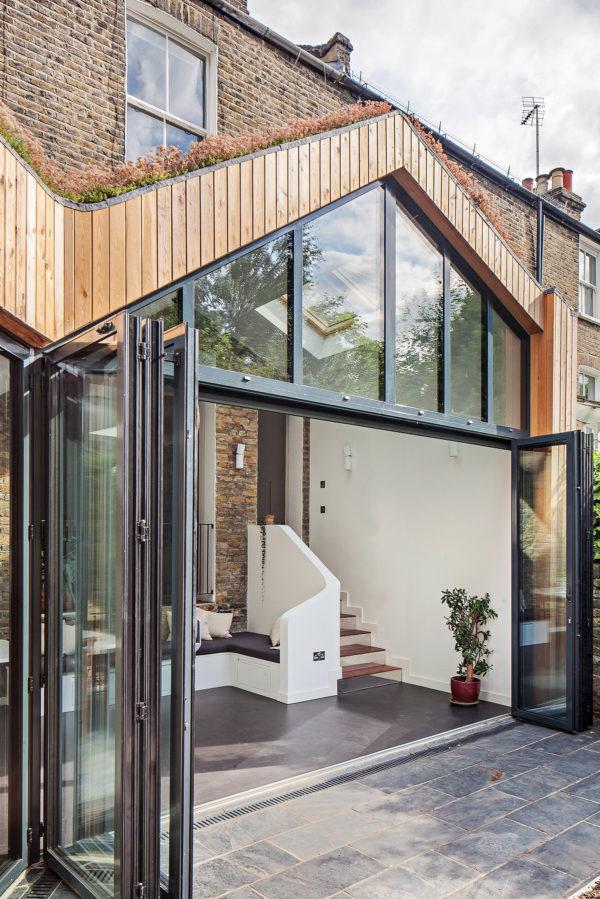
Main image: Kloeber’s bespoke timber casement windows can be factory-finished in any RAL colour


 Login/register to save Article for later


Comments are closed.