Estimate your project costs instantly with Build It's interactive self-build cost calculator
Calculate NowGet an accurate, detailed cost breakdown of your project
Submit plans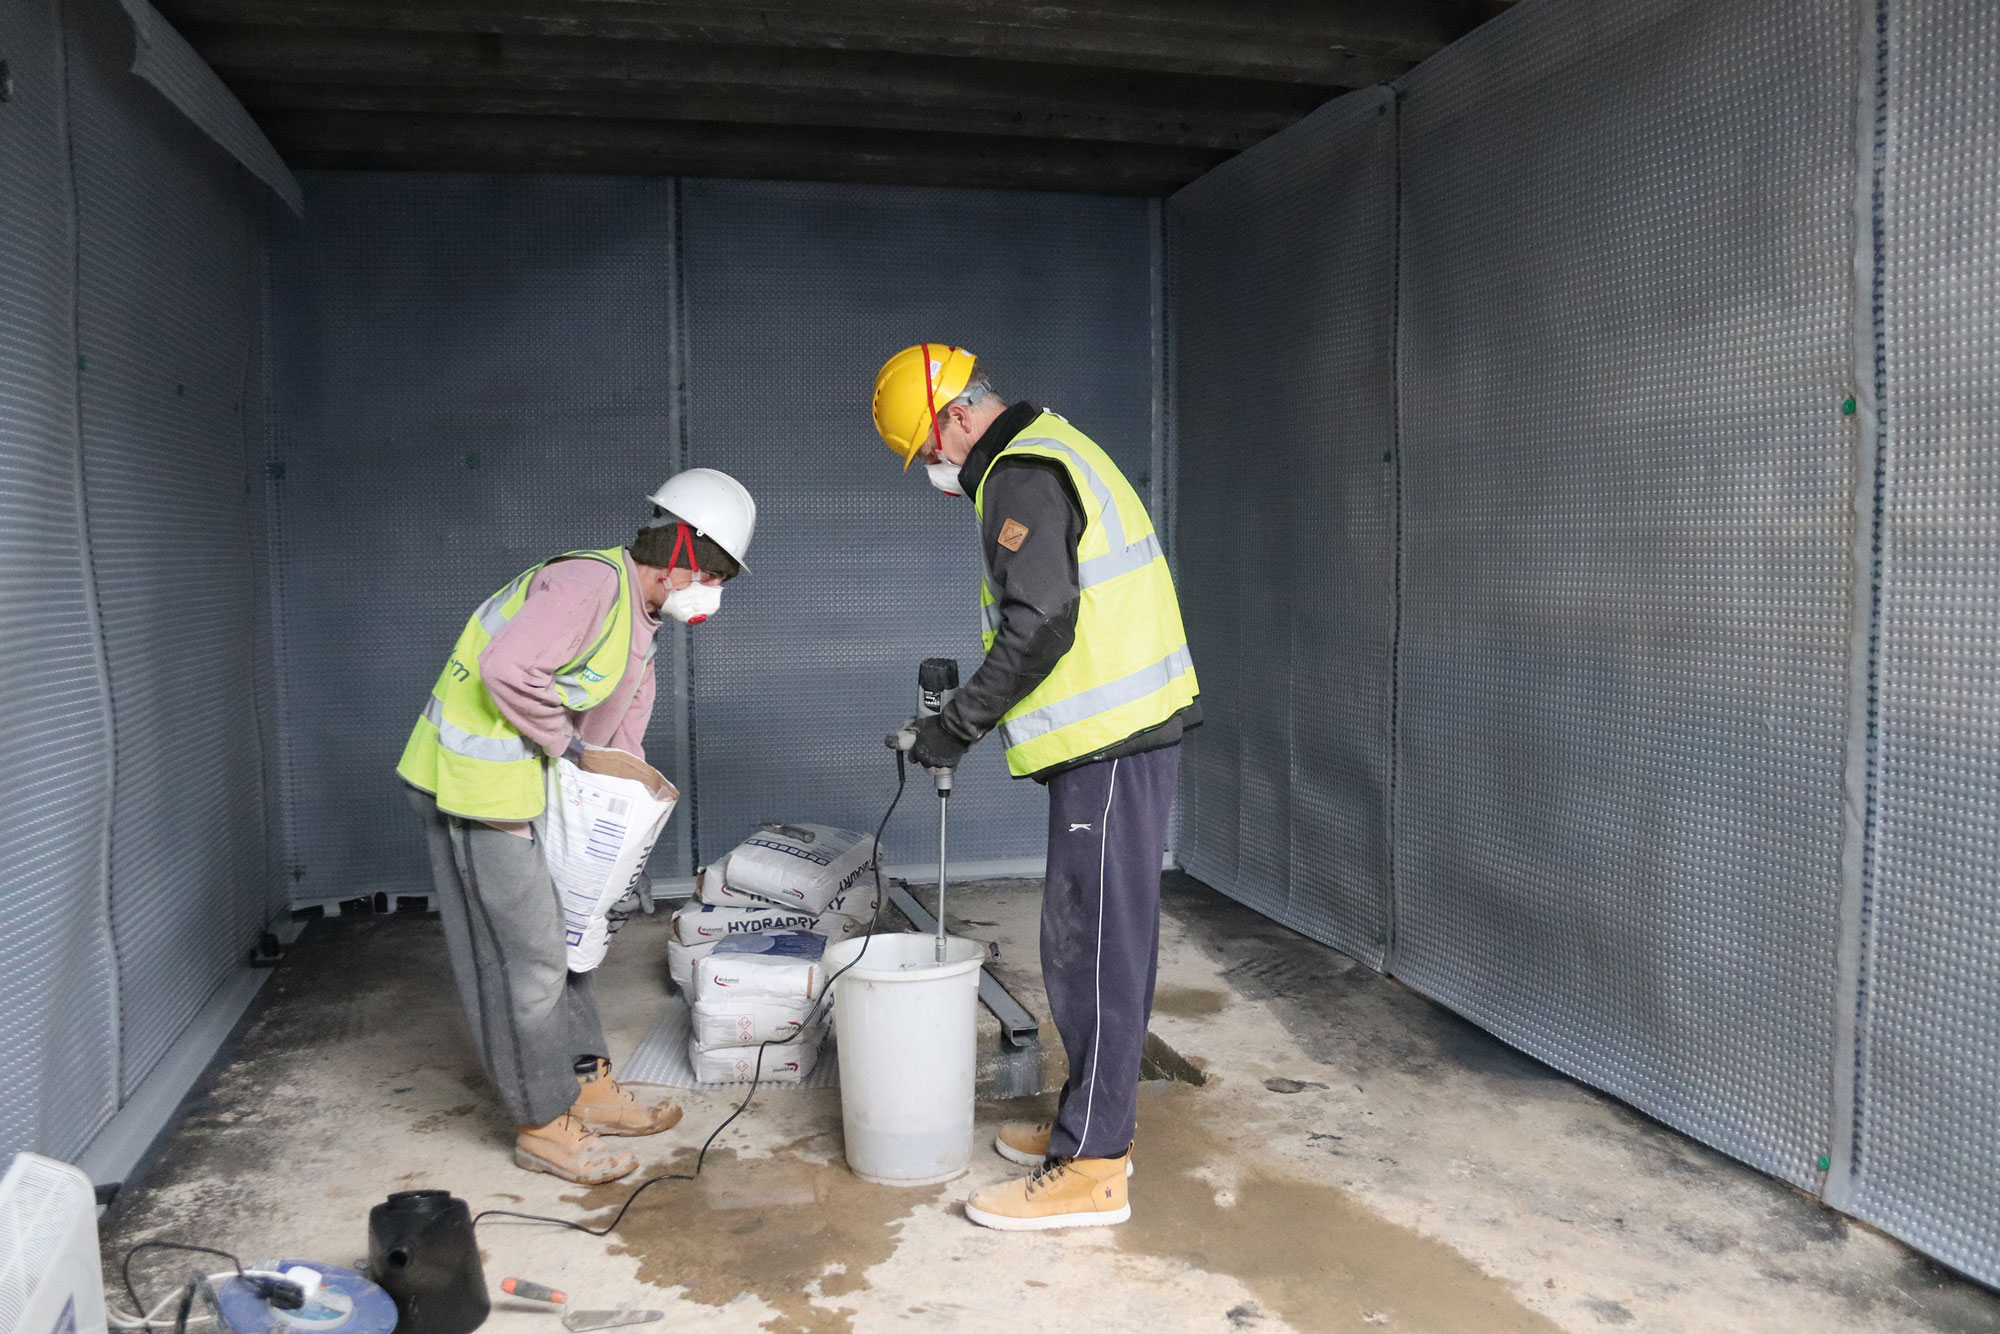
Building a basement can be a great way to get the living space you need, without gobbling up precious garden amenity.
By digging down, you can potentially create a whole storey of high-quality, flexible and future-proof accommodation – and you may be surprised to find that doing so could represent excellent value for money on your self build, renovation or extension.
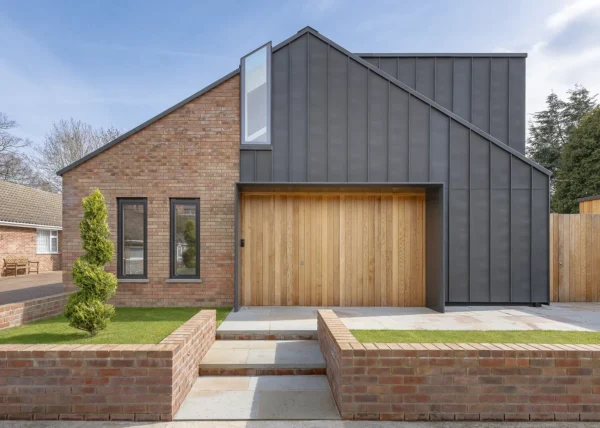
A case in point is Build It’s Self Build Education House. Build It chose Self-Build Zone to provide an insurance, structural warranty and building control package for the mag’s self build in Bicester, Oxfordshire.
Learn more about how we built the basement at the Build It House here
The project includes a full basement, which was built and taken to waterproof shell stage (ready to fit out internally) for just £1,025 per m2 of extra floor space. Whether it’s a new build, extension or conversion, a basement project must be carefully planned and executed.
Proper waterproofing is a huge part of that – so here are 10 tips to help you get it right:
Always get a waterproofing specialist on board during the early stages. They will then work with your designer and engineer to select the best systems, highlight any potential weak spots and simplify the structural detailing to make it easy for your contractors to build.
Always do your research to ensure the site can support a basement. Review flood data for the area, establish where the groundwater level is and have a soil investigation done to help the designer determine suitable foundation depths.
Learn more: Self Build Zone
The conditions identified in your surveys and investigations will inform the build system. With basement extensions and cellar conversions, you may need to underpin the foundations to create enough floor-to-ceiling height and transfer structural loads effectively. Totally new basements might be formed using systems like insulated concrete formwork (ICF, as used on
the Education House), reinforced site-poured concrete, pre-cast concrete panels or concrete-filled blockwork.
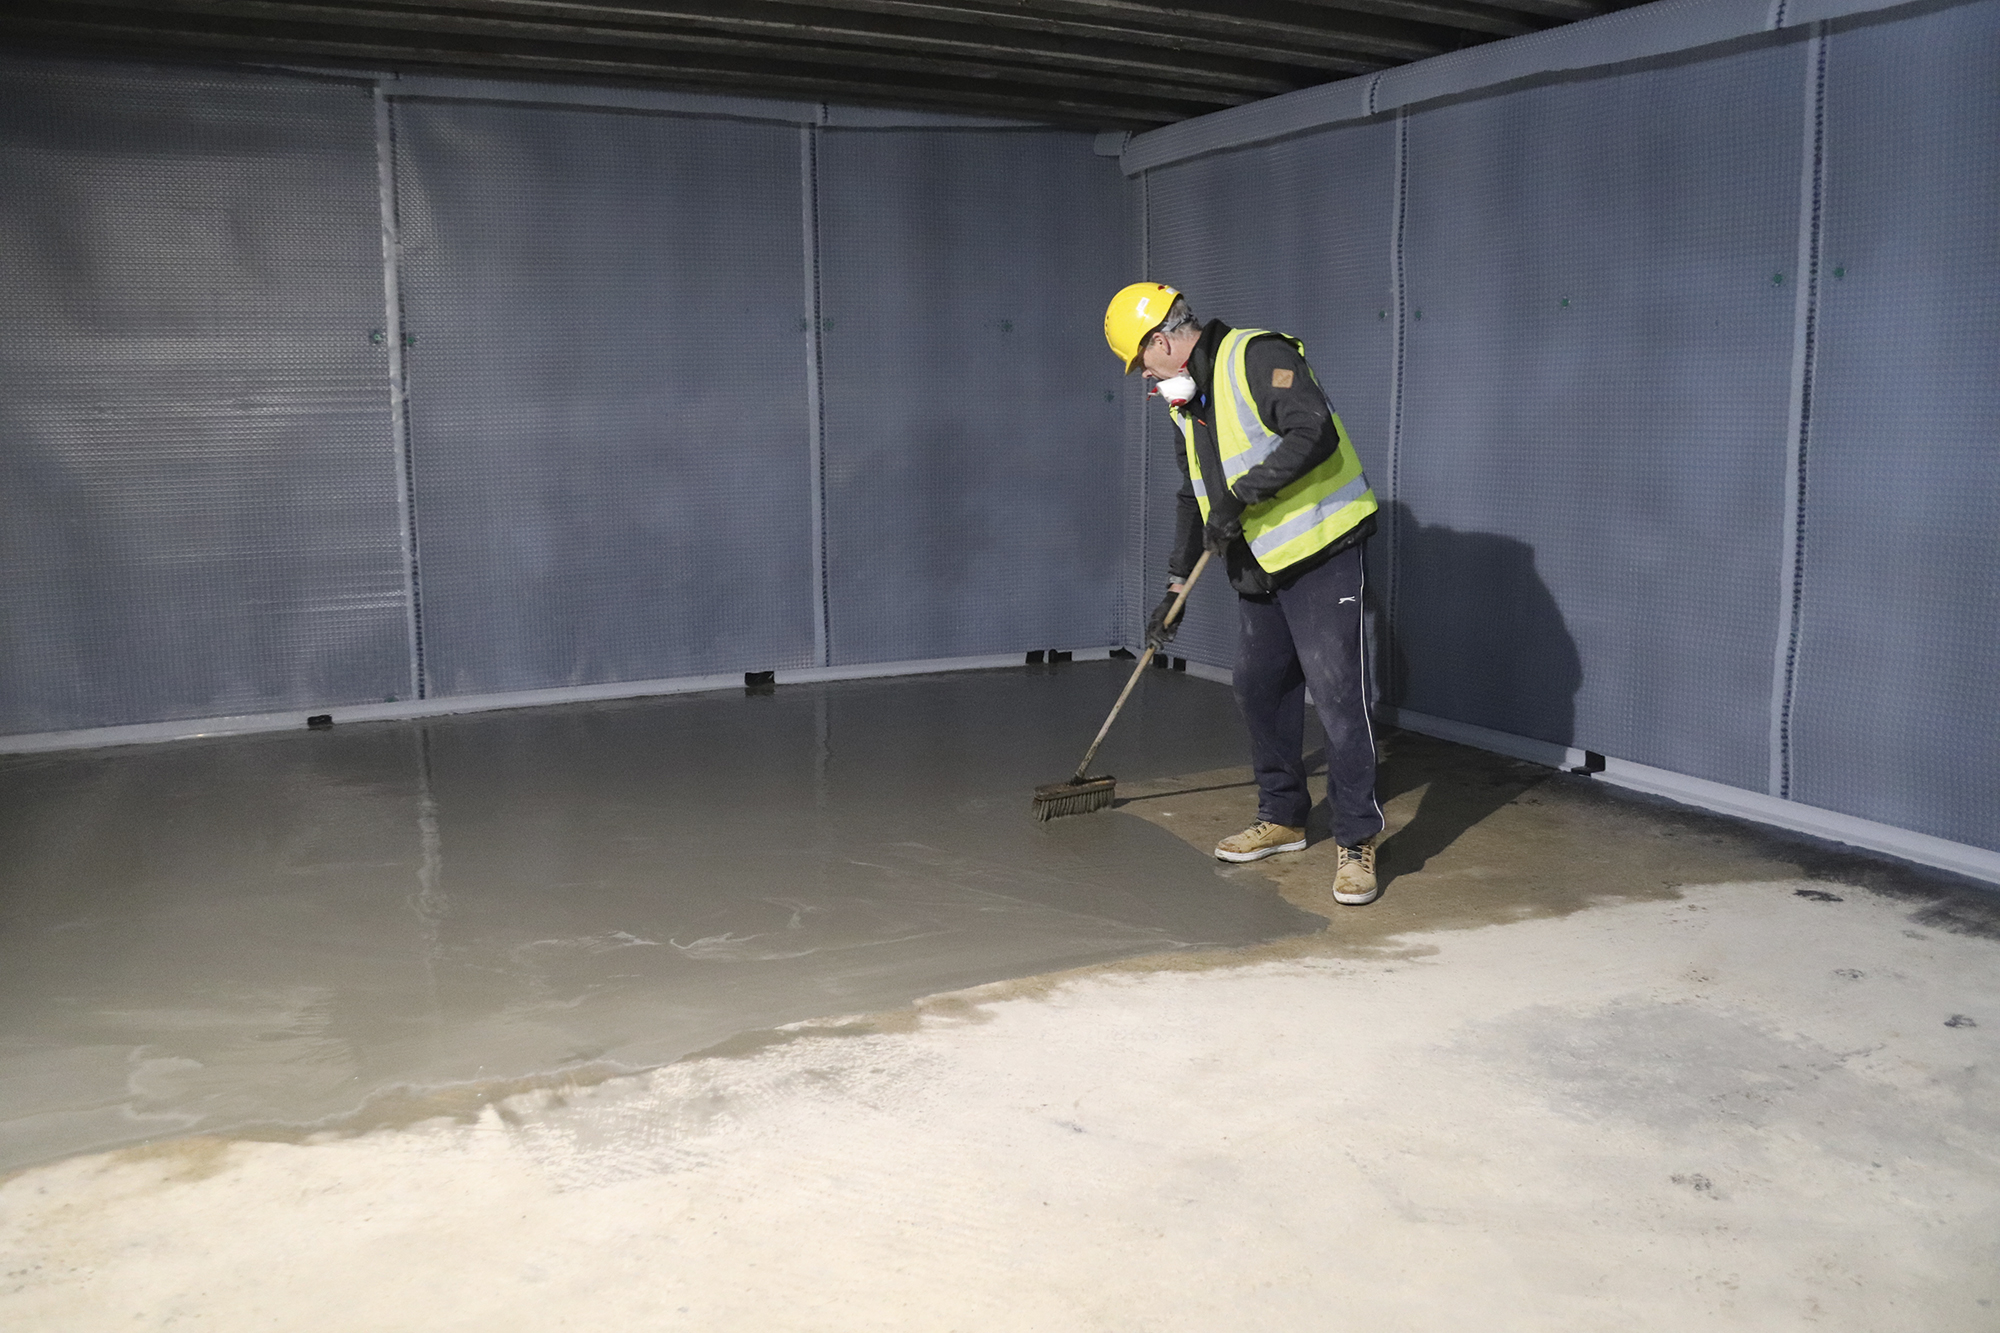
Your basement design team must select the right solution for your project. Many warranty providers will want to see two waterproofing methods implemented for a robust solution.
At the Education House, for instance, a cavity drainage membrane (CDM) has been combined with internal tanking on the floor and walls.
With conversion and extension projects, care should be taken in the design and build phases to ensure that you’re not undermining your own or neighbouring buildings. Proper calculations and a thorough schedule of works are key, and you may need a Party Wall Agreement. On larger self build plots, you might have to shore up nearby roads as well as the sides of the excavation itself.
A key cause of insurance claims on basements is due to failures in the tanking system. This could be because the wrong waterproofing method was specified at the start. But it’s much more common for issues to arise due to poor workmanship, a lack of knowledge from the contractor or avoidable issues such as failure of the waterproofing at connections and structural joins.
Engage a reputable specialist who can design and install a waterproofing system with a full 10-year insurance backed guarantee, covering both the materials and workmanship. As a rough guide, the waterproofing insurance for the Build It House cost £365 – well worth the money for the reassurance that you’re getting a robust result.
Treat external tanking properly when backfilling – otherwise the waterproof membrane could be damaged or punctured. Special bracing and protection boards may be needed,
or it might simply be a case of working carefully in manageable layers.
Minimising service penetrations through basement walls will help to achieve a continuous waterproof layer. In practice, however, some utilities will come into here, because it’s an obvious location for noisy appliances and most of us don’t want excessive boxing out
in the ground floor living areas. Where services do penetrate, ensure that they’re properly sealed as part of the specialist’s work, according to the manufacturer’s guidelines.
Getting the waterproofing right initially is all very well, but it must be properly protected during the rest of the build, too. You don’t want workers drilling straight into a CDM or getting rubble down the back of it. Make it part of their contract that they must not damage it.
Repairing external or internal tanking can cause significant upheaval (digging out earth or removing finishes). This is one of the reasons they’re frequently combined with drained systems. CDM installs should include access panels and rodding points for easy upkeep, plus an agreed maintenance schedule.
| Andy Butchers is a building surveyor with over 25 years’ experience in the construction industry. He is a director of Build-Zone Survey Services, the technical services company for Build-Zone and Self-Build Zone. |


 Login/register to save Article for later