

- Plan ItBack
- Design ItBack
- Build ItBack
- Homes
- ProductsBack
- CostsBack
- Self Build Cost Calculator
Estimate your project costs instantly with Build It's interactive self-build cost calculator
Calculate Now - Costs & Finance
- Contracts & Warranties
- Build It Estimating Service
Get an accurate, detailed cost breakdown of your project
Submit plans
- EventsBack


 Login/register to save Article for later
Tanking & Waterproofing our New Basement

There are 4 steps in this guide
One of the things about digging a giant hole in the ground for a basement, especially in the British rainy season (ie any time of year), is that you regularly get to see it fill up with water.
At one point, just before the basement walls were concreted on the Build It Education House, it crossed my mind whether I could get the planning permission changed to include a moat. Unfortunately, I think it might fall outside of the build zone on our Graven Hill plot!
There’s a serious point to my rambling: whenever you’re building underground, you need to think about how to deal with water.
While the pictures might make it look like our insulating concrete formwork (ICF) walls are pretty good at keeping a bit of rain out on their own, there’s a whole host of ways water can get into a basement.
For instance, our clay soil will hold a lot of moisture, which means groundwater will exert hydrostatic pressure on the walls. The design and construction needs to account for this and prevent it seeping into the living spaces.
Designing the Basement Waterproofing
Good basement waterproofing is all about having the right people on board. It’s important to involve a specialist at the planning stage, so the best solution can be identified and agreed with your designer, structural engineer and building control/warranty provider.
On the recommendation of ICF Contractors, who are delivering our basement shell, we appointed Surrey Basements as our waterproofing experts.
There are three main types of protection and it’s very common to combine at least two of these methods in order to ensure a safe and dry basement.
Quick guide: Types of basement waterproofing protectionThere are three basic options for safeguarding a habitable basement against water ingress. Your designer or structural engineer should select the best system for your project, in tandem with advice from a waterproofing specialist. Type A Often referred to as tanking, this involves adding a waterproof barrier to the basement structure. This could be applied externally to the walls and floor slab, but products are also available for internal use. The downside of relying solely on Type A protection is that any defects can be hard to pinpoint and resolve. Type B This involves the use of structurally integral protection, which basically translates to using waterproof concrete to form the shell of the basement. Correct specification and careful construction is vital to success. The most common defects are due to poor mixes, bad workmanship, leaks at construction joints and cracking. Type C Known as drained protection, this method uses the structure as an initial barrier – but assumes that some moisture will penetrate. A special membrane creates a cavity between wall/floor and the internal environment. Any water that seeps through is collected and redirected to a suitable discharge point (eg by pumping it to drains). |
Naturally, this aspect of the design affects how the basement floor slab and walls will be constructed. If you’re using an external membrane system, for instance, this will need to be laid beneath the floor slab prior to concreting and properly lapped up over the walls.
Our clay soil conditions and ICF construction system led to the specification of a combination of Type A tanking (an internal spray-applied slurry) and Type C protection using a cavity drainage membrane (CDM) system.
So for ICF Contractors, before the concrete pour for the floor slab could go ahead, the main considerations were getting plywood formwork in place to create the internal drainage channels, and forming the sunken cage for our sump pumps.
ICF Contractors break out the temporary formwork for the perimeter drainage channels in the basement floor slab
Any moisture that gets past the tanking layer will run down the CDM, through the drainage channels and into the sump chamber.
An automated submersible pump then directs the water to a suitable drainage point. This needs to be accessible for maintenance, and is fitted with an alarm system should anything go wrong. We’ll have two KSB Ama-Drainer N 301 sump pumps, with one acting as a backup.
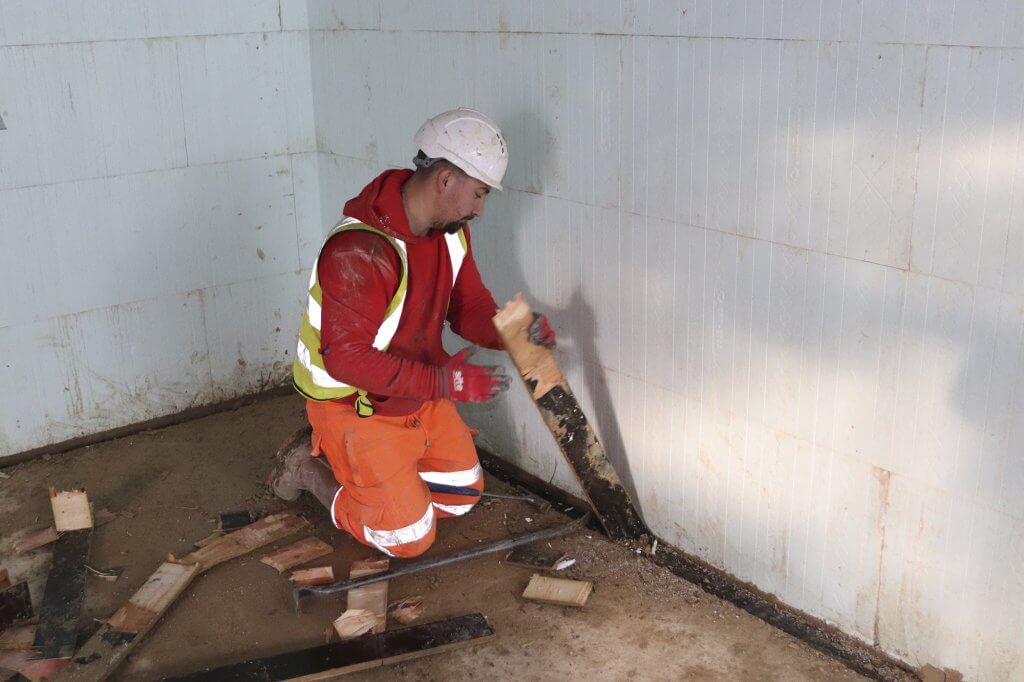
Once the basement walls were up and the beam and block ground floor installed, ICF Contractors set to work stripping out the formwork in the floor slab – and voila, we had perfect drainage channel runs, ready for the team at Surrey Basements to install their system.
Preliminaries
The first job on site was to pump out the water that had collected over the weekend. The morning of day one was therefore mostly about preparation. So after the site safety briefing I had a good chance to talk through the detail of the waterproofing process with Steve Sevier from Surrey Basements, who proved a goldmine of information.
All being well, Steve expected to be on site for four days applying the waterproofing systems. One day would be for prep and wall tanking; one for the wall CDM membrane; one for the floor slurry; and a final day for the floor membrane. However, there was a chance the cold weather might slow us down.
He’d spotted some minor points that would need quick decisions, too. For instance, the steel for the staircase opening wasn’t on the early drawings he’d seen, and could be a path for moisture – so Steve would treat this as part of the works.
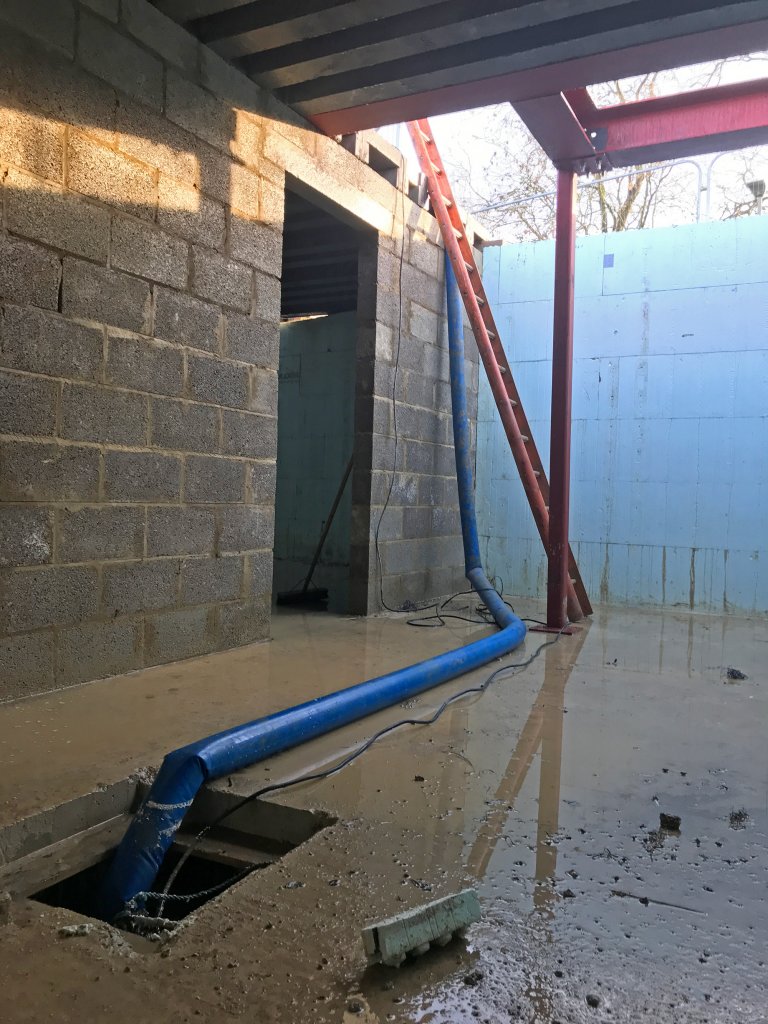
Before any waterproofing is done, the basement needs to be cleared of excess water
The internal load bearing block wall had also been connected to the outer ICF superstructure by cutting out the polystyrene. This was standard practice for the builders, and nothing to the contrary was shown on the engineer’s drawings.
As it turns out, a more practical solution would have been to finish the blockwork just before the ICF and include a damp proof course (into which the floor membrane can then be lapped). This would have left the internal wall completely clear of the waterproofing design and given us more flexibility (eg for running services or fixing cabinets).
Instead, we needed to treat the internal wall, too, up to a height of 1.2m (we decided against the time-consuming alternative of cutting a channel all the way up the blockwork to isolate the wall).
It’s not a major issue, and apparently the same thing happens on most of the projects Steve encounters. He recommended a sleeve detail we can use if we do need to make penetrations for utilities through the lower section of the wall.
We also discussed the importance of protecting the tanking and membrane systems. No site operatives can go into the basement while the flooring slurry dries, and the floor CDM needs protecting from water/dirt as soon as possible. We’re doing this by laying the rigid insulation and closing off the basement while works continue upstairs.
Depending on how cold it gets outside, Steve advised we might need some gentle heaters in the basement to help the water-based tanking slurry dry out and reduce condensation.
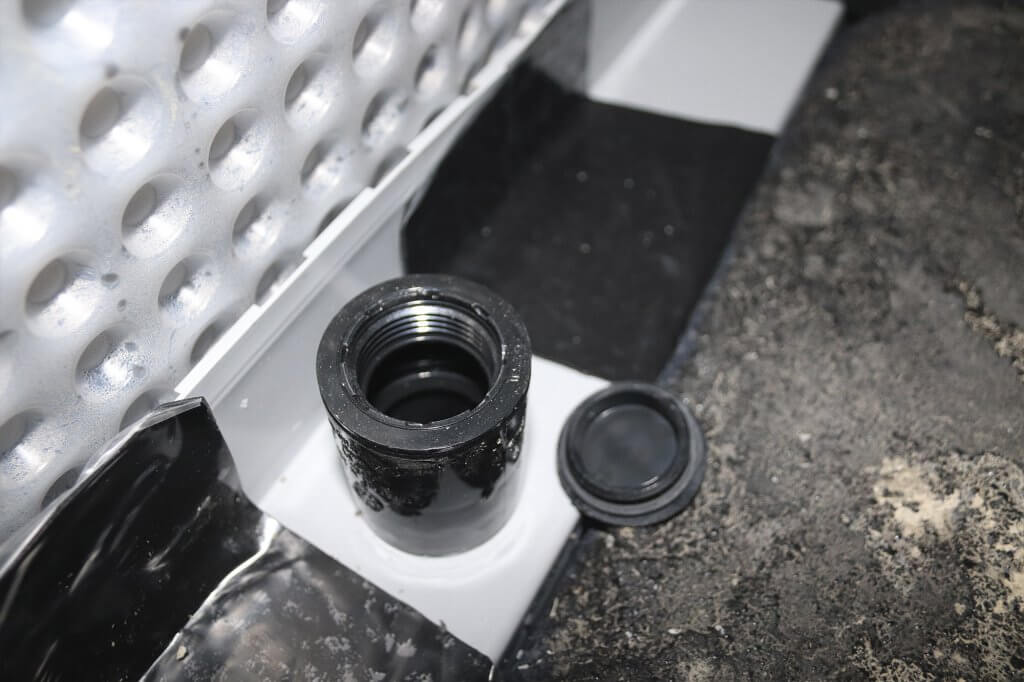
Jetting points allow for future maintenance to the drainage channels
Referring back to the latest drawings, Steve and I agreed suitable positions for the drainage channel jetting points. These are little black upstands that allow for inspection and power-washing of the drainage channels. We’re fitting five of them around the basement perimeter, and they just need to be in positions that don’t conflict with any other services.
Waterproofing the basement walls
With the preliminaries sorted, Surrey Basements could get started on spray-applying the ready-to-use Wykamol Technoseal wall tanking, which comes in 5L tubs.
This liquid membrane also offers protection against radon and other gases. Not too long ago, Steve would have had to paint it on with a roller – but the new sprays are much quicker to install, plus they get into the nooks and crannies properly.
Within a couple of hours, the job was done. You could already see the condensation from the tanking forming on the underside of the beam and block floor.
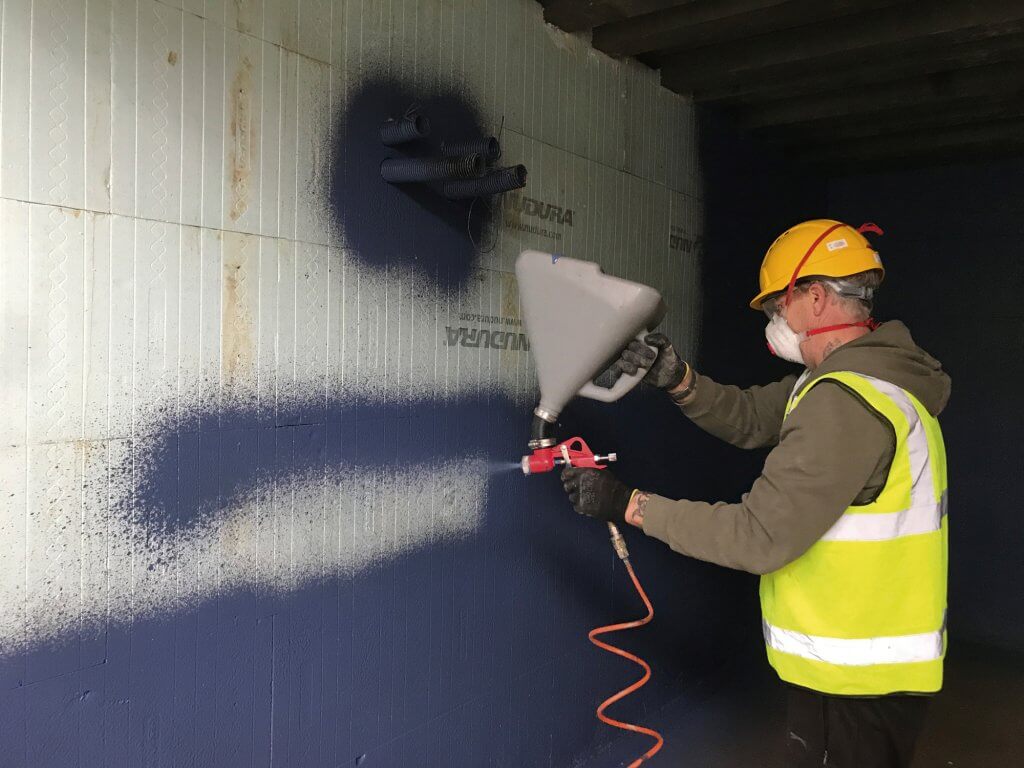
Spray-applying the Type A tanking was a quick job, but cold weather meant it took longer than expected to dry out
As usual, I was back on site on the Thursday to catch up with progress and answer any questions that needed my input.
Living in London, you don’t always experience the cold snaps, and it turned out that temperatures had been pretty chilly in Bicester – so chilly, in fact, that the waterproofing for most of the walls had taken two days to go off.
The front section of the basement was fine, thanks to the airflow through the stair opening, but in the rear they’d had to get heaters in. It was the first time building in winter had caused us any tangible delays.
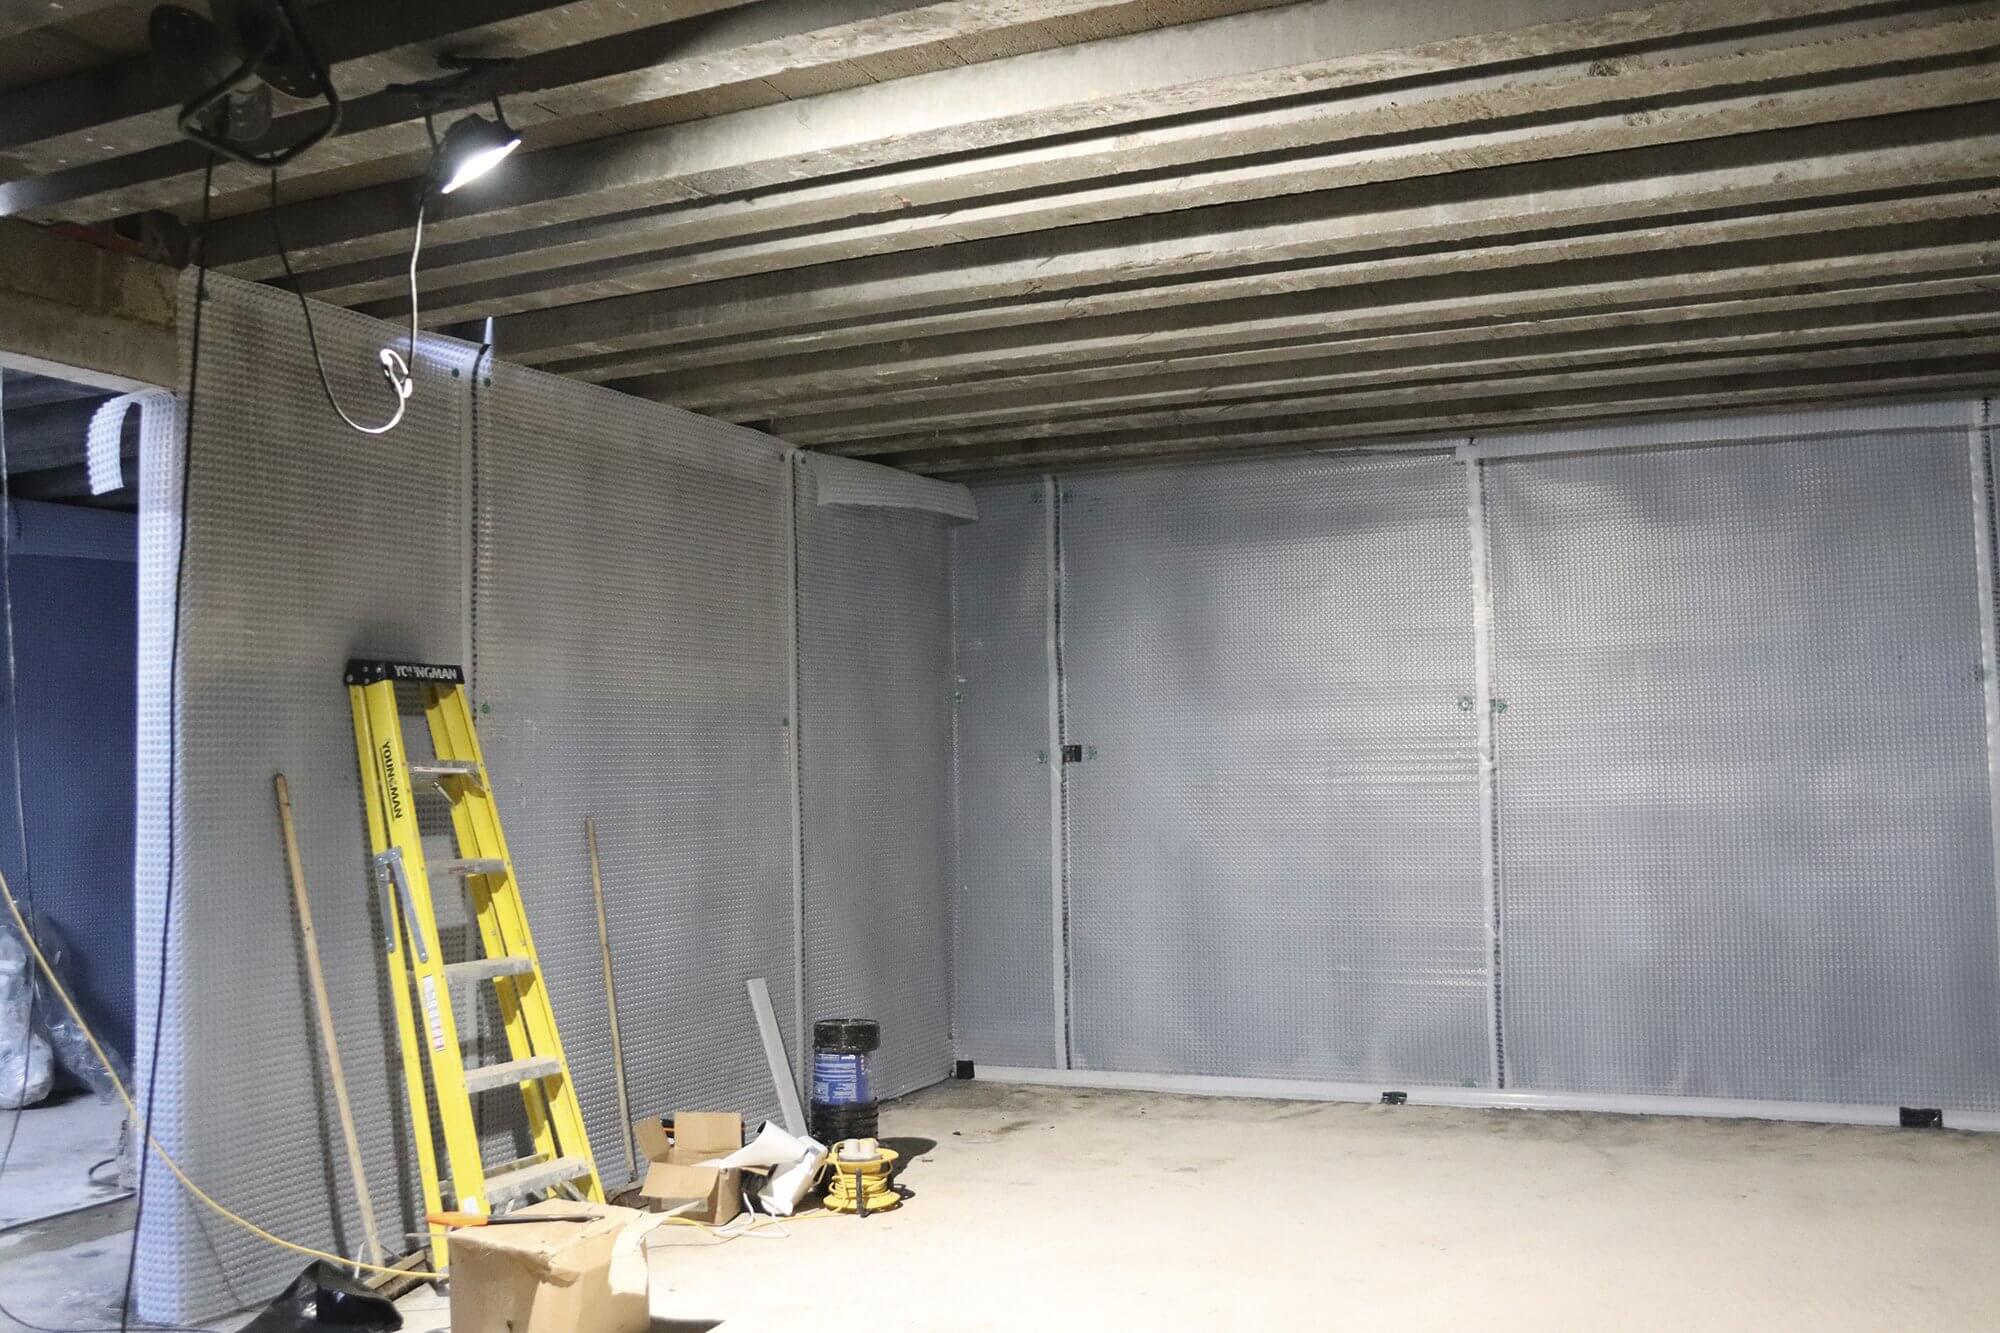
Nevertheless, Steve and his labourer had managed to get the Wkyamol CM8 cavity drainage membrane up onto the walls on Wednesday, as well as fitting the grey plastic drainage runs into the pre-formed channels.
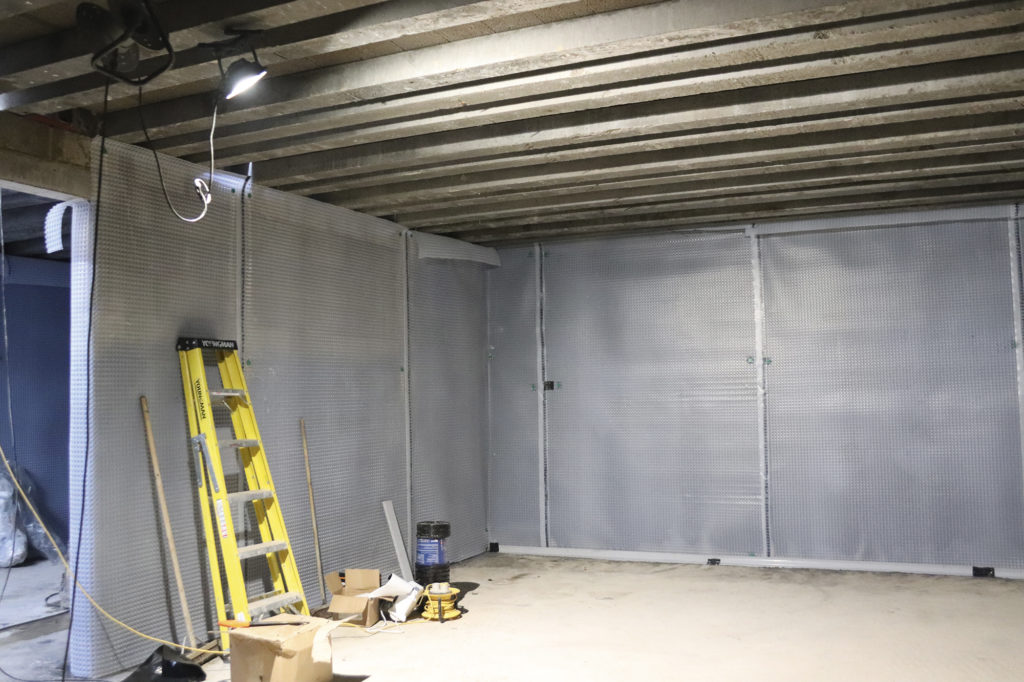
The Wykamol CM8 cavity drainage membrane installed in the Build It Education House basement
The membrane comes in big rolls that are unfurled down the walls and joined with a special taped overlap. They’re attached to the shell with waterproof plugs, which also provide a fixing point for battening at first fix stage (you don’t want to puncture the membrane itself, for obvious reasons).
Once the battens are in, they’ll hold up the CDM where it laps over the top as an extra measure to protect against water ingress.
Waterproofing the basement floor
While we’re keen to iron out delays as much as possible, you can’t hold back the elements – and the plus side of the cold snap was that I got to see the Wykamol Hydradry floor slurry being put down.
Unlike the wall tanking, this product comes in 20kg bags to be made up on site with an electric paddle mixer (set to a slow speed) to get a creamy consistency.
The guys swept and hoovered the floor before getting started, as it needs to be pretty clean to form a good bond, and then dampened it with a hose to aid adhesion. While Steve brushed-applied the slurry, his labourer got on with mixing the next batch.
Hydradry is a minimum two-coat system, but each layer can be just 1mm thick. With external temperatures due to fall fairly low again overnight, Steve planned to let the slurry cure over the weekend and lay the floor cavity drainage membrane on Monday.
This is a Wykamol CM20 CDM. It’s basically the same stuff as on the walls, just a little thicker to give enough volume in the floor to protect against the extremely unlikely worst-case scenario of a major leak combined with both sump pumps failing. The insulation is going down soon, at which point I’ll be able to see the finished space.
One of the perils of managing a project alongside a full-time job is that it can be difficult to get on site when you’d ideally like to.
With the magazine due on press that week, I wasn’t able to make it along to see the completed waterproofing works before the basement was closed up. But Surrey Basements have been professional and proactive throughout, and Catalin from ICF Contractors has been on it as site foreman, so I was confident in their expertise.
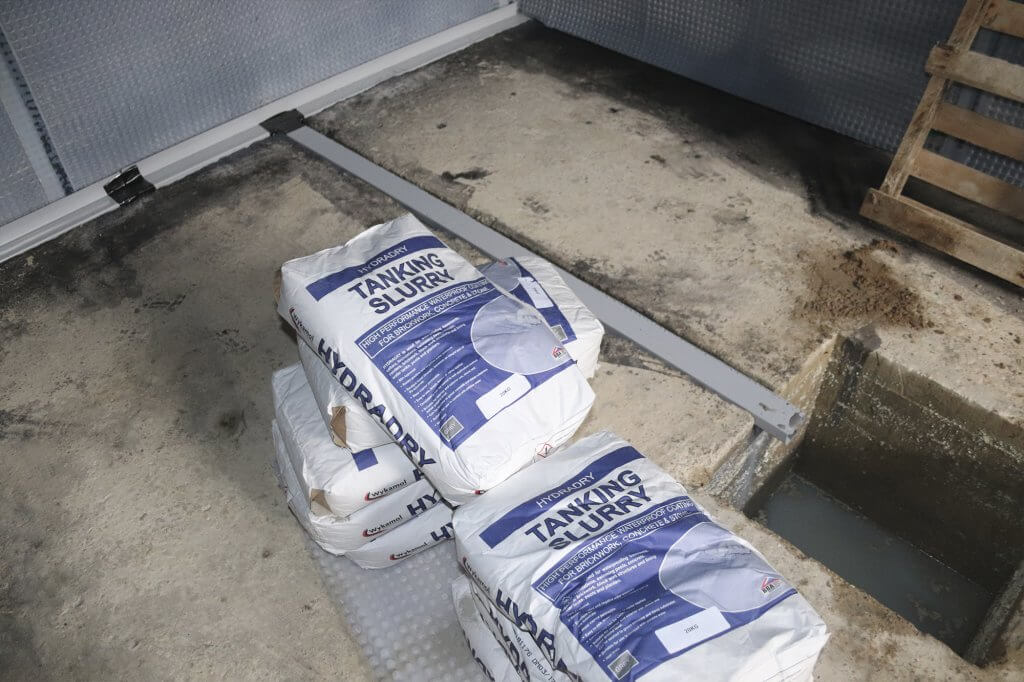
The Hydradry floor tanking slurry arrives in dry bags to be mixed on site. Note the well for the sump pump in the far right; all the drainage channels run to this point
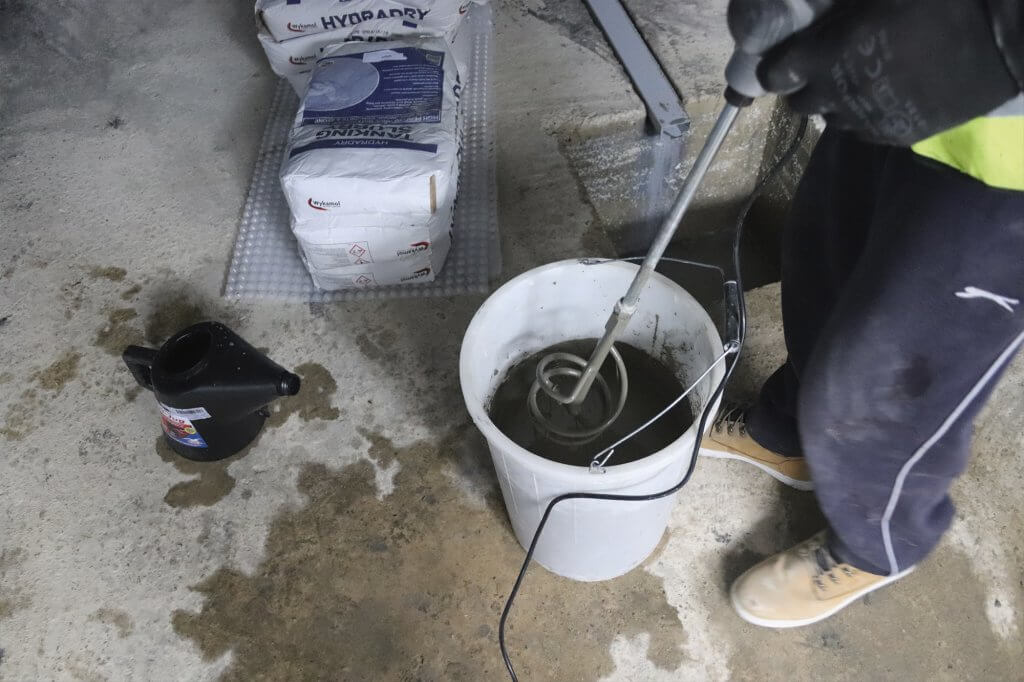
The Hydradry floor slurry is mixed to a brushable paste, and applied to the basement floor in two very thin coats
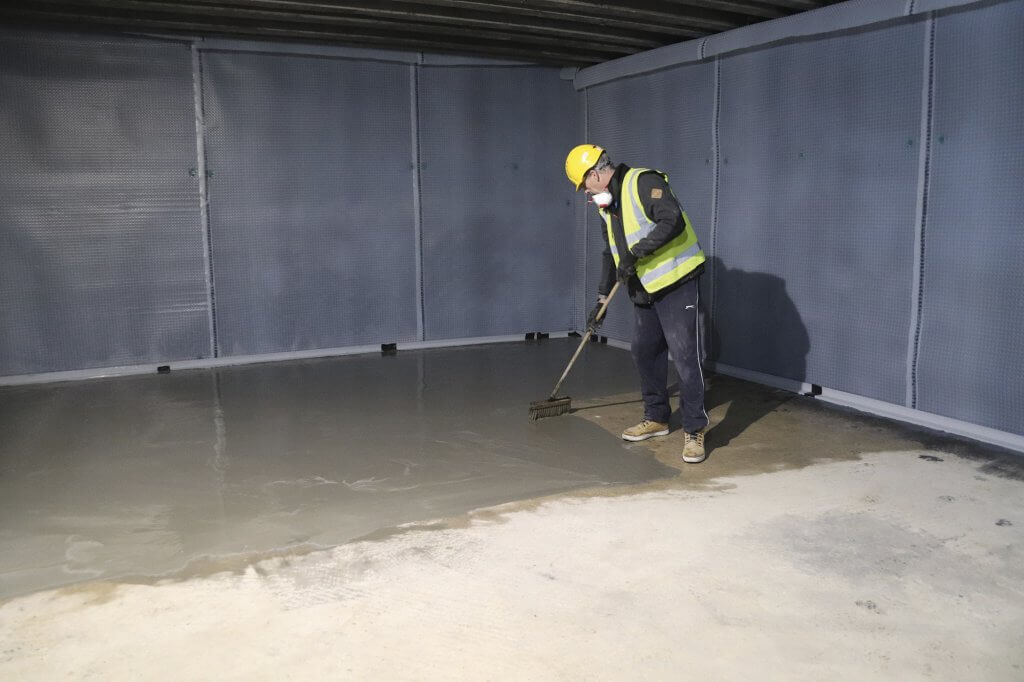
The basement floor was cleaned and dampened prior to brush application of the slurry
Chris Batesmith
You may be interested in


Hi, can someone tell the planning application reference number with the local authority so I can look at the drawings of the basement? I’m particularly interested in the horizontal windows at ground level allowing light into the basement, and the size of the plant room.
Many Thank, Tim
Hi Tim,
I don’t have the planning reference to hand, but I can tell you that we actually installed ‘fake’ windows, as we weren’t allowed light wells under the planning rules for Graven Hill.
So instead of natural light filtering down, we’re using daylighting bulbs and privacy glass to recreate the effect. The windows are set into stud walling on the inside face of the waterproofing membrane.
The plant room has a floorplan of about 10m2. One of the long walls is kitted out as a utility zone.
Hope that helps!
Chris (editor, Build It magazine)
For a number of technical and practical reasons I am surprised ICF should be used for any substructure. To use it, especially for habitable space and in Graven Hills’ high plasticity clays is even more surprising. It will be interesting to see what the future brings in terms of structural movement and water ingress.
As the structure is considered BS8102 Type B compliant will the the free draining backfill material and low level perimeter drainage (and final point of discharge) will be likewise compliant? It will also be interesting to see how the external surface water is dealt with. And, will the internal cavity drain (a water management, not exclusion system) be subject to a permanent ongoing maintenance contract between the installer and building owner as is the norm? An immediate thought here is how does the system deal with free lime?