- Plan ItBack
- Design ItBack
- Build ItBack
- Homes
- ProductsBack
- CostsBack
- Self Build Cost Calculator
Estimate your project costs instantly with Build It's interactive self-build cost calculator
Calculate Now - Costs & Finance
- Contracts & Warranties
- Build It Estimating Service
Get an accurate, detailed cost breakdown of your project
Submit plans
- EventsBack


 Login/register to save Article for later
House Design Masterclass Part 4: Getting Through Planning

Once you’ve agreed on a design for your new home, you might expect it to be plain sailing to get all the details finalised and ready to submit with a planning application.
Yet often it takes a while to refine broad ideas into a consistent, credible scheme. Your drawings need to present a house that fits your brief and budget, as well as actually being buildable.
PART 3: INITIAL CONCEPT DESIGN
Be aware that once planning approval is granted, any significant alterations made that affect the massing, materials or general appearance of the house will require you to resubmit, which is a time-consuming and potentially costly exercise – so it’s important to get it right first time round. The design is not exactly frozen, but it does become increasingly difficult to alter after this point.
What’s included?
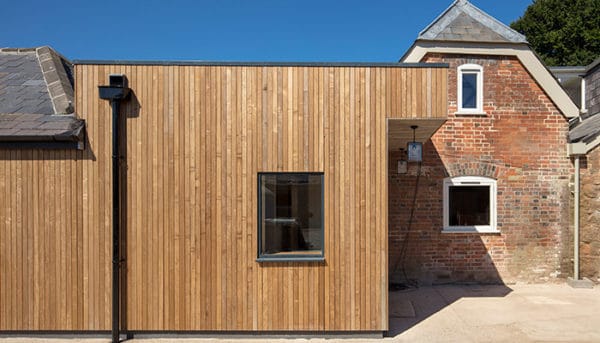
Planning application drawings have to show the size, shape and context of a design, along with an indication of the materials that will be used externally. If your plot lies within a conservation area or next to a listed building then you might be asked to provide more information about the detailed construction; for example, a large scale drawing of the joinery that makes up the doors and windows.
The council will be expecting your planning application documents to comply with a precise set of rules, designed to ensure they are easy to understand and comprehensive enough to allow a decision to be made and enforced.
Planning Application Checklist
If in a conservation area, typically also:
|
This is why the drawings have to be a recognised scale (usually 1:100 or 1:50), with scale bars and north points on the plans. If any essential requirements aren’t met the application will not get past the local authority officer whose job it is to register the proposal onto the system.
It’s usually not enough just to provide a design; there’s an ever-increasing list of reports that might be required, tackling topics such as bats, newts, flood risk, archaeology, trees, contaminated land and noise pollution.
If you have opened a dialogue with the planners when the concept was being developed, you ought to have been told if any of these apply and have consulted the relevant specialists. By this point, then, you should be able to verify that your design will comply with the restrictions imposed.
Understand the drawings
Agreeing the design is an exciting stage for self builders because it’s when the house starts to become real, rather than just an interesting collection of ideas. But you need to work your way around the different aspects of the scheme and test them out with a critical eye.
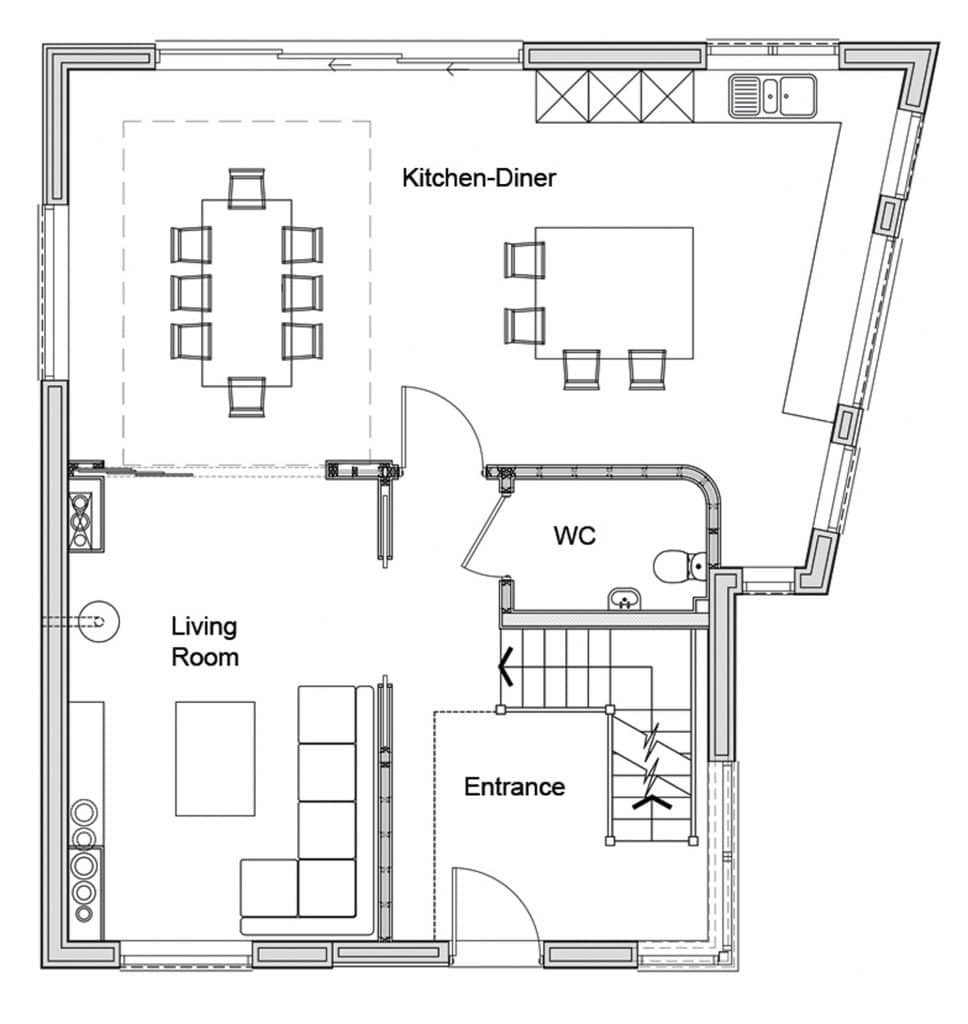
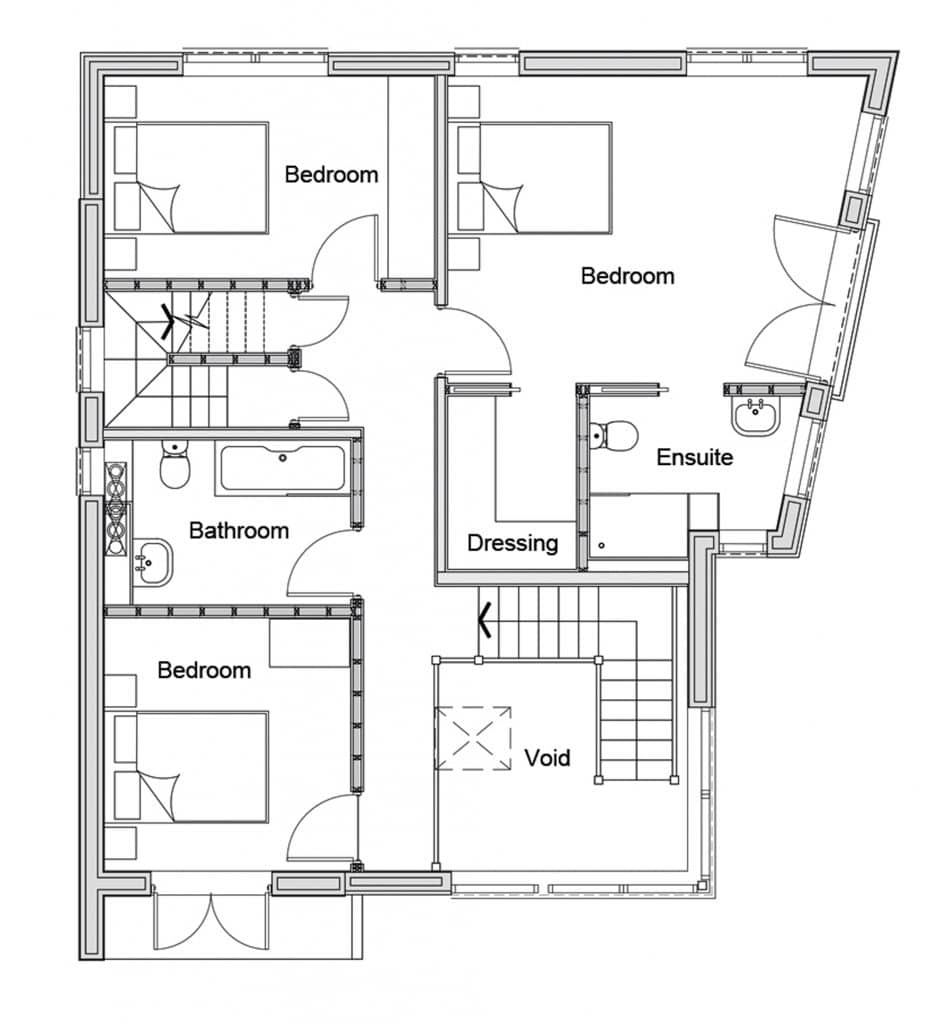
It can be difficult to look at a scaled floor plan and visualise how it will work in real life. Don’t be surprised if there are aspects of the property that are still in the architect’s head that haven’t leapt out at you from 2D plans and elevations.
Design teams are so used to reading drawings that it is easy for us professionals to forget our clients may not fully understand the ideas being proposed. Don’t sign off a scheme until you’re sure on all the aspects and it’s been explained to your satisfaction; if necessary, ask for 3D drawings and a fly past animation.
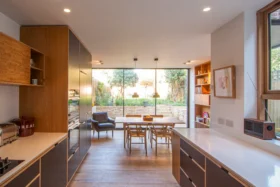
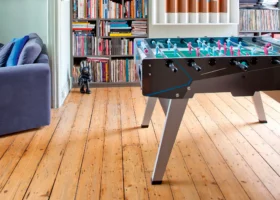
It may help you to have furniture drawn into each room. Architects have access to a myriad of standard, scaled objects that can be dropped onto a CAD drawing but remember these are generic and might not represent the furniture you are going to use with any accuracy.
Ideally you should get your designer to draw the pieces of furniture you already have (or plan to buy) accurately and in position. This can be a revelation, particularly if it turns out that it won’t all fit, or your favourite settee ends up looking lost in a sea of white space with the telly fading into the distance on the far side of the living room.
Just as important as where the furniture will go is the space around it. Although invisible, a certain amount of a floor area will always be needed for circulation so you should work out how you will move through a space – hopefully without having to squeeze past an armchair to get to a door on the other side of the lounge.
Get it costed
Another essential before you submit to planning is to get a quantity surveyor (QS) or builder to confirm that the project sits within your budget. Bear in mind that a builder’s approximate cost will usually be very optimistic because they want you to come back to them at tender stage.
In my experience, a QS will be more blunt, telling you what you need to know rather than what you’d like to hear.
Allow for contingency elements, so that if the prices do come in too high when you put the project out to tender, you can still achieve the approved design by reducing the specification quality rather than having to start from scratch with a fresh planning submission.
Beyond the application
There is much about the building that the planners do not need to know, but that you should have worked out, especially when it comes to ensuring the house can be built to match the design that gets the stamp of approval from the chief planning officer.
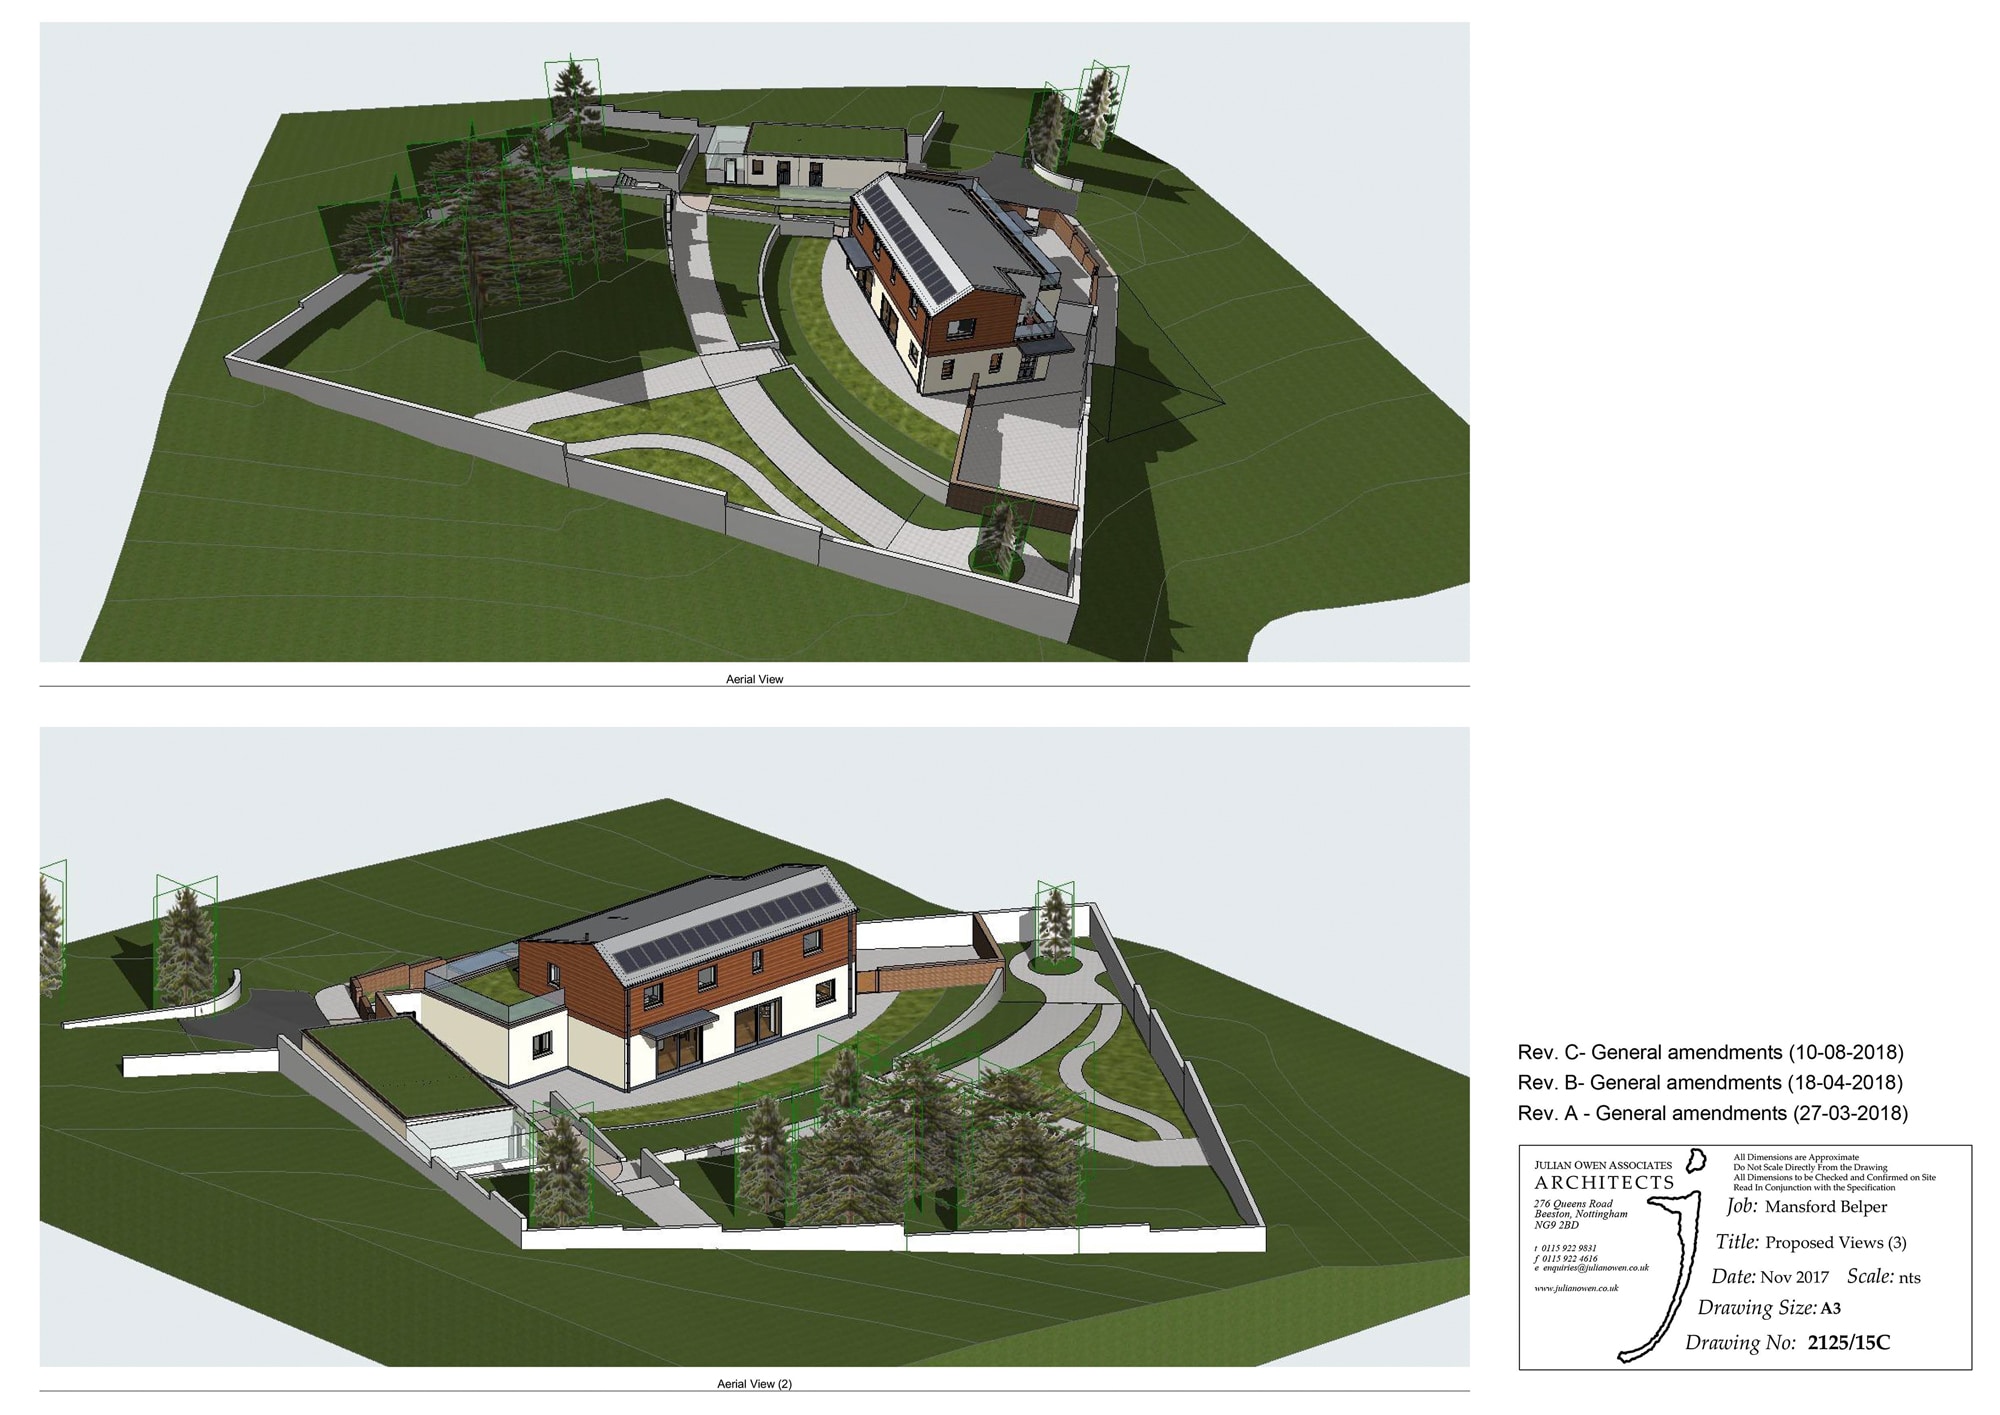
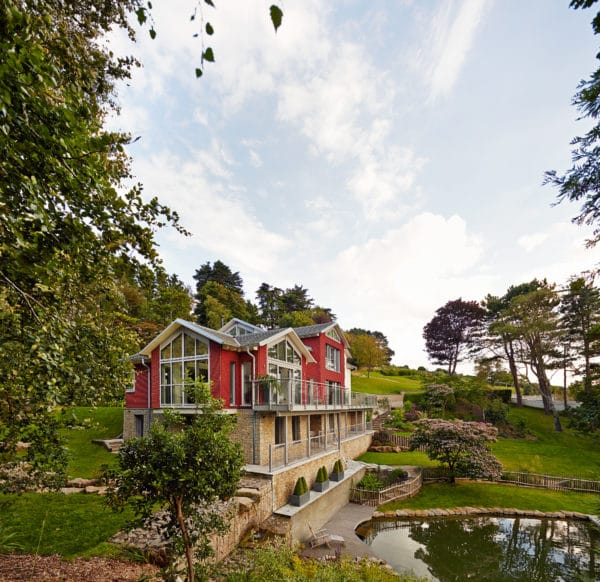
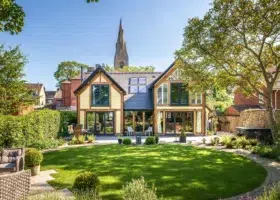
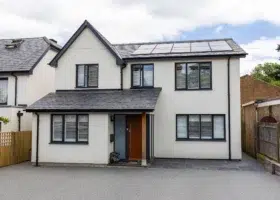
It’s a good idea to ask your designer to provide 3D visualisations so you can get a real sense of what the house will look like
This requires a certain amount of background work in anticipation of the later stages of the project, when construction drawings will be produced.
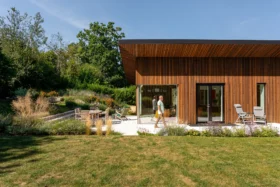
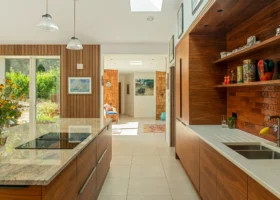
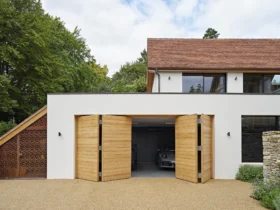
An example of this is the popular contemporary detail where glazing meets at a corner without a column, leaving the roof appearing to float above without support. This illusion is achieved by cantilevering a steel beam and if you want to show how it will look accurately on the application drawings you need to know the depth of the beam, the area that will be unsupported and where the beam will rest on solid walls.
In this case, it’s a sensible precaution to get this designed in advance by a structural engineer before the planning application is submitted.
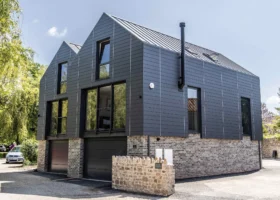
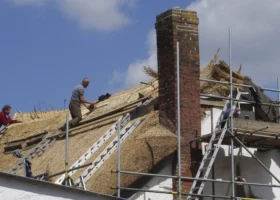
For similar reasons, it’s helpful to know the building system that the house will be constructed from. Whether it is timber frame, SIPs or masonry will affect how easy it will be to match the appearance on the planning drawings.
If you’ve already chosen the suppliers and products for certain details, whether bricks, windows or roof materials, you may choose not to indicate this on the drawings you submit to the planners. This is because the council will normally be happy for the description to be supplied later as a condition of the permission granted.
You should have a professionally prepared drawing of the existing site, including all the features of the land and spot heights of the ground and surrounding buildings, but the planning officer only needs a few levels and scaled drawings to assess the application.
If more are required, they can easily be supplied, but the less information on the drawings, the lower the chances of unnecessary questions being raised by the council or anyone in the area who may want to object to your planning application.
Submitting the plans
Sadly, I find there are few councils who eagerly await the arrival of a fresh application to build a new house and cannot wait to start considering it.
Instead, what usually happens is that it sits on their desk for anything between a few days and a couple of weeks, before being scrutinised and validated. If anything is wrong or missing and you are asked to amend it, you can easily lose a month before a planning officer is assigned to deal with it and the eight-week clock finally starts ticking towards a decision.
Unless you believe you’re certain to get approval or are working to a very tight build programme, it’s best not to start the construction drawings until you have the approval notice in your hand.
If you do and the application is refused or interfered with by the planners, you’ll have to pay your architect for the abortive work that results.
There are parts of the next stage you can work on. You can start to browse the DIY stores and builder’s merchants and exhibitions for sanitaryware, fixtures and fittings, for instance, or obtain colour swatches and tile samples.
This is your last chance to enjoy the design process being almost completely under your control, because from this point on you’ll find that more people will become involved, all of whom must be persuaded to stick to your vision.
Julian Owen


You may be interested in