Get trained with our eco retrofit virtual course
Tuesday 5th May at 7pm - use code BUILD for 20% off
BOOK YOUR SLOT HERETuesday 5th May at 7pm - use code BUILD for 20% off
BOOK YOUR SLOT HEREEstimate your project costs instantly with Build It's interactive self-build cost calculator
Calculate NowGet an accurate, detailed cost breakdown of your project
Submit plans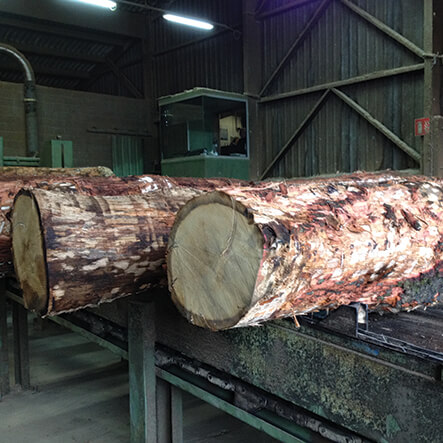
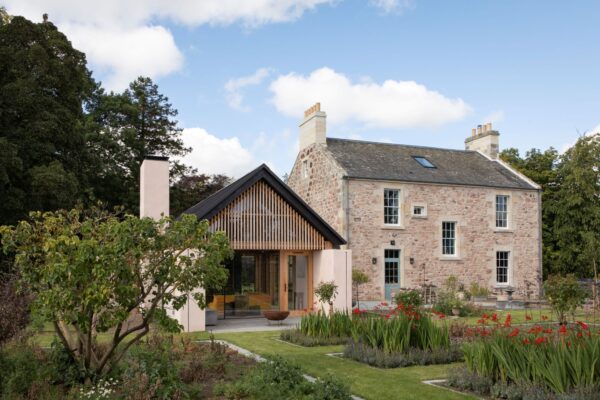
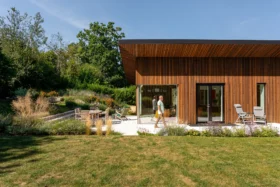
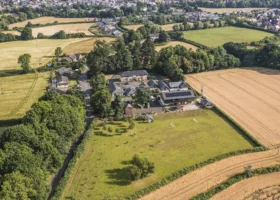
In the third entry of their self-build diary, Mark and Julia trace the roots of their oak frame home to France, and lay the ground floor with help of friends, family and a new mini-digger
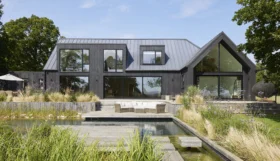
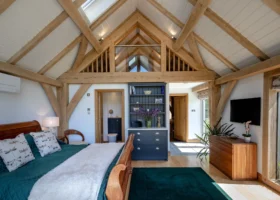
I have worked at Welsh Oak Frame for just over three years and still delight in creating characterful houses. I like the look, the smell and the feel of the wood; rugged, tough and strong, it has an aesthetic and an organic feel that surpasses other timbers, steel or masonry.
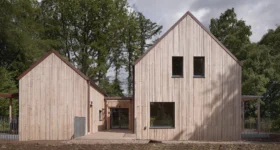
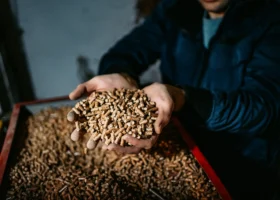
I promised Julia that when the time came, I would take her to the forest where the oak would come from, to show her the tree that will become a part of our house. That visit to northern France took place in mid-December. Our supplier kindly gave us a tour of the mill to see our logs being sawn and very carefully graded.
Not much of the oak is wasted after the beams are removed from the heart of the log. The central layer next to the beam is considered high quality and is used predominantly for the barrelling market, and as you go further out of the core the rest of the material is used for flooring or other ‘square-edged’ products. You finally get to the bark, which is often used as a fuel.
We’ve been living in our friend’s flat for a few months and we’re still getting used to renting and being mortgage-free (for now) and having a large sum of money in the bank. However, spending discipline is still very important. My advice is to negotiate hard from the off, as the proportion of cash left for the final leg of the build (ie finishes, kitchens and bathrooms) will put a serious dent in your budget and you will be glad that you saved in earlier stages of the build.
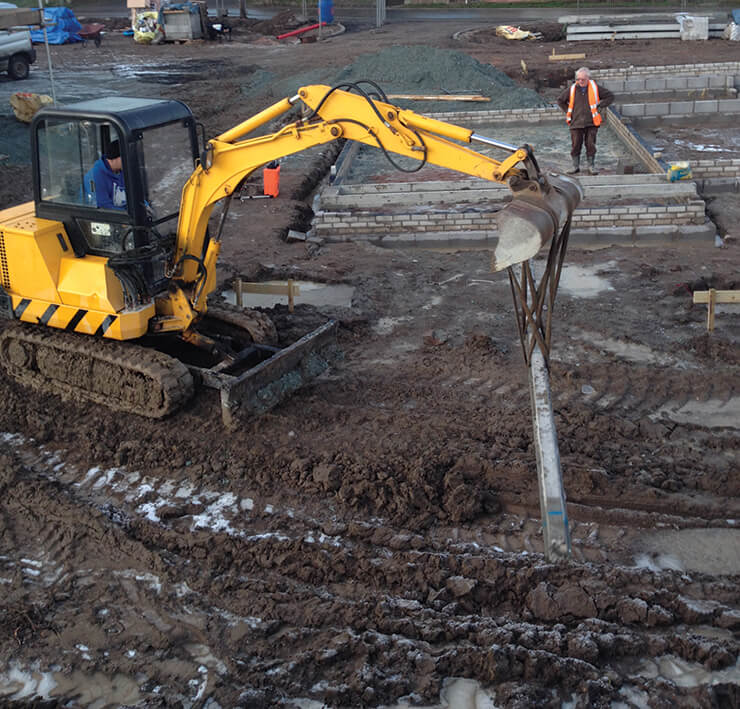
I decided a while ago that certain purchases were a must; one of these was a mini-digger. I researched the market and found that the prices for used machines remain remarkably stable (between £5,000 and £8,000) and they won’t lose too much value over the next 12 months, so it seemed like an obvious idea to invest in one rather than pay hire charges.
However, I would issue a word of warning to others looking to buy from auction sites – there are many scams. I came close to losing £6,500 because one seller insisted on communicating via email instead of through eBay. The vendor also made unbelievable excuses for why I couldn’t view the item.
I even received some officially headed PayPal correspondence from them, but I grew suspicious. I called PayPal who confirmed that unfortunately this scam was very common. I would advise that if a deal looks too good to be true then it generally is.
Another thing to do is to let your bank know what’s going on with your spending levels. I very nearly got caught out because I hadn’t notified them that I would be transferring large amounts of money. One payment was stopped because they assumed that someone was trying to commit fraud on my account.
I have discovered that it is really worth enquiring about connecting services as soon as possible. Unfortunately our village does not have a mains sewer and I have no choice other than to consider a treatment plant with a soakaway.
One of our conditions of planning is to design a suitably sized drainage system, which will involve digging trial holes on site. It’s very straightforward and I found plenty of information online about how to carry out a percolation test. The results of this trial will dictate the system we use.
Scottish Power continued to be very efficient and managed to get a temporary supply sorted (which included a full road closure) within five weeks of paying them £3,500. They’re not actually providing us with our electricity and I have had to go to E.ON for the meter installation.
I’d heard loads of horror stories about the length of time we’d have to wait for this, but to my pleasant surprise E.ON reliably informed me that as soon as I issued them with a meter point administration number (MPAN), the unit would be installed within six days. This meant that by January we could do away with the generators.
When it comes to services I’ve learned that you should double check the requirements your provider needs to get everything running. I was asked to build a cabinet on site to a certain specification and I mounted it on two fence posts driven into the ground – the standard way of doing it. But the morning Scottish Power turned up to connect, they rejected this set-up, insisting upon a concrete slab being placed underneath the cabinet.
By sheer good luck we happened to be pouring foundations that day so the problem was easily solved.
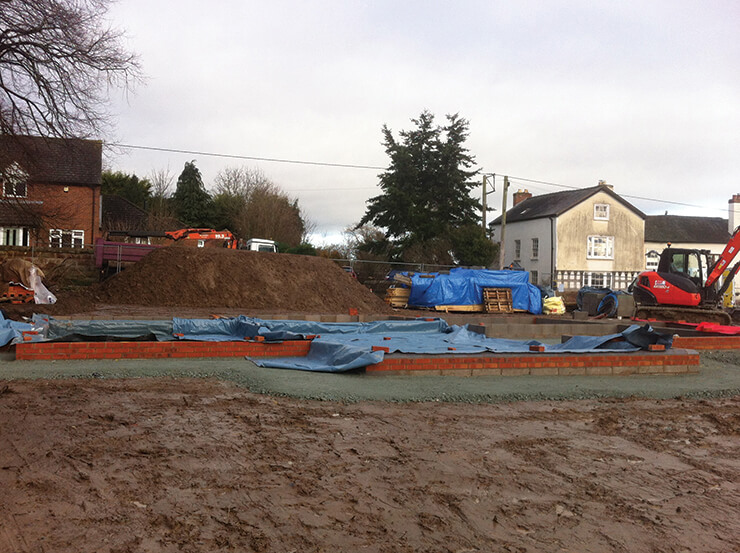
One of the most valuable pieces of advice that I have been given so far was to lay down some hardstanding to avoid the site becoming a mudbath. However, it wasn’t until the first heavy rainfall that I realised just how important this was. If I hadn’t followed this counsel, the mess that would have been carried out onto the main road would have aggravated the locals and the highways department.
So I reckon the investment in £2,000 worth of what is known as quarry crusher was well worth it – even though I have a fear that I will be digging up endless bits of brick and concrete when I’m tending my gardening in the future.
When shopping around for suitable products I established that there are basically two grades of hardstanding material. One is quarry crusher, which costs approximately £11 per tonne and is a low-cost option to be used where depths in excess of 150mm are required. The other, known as MOT Type 1, is around £16 per tonne, and is specified by the transport department for its load-bearing properties.
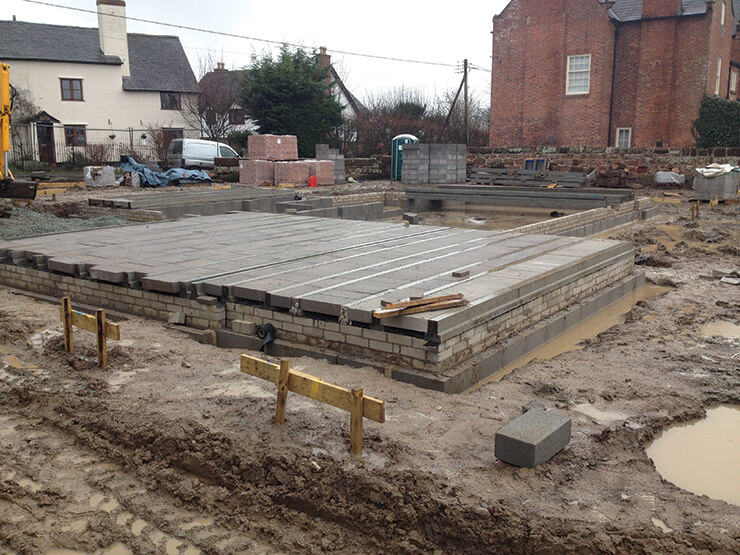
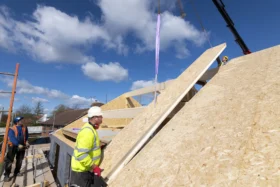
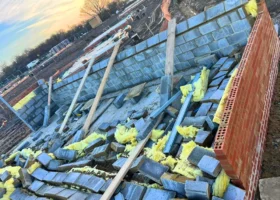
I found it difficult to make an informed decision between using traditional concrete slab fill or a beam and block floor. In the end the choice of the latter was due to its cost effectiveness – I discovered that I could carry out much of the work myself. I sourced the materials from Tarmac via Travis Perkins and found the technical staff there very helpful. I gave them a floorplan and they came back within a few days with a design proposal and quotation.
The materials were delivered within two weeks and came in at just under £2,000 for a floor area of 190m2. It cost me £5,000 to dig and fill the foundation trenches. Blocks, sand and cement cost £350 and a team of three lads laid the blockwork for around £1,000. The total was approximately £8,500.
Paul, my daughter’s boyfriend, and my father-in-law helped me to set out and lay the beams – using my newly purchased digger. It felt like working on a giant jigsaw puzzle, but it was a very rewarding process – and it only took two days to complete.
In the next entry: Mark starts to face the difficulties of building in the winter, and tries to get to grips with how gas, water and electricity will connect to the house.


 Login/register to save Article for later