- Plan ItBack
- Design ItBack
- Build ItBack
- Homes
- ProductsBack
- CostsBack
- Self Build Cost Calculator
Estimate your project costs instantly with Build It's interactive self-build cost calculator
Calculate Now - Costs & Finance
- Contracts & Warranties
- Build It Estimating Service
Get an accurate, detailed cost breakdown of your project
Submit plans
- EventsBack


 Login/register to save Article for later
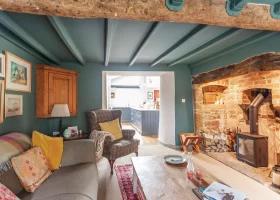
Period Renovation Project 6: Stripping the Plaster

We have had great news for our project – our initial Listed Building Consent application has been granted. This means we have been able to start work!
The initial phase involves stripping out many of the modern finishes that have a detrimental impact both on the health of the building and its character.
Period Renovation Project 5: Choosing professionals
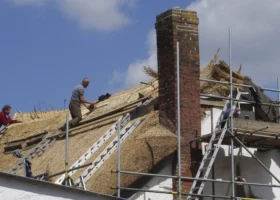
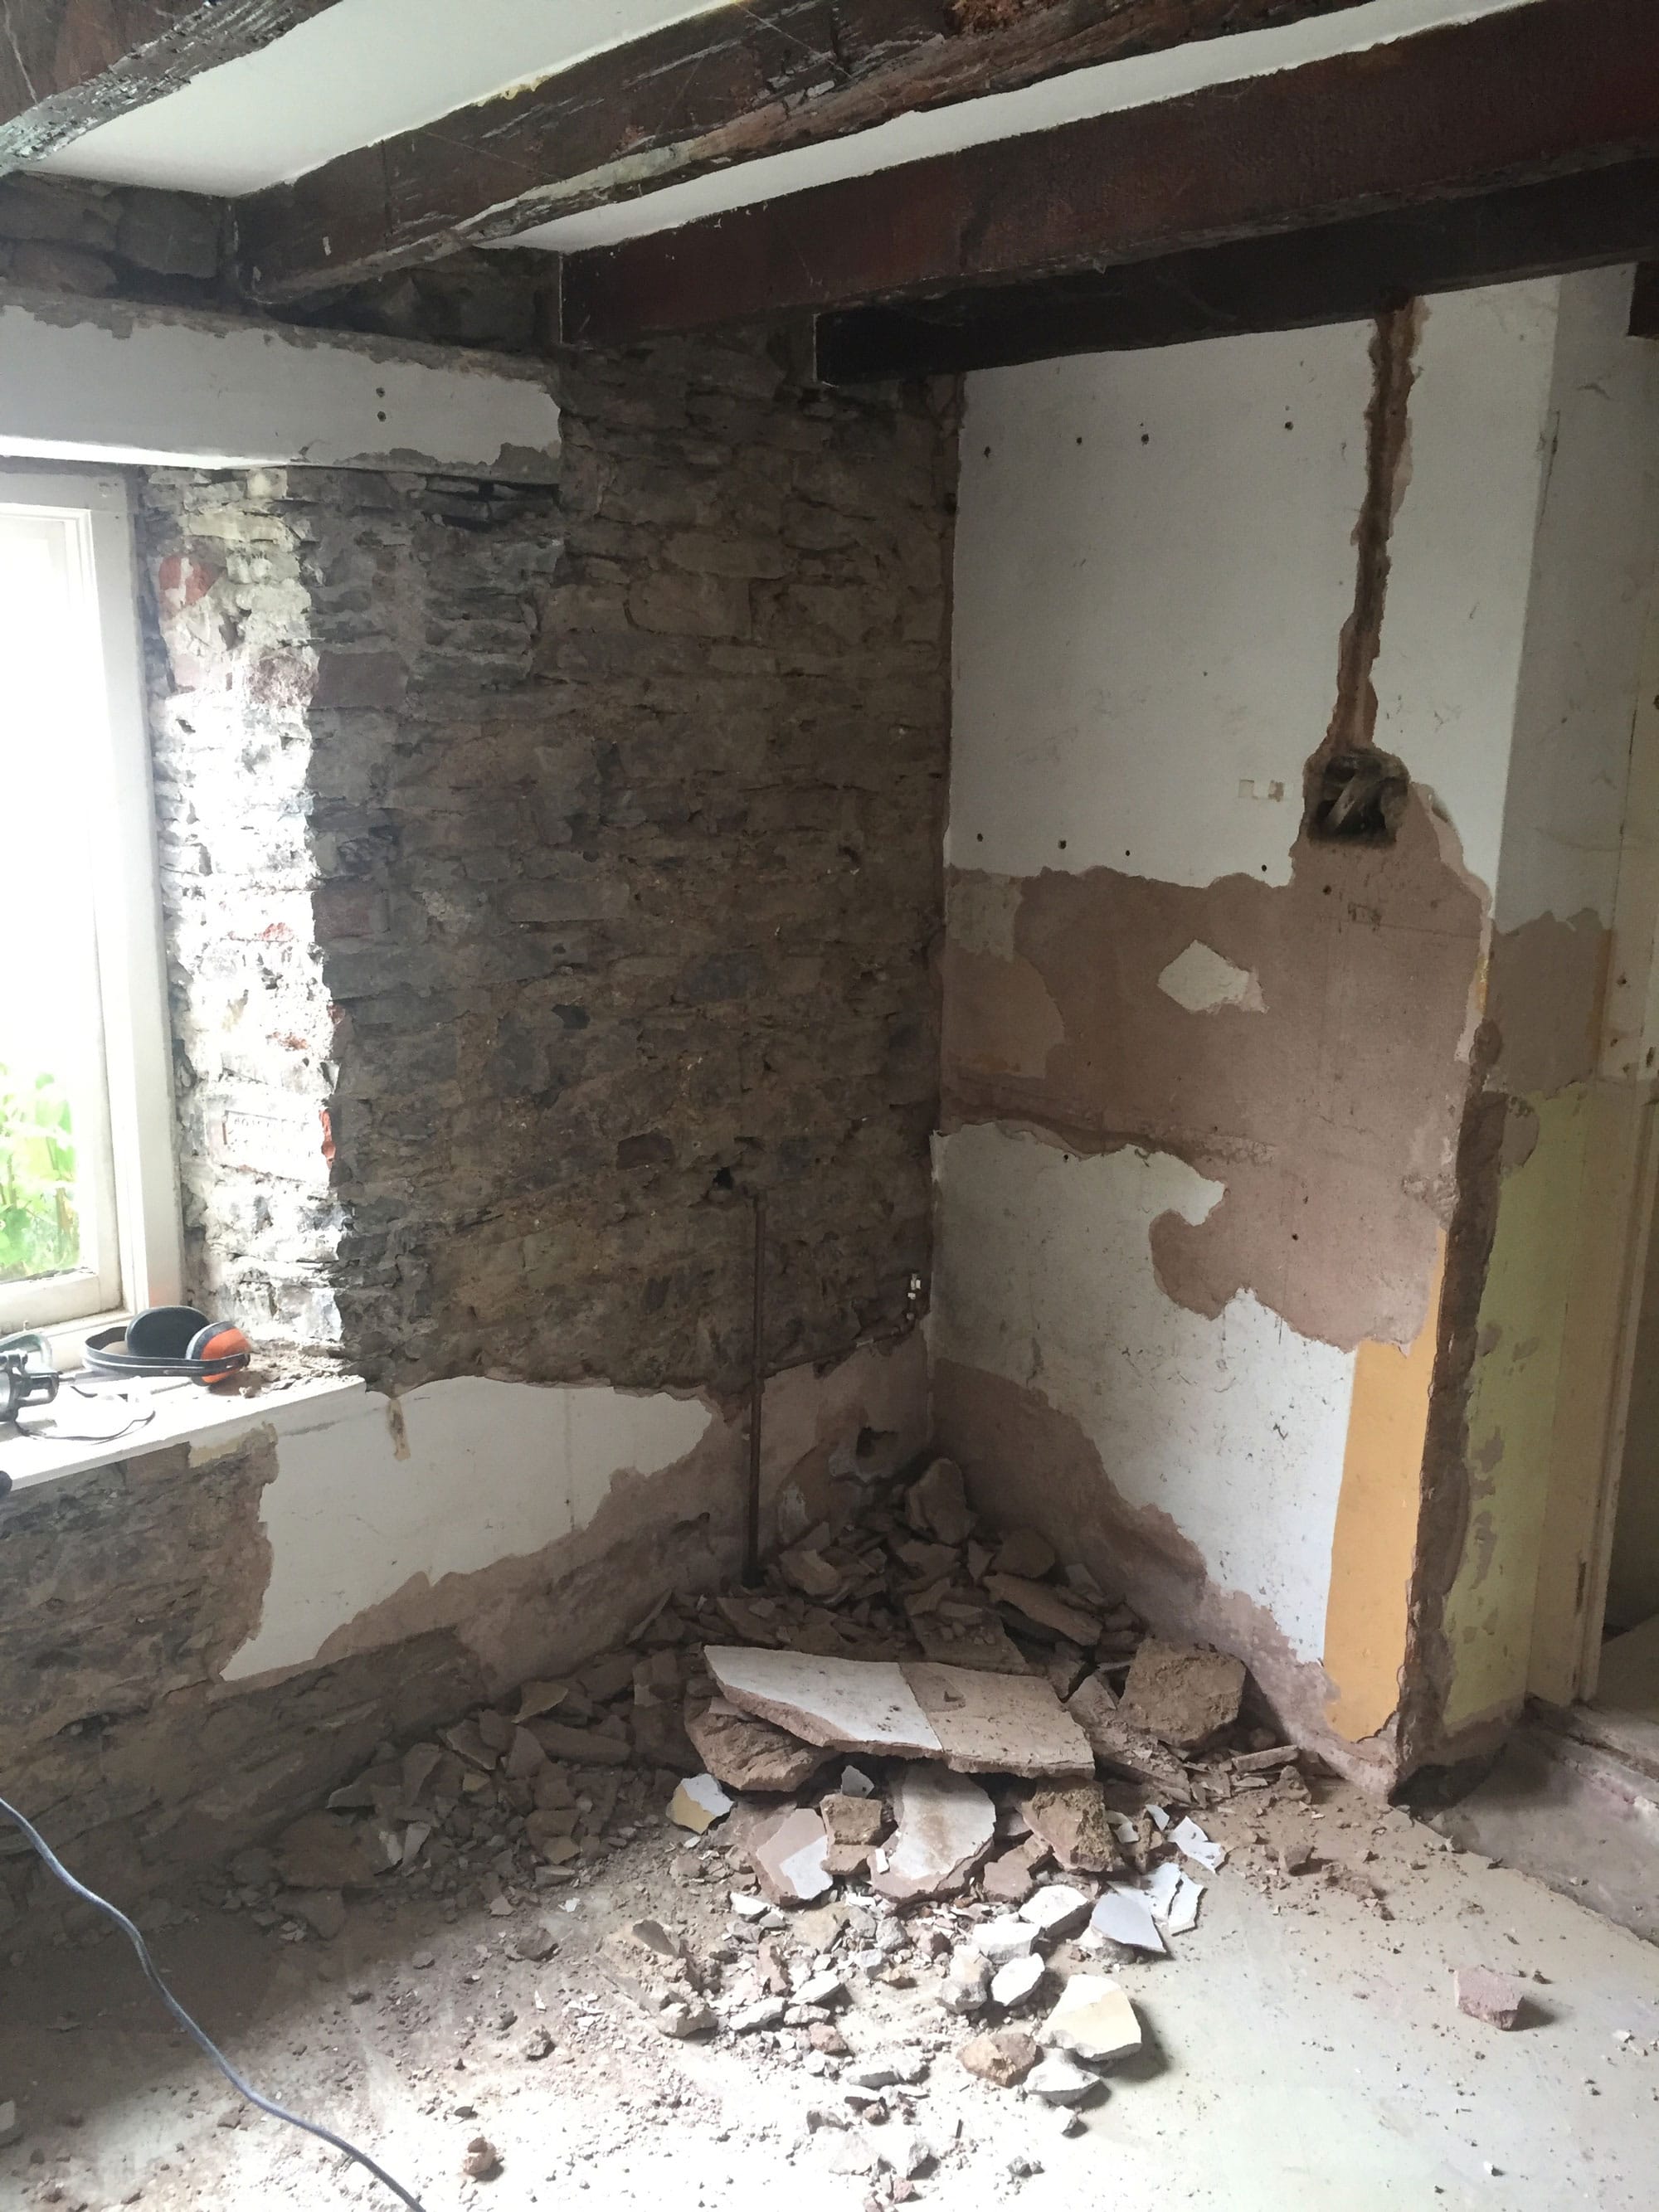
The first thing we have got to grips with is stripping all the plaster from the ground floor walls. This started with investigating various test patches to find out the nature of the plaster and see how well it was sticking to the walls. We also wanted to find out how the walls themselves were constructed and what their condition was.
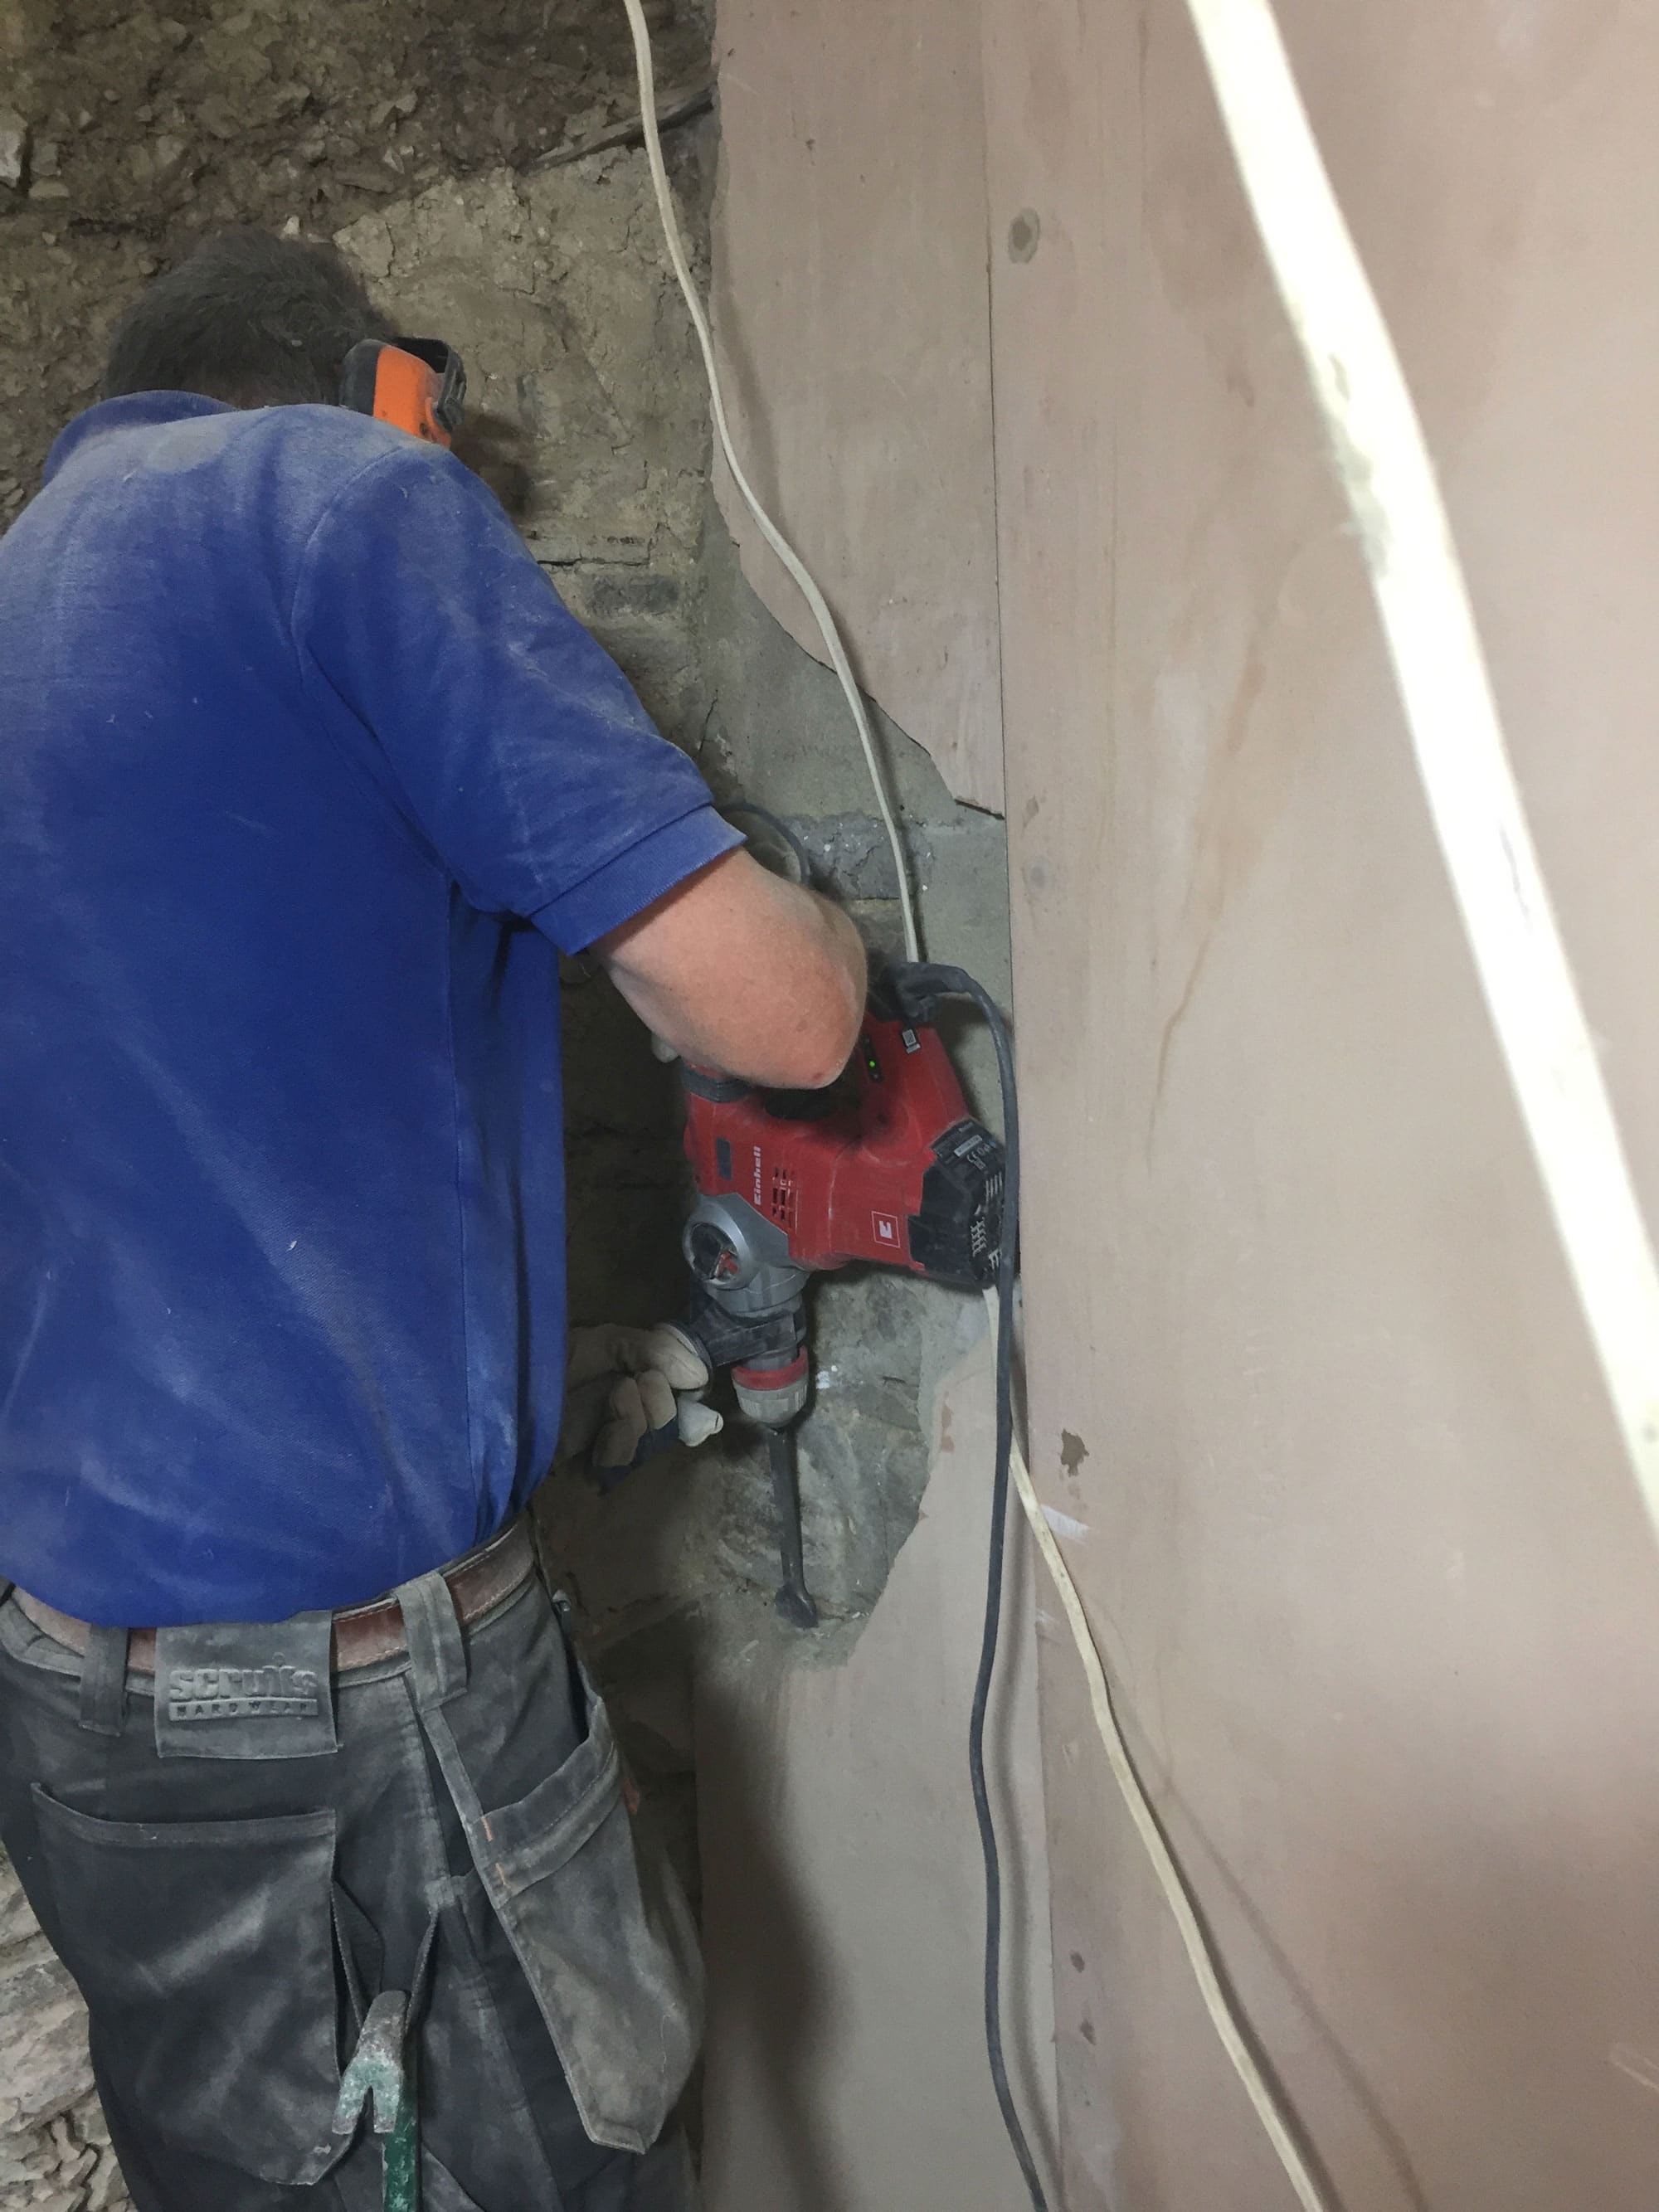
Finally we needed to develop techniques for removing the plaster without damaging the underlying wall fabric. Inevitably there was a range of different answers to these questions in different parts of the house.
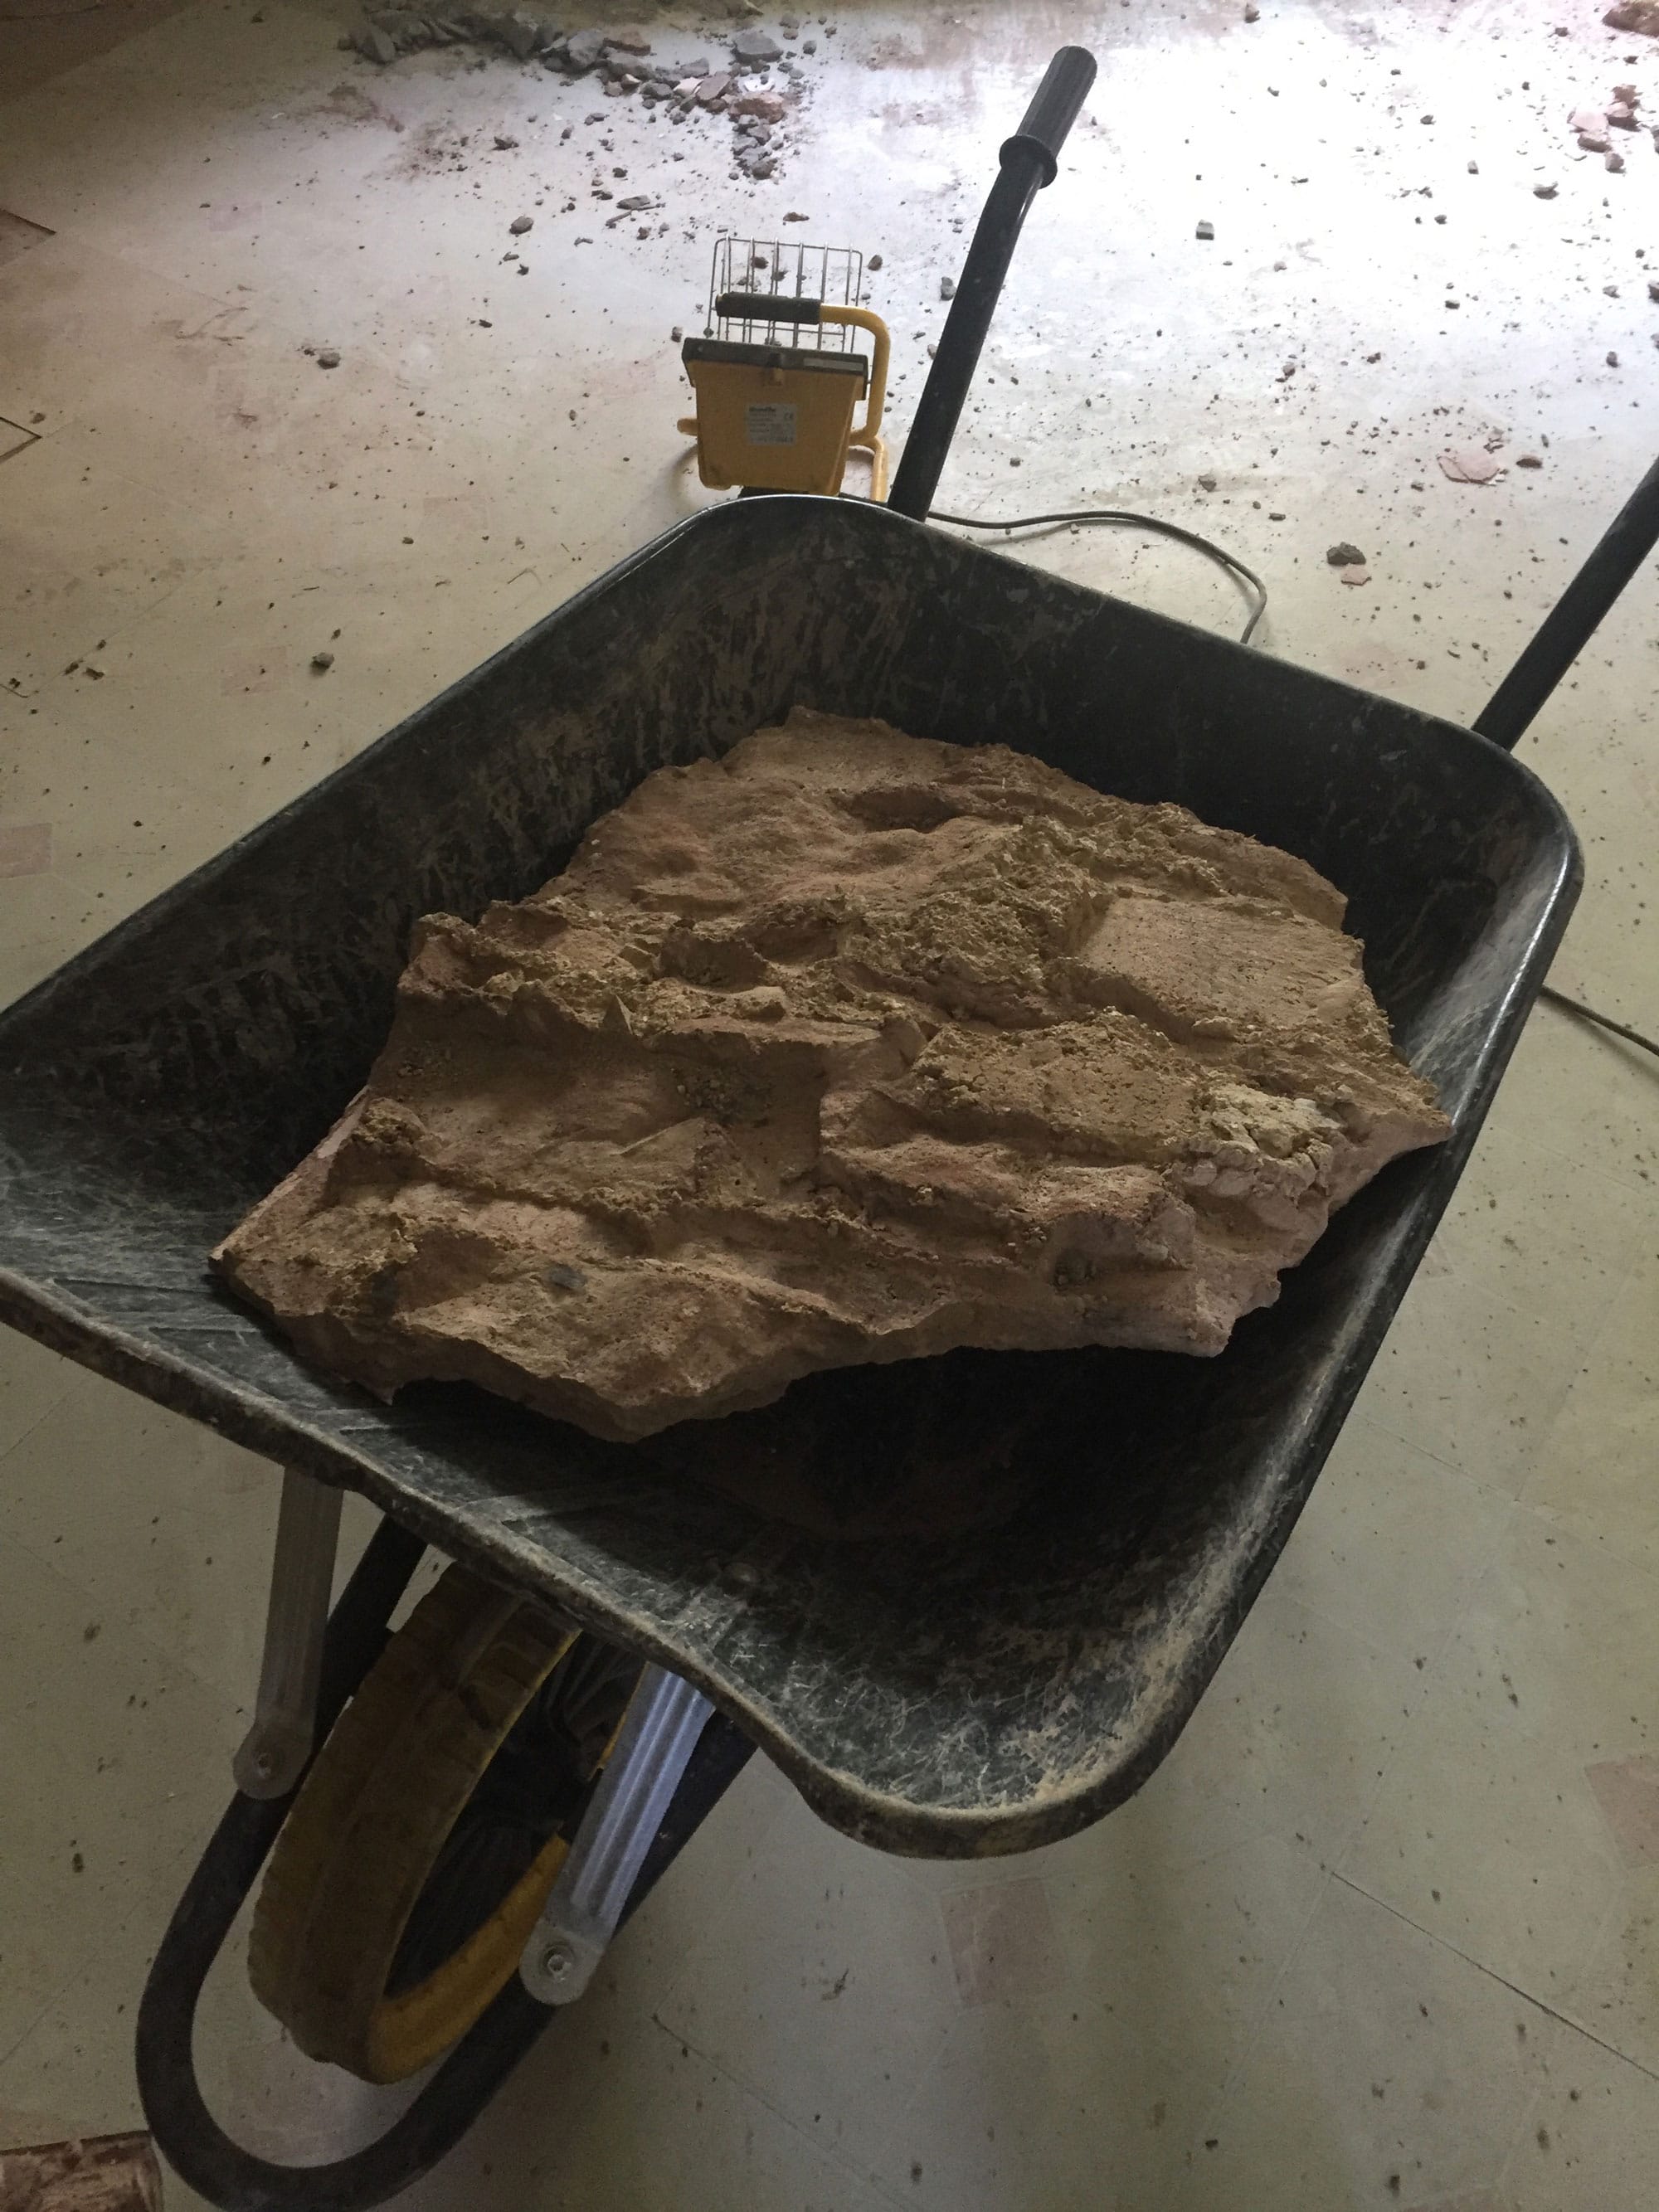
For the most part we found that the plaster was very hard and cement based; in places it was very thick – up to 150mm in patches! This was causing some quite serious problems for the building because it was completely non-breathable, inflexible and very heavy.
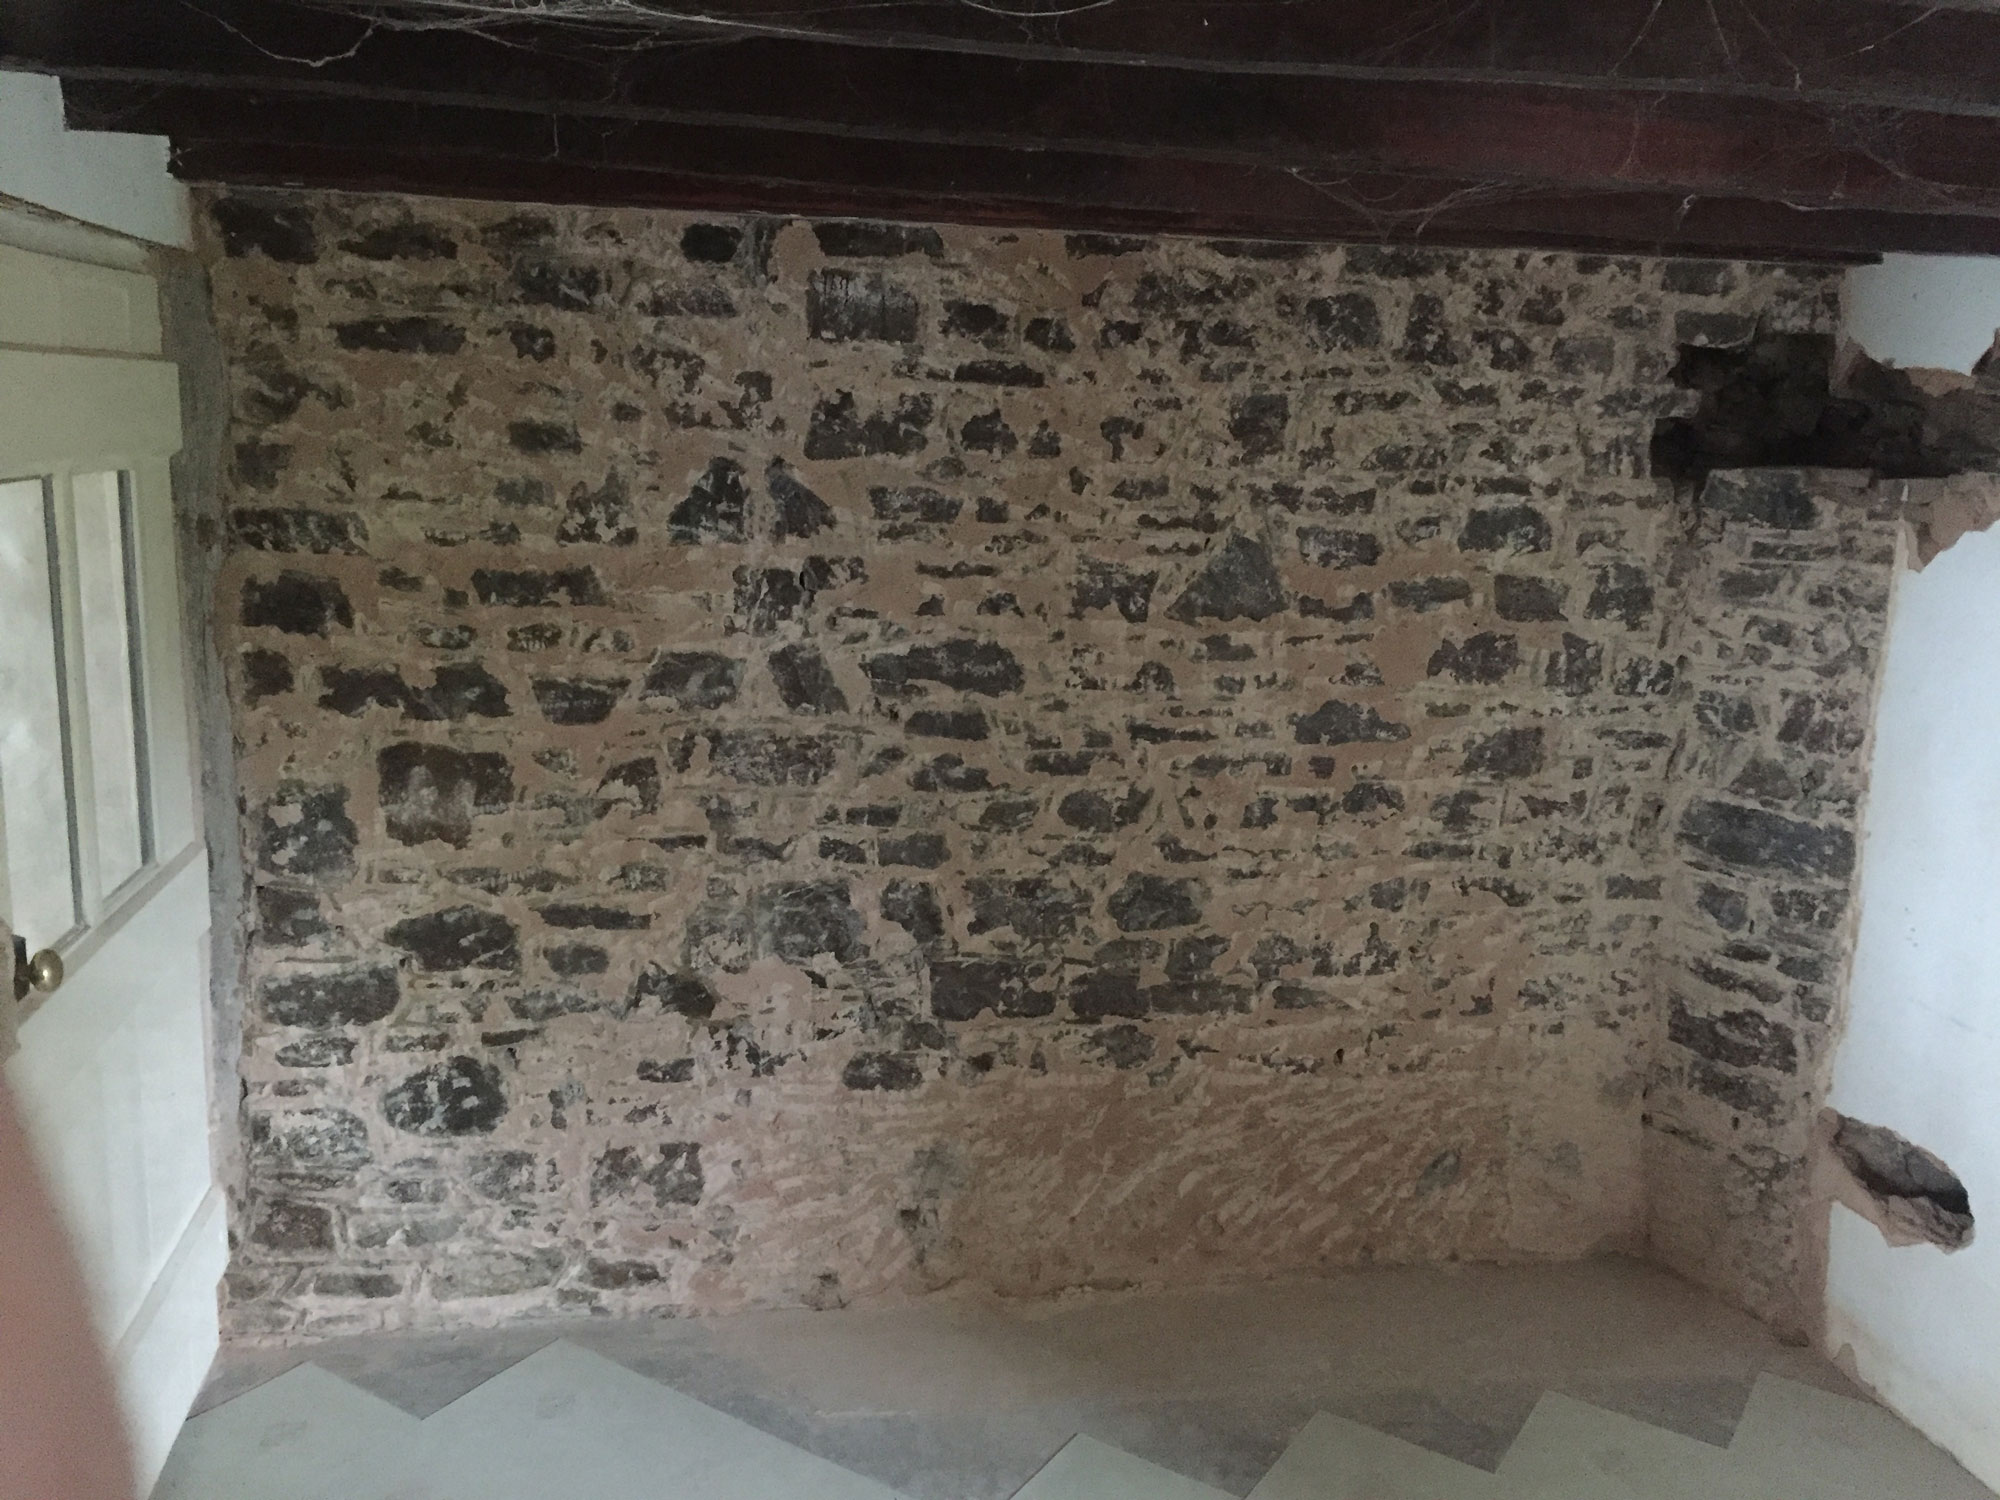
Fortunately we found that it separated quite readily from the underlying stonework. The incompatibility of the materials meant that it delaminated in large sheets and could be removed by the very careful use of a breaker.
We discovered early on that the construction mortar in most of the stone walls is an earth mortar with very little lime. This means that it is very friable and has a tendency to turn to dust with minimal encouragement.
As plaster is being removed some of the stones move around in quite a disconcerting manner. With experience we realised that the walls are actually more stable than it seems at first and any surface movement is quite superficial in a wall over 2 feet thick.
We have managed to remove the plaster with only a couple of small patches of stonework needing repair or consolidation.
Some of the cement plaster was on cob walls, which was much trickier to remove because the surface of the cob is crumbly and very variable. We developed a technique of cutting the plaster into sections that could then be delicately levered off, causing remarkably little damage.
In a few places there was surviving original lime and clay based plaster that had been patched with modern gypsum. This was a delicate operation of removing the patches while retaining the historic plaster. In these areas we will have to consolidate the surviving plaster and patch repair using clay.
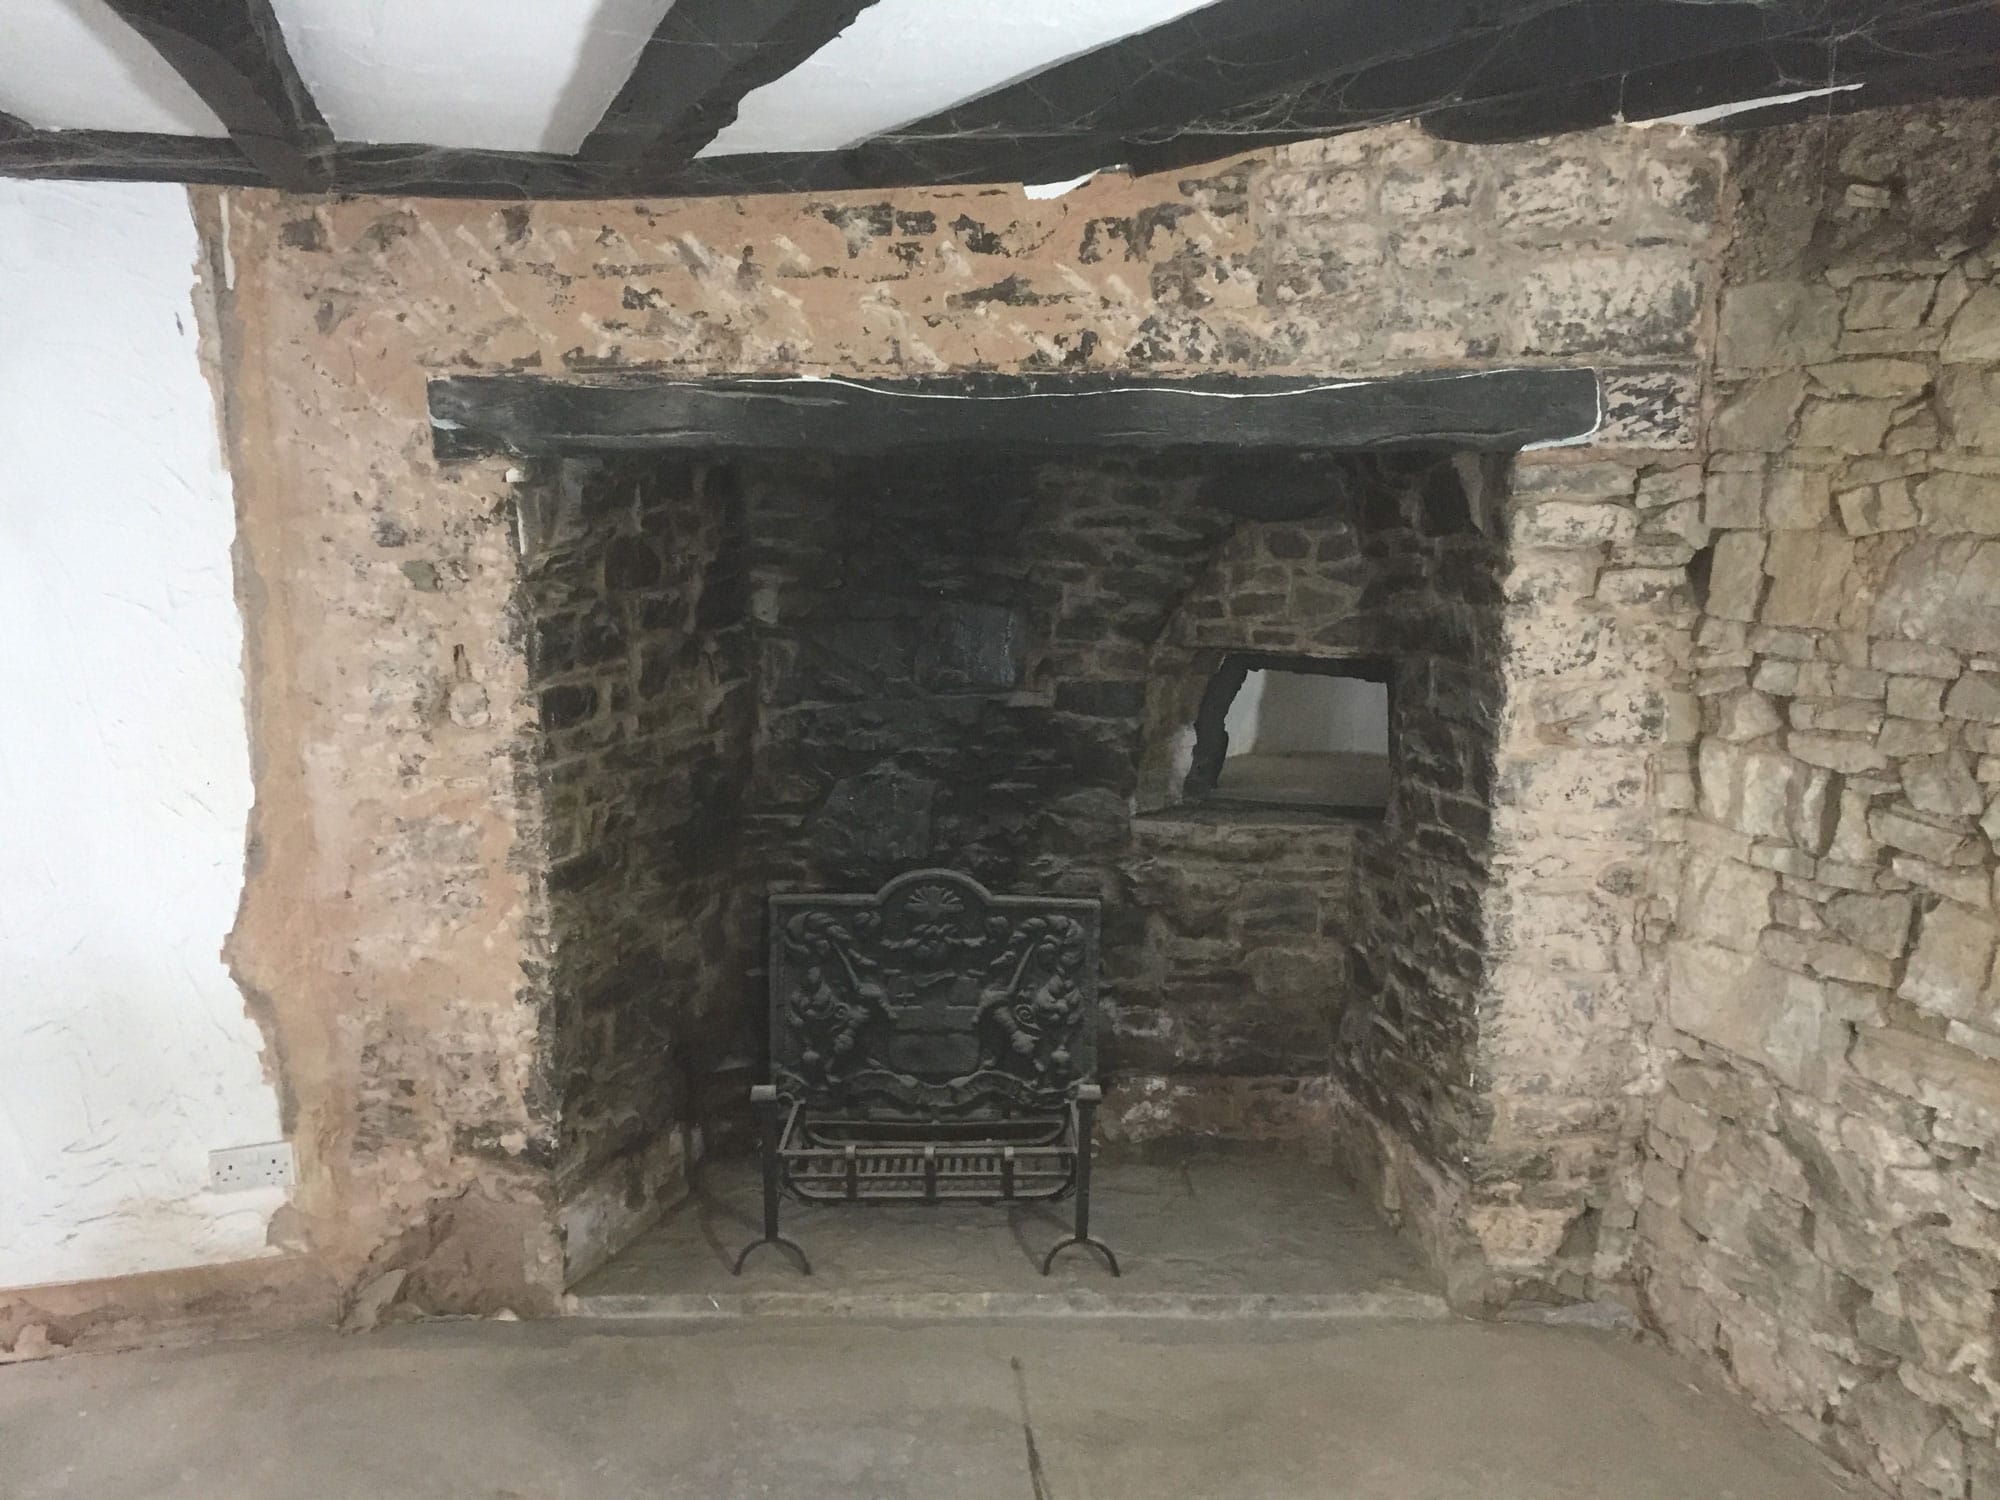
The most frustrating and difficult sections were walls that had clearly been left as exposed stone until relatively recently. They had been plastered with nasty pink plaster, sometimes up to 100mm thick, which was stuck to the stone with PVA or something similar.
This was very difficult to remove and left a lot of residue on the face of the stones. Where we are going to replaster it hasn’t been worth the effort of cleaning this off but there is one section that will be left exposed. Here each individual stone has had to be cleaned with a wire brush.
Despite our aim to minimise waste leaving site, there has been little option with all the stripped plaster. There is so much material, most of it is contaminated by a range of surface finishes, that it has just had to go off in a skip. The ground floor plaster alone amounted to 4 tonnes of waste!
Alan Tierney

You may be interested in