- Plan ItBack
- Design ItBack
- Build ItBack
- Homes
- ProductsBack
- CostsBack
- Self Build Cost Calculator
Estimate your project costs instantly with Build It's interactive self-build cost calculator
Calculate Now - Costs & Finance
- Contracts & Warranties
- Build It Estimating Service
Get an accurate, detailed cost breakdown of your project
Submit plans
- EventsBack


 Login/register to save Article for later

There are 5 steps in this guide
Before you put any cash into your attic, it’s worth getting an idea of how easy it would be to repurpose as living space. These simple checks will give you a good indication:
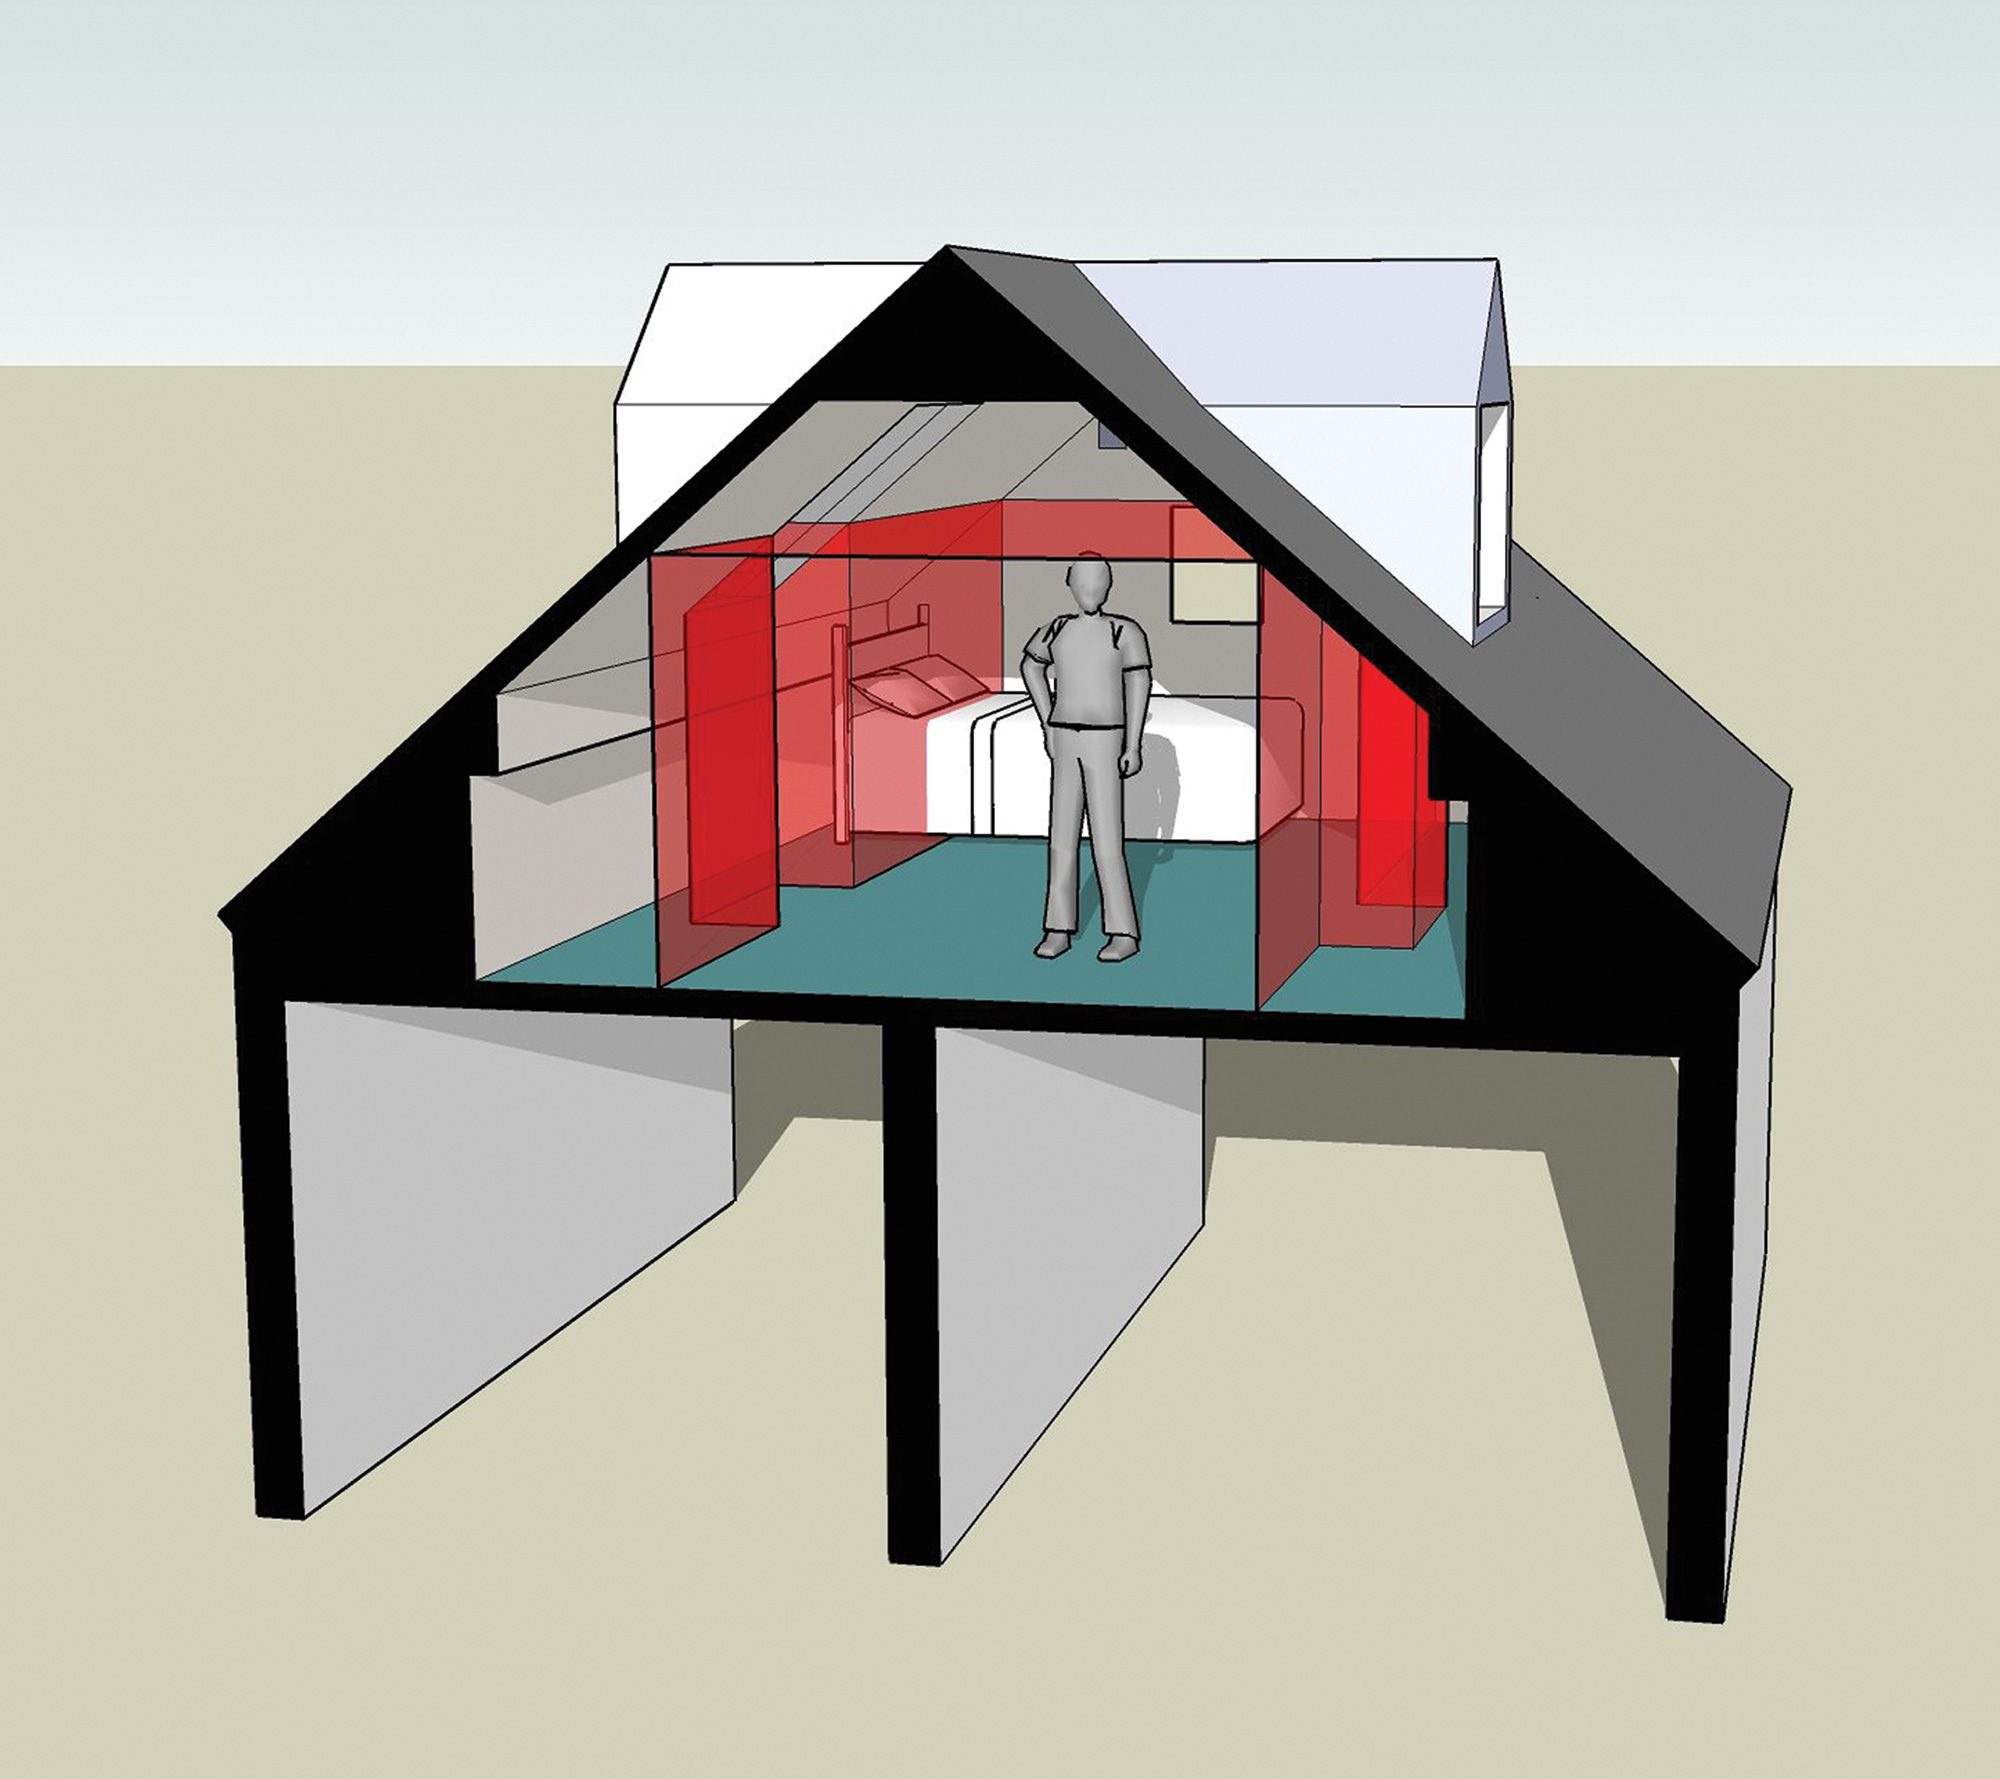
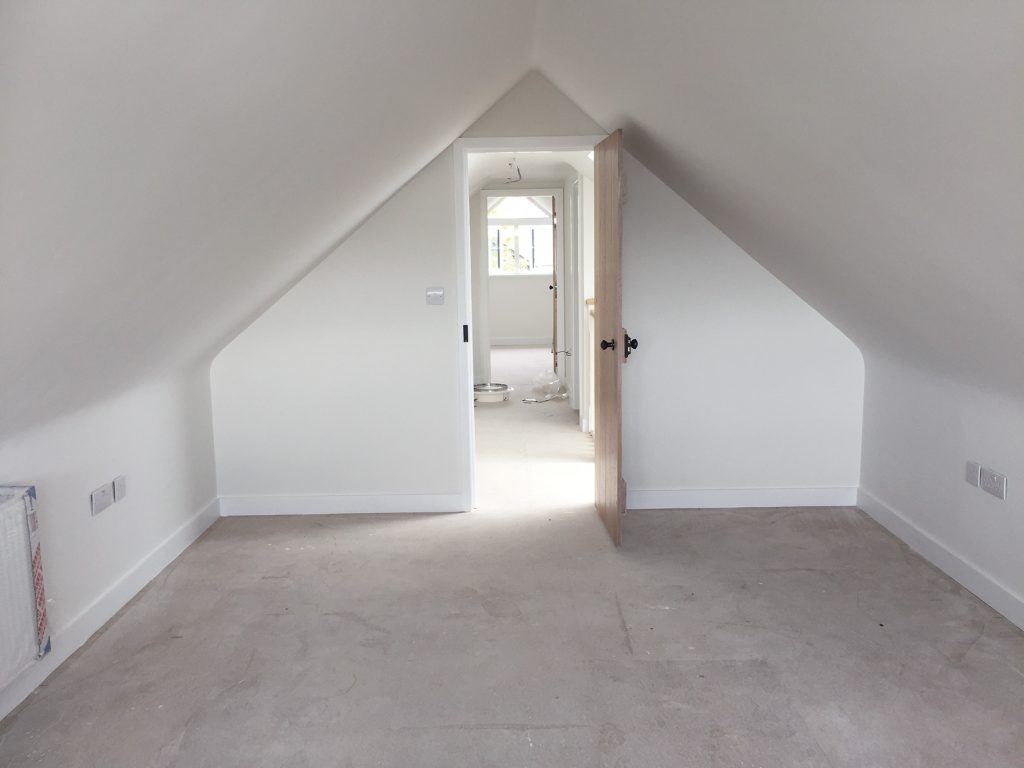
Is there enough height?
The first step in assessing a loft’s potential is to check how much headroom is available. This should be measured from the top of the floor joists to the underside of the ridge beam.
A comfortable threshold is at least 2.4m. You may be able to get away with just 2.2m in some cases but the finished floor and ceiling will eat into this, leaving you with around 1.9m or 2m on completion, which could feel claustrophobic. See the box on page 86 for advice on how to increase height.
The main limiting factor is the building regs related to staircases. These are slightly relaxed for lofts but still require a minimum of 1.9m headroom at the centre of the flight, and 1.8m at the edges (to account for sloping roofs).
What’s the roof pitch like?
As a rule, the steeper the pitch the easier conversion will be, as there will be more usable space available. According to Velux, if your roof has a 35° gradient, you’ll need an 8.5m span to complete a rooflight conversion; as opposed to just 6.5m for a 45° pitch. Switching to a large dormer or other extension changes these parameters, but bear in mind that you won’t be able to raise this above the existing ridge height without securing full planning consent.
Do you have a cut roof or trusses?
Most roofs built before the 1960s were cut on site and assembled using thick rafters, joists and purlins – with minimal battening to get in the way of the main void. Assuming there’s enough head height and a decent pitch, these traditional cut roofs are often relatively easy to convert.
Premium Content
Downloadable E-Guide
Build It's loft conversion downloadable e-guide takes you through the essential considerations, from costs to an estimated project timeline. Click below to find out more.
find out more
In more modern homes, Fink trusses were (and still are) commonly used. These are value engineered, so they use the minimum amount of timber and feature a distinctive W-shaped web for bracing (which has the effect of blocking the roof void). As a result, a little more engineering has to go into the conversion – and you’ll almost certainly need at least 2.4m of clear headroom to enable this type of project.
What condition is the space in?
Any signs of disrepair will need to be remedied prior to conversion. Typical issues include rot in the timbers, broken tiles and undersized rafters. These aren’t likely to scupper
a project, and once discovered you’ll probably want to deal with them anyway. But you do need to be clear on the costs to ensure your scheme will still be economically viable.
Are there any obstructions?
In older properties, one common obstacle to conversion is the presence of water tanks as part of the central heating setup. These can usually be moved to a more discreet location, or you could switch to an unvented cylinder that runs off mains pressure, thus negating the need for a tank.
Chimney stacks can sometimes be removed, subject to planning, but unless they’re really blocking the space, it might be better to look at how you could turn them to your advantage. Examples at gable walls may present the opportunity to include alcove shelving or built-in storage either side, for instance.
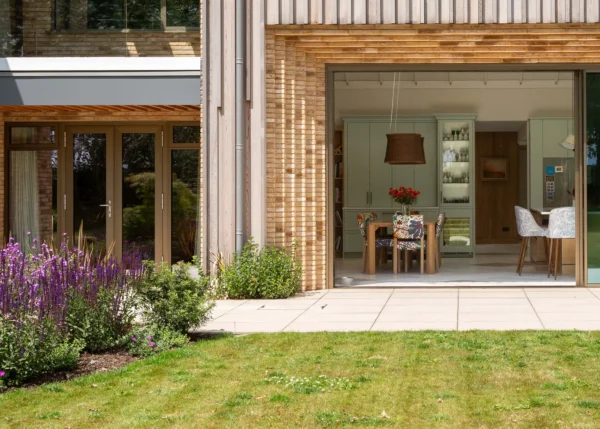
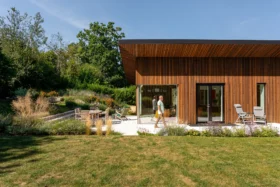
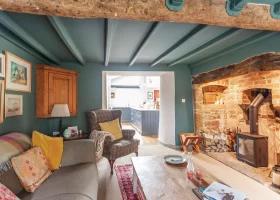
Closer Look: Bungalow extension & loft conversion
|
Main image: This 3D illustration by Julian Owen Architects shows the importance of having enough centre-point ceiling height – as sloping roofs will always limit the extent of usable living space
Chris Batesmith
You may be interested in