Estimate your project costs instantly with Build It's interactive self-build cost calculator
Calculate NowGet an accurate, detailed cost breakdown of your project
Submit plans

There’s plenty to consider when choosing doors, and the decisions need to be made pretty early on in your project.
While they might not get installed until very near the end of the build (largely to protect them from damage), the structural openings, thresholds and other critical details must be finalised well in advance to ensure that everything works as intended.
If you’ve been following our Education House coverage, you’ll know we ran a reader vote to choose the colour of our Kloeber FunkyFront timber entrance door.
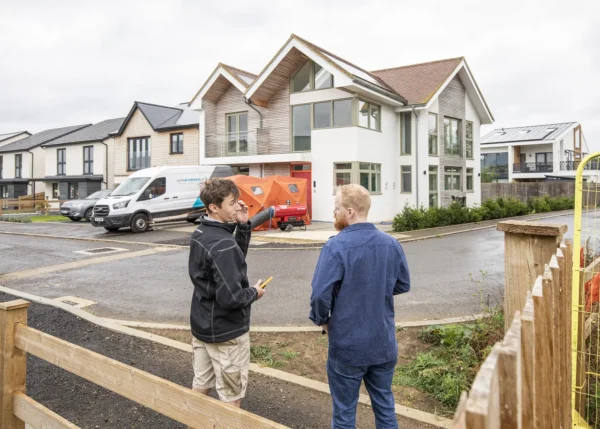
We wanted something with a bit of pop and wow-factor, and we’ve certainly got that with the winning bright orange hue. In fact, it’s already generating a bit of a stir amongst our neighbours!
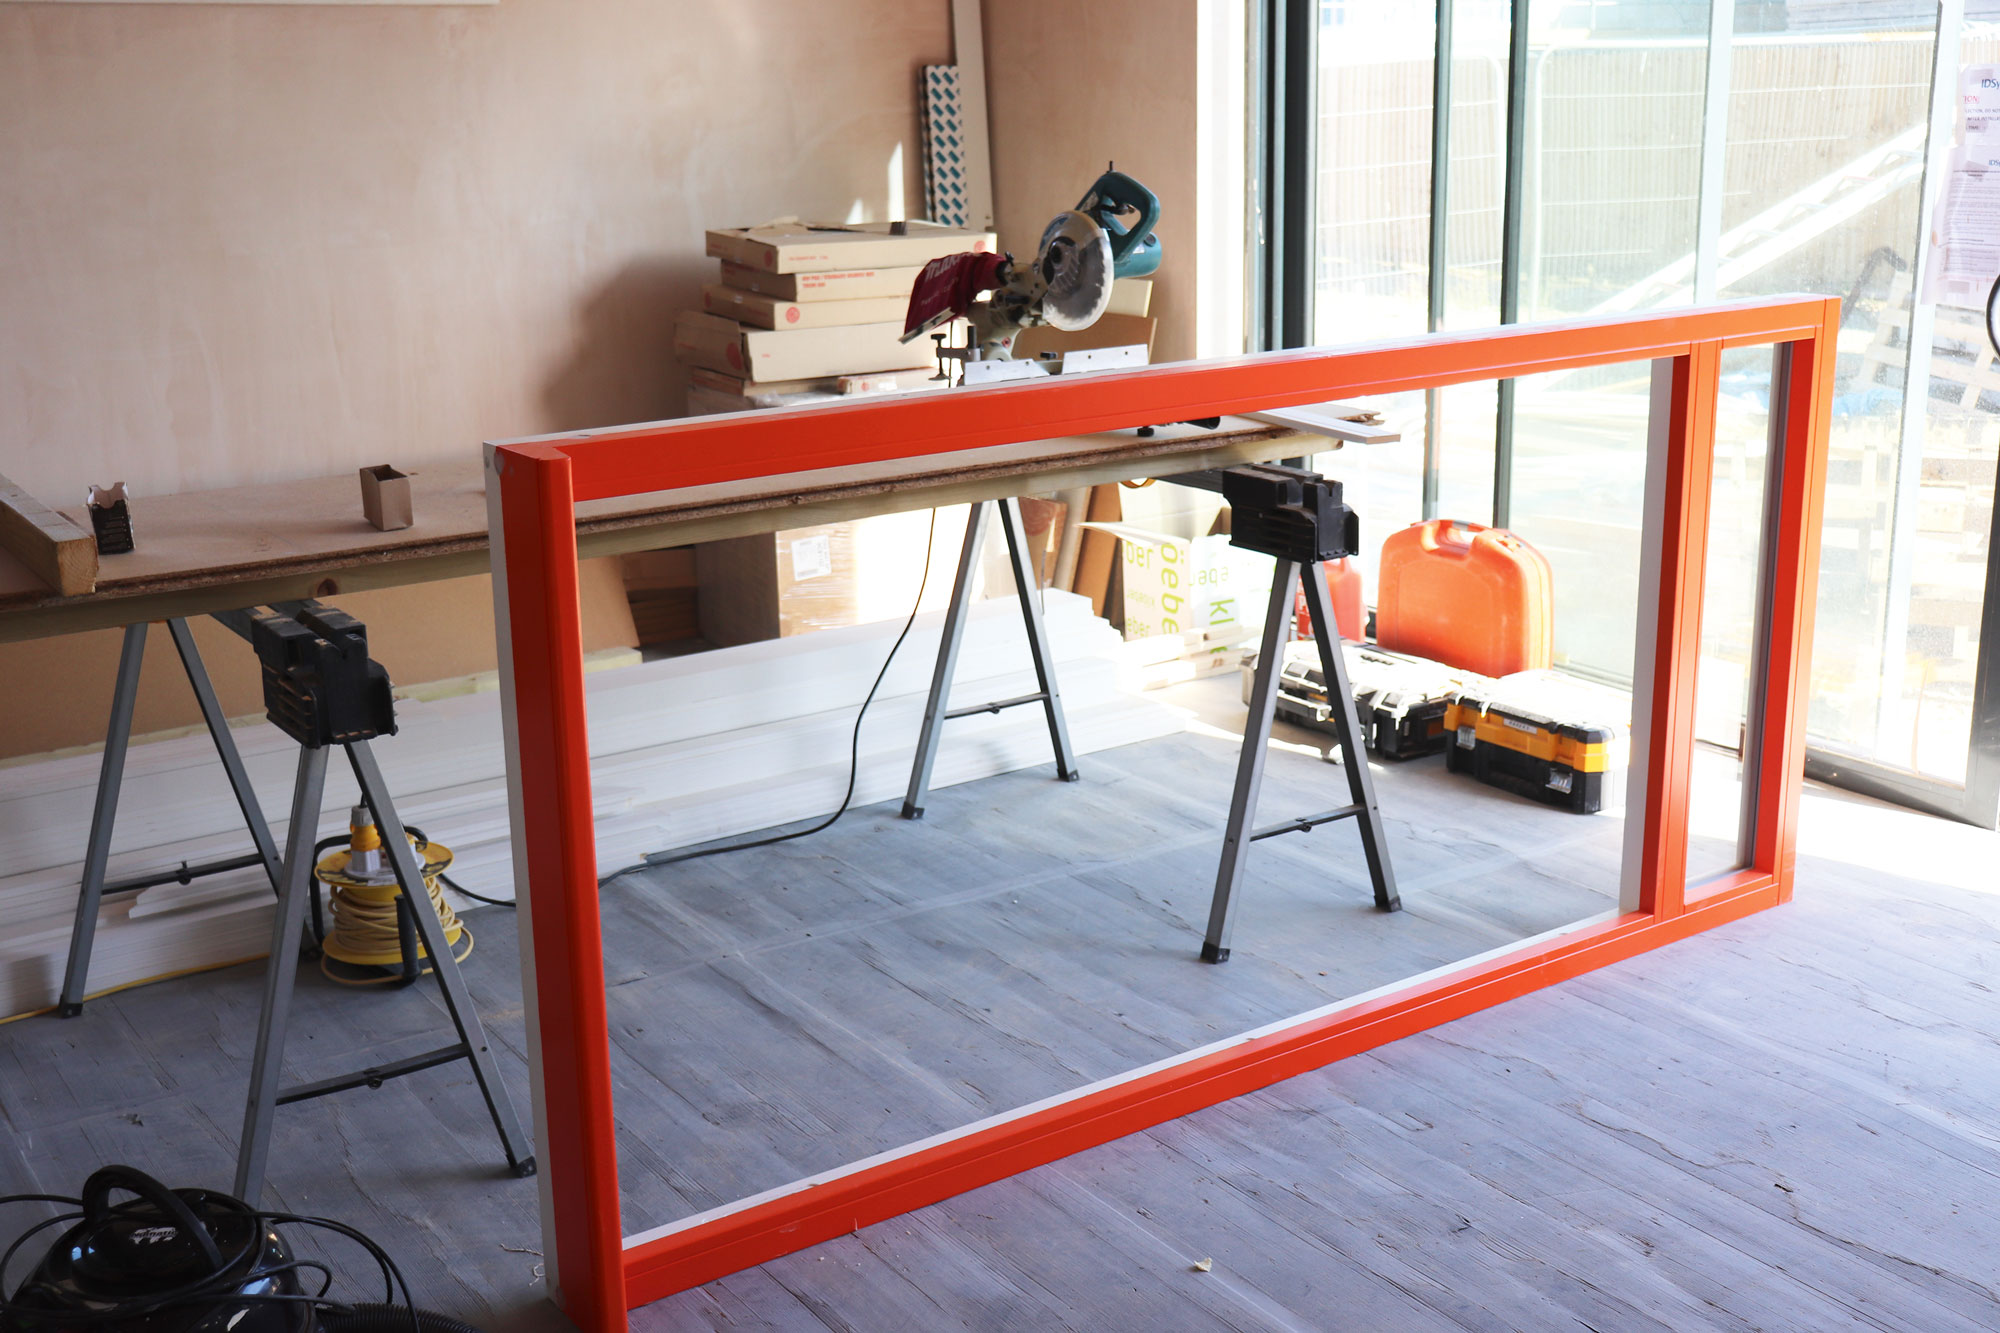
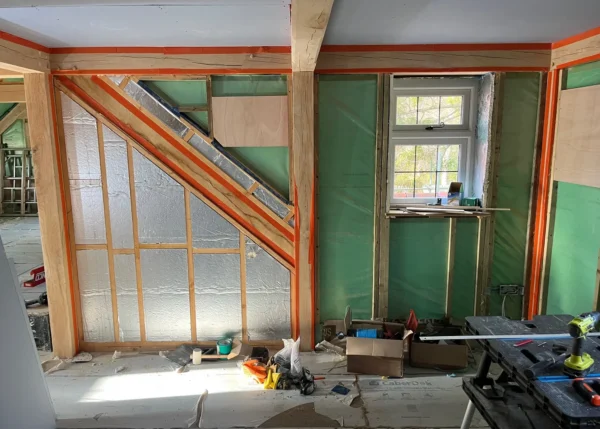
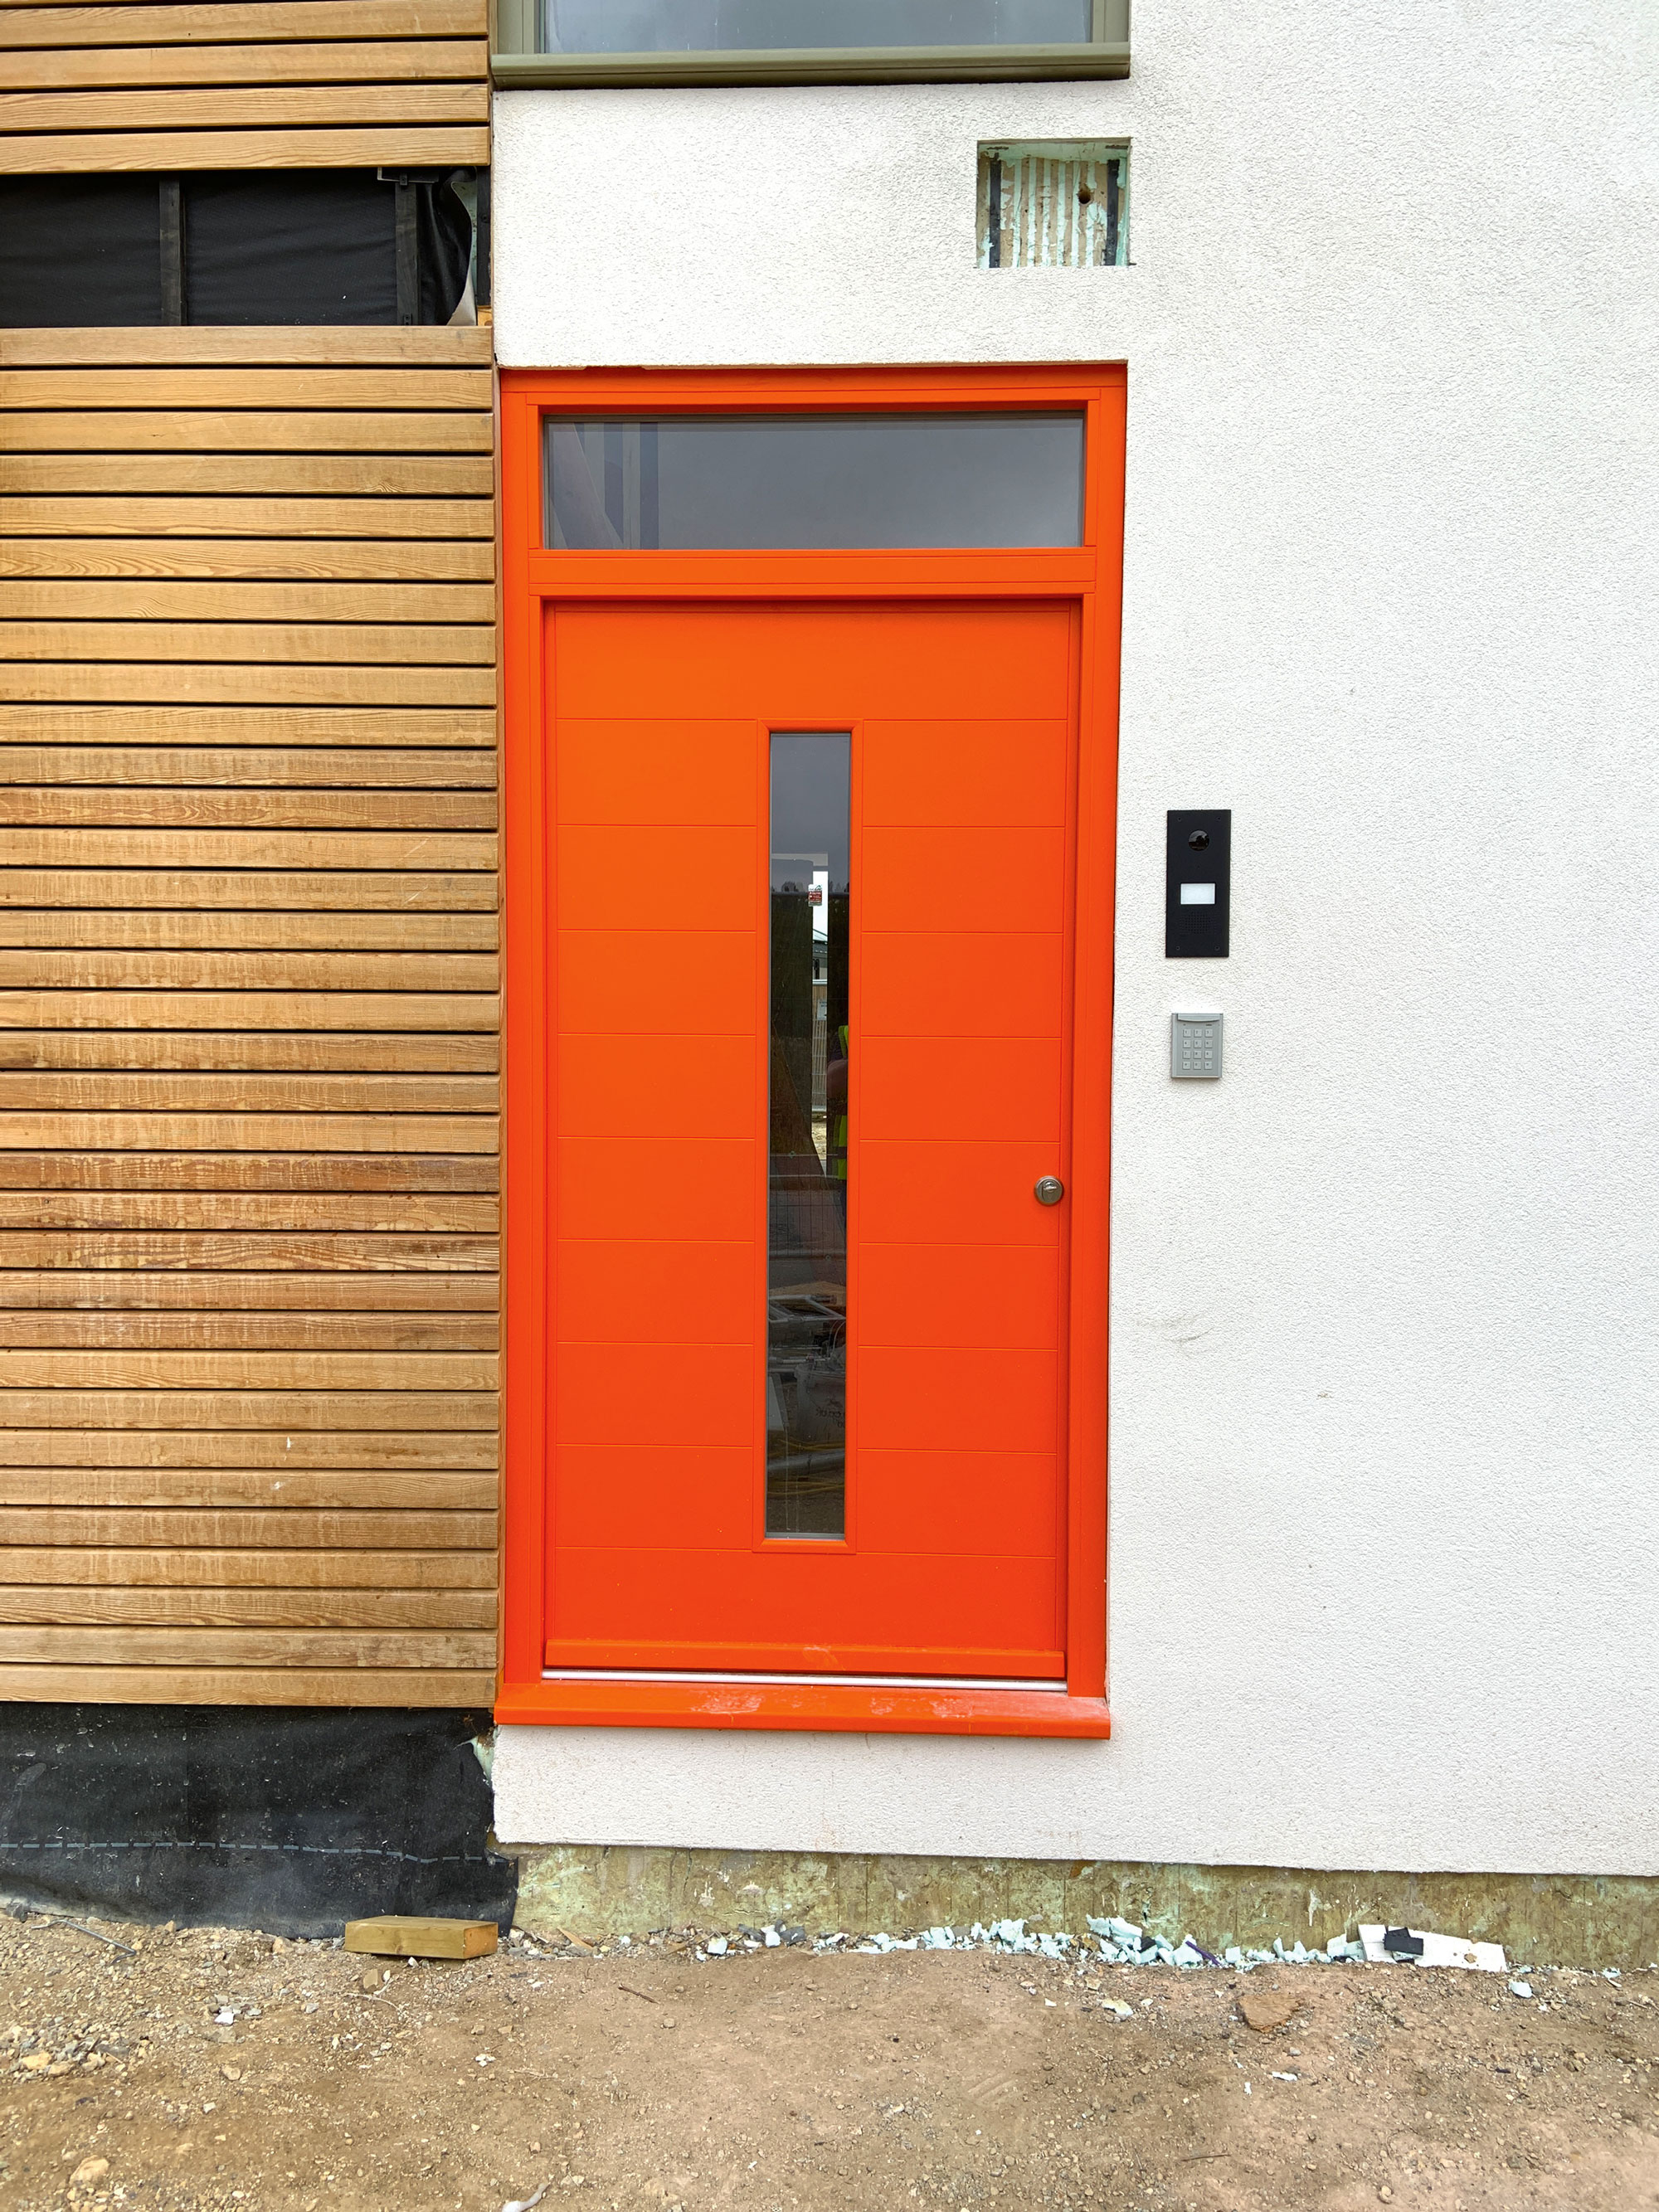
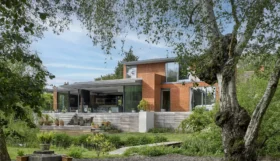
Our eye-catching FunkyFront door in Traffic Orange, as voted for by Build It’s readers. The pocket in the wall at the top right is for a steel that will support the porch.
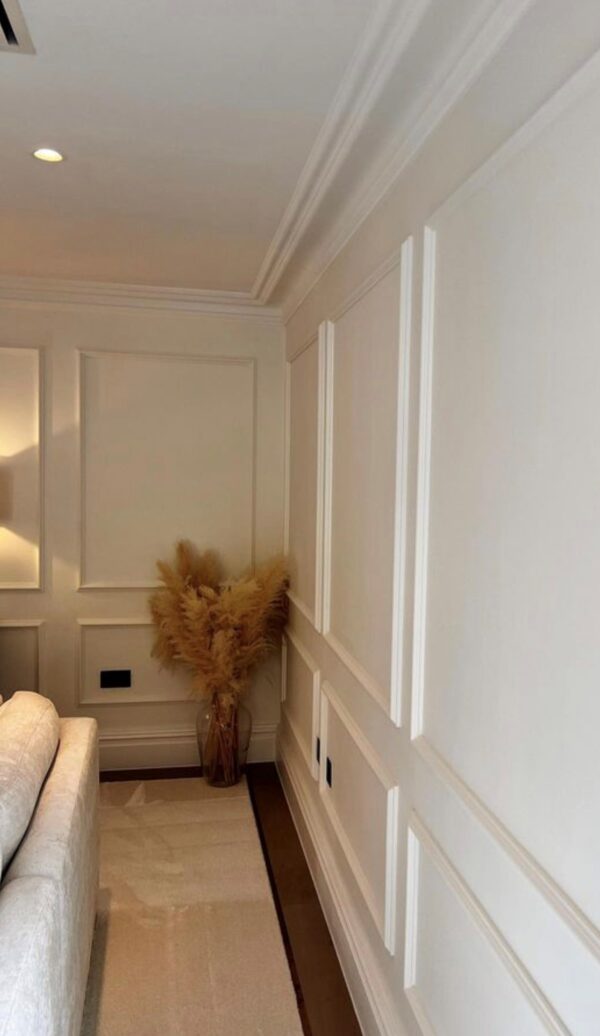
The final design includes a glazed toplight in the frame and a Hamburg 4 door panel, which features a central glazed column. This adds interest and continues the theme of maximising natural brightness throughout.
Kloeber offers an install service for its doors, but we agreed some time ago that our main contractor, Drewett & Hunt, would fit the FunkyFront.
It’s simply a timing thing: putting the choice out for a reader vote meant we couldn’t order in time to coincide with installing the apex windows.
The pre-painted front door frame, ready for the steel fixing straps to be installed
Thankfully, it’s a pretty straightforward process – helped by the fact that Kloeber provides a full kit of parts and easy-to-follow installation instructions. With the door in, we now have a fully weathertight and secure house, so we don’t need to rent our site cabins any more!
The bright hue of our door may not be everyone’s cup of tea, but once the porch is on and the planting in, the colour should soften a little. And because we’ve gone for timber, versatility is built-in; so a future owner could always repaint the frame or even the door, should they wish.
One of the big jobs we still needed to get finished on the house was installing the first floor and apex windows. We didn’t pre-order these because both Kloeber and Lapd Architects were concerned that it would be difficult to accurately create the openings to the planned sizes.
This was undoubtedly the best approach, but the combined effect of previous delays building the superstructure, longer summer lead times and some in-depth discussions about finessing the design meant our schedule slipped.
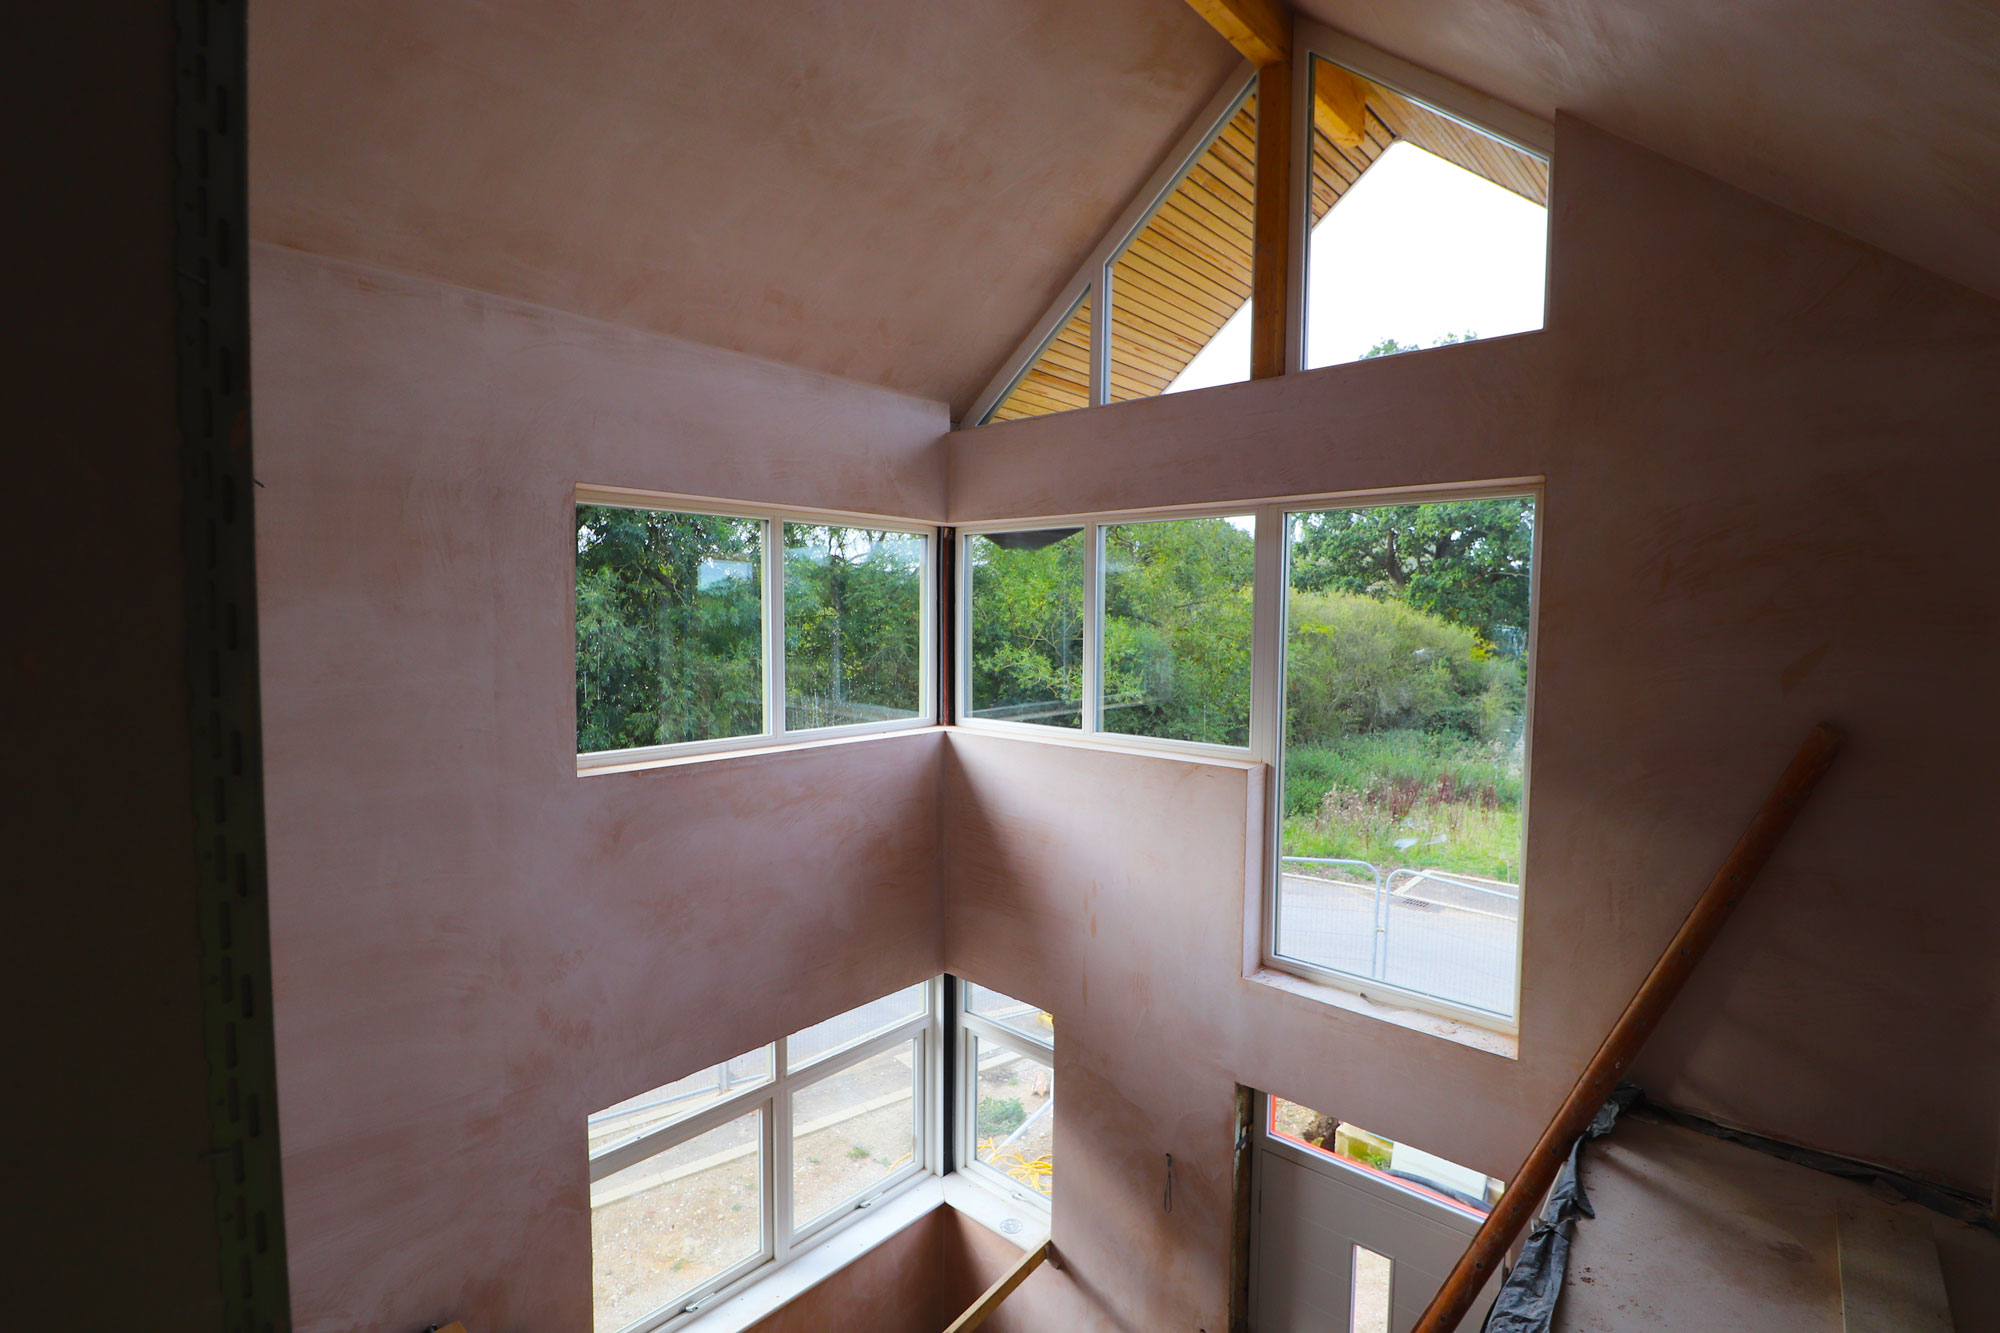
The spectacular view from the landing
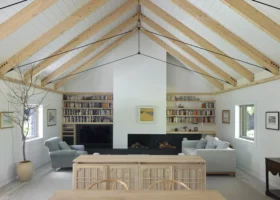
The apex glazing is a defining architectural feature of the house, so it was vital that we spent the time getting it right – Kloeber were as keen as us to minimise the amount of framing, for instance. Until the windows were in, however, we couldn’t get beyond first fix stage in the vaulted hallway – which was starting to give us some programming headaches with the internal fit-out.
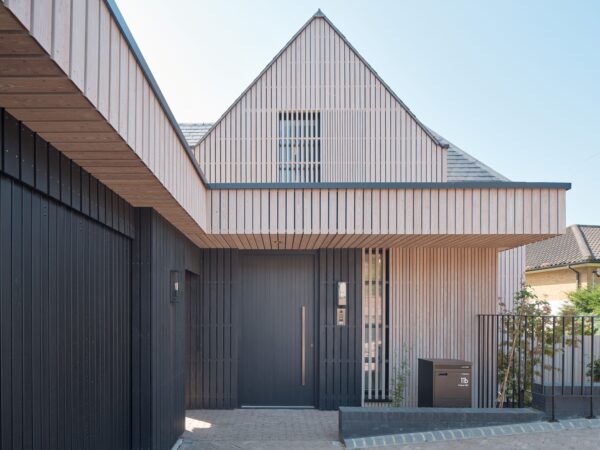
Install day arrived in mid-August, and just happened to coincide with an absolute downpour (right smack between some of the hottest weather we’ve had all year). By this point, we’d already had to install the external cladding and render to keep the build on schedule, which meant smaller tolerances to get the windows in.
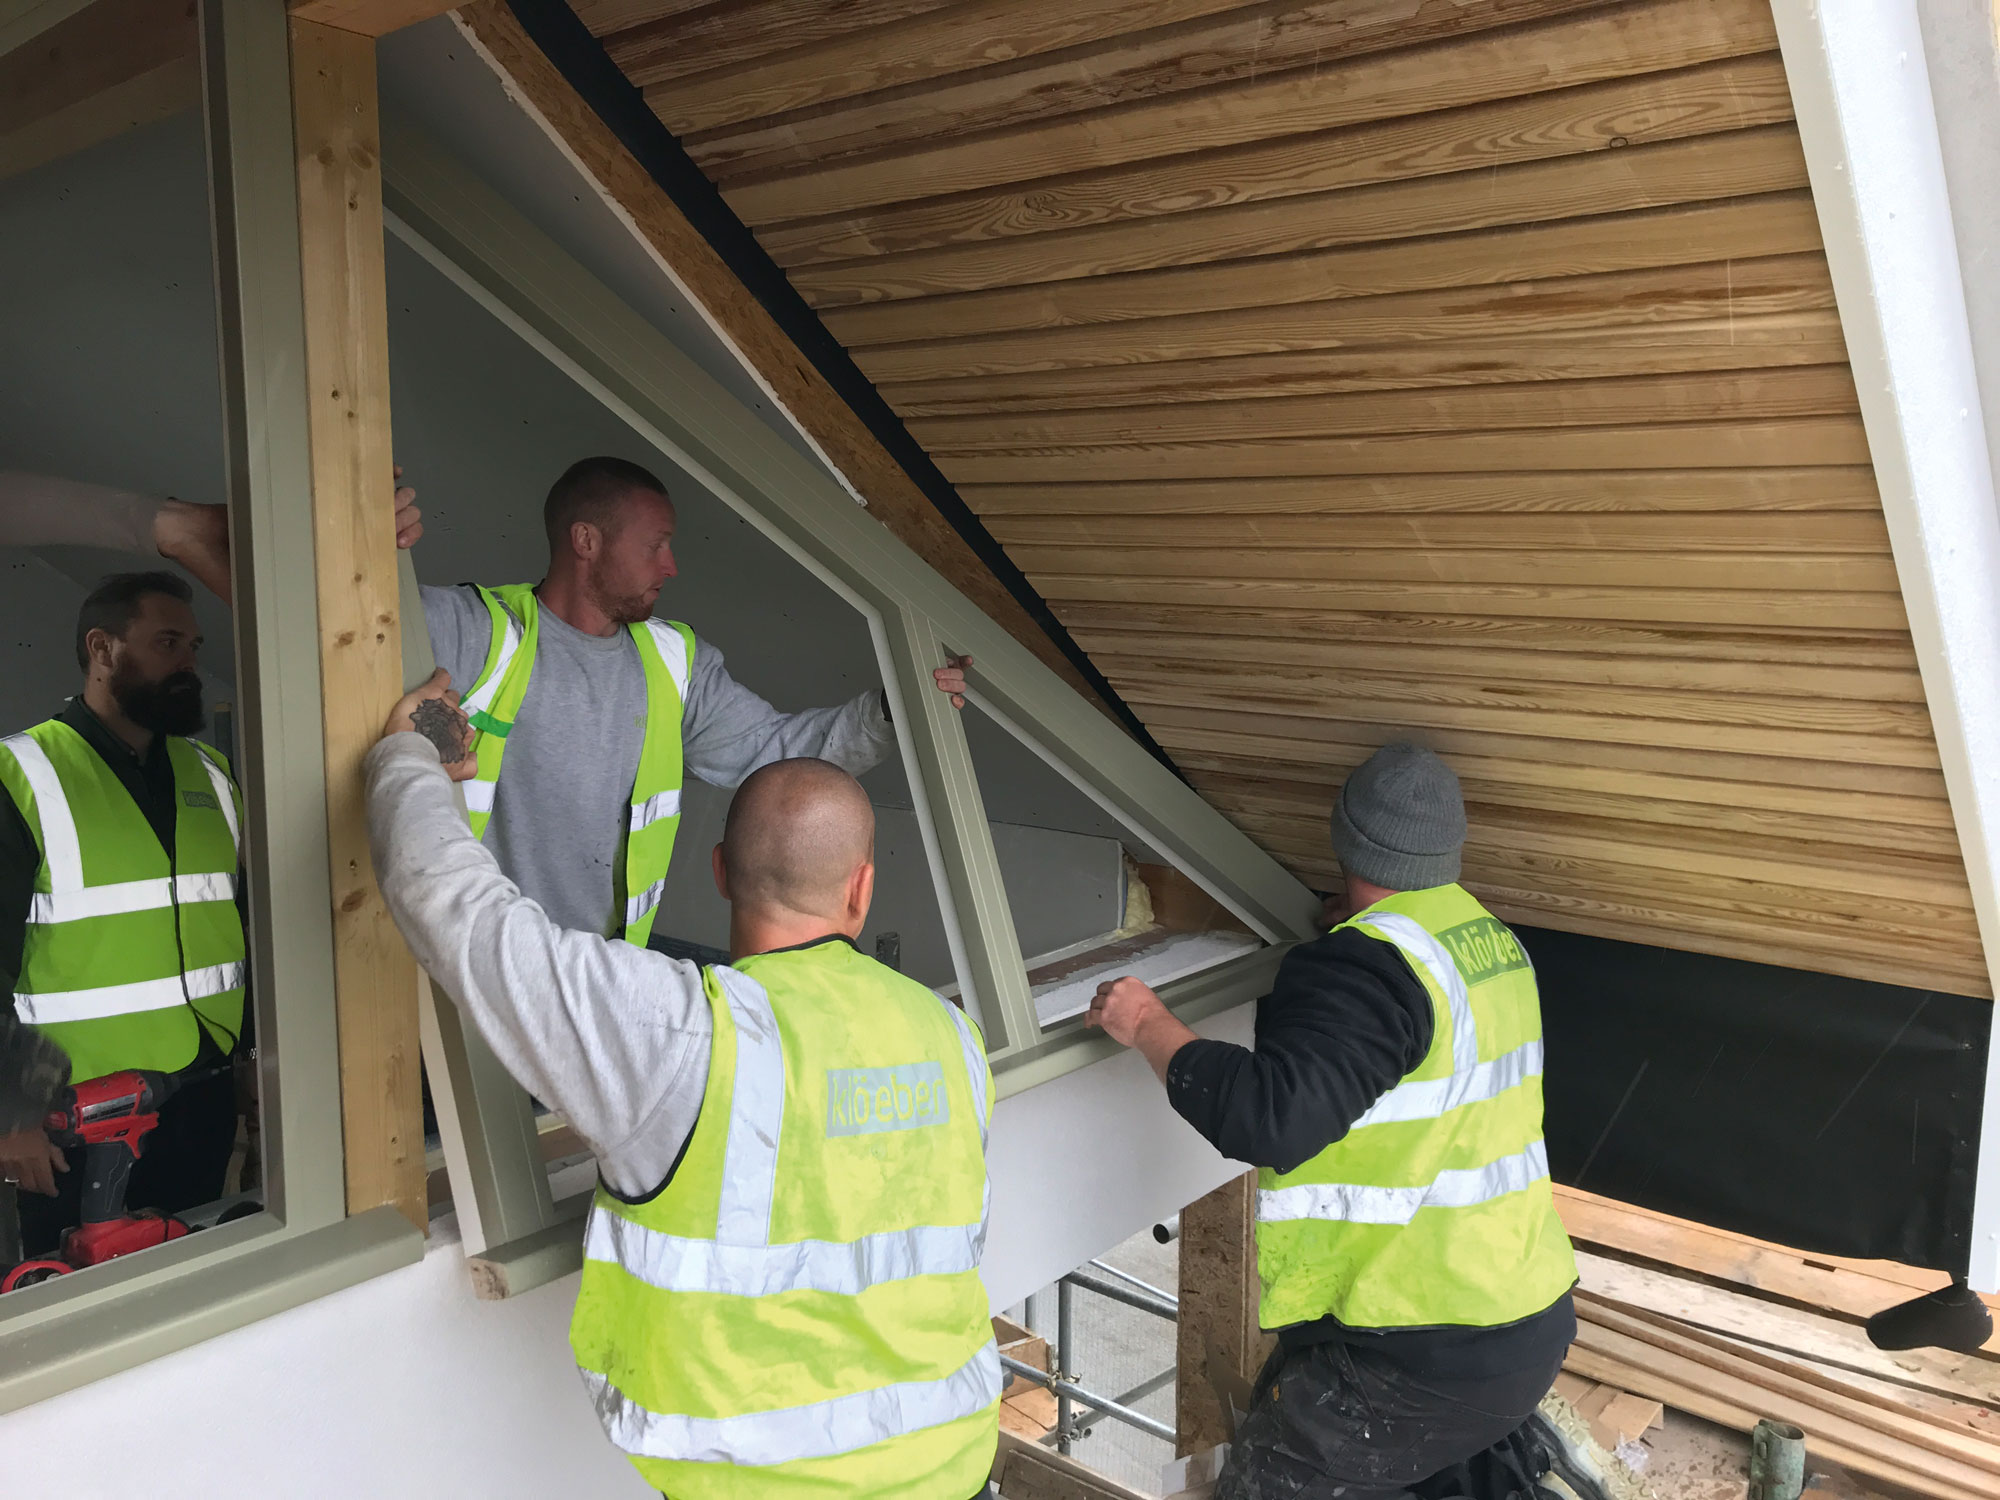
We had to remove a short section of cladding to get this apex frame into position
It was a long day – and we were all soaked through by 5pm – but everyone pulled together and we managed to get the frames in. With large or high-level windows, the glazing is usually added on site rather than in the factory to keep the weight down, so there was still work to do to get the Education House weathertight.
Thankfully, Kloeber were able to find a slot that weekend for the installations team to return. This was a massive relief, as we desperately needed to get the hallway walls plastered and drop the scaffold so our follow-on trades could crack on with the next phase.
The install may have been challenging, but the results are fantastic – both inside and out. Stepping onto the landing and looking through to the surrounding woodland is a particular highlight of the Self Build Education House!


 Login/register to save Article for later