Use code BUILD for 20% off
Book here!
Use code BUILD for 20% off
Book here!We wanted a durable and easy-to-clean solution for the ground floor of the Build It Education House. Given most of this storey is very open plan, we also need something that will add a bit of texture and charm.
We found the ideal solution on a trip to Hard Rock Flooring, based just 15 minutes’ drive from Graven Hill. Their showroom is a treasure trove of sample panels and installed sections, and owner Will Luitsz really knows his stuff. That made it a simple decision to get Hard Rock to supply and install this aspect of our project.
Read more: Learn about the best floor covering options with our Complete Guide to Flooring
We’ve selected the company’s Rock series of 10mm-thick porcelain tiles for most of the ground floor (with the exception of the living room, which will be carpeted). They’re available in either a vein or cross cut pattern (we’ve gone for the latter, which gives the swirly look of marble), five colours and three different formats.
Our tiles are a subtle ‘greige’ in the largest 600mm x 1,200mm size, which looks impressive and allows for quick installation.
Porcelain is highly durable, easy to clean, non-slip and excellent for high traffic areas. So it suits us both from a future homeowner’s perspective and for its life as an Education House.
The Rock series can also be used externally if you want to create a seamless connection between inside and out, as many self builders do; but we’ll be demonstrating other products for our patio.

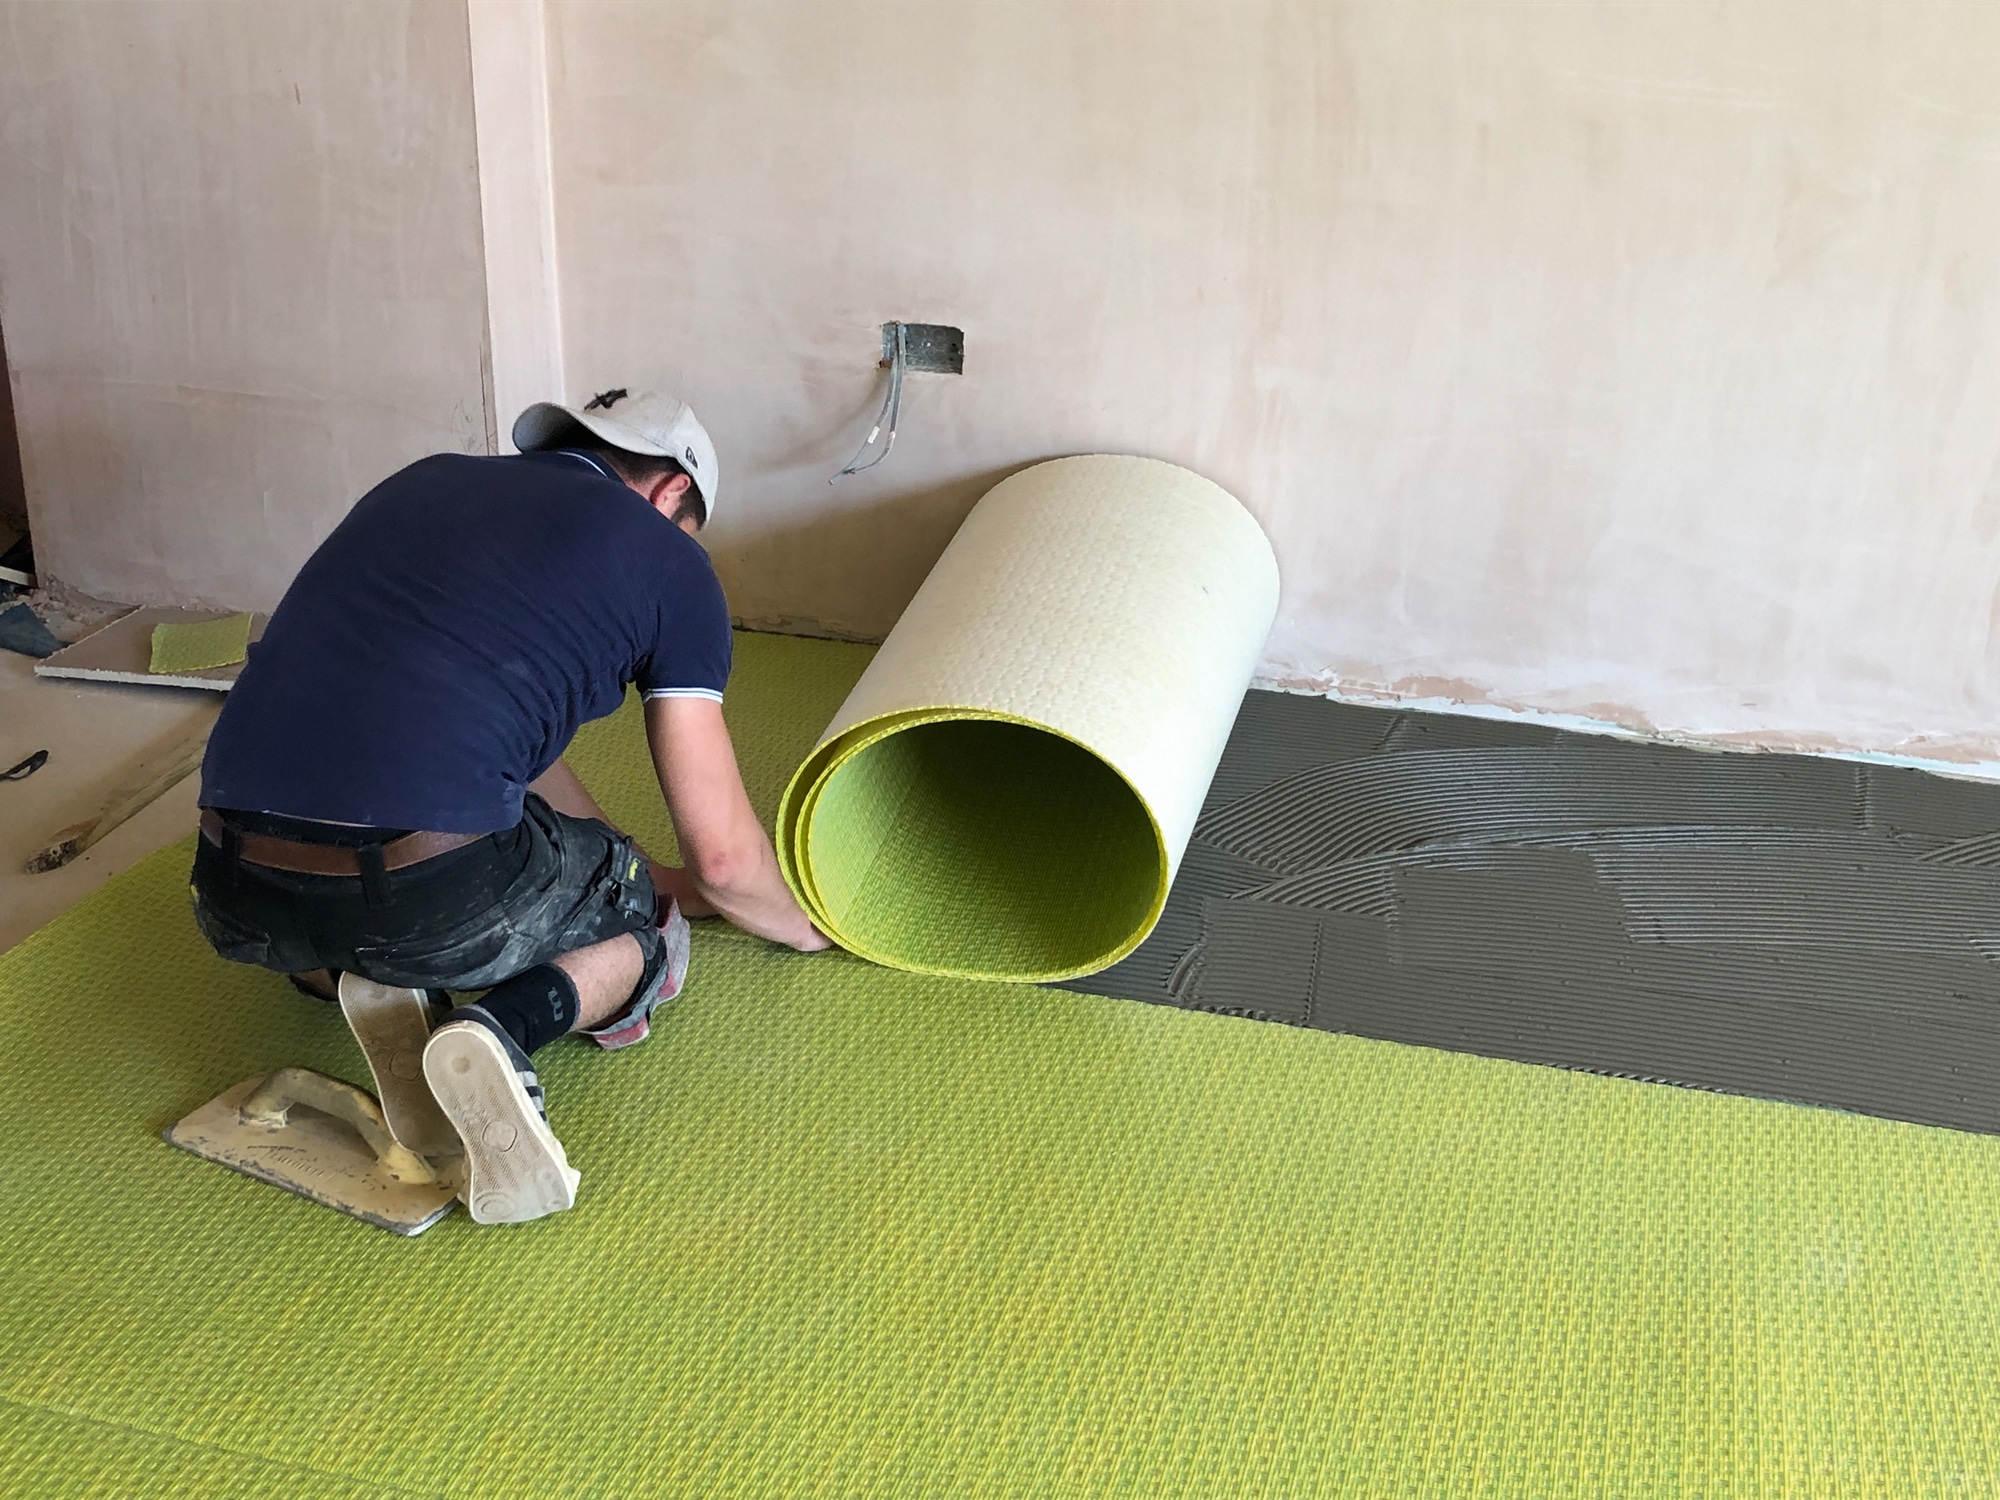
The Durabase decoupling mat is bedded into position
The total floor build-up, including a special ultra-thin tile adhesive and a Durabase decoupling mat (bedded onto the screed to provide protection against cracking and maximise adhesive coverage) is just 17mm. That was attractive because of the tight ridge height on our Graven Hill plot – every millimetre we can save will help to maximise headroom and the sense of space.
Sequencing the flooring installation was important: once they go down, you can’t walk on them for at least a day, so access is limited. You also want to avoid tasks like skimming ceilings after the tiles are laid, as this will increase the risk of damage.
That said, we came up with a clever little walk way that allowed some trades access to the basement to continue their works there. With an anhydrite self-levelling screed in a new build environment, prep is relatively straightforward.

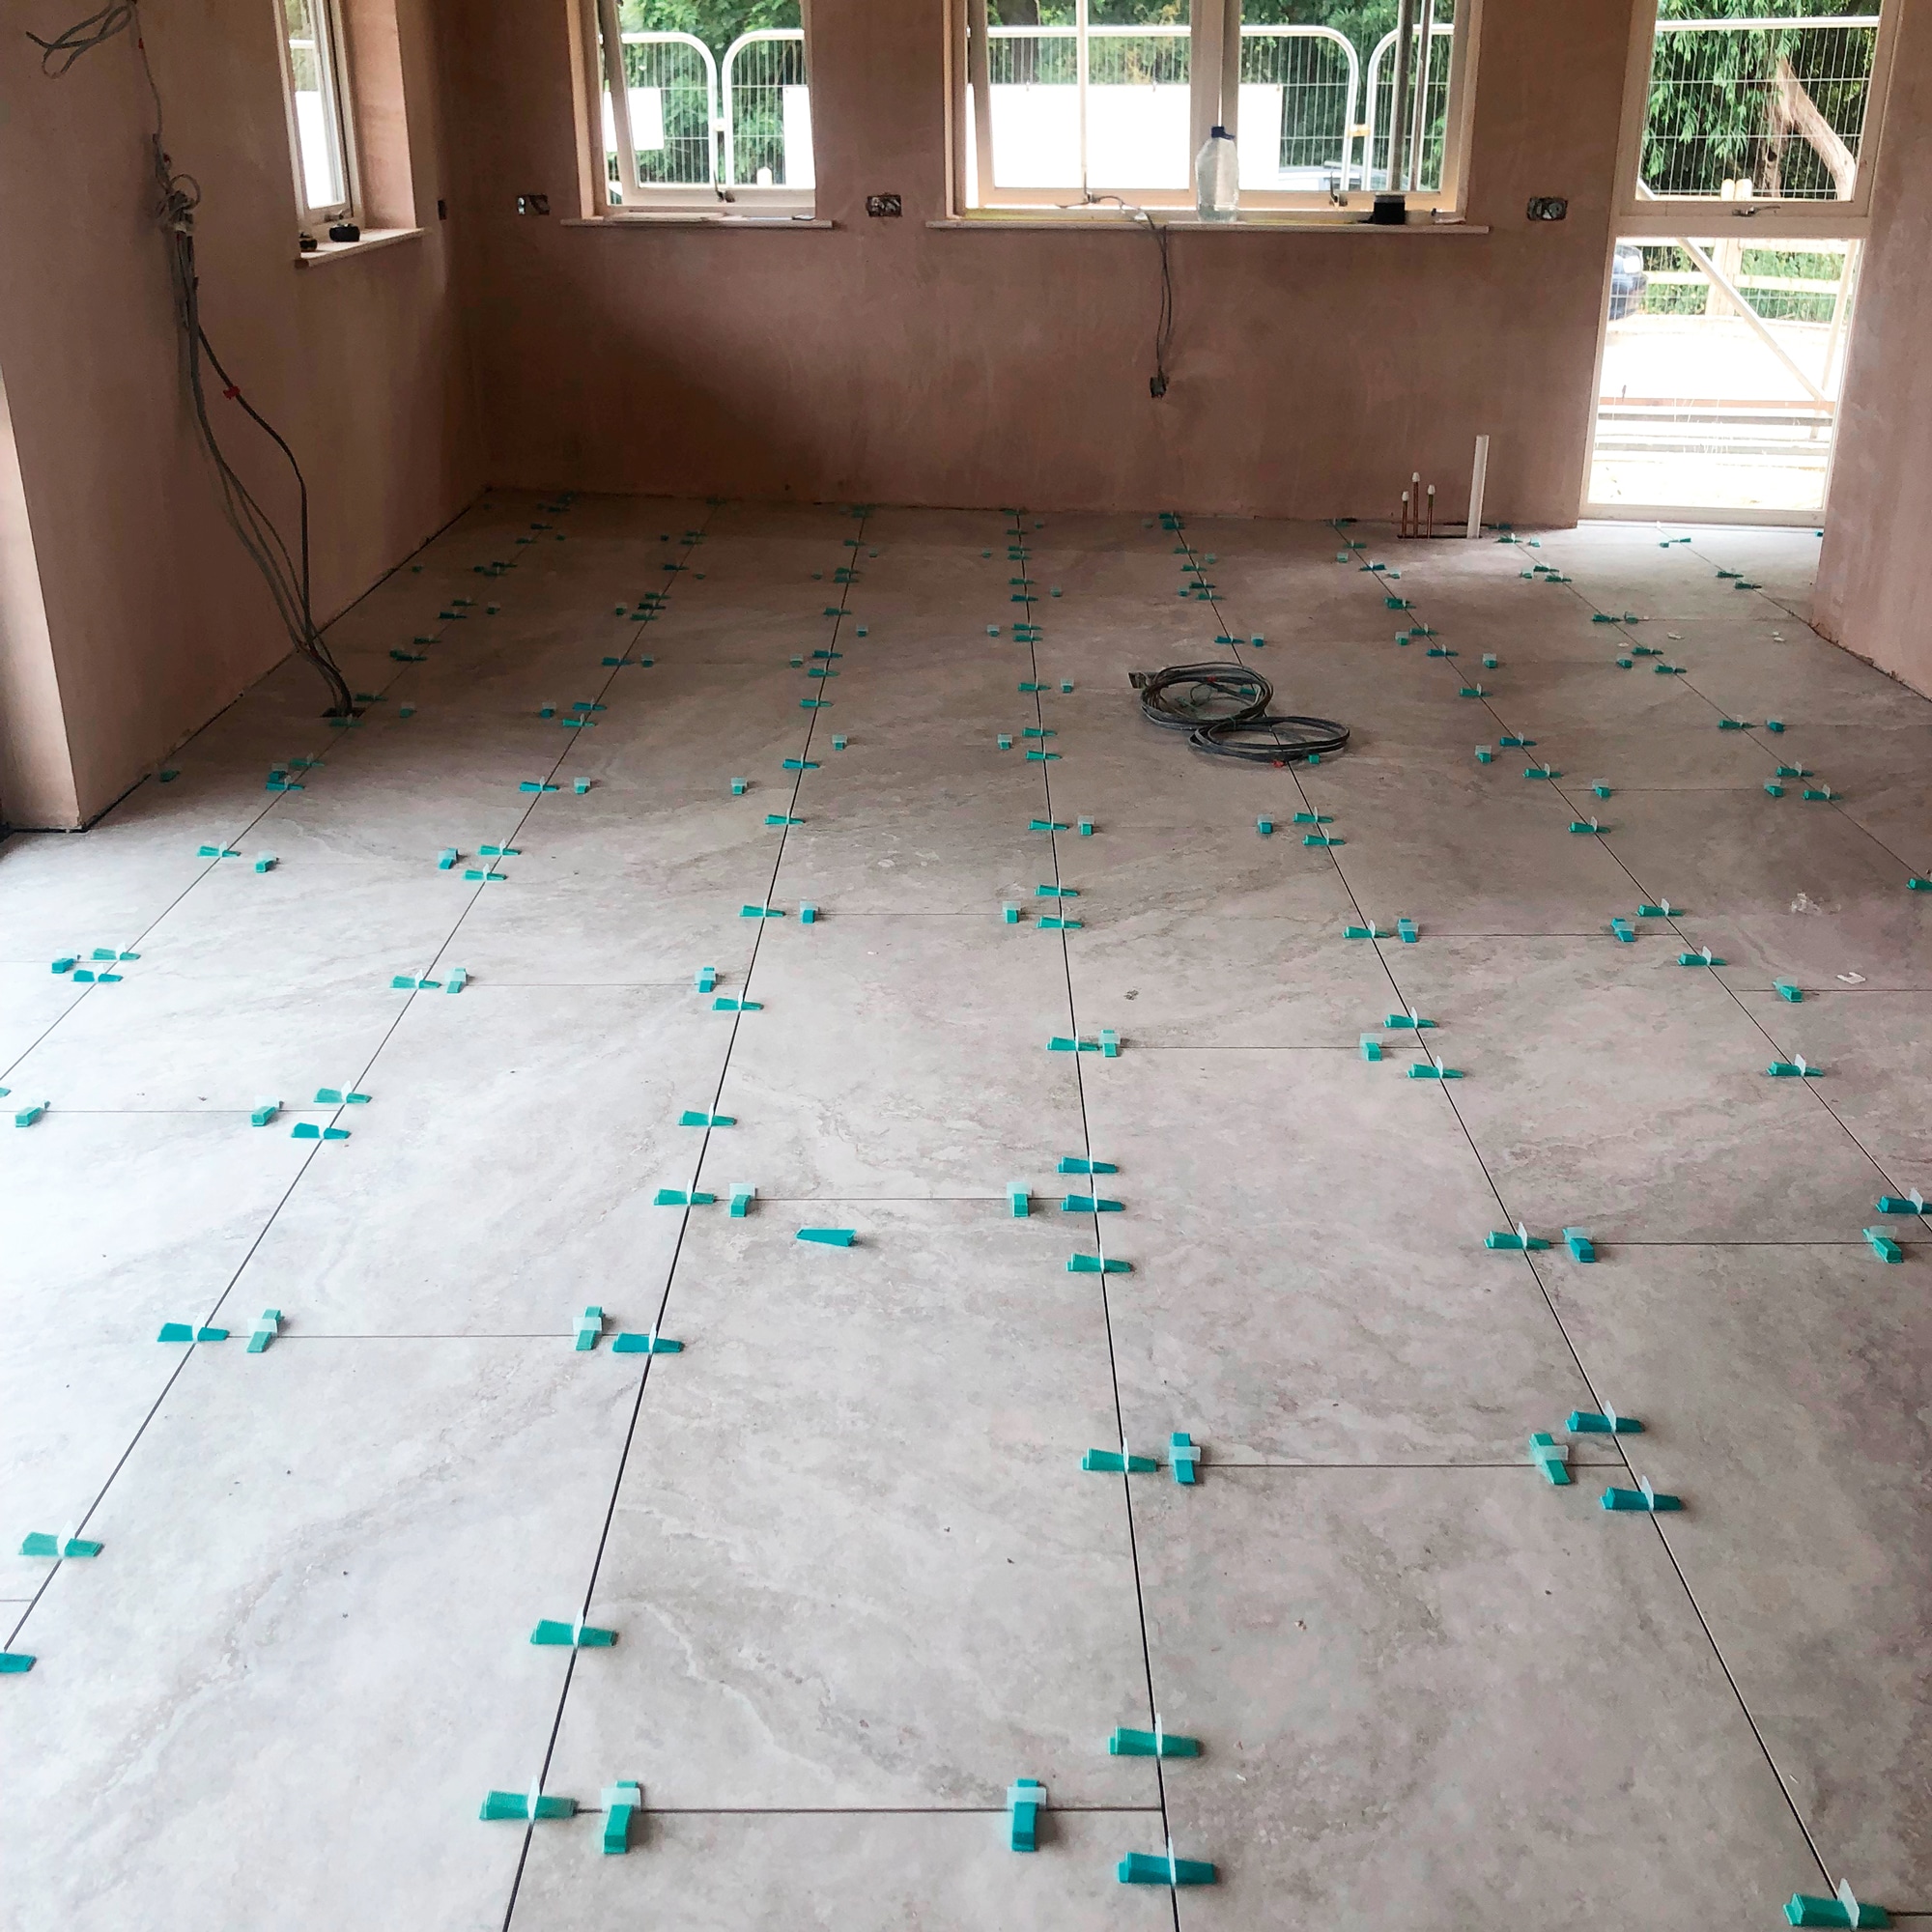
Laying the tiles was a speedy job and has transformed the open plan zone. The green wedges are a reusable tile leveling system.
This needs sanding soon after installation to remove the laitance (a weak top layer). After that, all that’s needed is a paint-on seal, which takes around 20 minutes to dry. You can then can apply the decoupling mat.
The main job is planning the layout to minimise and balance out cutting (and ensure that any cuts that are made look meant). Generally, tiling starts from the centre of a room and you dry-lay first to avoid issues and ensure a neat, even grout line.
The fact that Kloepping had fitted the aluminium profiles for the stair balustrades was useful, as it defined the squareness of that whole area.

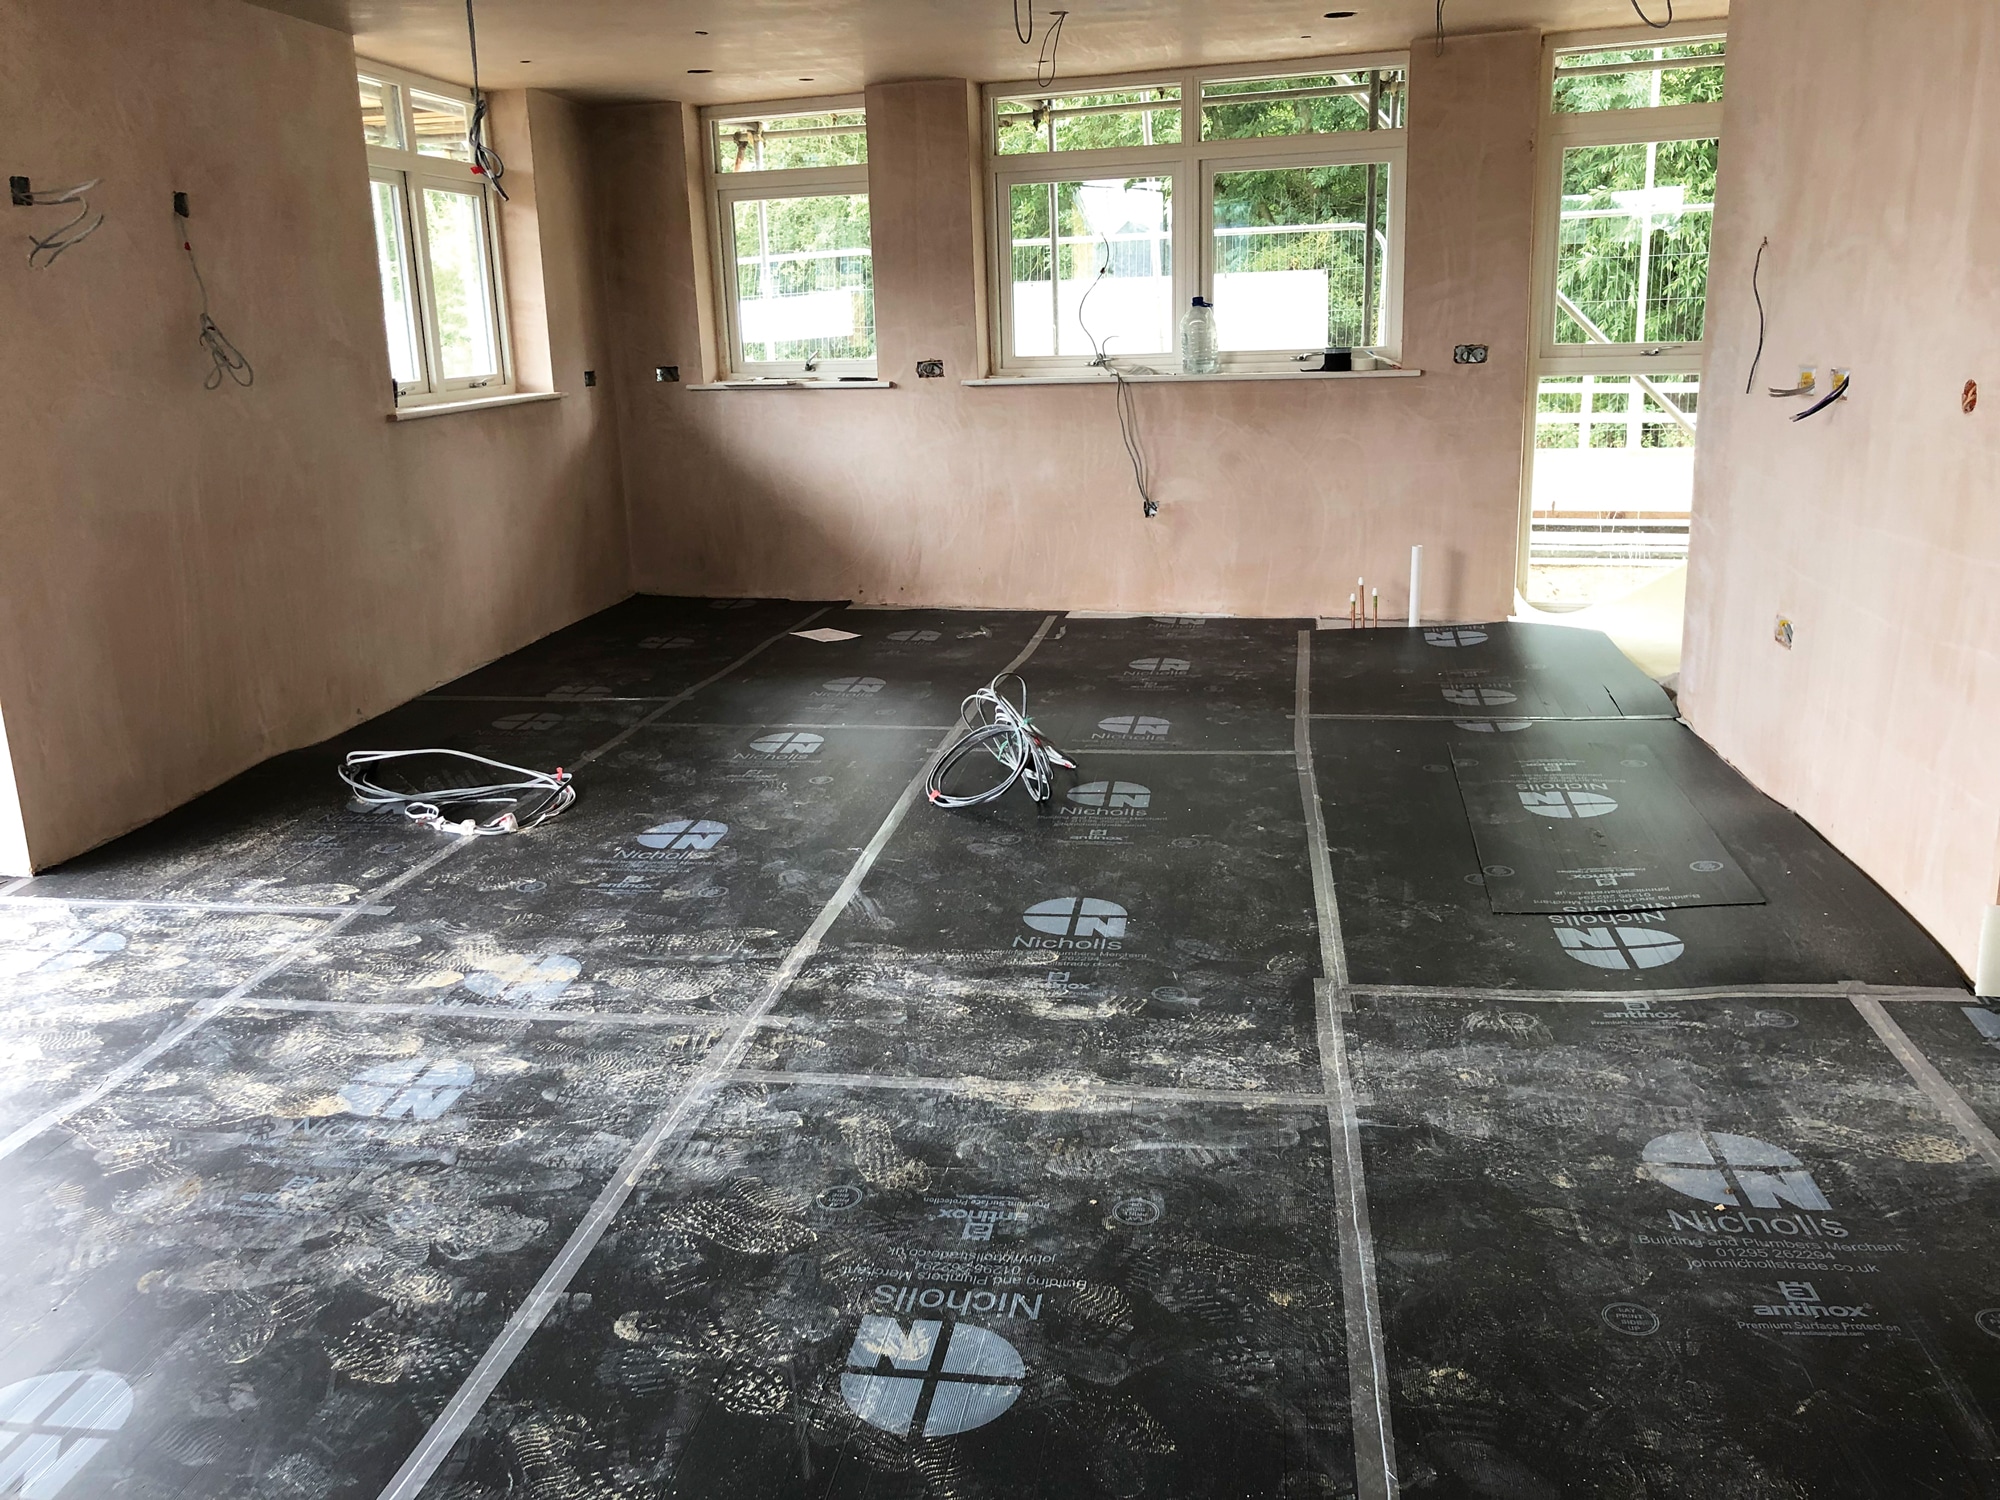
The floor is now covered with Antinox boards (laid above dust sheets) so work can continue on the ground floor
Will’s installer got the whole job done in just a few days, giving time for the adhesive to dry out over the weekend. Come Monday, it was time for grouting – we’ve gone for a light grey hue that blends in well with the tiles.
Once the grout set, the floor was covered over with dust sheets and Antinox protection board, to allow our trades to come back in and start their follow-on work. Laying the dust sheets underneath ensures that no colour or printing can rub off the boards onto the tiles.
It’s a good idea to be on site before that happens – otherwise you won’t see the finished result for several weeks!