Estimate your project costs instantly with Build It's interactive self-build cost calculator
Calculate NowGet an accurate, detailed cost breakdown of your project
Submit plans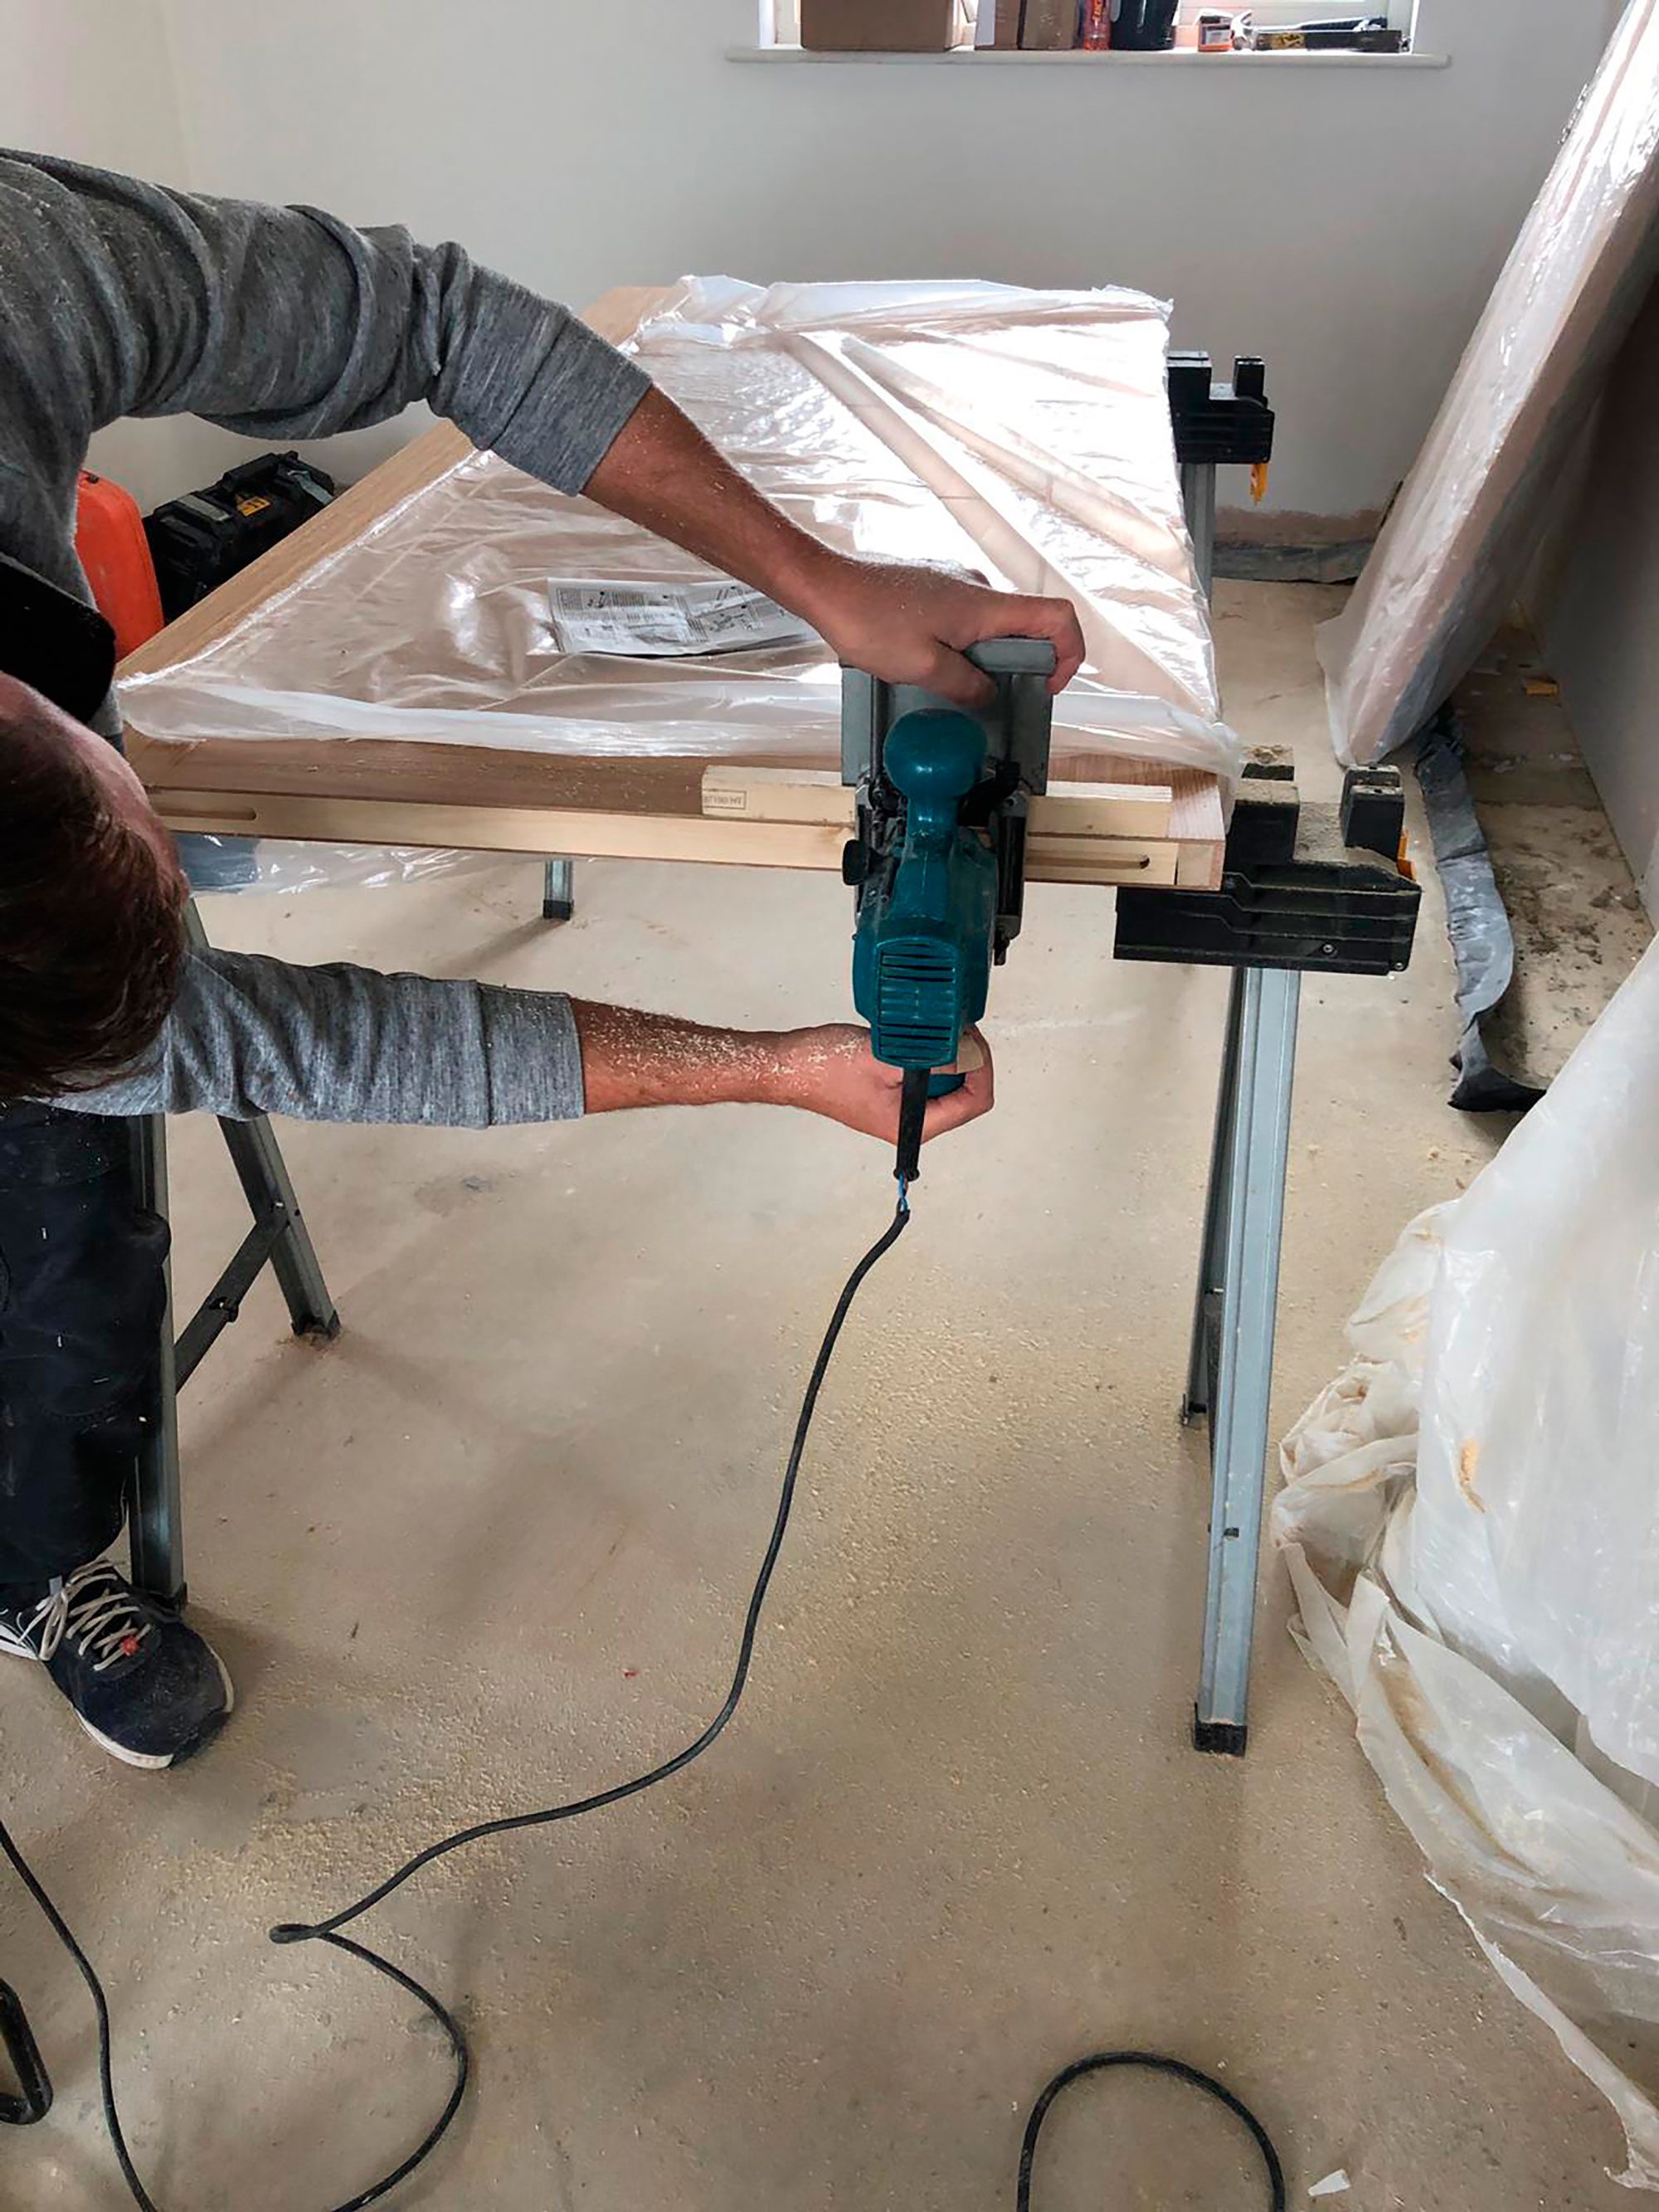

Internal doors have a massive impact on the look and feel of a house, so it’s worth spending plenty of time researching your options.
I mentioned a couple of months ago that we initially planned on using JB Kind’s pre assembled doorsets (which include the lining, frame and door).
In future, I’d expect many self builders will go down this route for the speed and certainty it offers in terms of getting the installation right on site. But for us, it made more sense to go for traditional fit.
One of the key reasons for this is that the lead times on doorsets are longer than we really wanted (partly because they’re becoming more popular). We needed to crack on installing our door linings so the plasterers could get their work done – so we couldn’t afford to wait.
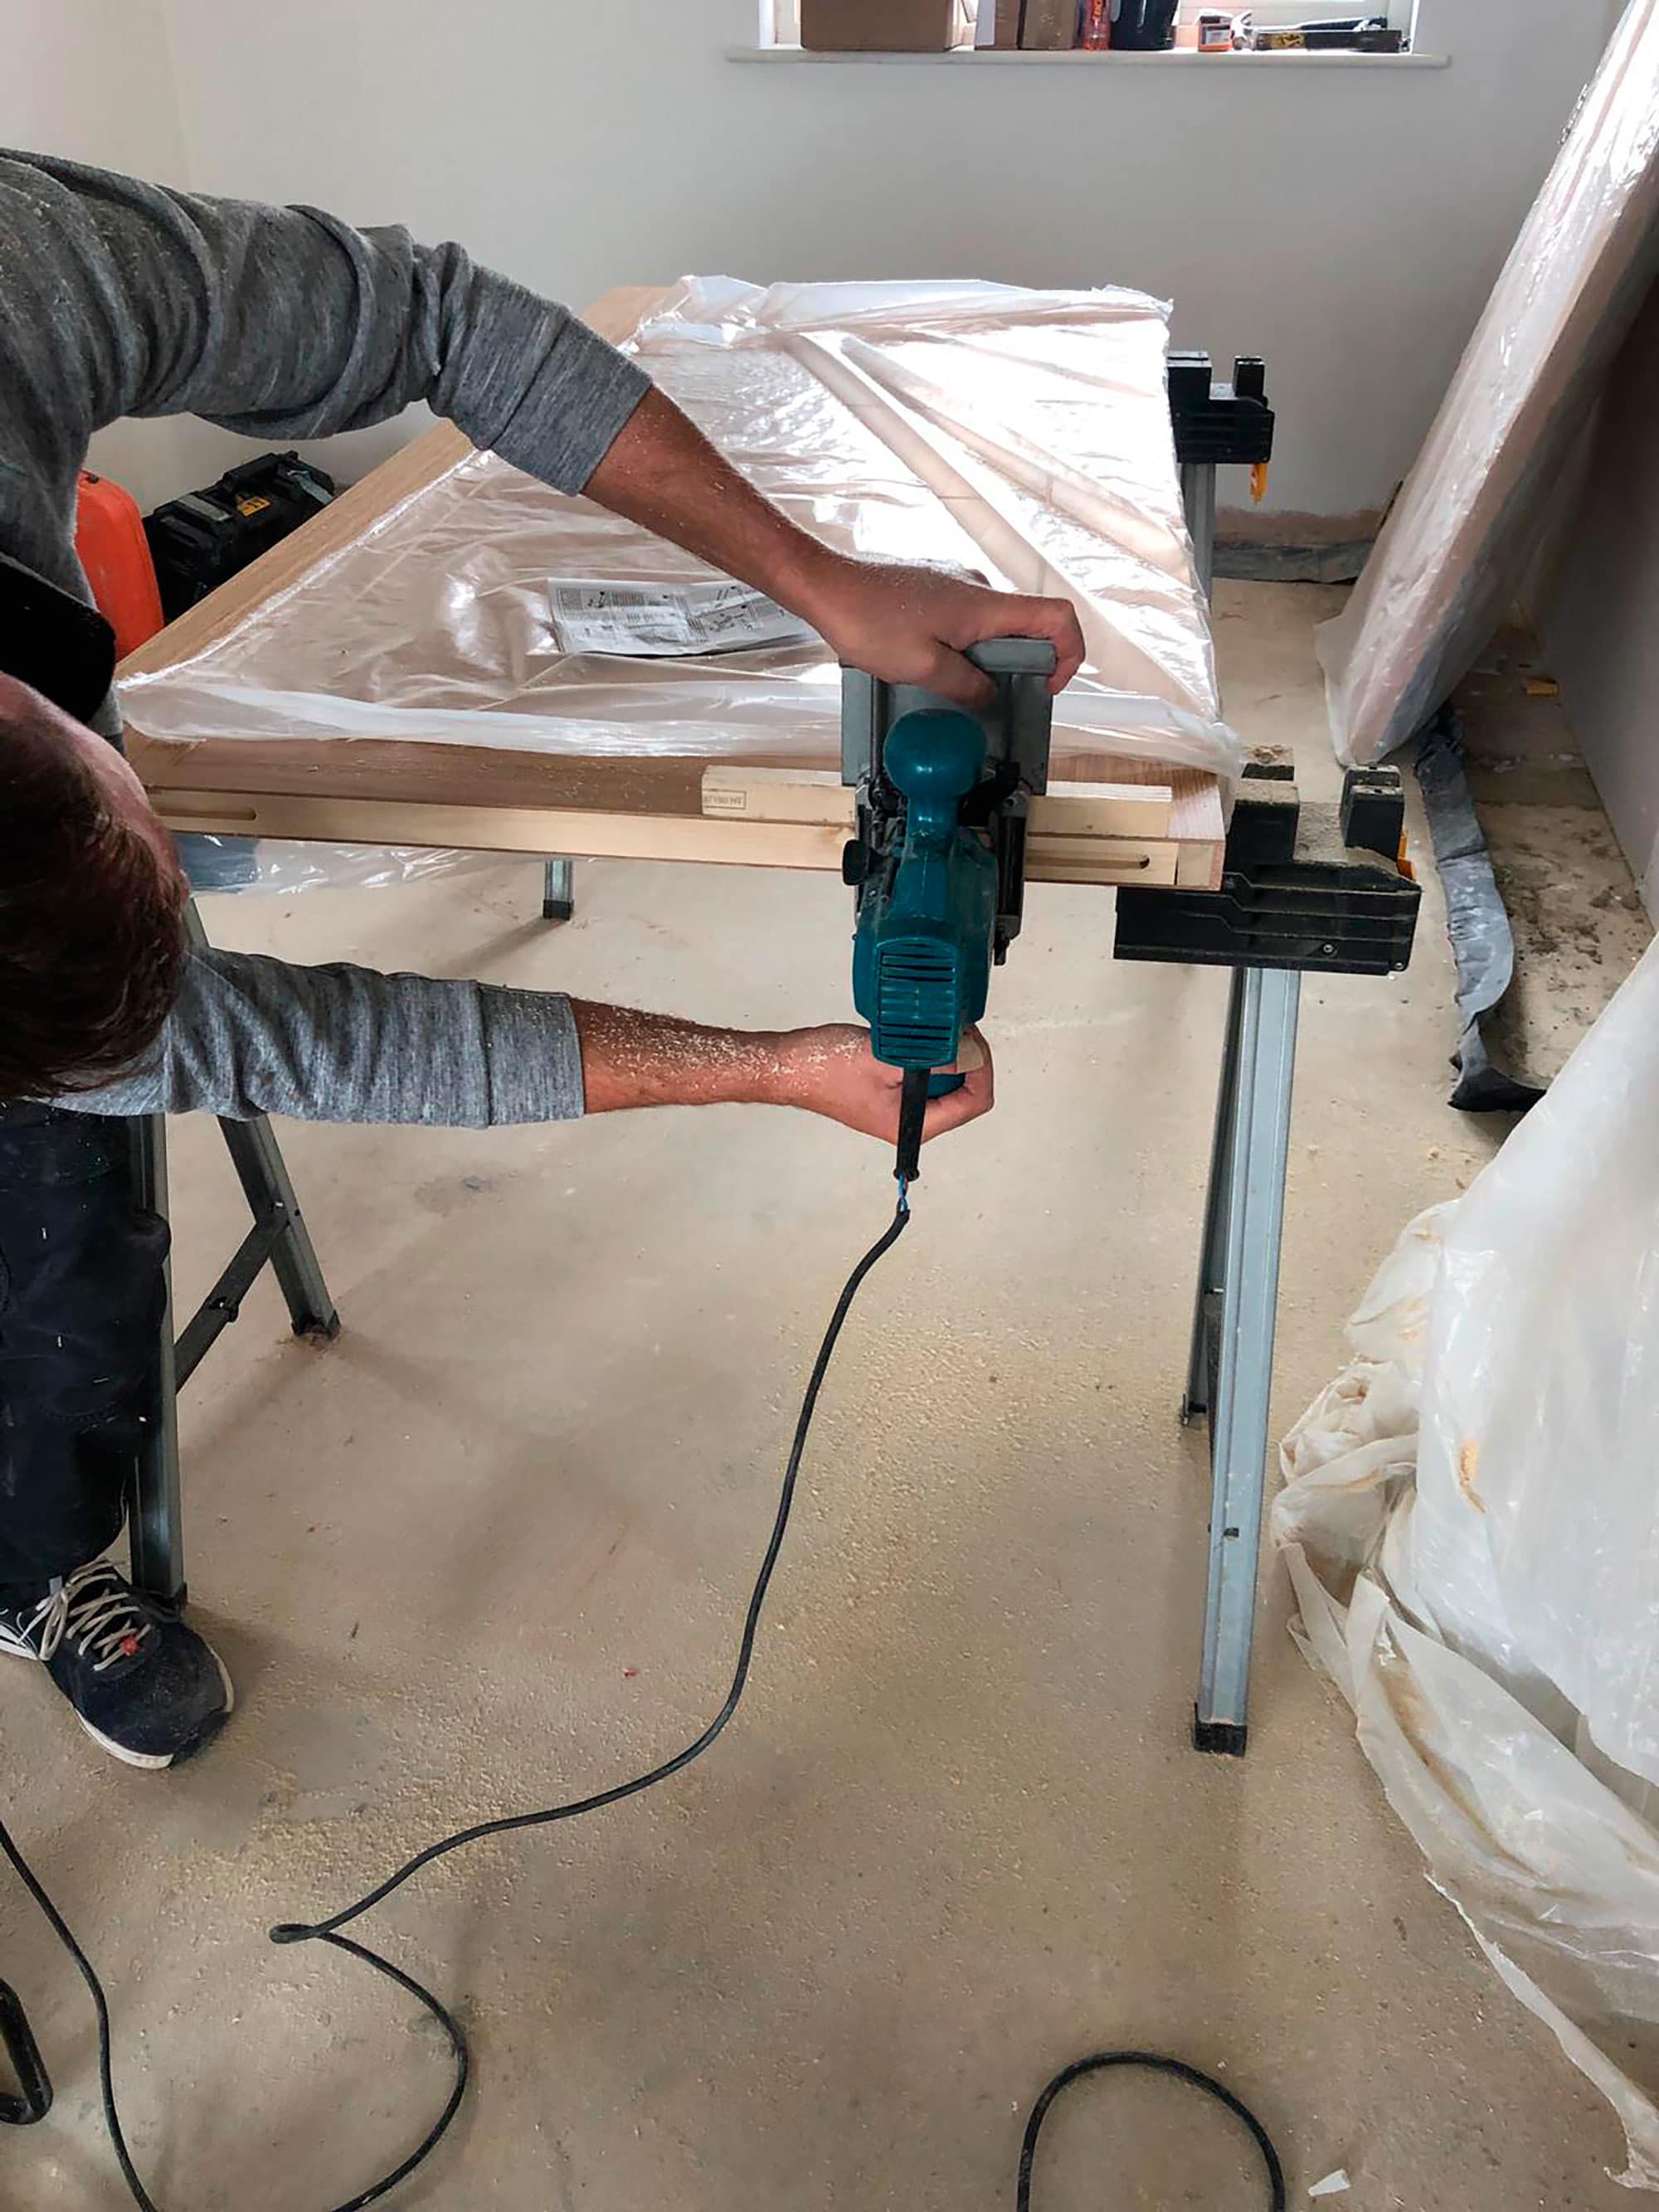
Our carpenter, Marek, preps one of the JB Kind internal doors to fit into the sliding pocket mechanism
When we first sat down with JB Kind to talk through our options, they were open in saying that – at the moment – traditional fit is slightly more cost-effective on a single house with up to around 16 door panels. As it happens, the Build It Education House fits into that category.
Design-wise, we were tempted by JB Kind’s laminate doors, as the latest ranges do an excellent job of replicating the look of timber veneers while offering guaranteed colour consistency. But for the time being, there are more style and stock size options with real-wood surfaces – and we loved the look and versatility of the Tigris Oak veneered door.
The finish should add some warmth to the interiors and complement the feature staircase.
The open-plan nature of our project, and the fact we’ve included a basement, means several of our doors need to be fire-rated for 30-minute protection (FD30). In fact we decided to specify most of them in this format, as their weight means they’re more satisfying to use than standard units.
As we’ve got good floor-to-ceiling height, we’ve also primarily gone for 2,040mm tall versions (as opposed to the usual 1,981mm) to accentuate the sense of space.
Internal Doors and MVHRIn a house with a mechanical ventilation system, you need airflow from room to room to maintain a balance. The normal way to do this is to have a gap between the bottom of the door and the finished floor surface (known as the undercut) – and if you want to order standard doors, this needs to be factored in to the height of the openings. Total Home Environment, our heat pump ventilation supplier, asks for the undercut to be 10mm. The slight challenge is that, in most cases, you won’t have a finished floor at the point you want to form the openings and order doors (just the screed or deck). For the ground floor, we’d already selected our tiles and knew the build-up would be 17mm – so we could do the maths. But upstairs, we knew we’d be carpeting the landing and bedrooms, but hadn’t yet picked out a product. It’s amazing how difficult it is to research a standard build-up height for a decent carpet and underlay – and neither our main contractor nor Total Home could give us a suggested figure. In the end, we took up a strip of carpet in the office and measured that up (we’ve allowed 20mm, in case you need a guide for your project). |
JB Kind has supplied all the standard internal doors for the house, along with the hinges, handles and other ironmongery we need. The only exception to this is the pocket door mechanisms we’re using for the living room, ensuite and dressing room, which we’ve sourced from Eclisse (who offer a fire-rated double door system).
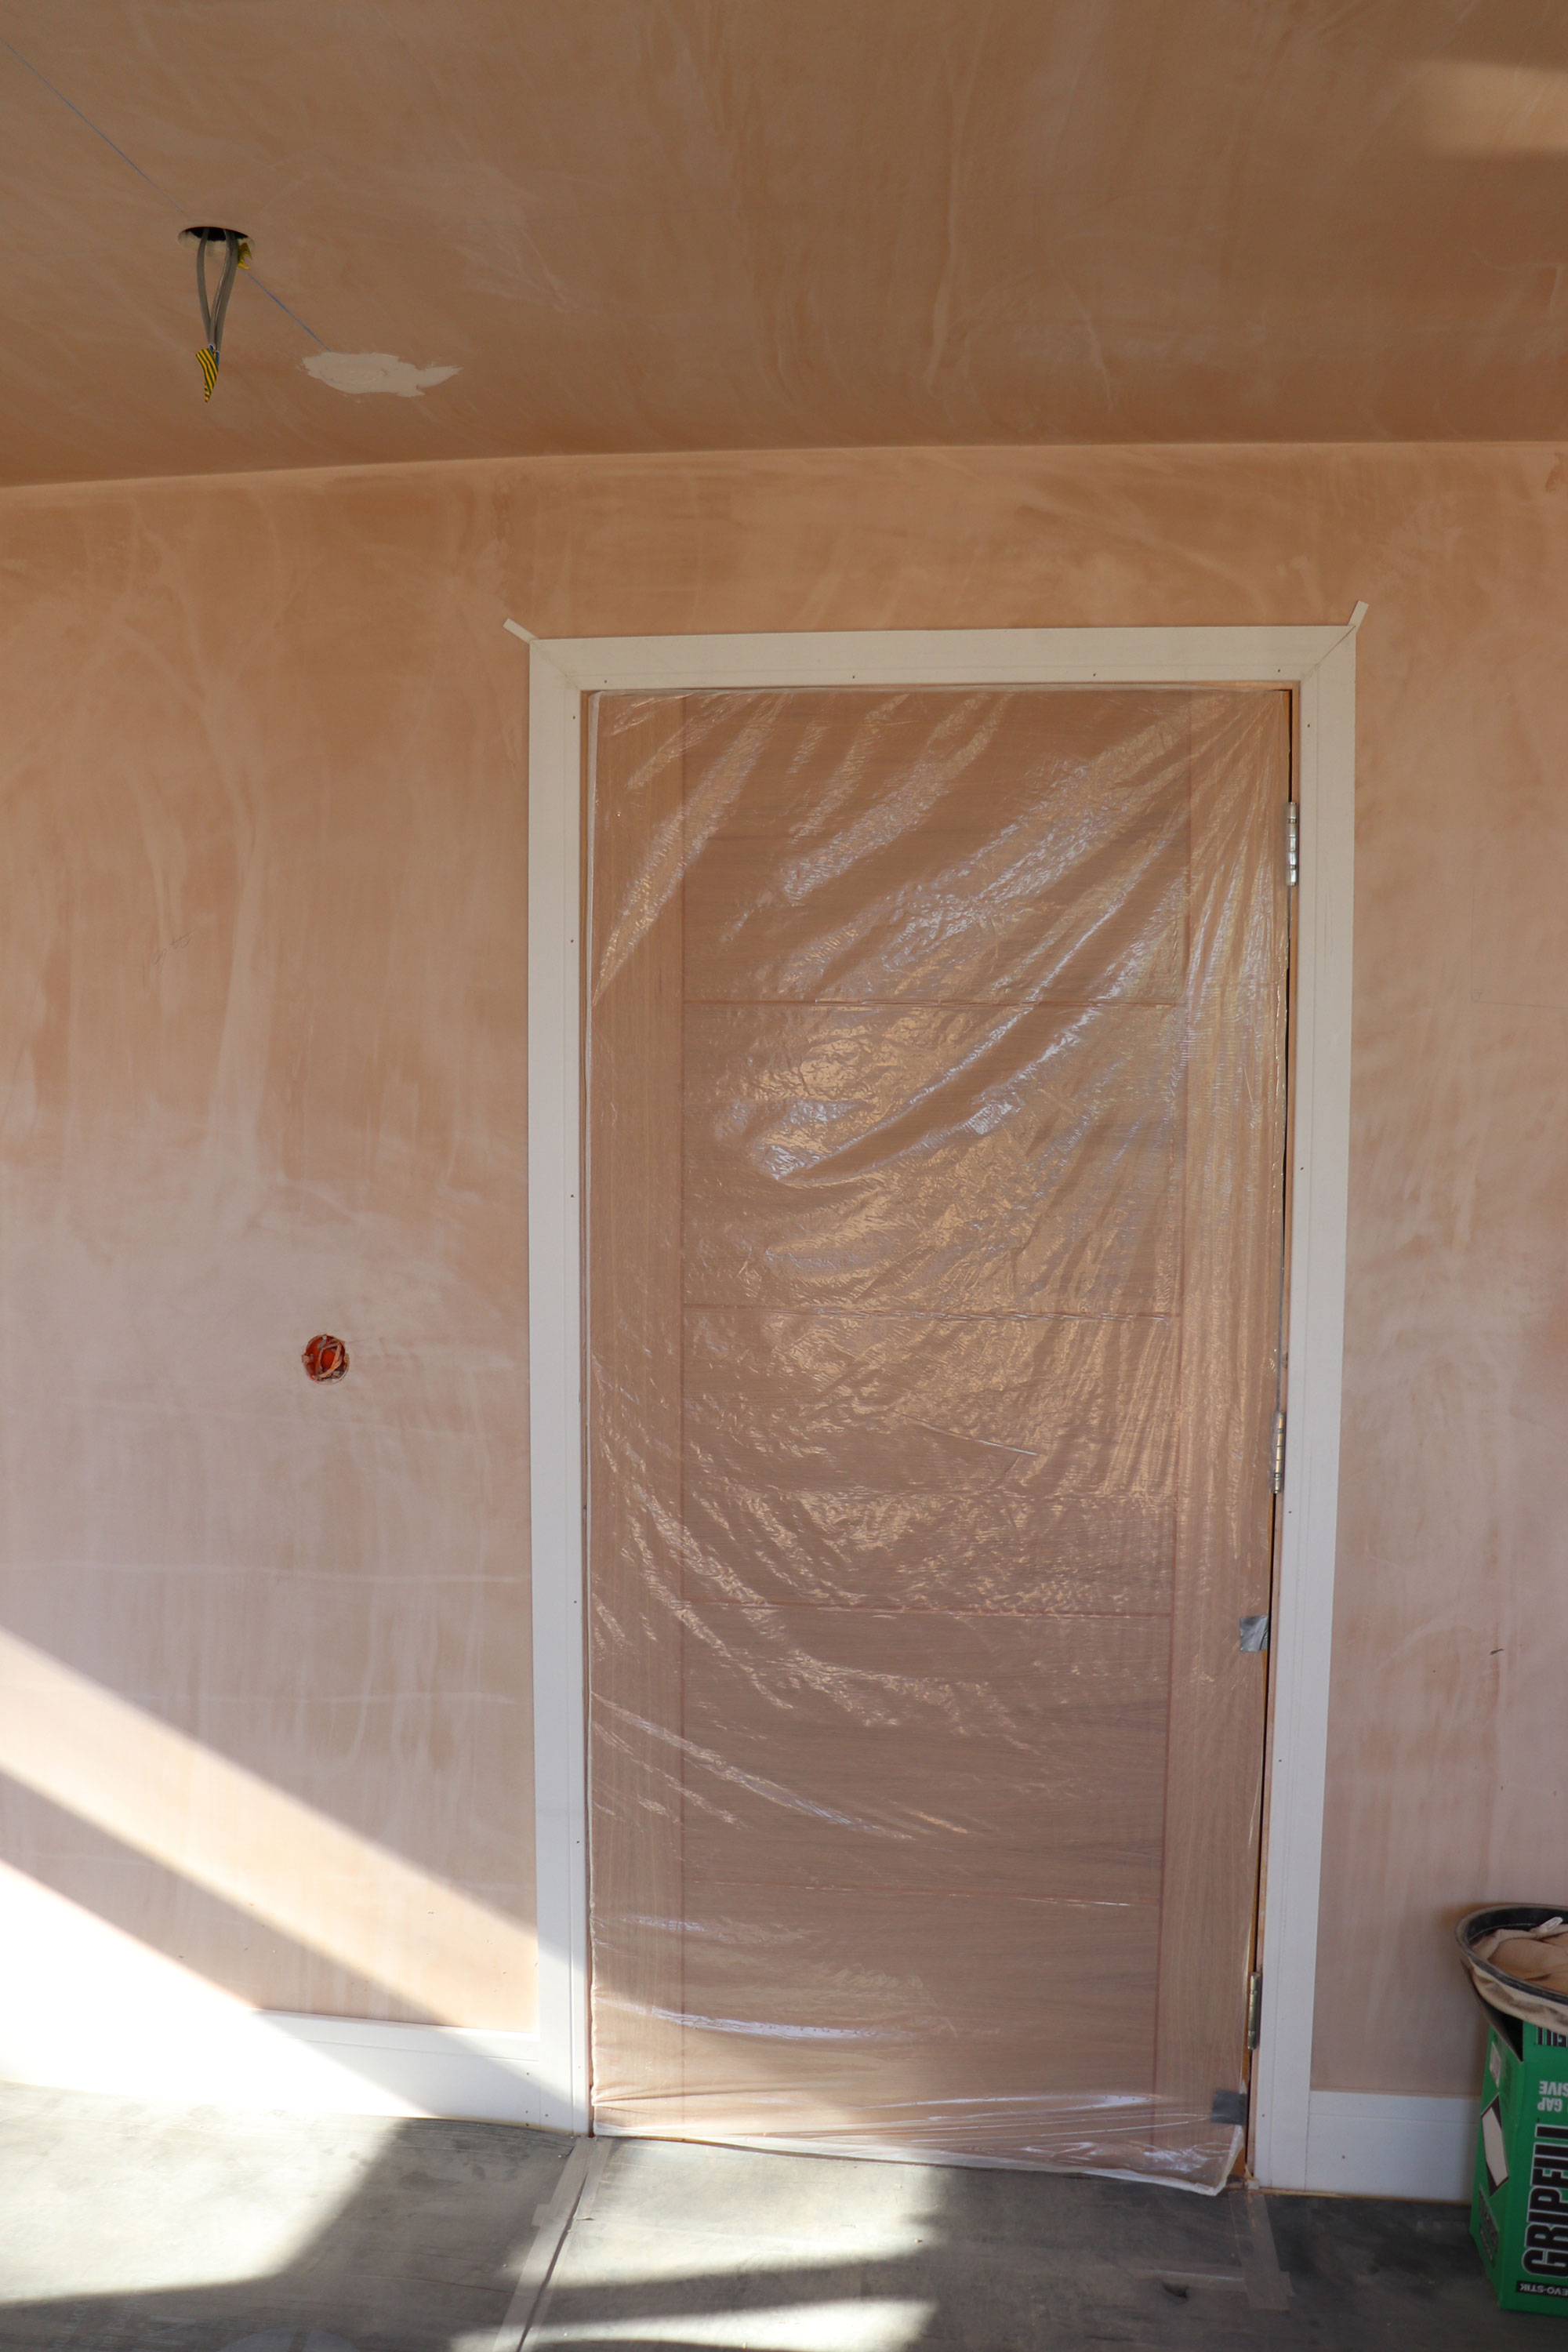
Most of our internal doors are now in and the architraves have been fitted. We’re keeping the leaves under wraps to protect them
Once the linings were in and bulk of the walls plastered, we ordered the Tigris doors from JB Kind on a quick turnaround of just under two weeks. Given our contractors have formed the openings from scratch, hanging them is a pretty straightforward job for our chippie, Marek, and most of the doors are now fitted.
The furniture will go on right at the end of the build to avoid the risk of damage.
The final door to be installed will be the internal glazed slider (the SF20 frameless design from IDSystems). We’ve had a slight hiccup here, in that the opening our team has made is about 45mm narrower than agreed due to the size of our service duct.
Thankfully, it’s an easy issue to resolve, as the door track can simply be cut down to suit – but it did mean that IDSystems couldn’t complete the install on their first visit. They’ve been very helpful in getting the issue resolved, and will be back next week to fit the slider.


 Login/register to save Article for later