
THIS WEEKEND - Get ready for Build It Live!
21st-22nd February 2026 - time to get your dream home started!
GET TWO FREE TICKETS HERE21st-22nd February 2026 - time to get your dream home started!
GET TWO FREE TICKETS HEREEstimate your project costs instantly with Build It's interactive self-build cost calculator
Calculate NowGet an accurate, detailed cost breakdown of your project
Submit plans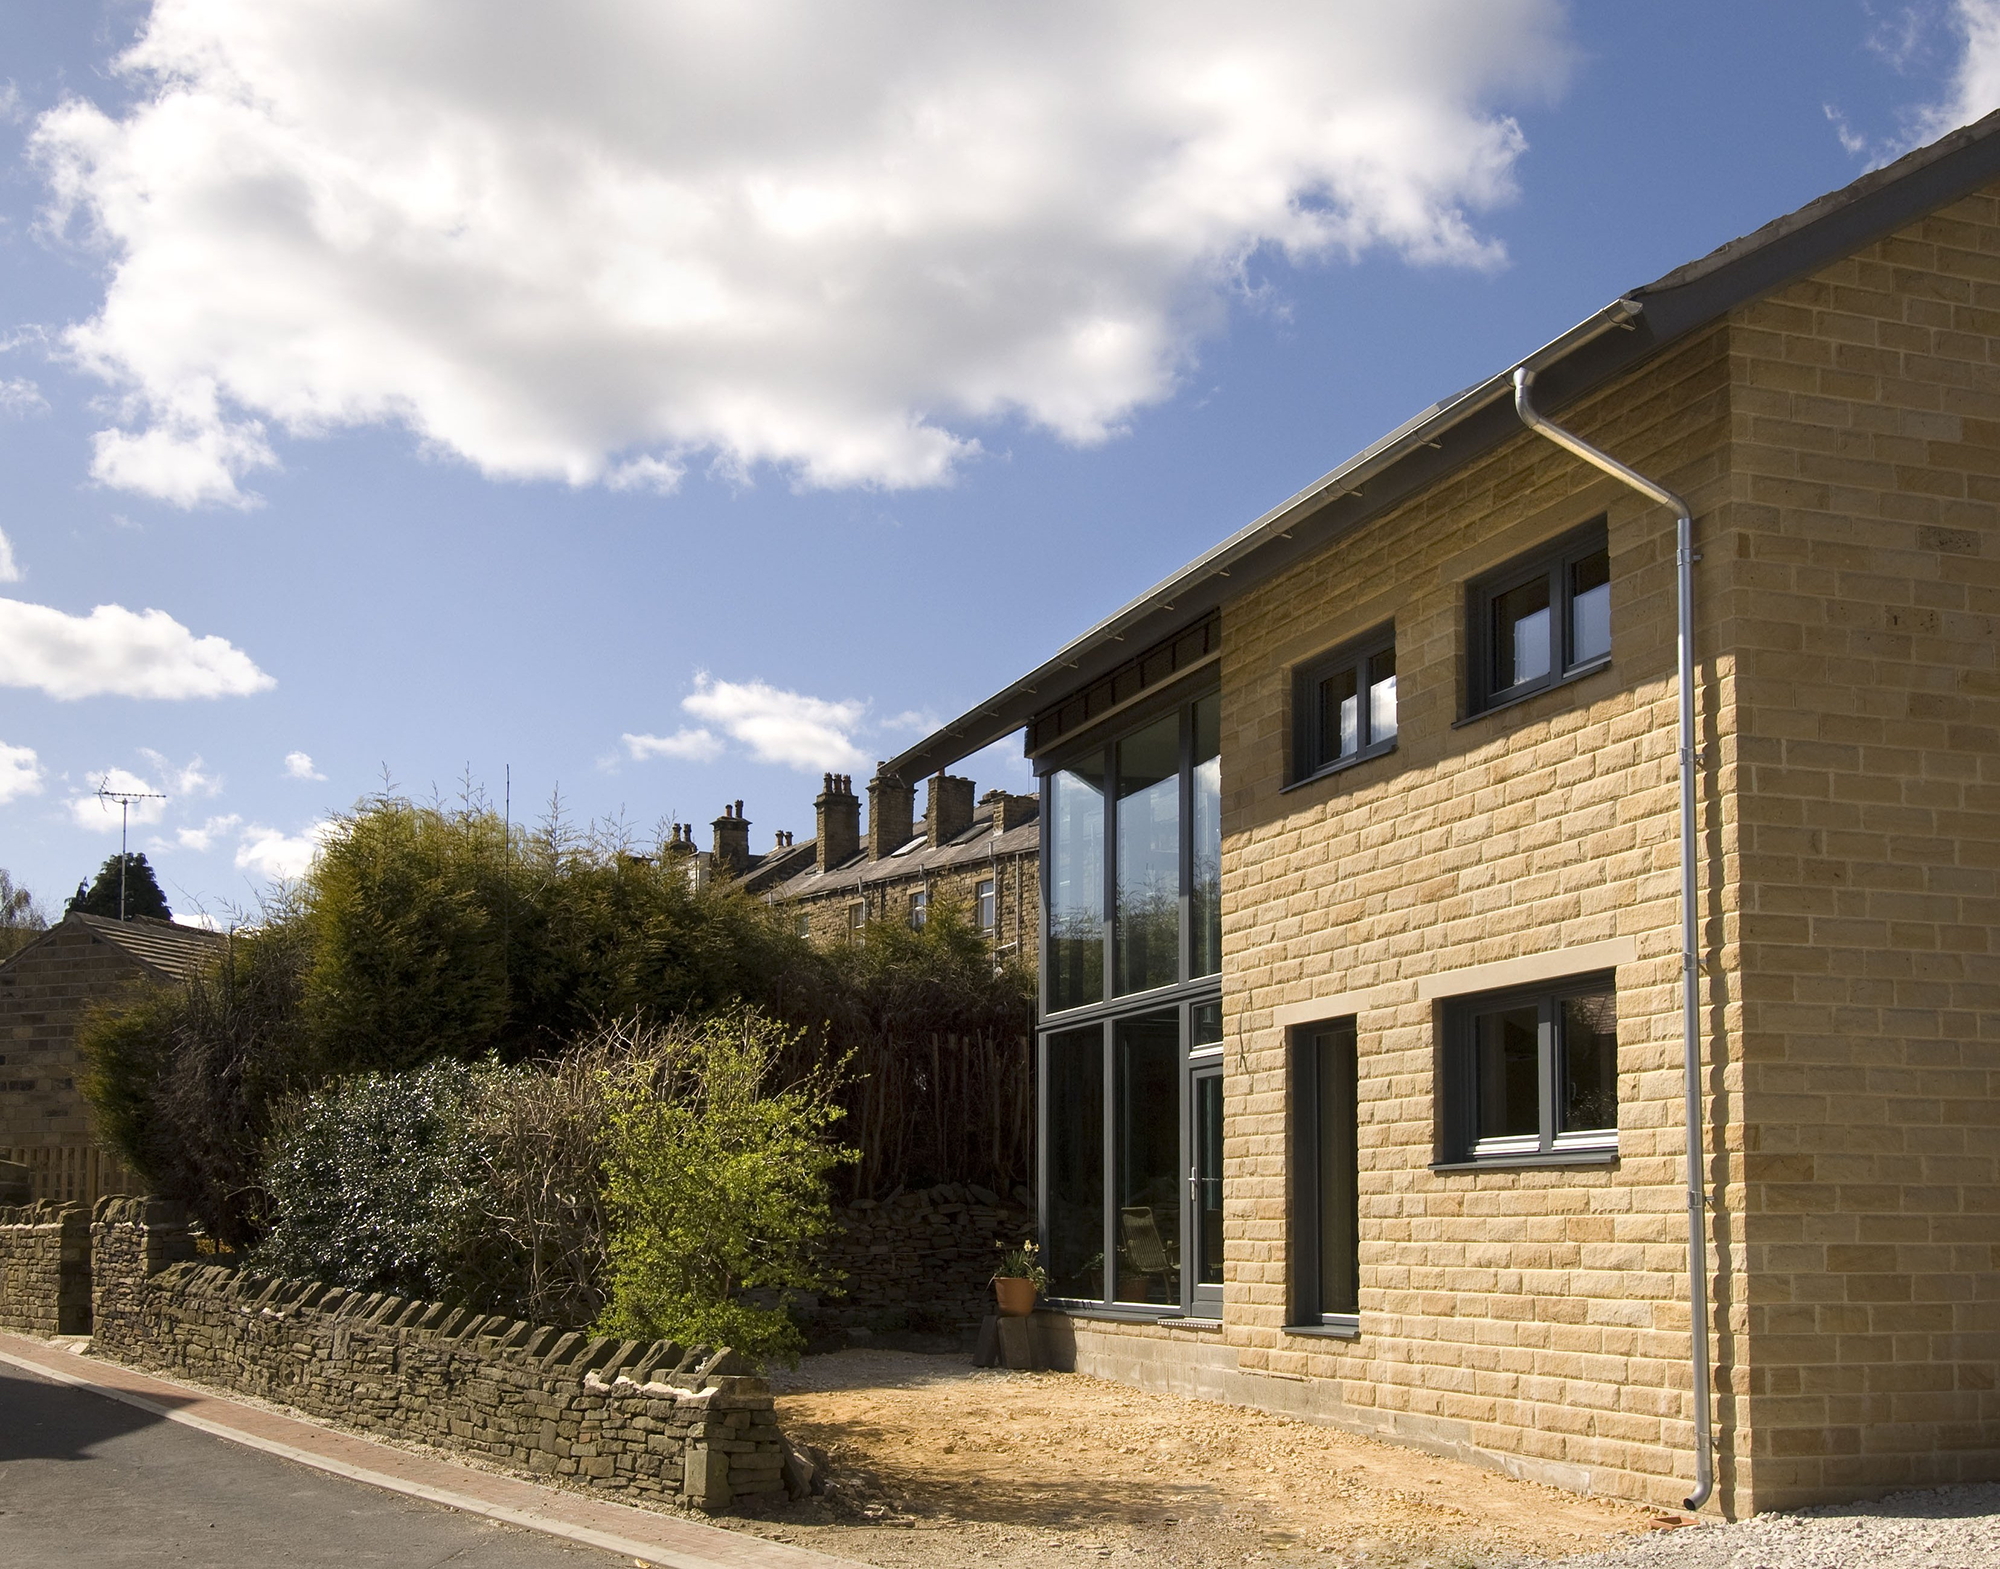

With the damp-proof course (DPC) bedded in the mortar 150mm above ground, the external walls can be built up (raised). Traditionally starting with the outer leaf of face brickwork, the mortar joints should be of equal thickness in every course and of equal width in the vertical joints (perpends). The mortar itself needs controlling (gauging) in the mix to keep its appearance and strength consistent throughout the build. You can help to control this by making sure that:
Your architect will have calculated your home’s energy efficiency rating at the planning stage based on the specification in respect of carbon emissions. It is not easy to amend the specification without affecting that rating and it pays to have any variation in materials checked out beforehand.
Whether you use a total mineral wool fill cavity or a partial fill polyurethane foam board may depend upon the degree of exposure to wind-drivenrain. A skin of brickwork (112mm thick) can leak dramatically when the rain is pushed in by wind pressure and cavity wall insulation products are treated with water repellent to avoid them absorbing it. It should drain down the face and out through the foundations or weep holes above DPC level.
The insulation batts should be cleanly inserted and butted together, without any mortar dropping between them. Keeping them clean and dry is a challenge on some sites. Avoid them being wedged or forced into gaps or left exposed at the top in wet weather. Water will track across the gaps between the batts and soak down into them until they are saturated, and damp will inevitably penetrate the inner leaf of your home. Using a board, to keep the cavity clear of mortar as work proceeds, helps a lot. The same applies to partial fill insulation, which relies on retaining a 50mm clear cavity on the outer face.
Lightweight blocks are traditionally used for the inner leaf and they help with the thermal insulation which means choosing the ones you use carefully. Like the insulation, they are pre-specified to achieve the Dwelling Energy Rating (DER) and any variation in the specification can have an effect on that. Blocks should be cut as necessary around openings and plates and not replaced by bricks. Using bricks will produce a cold bridge for heat to transfer through, even if your cavity is insulated, so it is essential to cut blocks to fit.
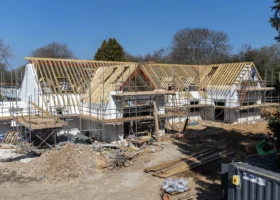
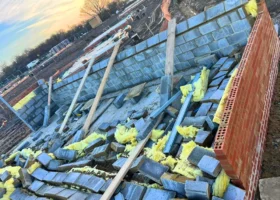
After the first lift of masonry, the scaffold has to be erected before the work can proceed and your hire company should be booked in with a provisional date for this on the day you start bricklaying.
Your roof and floors are required to offer lateral support to the external walls and this is done with restraint straps. It is important to recognise that they are meant to be built into the masonry and not screwed on to the face of it later. The straps are installed perpendicular to the floor joists at maximum 2m spacings, either side of openings for doors and windows whenever you have a wall longer than 3m.
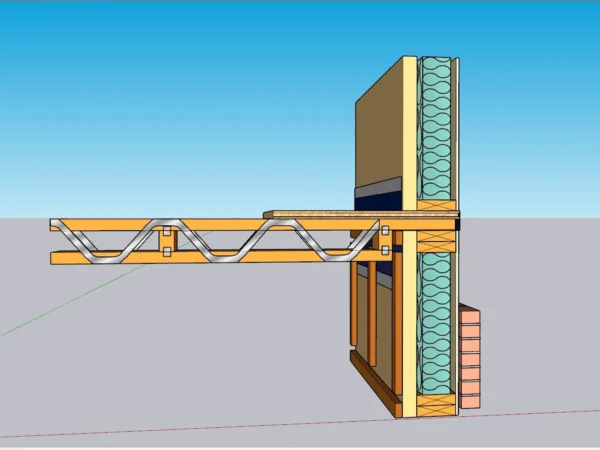
The UK’s timber-framed buildings normally consist of a studwork frame inner leaf as the structural element replacing the blockwork, and a masonry outer leaf as a rain shield, with a cavity between. The insulation is installed between the timber studs of the framework and so can be considerably thick, yet still maintain a clear cavity for weather resistance. A 140mm deep stud is now used to achieve the insulation standard. The frame is braced, with a lining of plywood or oriented strand board (OSB) sheathing to provide resistance to racking movement under wind load.
The walls are made off-site in panels and erected into position by crane and you can expect to hire one for a couple of days to get all the walls up and the roof trusses on. The sole plates of timber-framed walls need securing down without damaging the DPC and, to achieve this, special anchor plates are used which allow it to be fixed to the ground floor rather than the wall substructure. The sheathing is covered with a breathable membrane which adds some weather resistance behind the cladding. It is usually stapled to the sheathing and, needs to be well lapped at joints.
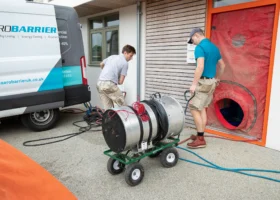
Before the outer leaf of masonry is built, mineral fibre cavity barriers (in polythene tubes) are fitted around openings and at floor and roof junctions. The aim is to prevent a fire from spreading throughout the cavity. It makes sense to install them more frequently than you need to – perhaps at the intersections of internal walls dividing up rooms as well.
Comprising of lightweight galvanised sections, cut from thin steel sheeting and formed to joist shape by rollers, the panels are factory made and come with the holes prepunched. The tolerances are less than with timber, and it is even more important to have the substructure accurately built before the panels arrive. With such thin steel used, some careful handling and joining of the frame on site is essential. The setting out of the building on substructure is most critical. If the permitted minor tolerances are not met, the result could be insufficient bearing at the sole plate or variations in the width of the cavity.
In addition to wall panels, prefabricated roof panels and floor cassettes come in structural insulated panels (SIPs), a modular form of system build that allows you to weather in your new home very quickly. Made from a core of rigid polyurethane foam insulation, sandwiched between plywood, OSB, cement-fibre board or even sheet metal, the panels are both structurally strong and thermally efficient and are ideal for use in large open galleried rooms.
You can still have the outer skin weathering you would like, be it facing bricks, cedar shingles, clay tiles and similar, and the roof can be tiled or slated traditionally, too. In effect, the finished building can look very much the traditional home, the only possible hint of its contemporary structure would come from the overhanging roof plates at the eaves, which can extend out considerably to give shade to the windows below.
When the panels arrive, check that the window and door openings are all exactly where they should be and use the same anchoring plates as for timber-fame and hope for good weather. This isn’t a system that you can erect in a gale and once you start, you need to complete it quickly to make it stable.
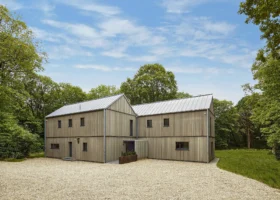
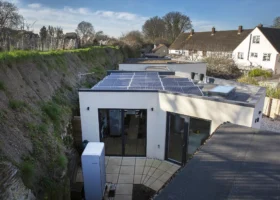
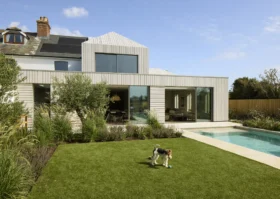
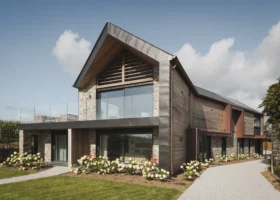
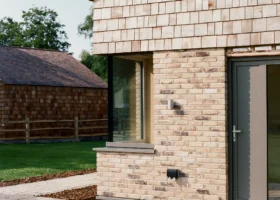
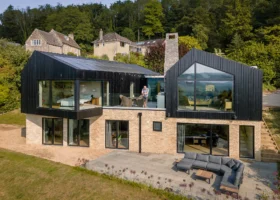
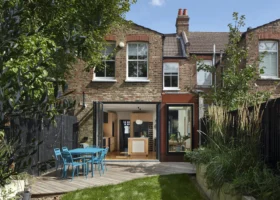
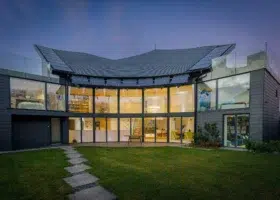
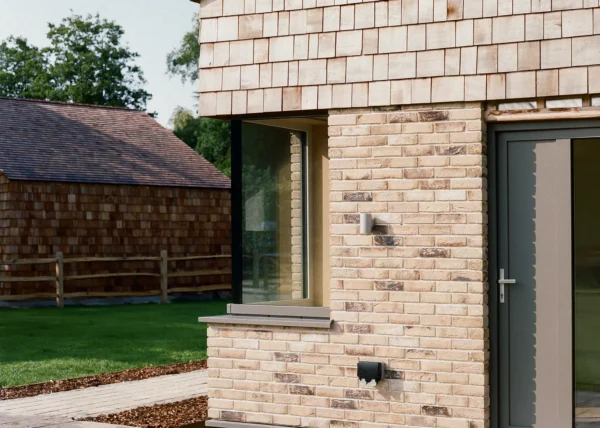
Main image: The Denby Dale Passivhaus is a low-energy home built with cavity walls, which feature 300mm of insulation


 Login/register to save Article for later


Comments are closed.