
Estimate your project costs instantly with Build It's interactive self-build cost calculator
Calculate NowGet an accurate, detailed cost breakdown of your project
Submit plans

When we started the renovation, the home had solid concrete floors, which meant that most of the ground floor was not insulated and ground water was often pushed up through the base of the wall. As a result the house was uncomfortably cold and damp. Replacing these with warm and breathable solid flooring was a major part of the refurbishment project.
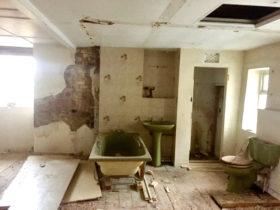
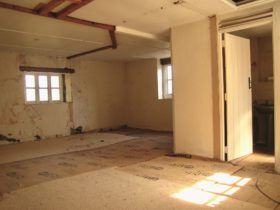
Period Renovation Project 9: Fixing unsafe features
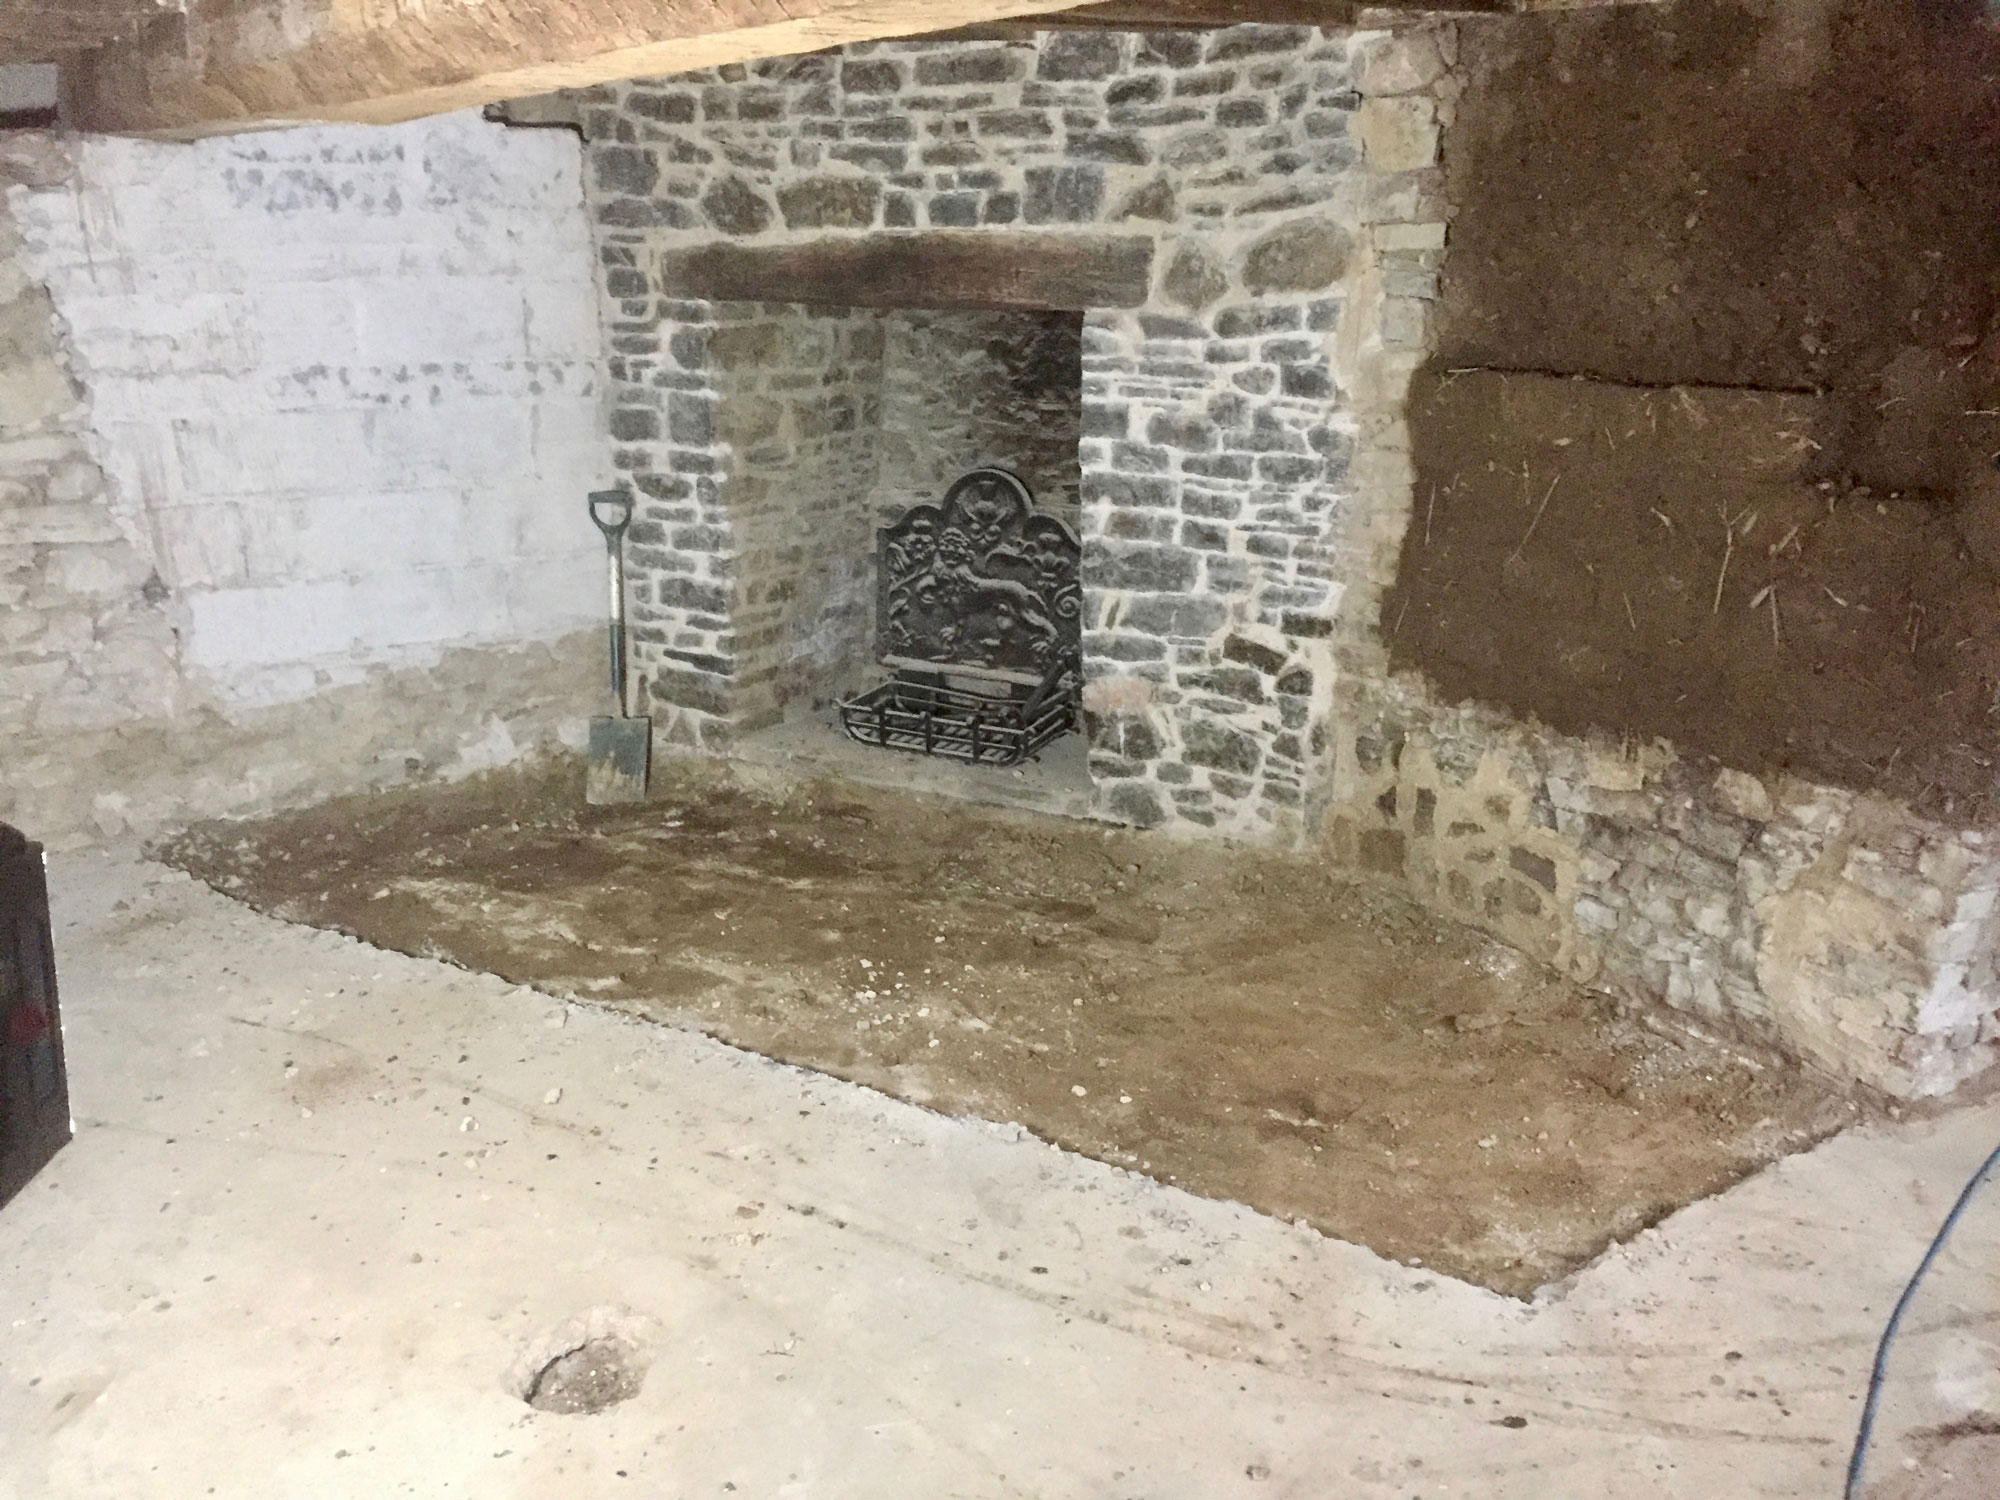
The dining room floor starts coming up
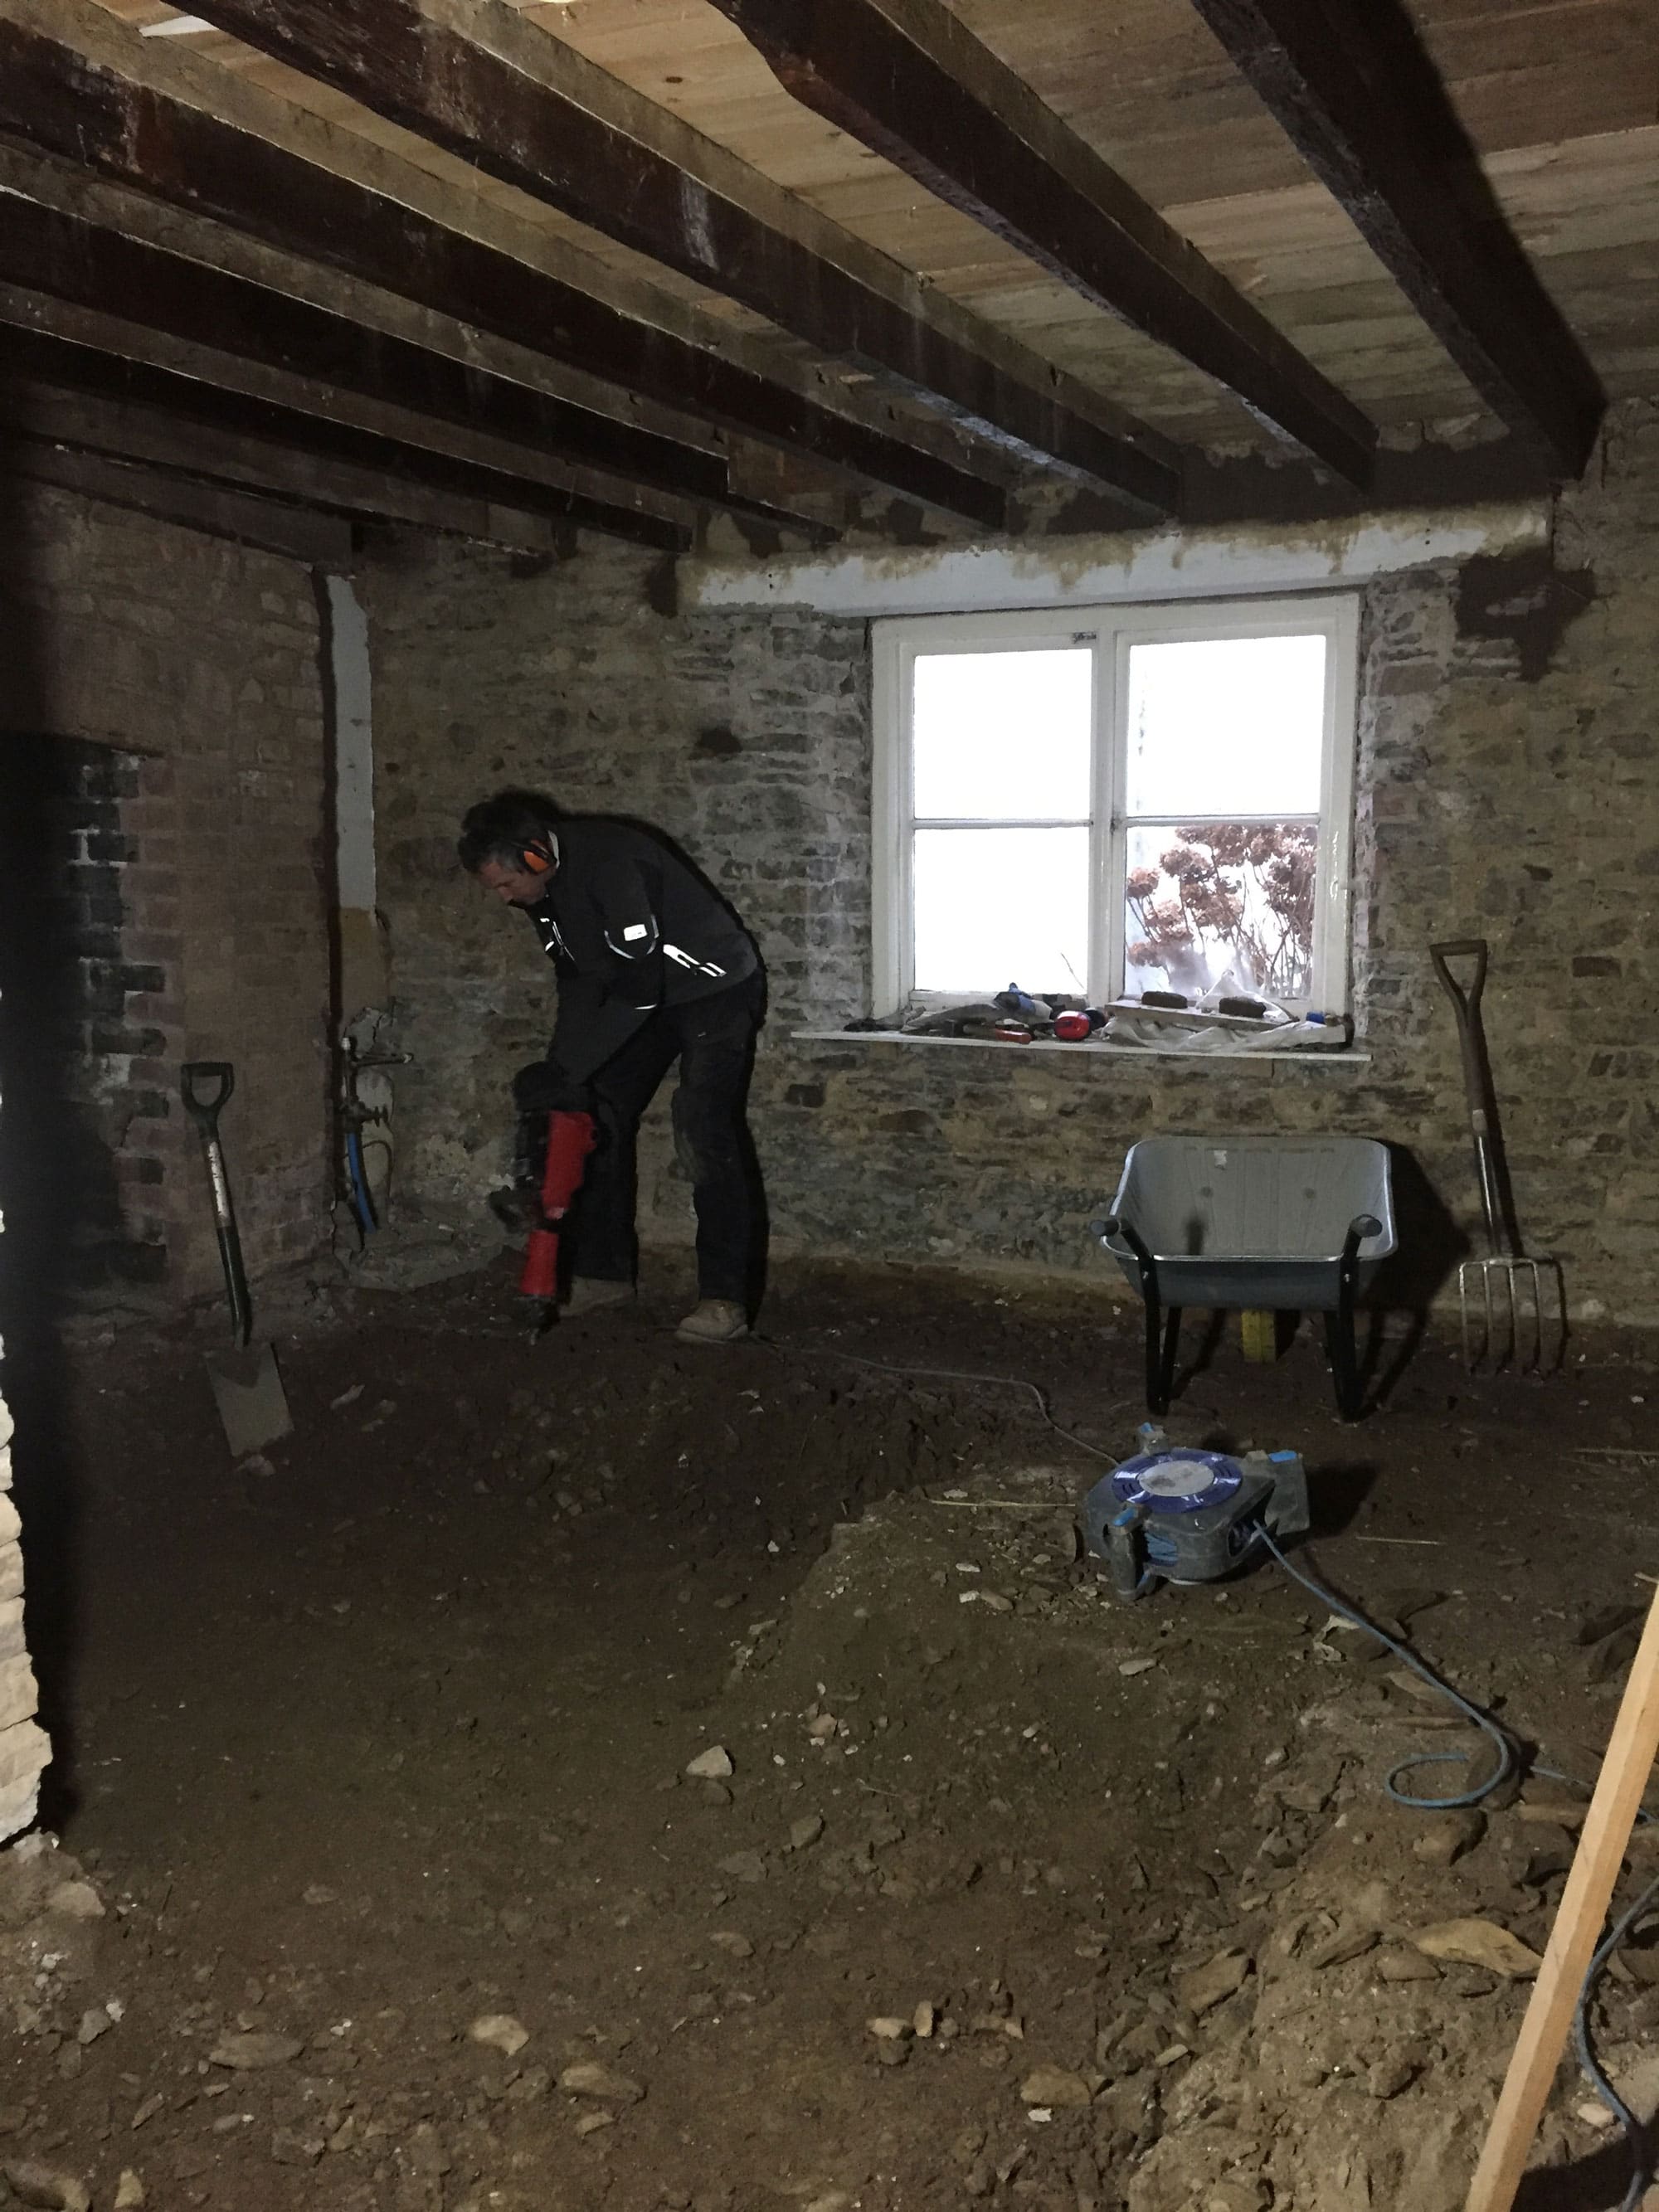
We began by breaking up and removing the concrete layer. This was different in each room; the dining room was just concrete laid directly on the earth. The sitting room was a more lightweight screed with a plastic damp proof membrane; the kitchen was similar but covered with vinyl tiles.
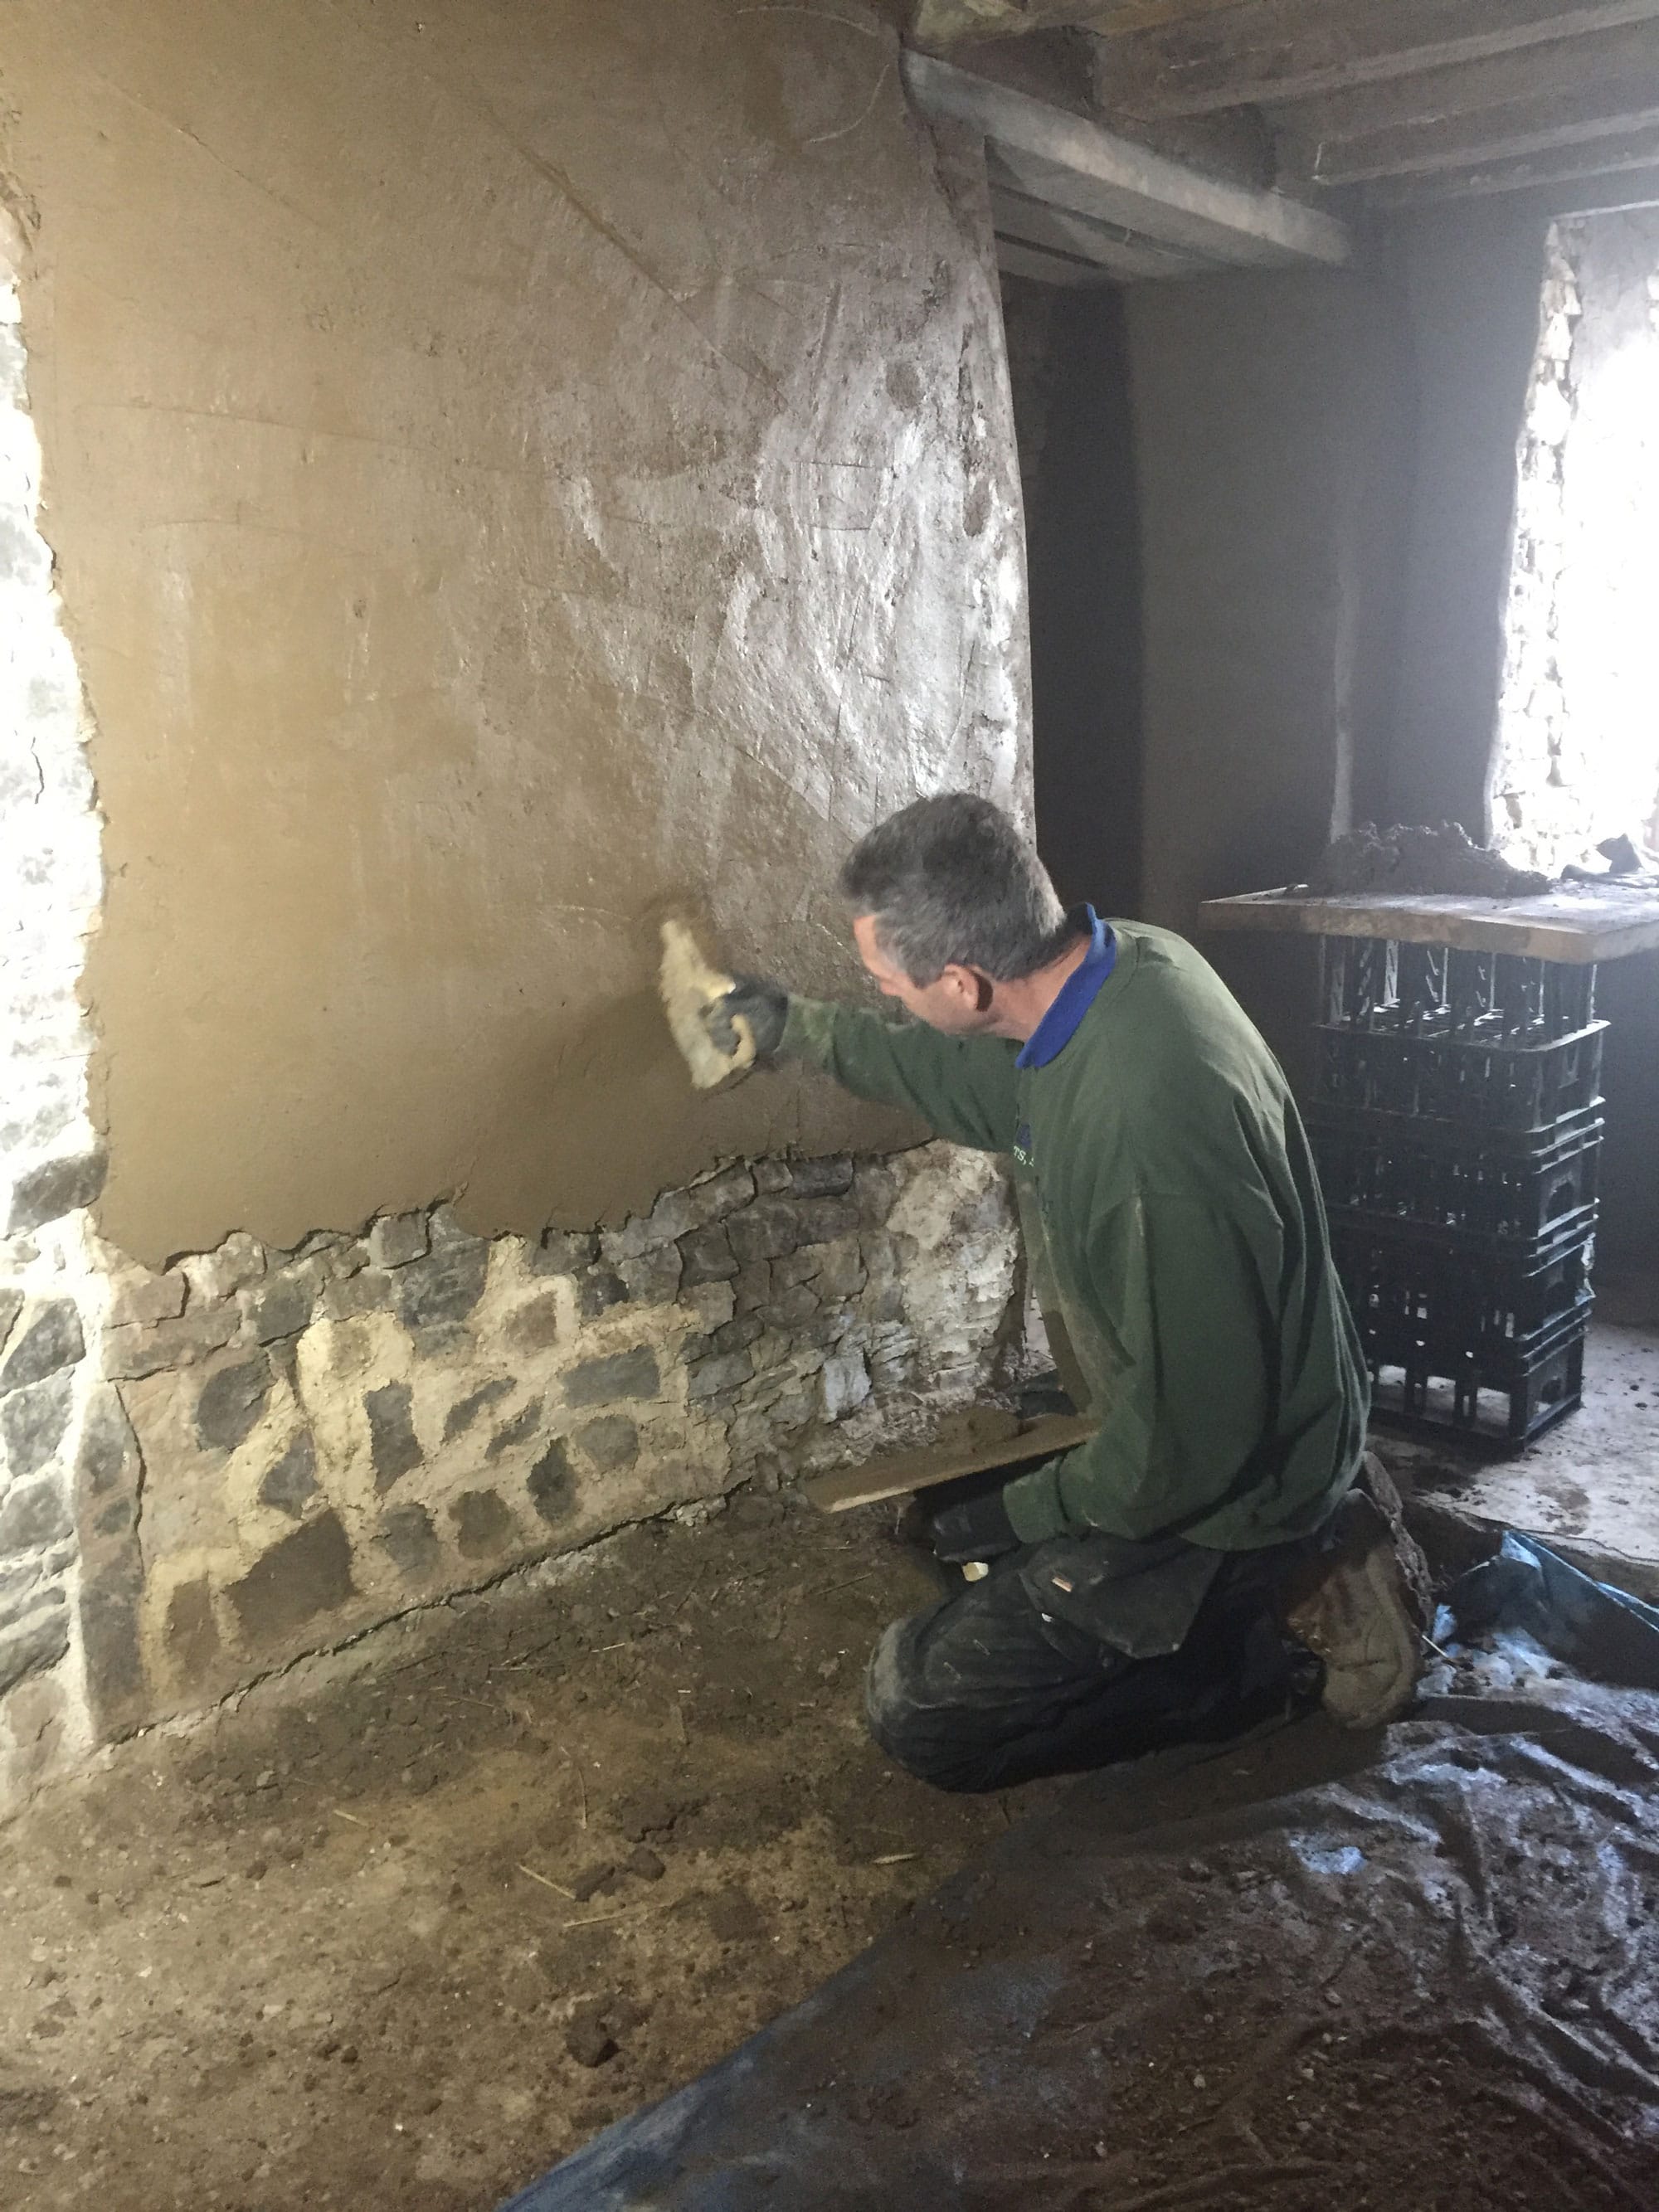
Base coat plaster using earth dug from the floor
As part of our strategy for minimising waste we have saved the broken up material from the dining room and sitting room for use as hardcore for external landscaping. Unfortunately the vinyl tiles meant the kitchen floor was too contaminated and we had to send it to the skip.
Breaking up the kitchen floor
The next stage was to excavate the sub-floor a further 150-175mm to allow the installation of an insulation and vapour control layer.
In the dining room this involved digging out clay-rich earth, which proved ideal for sieving and mixing to make clay plaster. Rather than shift all the material out of the house and then bring plaster back in later I simply mixed it in situ as I went along and applied it straight on to the walls as the base coat plaster. I think that must be the shortest supply chain possible!
Remains of the kitchen floor screed
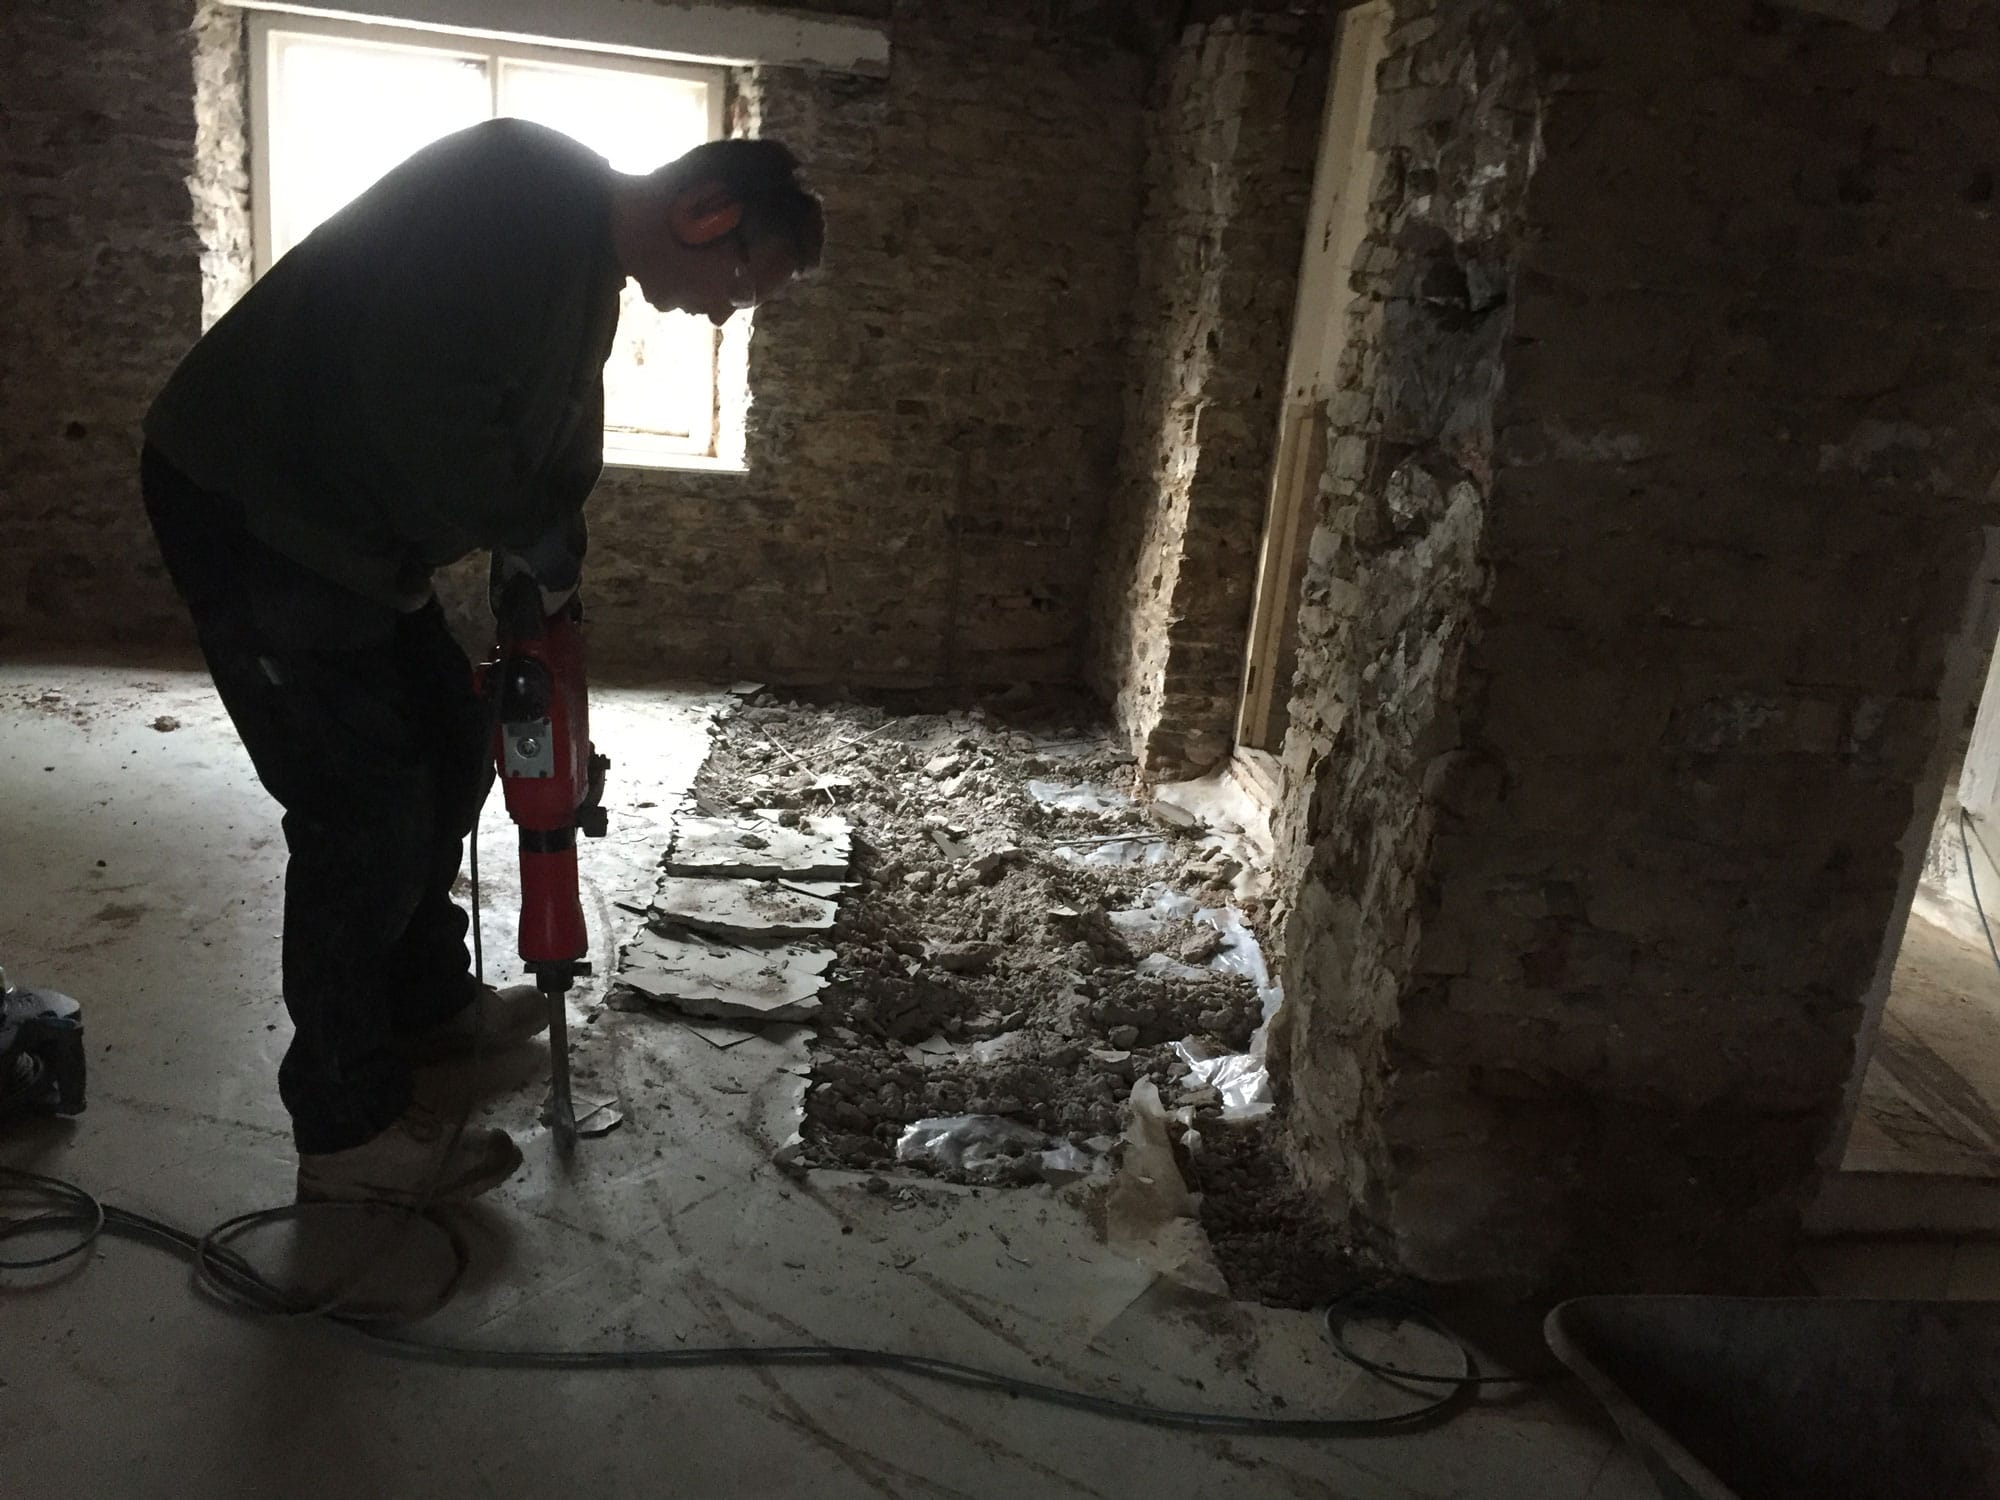
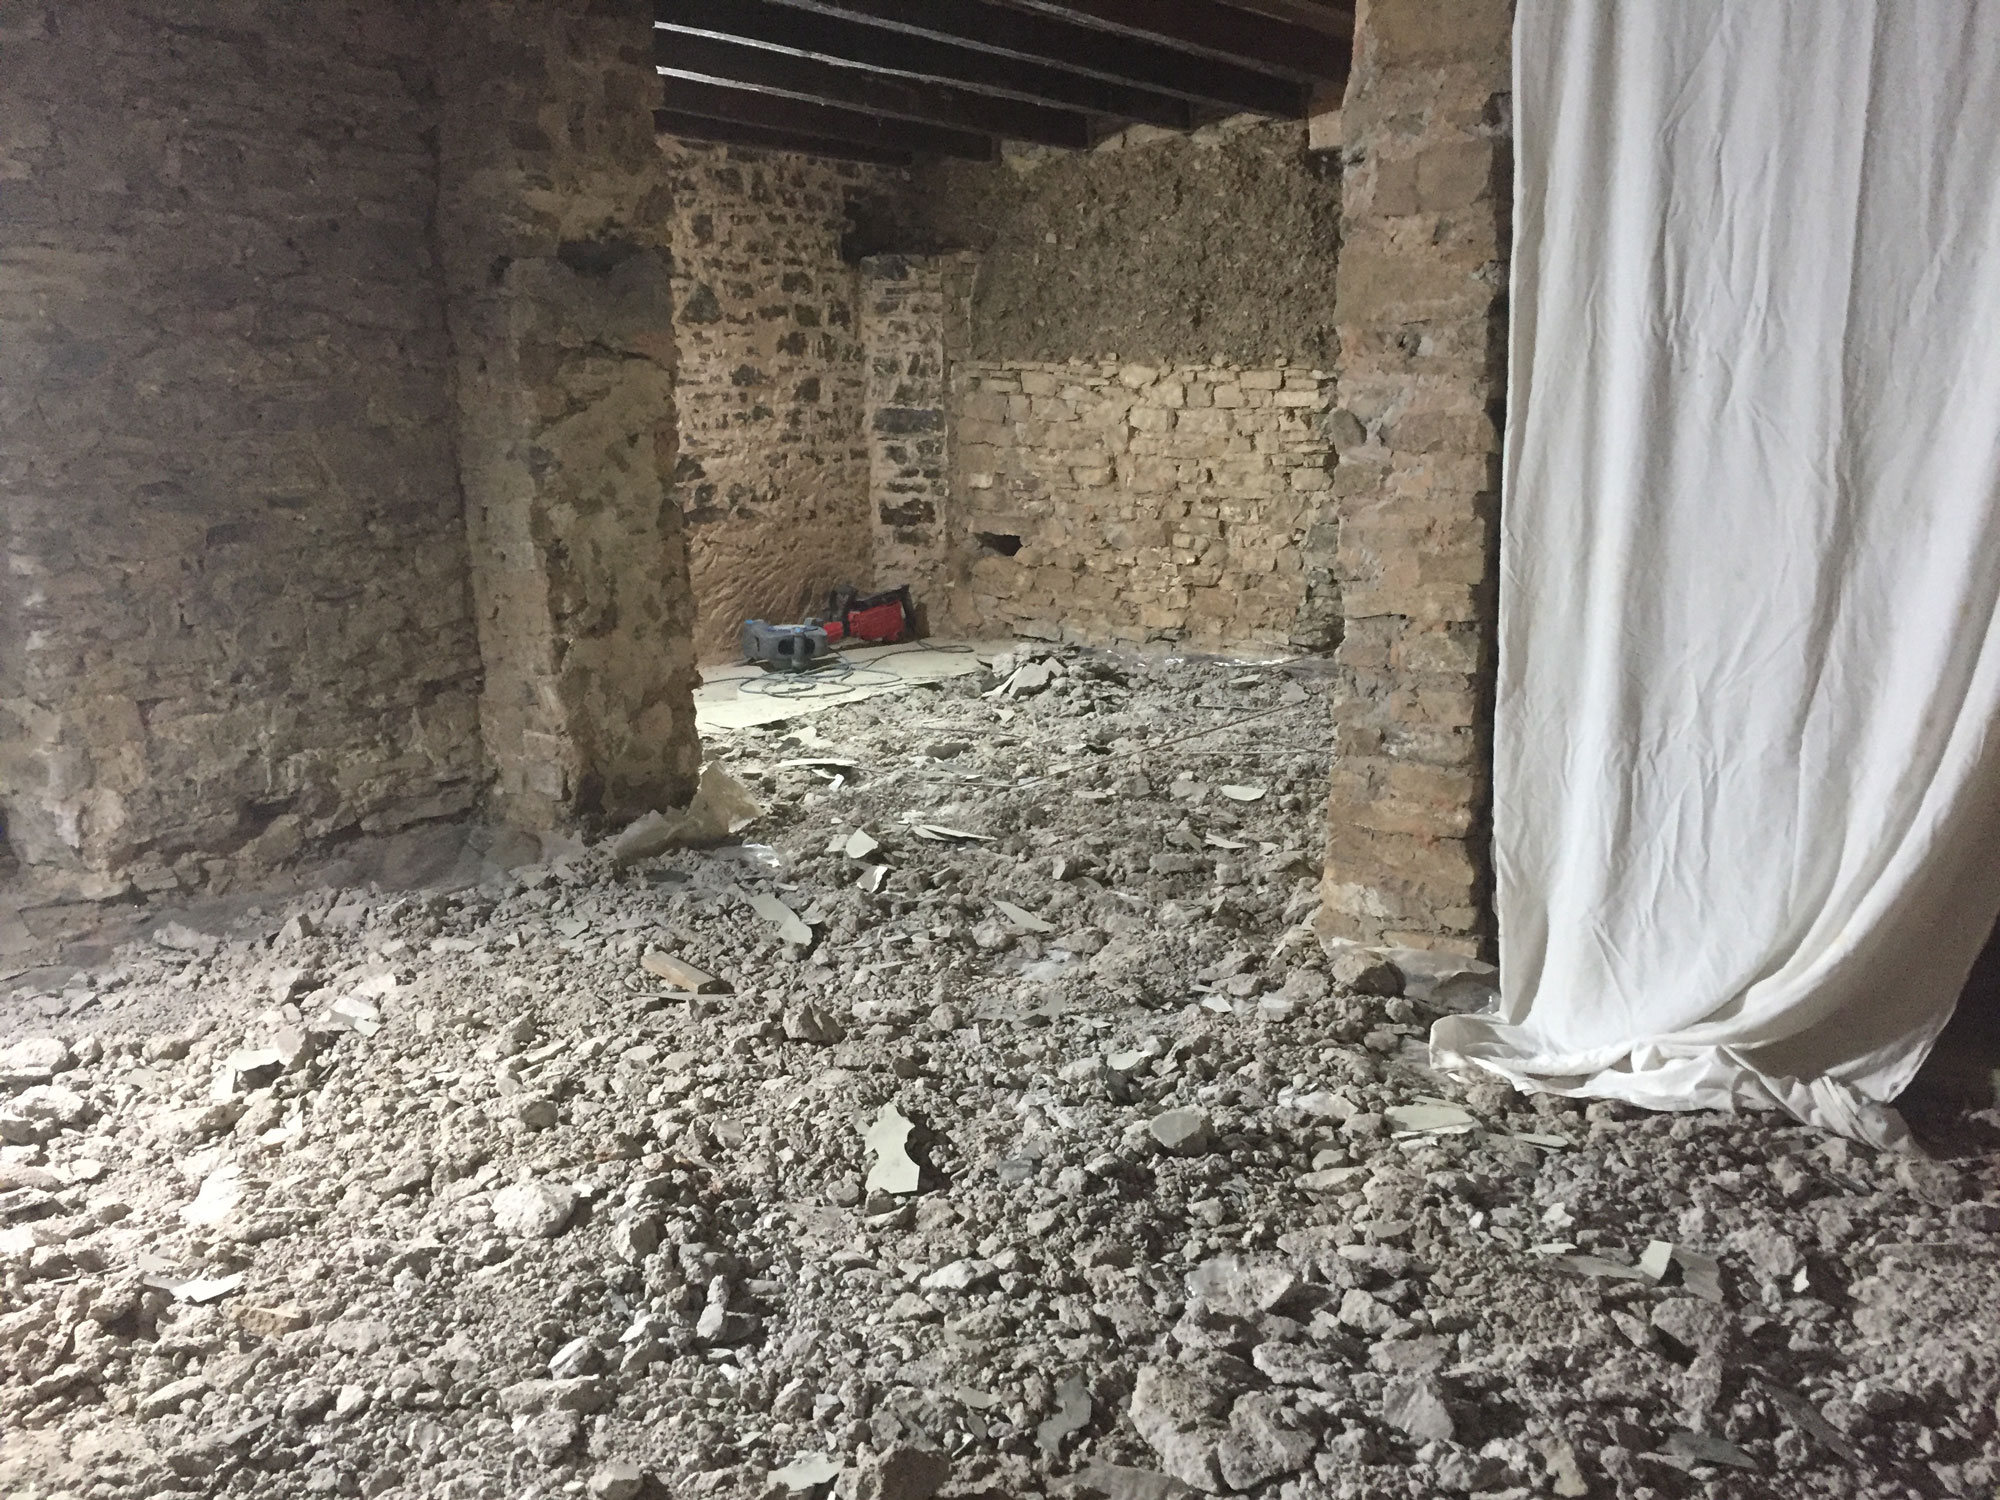
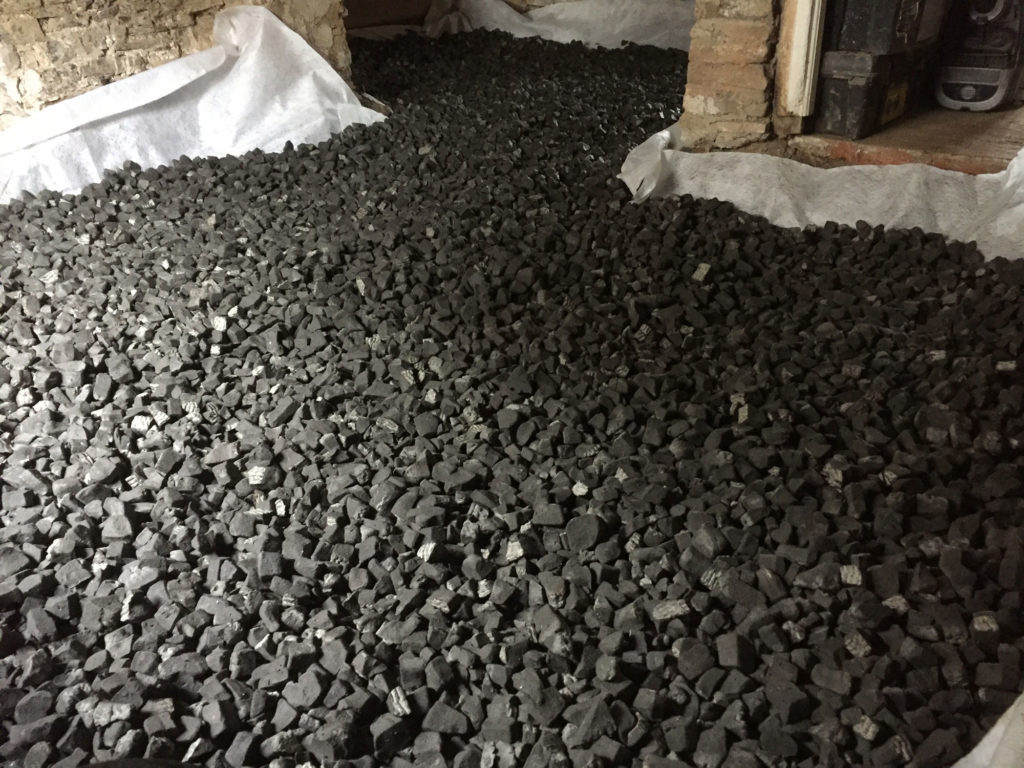
The kitchen and sitting room had a sting in the tale – rather than nice soft earth, they were mostly bedrock. This needed to be broken up with a heavy duty breaker, laboriously dug out and shifted by wheelbarrow. It was an arduous and pretty thankless task but has generated a large pile of stone that will come in handy later in the project.
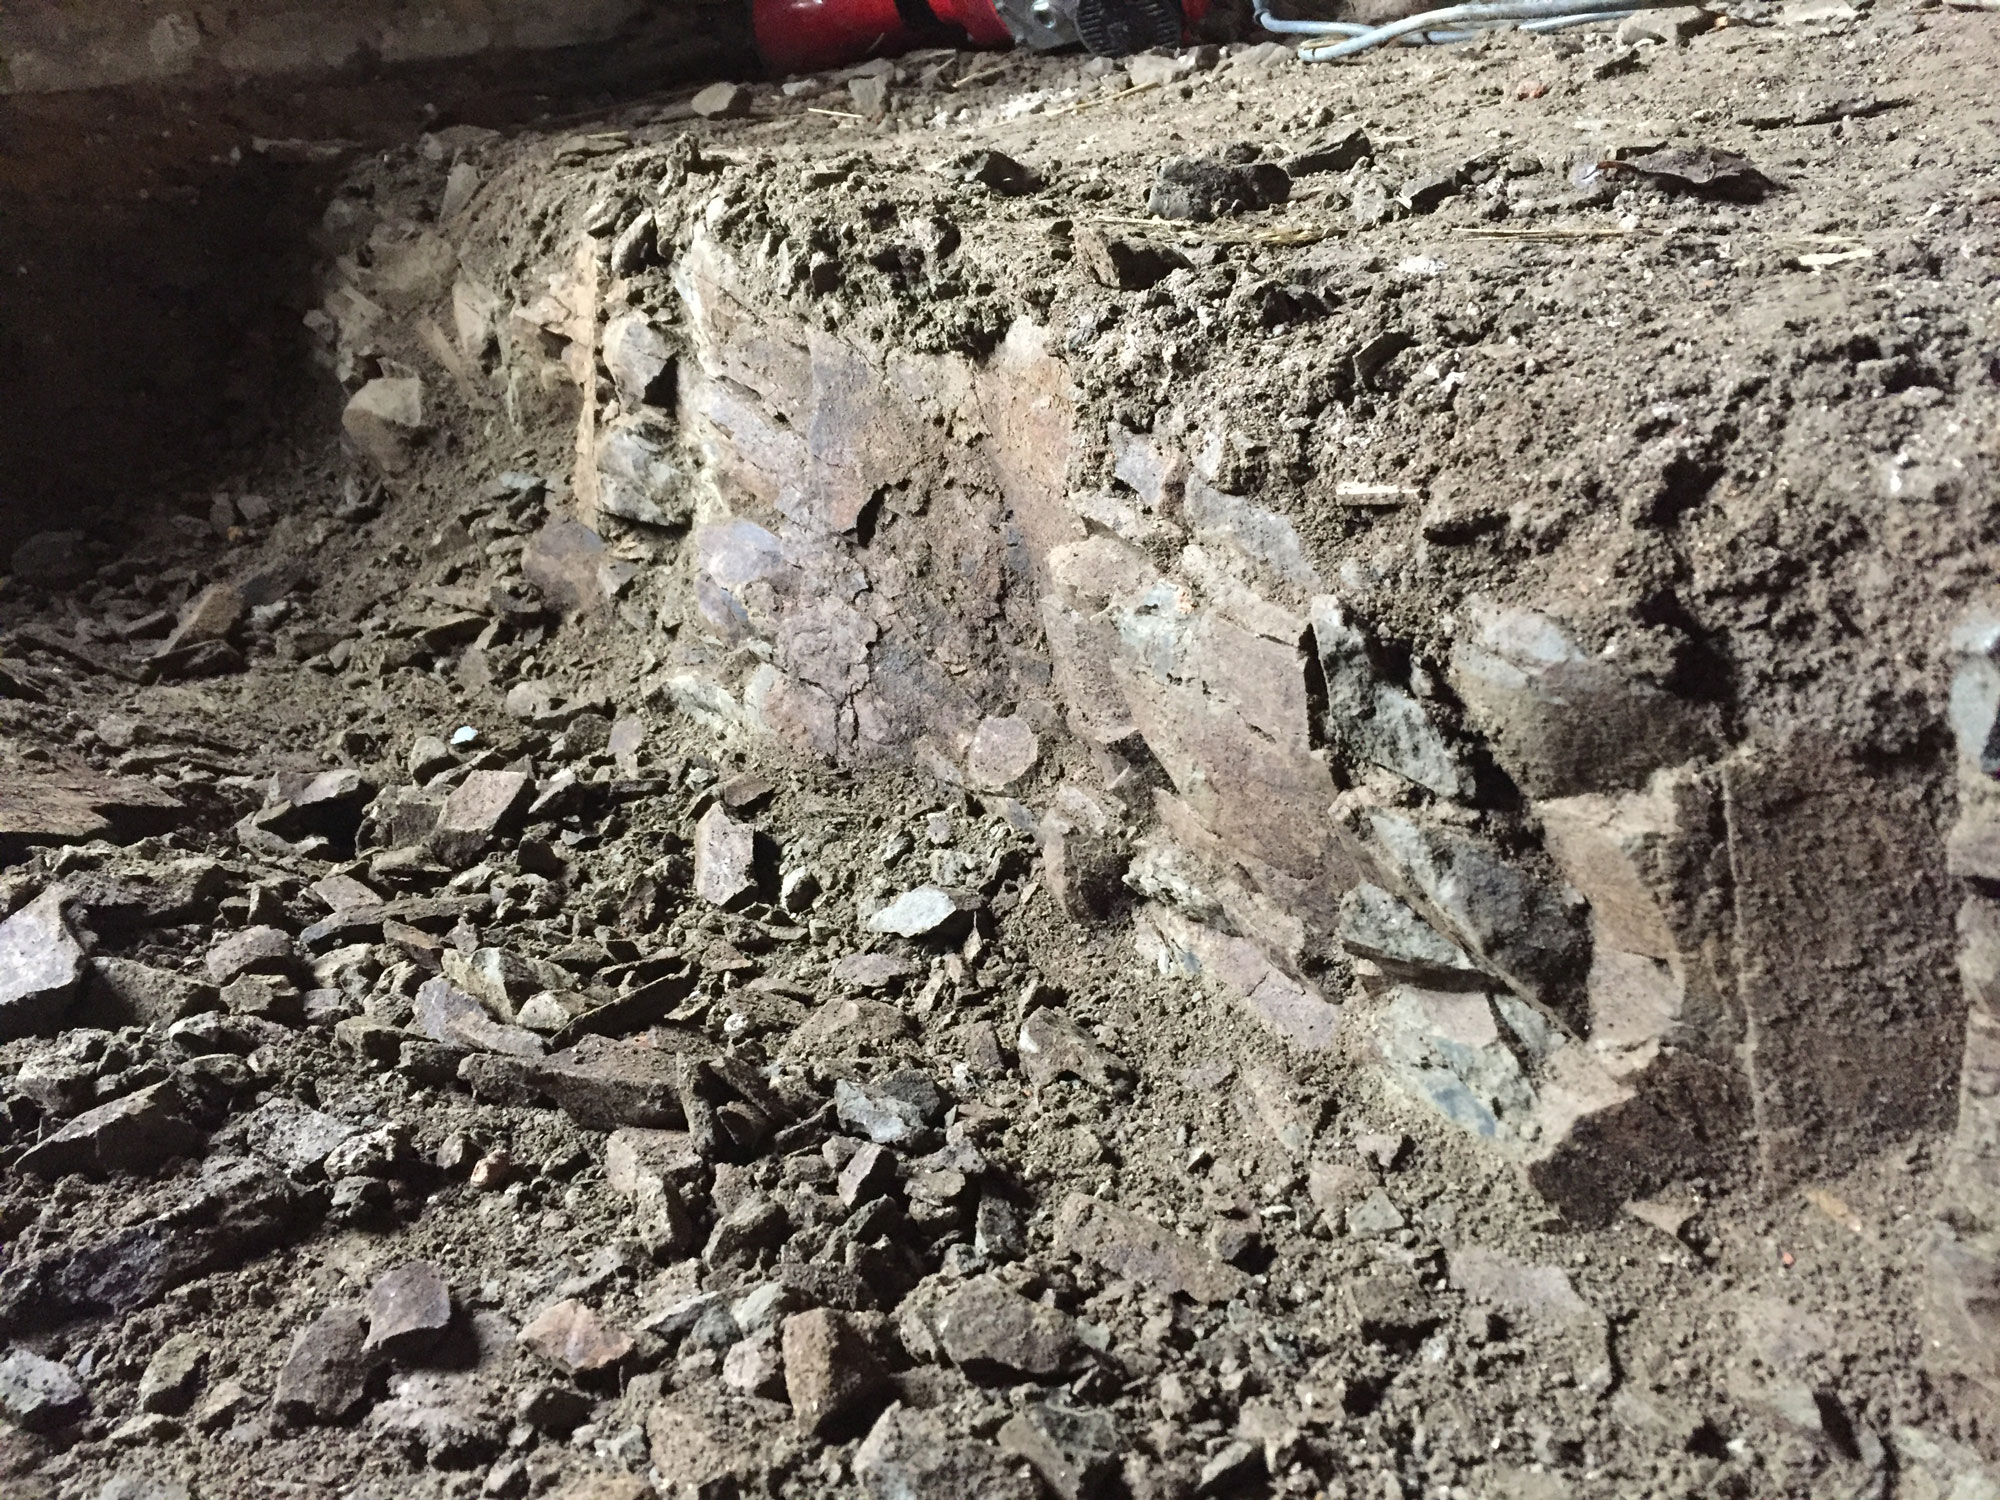
The bedrock below the floors
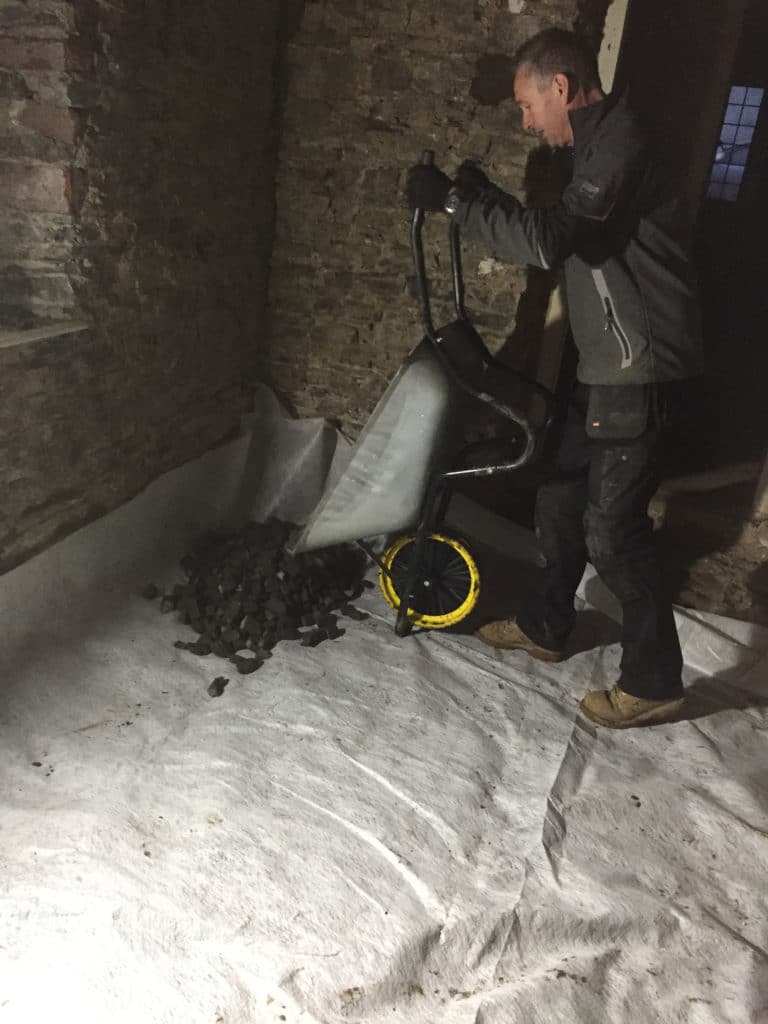
Once the excavation was complete we lined the space with geotextile membrane and back filled with foamed glass aggregate. Once compacted to a thickness of 150mm this will provide a solid base for the finished floors to be built up. It is an insulating layer, improving thermal comfort and allowing us to install underfloor heating.
Tackling bedrock with a breaker
Finally the foamed glass forms a capillary barrier to rising moisture, buffering any damp from ground water. This is much more compatible with a traditional, solid walled building than a conventional membrane and will not force water to the base of the walls.
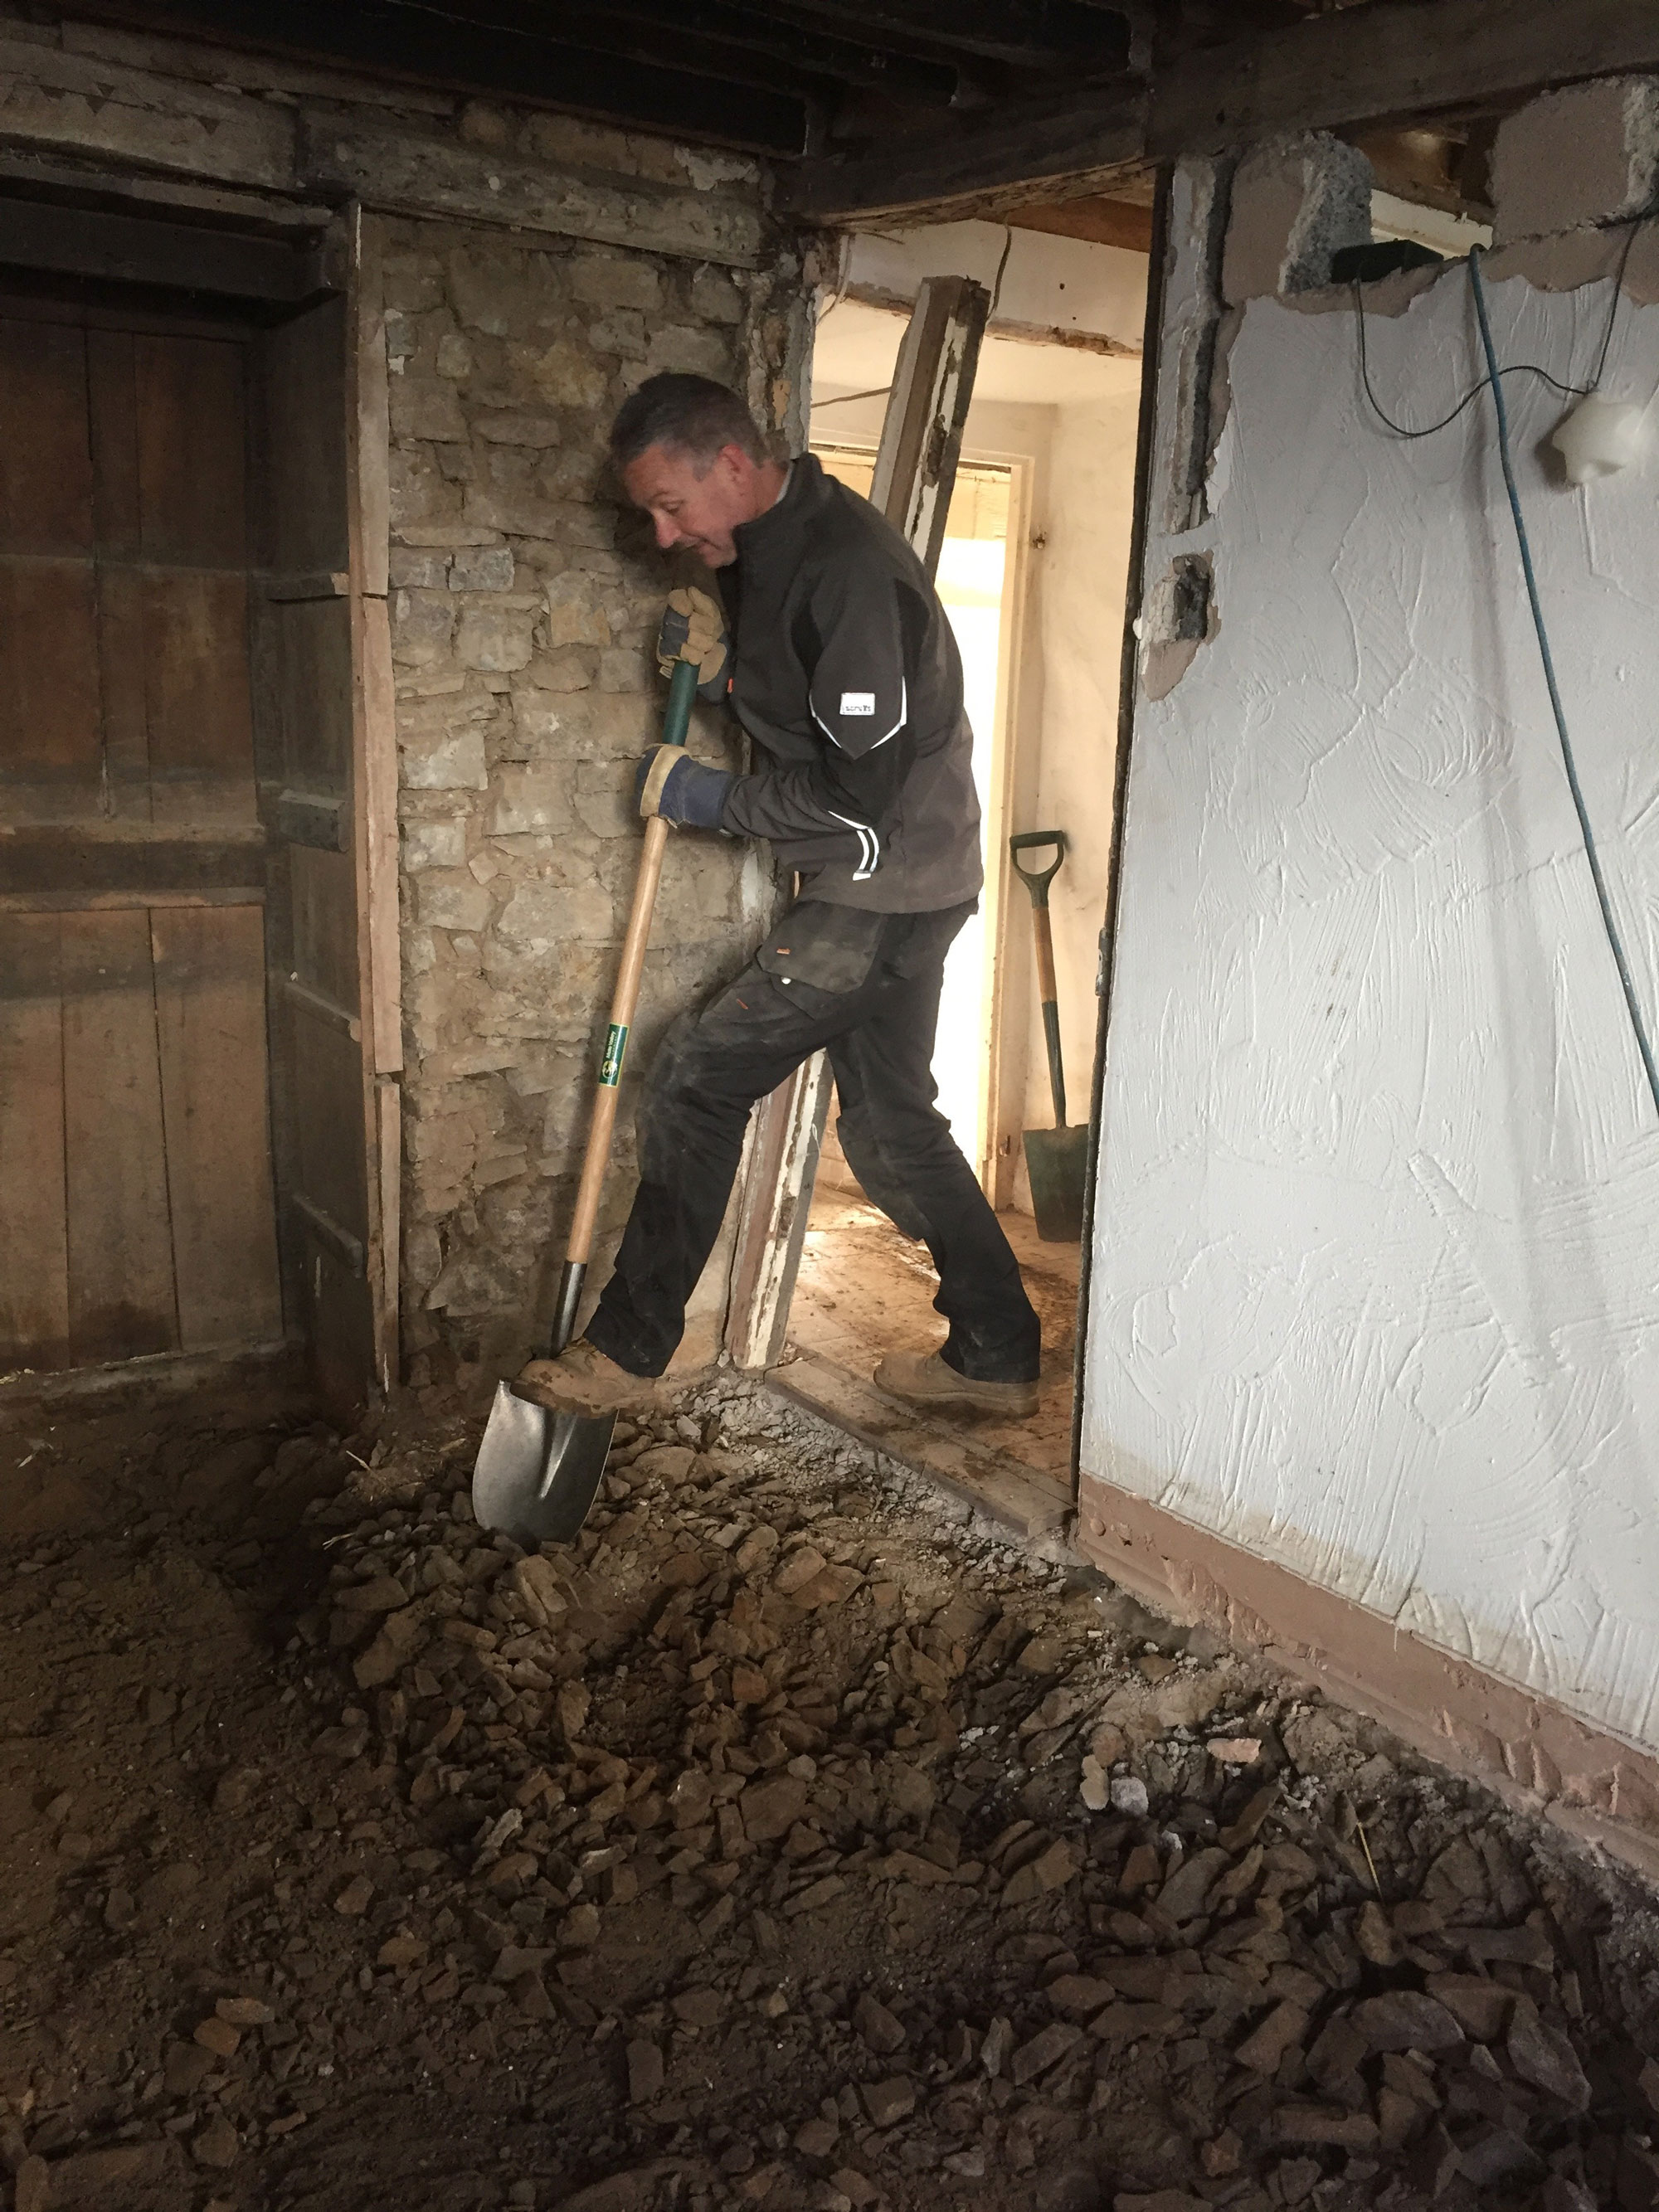
Digging up the broken rock
The next stage is to start first fix plumbing and electrics, running pipes and cables in the sub-floor. Then there will be another layer of geotextile with the underfloor heating pipes over that, followed in the kitchen by a lime screed, then a granite floor.
Period Renovation Blog 11: Applying for Listed Building Consent
The dining room and sitting room will be finished with earth floors, using material from the site. We need to test the durability of these; it’s not something I have done before. All the information I have found seems to suggest that they will be fine, but we have a fallback of finishing with ceramic tiles if necessary.


 Login/register to save Article for later
Wonderful blog Alan. We’re in the process of going through a very similar process with my 1800 listed building.
Just wondered if you could share the makeup of the floor. Assuming this is Limecrete? You mentioned 150mm of compacted foamed glass, how thick was the Limecrete on top and what ratio of NHL 5 to sharp sand did you use?