- Plan ItBack
- Design ItBack
- Build ItBack
- Homes
- ProductsBack
- CostsBack
- Self Build Cost Calculator
Estimate your project costs instantly with Build It's interactive self-build cost calculator
Calculate Now - Costs & Finance
- Contracts & Warranties
- Build It Estimating Service
Get an accurate, detailed cost breakdown of your project
Submit plans
- EventsBack


 Login/register to save Article for later
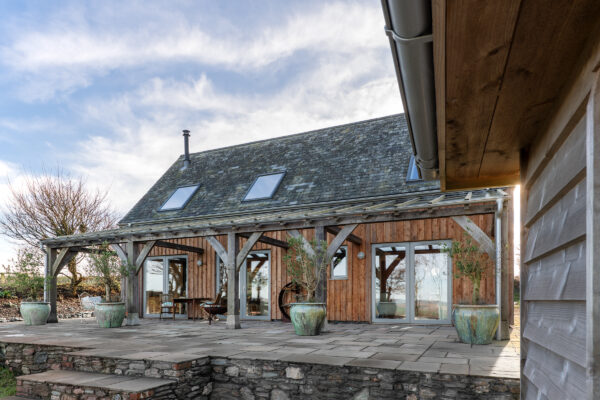
It’s all hands on deck as progress on the interior of Mark and Julia’s oak frame home speeds up with first fix work in progress and the underfloor heating being embedded in liquid screed.
October 24th 2015 was perhaps every self builder’s most feared day – it was when British Summer Time officially ended and the clocks went back. I arrived on site on the first Monday evening after the time change and everything was in complete darkness.
I couldn’t see a thing and twisted my ankle when I put my foot in a deep puddle of mud. It’s a bit disheartening to think of how much the natural light would have helped us tackle the jobs still to be done, but many of those will now have to wait until the weekends.
Even warmth
Thankfully, we’re continuing to make progress on the build. The underfloor heating (UFH) kit recently arrived from Nu-Heat. The components were marked up well, with drawings and diagrams included as visual aids. This made the job of installing the UFH a doddle and actually quite satisfying. Both my daughter and Julia were on hand to lay all the carrying tracks and pipework and I reckon within a day and a half the job was complete.
The design Nu-Heat put forward has sectioned the ground floor into seven zones, with the exact amount of plastic pipework pre-cut and provided for each area. Each flow and return pipe was marked up clearly for where it served, which was useful as all 14 pipes come together in quite a tight space. Nu-Heat actually threw in a little felt tip pen as part of the kit – now that’s what I call a complete and user-friendly service.
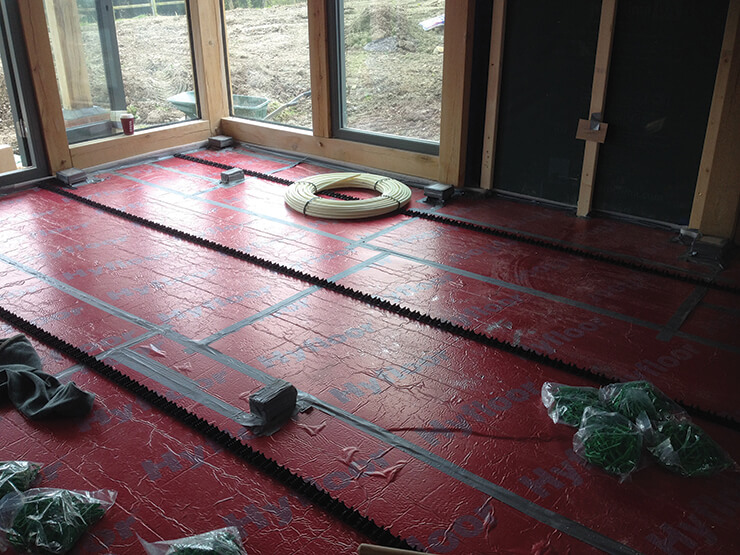
I chose to locate the manifold (which regulates the flow of water) under the stairs in the end, largely because the utility room units were limited for space. I also came across quite a neat looking white powder-coated cabinet that turned out to be perfect for hiding all the gubbins and would not be too ugly to be on show.
I have secured the services of a plumber to complete the final termination on the pipework, as there is a legal requirement to have the system pressure tested. Plus you only get one chance to get it right before the floor is screeded.
Super screed
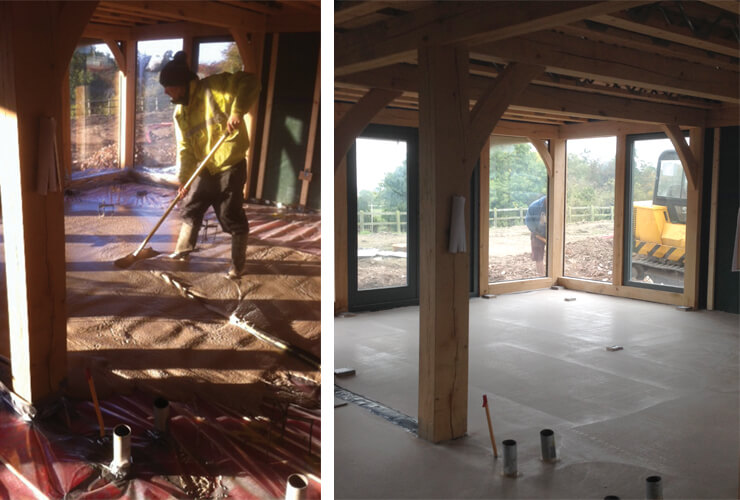
Another piece of good news is that straight after the UFH went in, my floor screed was laid. I opted for liquid anhydrite, which is amazing stuff.
The installers from Easyflow of Shrewsbury arrived at 8:30am to begin pumping the screed and they were out before lunchtime – I was walking on it at 6pm. It’s as hard as nails and as flat as a snooker table. It’s astonishing to think Easyflow completed the job within four hours.
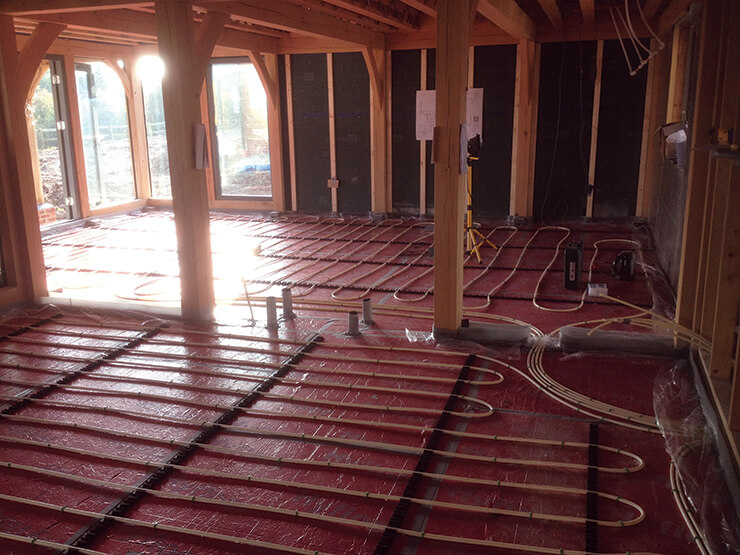
Their contracts manager tells me the quality and spec is so good now that you can lay as little as 41mm of screed and it still performs efficiently. The conductivity properties of the material are perfect for transferring and retaining the heat generated by the UFH.
Julia and I spent a lot of time making sure that the foam expansion strips around the perimeter of the rooms were fitted neatly and properly as it is an important element of the installation process. We also laid a 500g polythene sheet before the screed was poured, which acts as a separator and prevents any of the liquid seeping in and contaminating the insulation below.
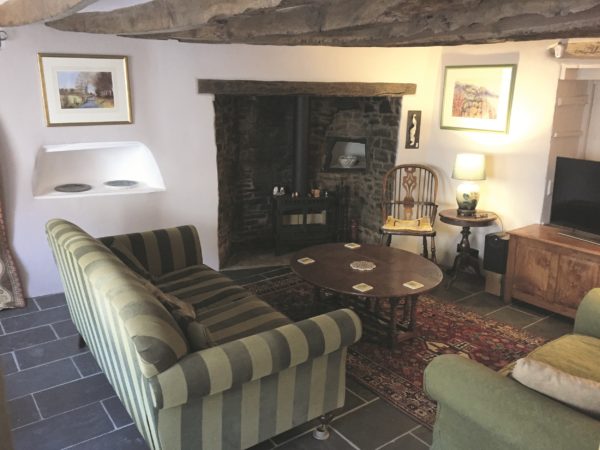
We took great care in running some protective polythene sheet up the walls, too, which has helped to prevent any of the screed mixture splashing onto the oak and glazing. It’s great to see the transformation in the finished floor level now. It makes the room complete and it doesn’t seem like we’re working on a dusty building site any longer.
Moving forward
There are certain key milestones within a build, such as breaking ground, topping out and making the structure weathertight. In my view laying the screed is as monumental as any other stage we have experienced so far. As soon as the floor was down I had trades coming in one after another.
This has left me free to move outside and start on the external works while both electrical and plumbing first fix takes place. I have even managed to fit the weatherboard, which means all the scaffolds have now come down, too.
Location, location
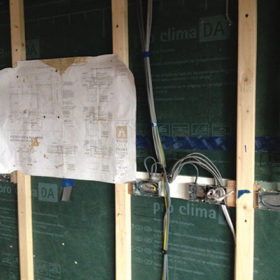
It took all of four hours last Saturday to walk through each room with the electrician to locate exactly what sockets, switches, lights, alarms, thermostats and other electrical items will be installed. This is a massive task and a bit of a brain drain to be honest.
Edward the sparky is a cracking guy who I have known for some time and is a great worker. He reckons that by the end of the week he will have the first fix done. This is no mean feat as I know that running wires through an oak frame is not as straightforward as doing so in a conventional house. Plus the amount of lighting Julia has decided to install will be a massive job, so good luck to Edward!
Next month: As the days draw shorter and winter closes in, Mark and Julia start to set up their drainage, including a treatment plant and soakaway.

Mark Jones

You may be interested in