- Plan ItBack
- Design ItBack
- Build ItBack
- Homes
- ProductsBack
- CostsBack
- Self Build Cost Calculator
Estimate your project costs instantly with Build It's interactive self-build cost calculator
Calculate Now - Costs & Finance
- Contracts & Warranties
- Build It Estimating Service
Get an accurate, detailed cost breakdown of your project
Submit plans
- EventsBack


 Login/register to save Article for later

Mark and Julia have been kept busy with numerous technical decisions, including identifying the best place for their soakaway and the ideal location of the boiler flue.
The good news about our fellow self builders Chas and Wendy having moved in is that our house and the site in general feels a bit more secure, partly because they have a CCTV system. Another benefit is that Chas has offered to help us out where he can with our project.
Dealing with drains
I am in slight panic mode, I must confess, as the winter is coming and the evenings are drawing in quickly. My biggest concern is the fact that I haven’t got my drains in yet and the ground will be too wet to work on once the autumn showers set in.
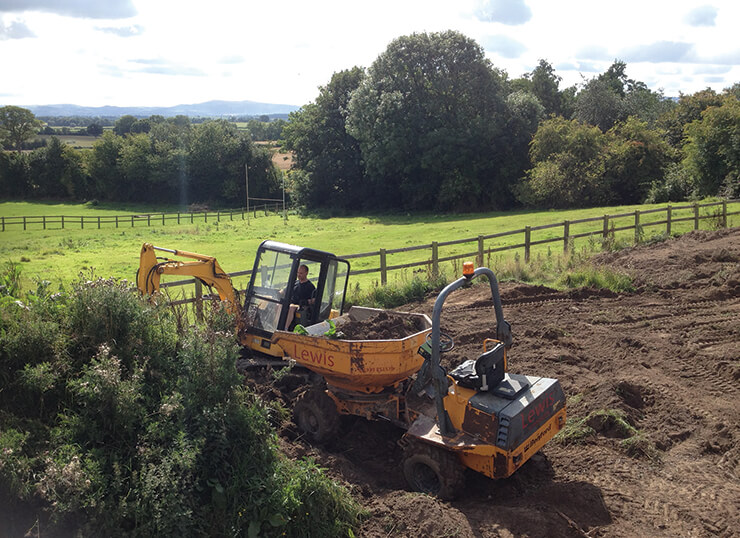
I have caused further issues by hemming the build in with 300 tonnes of topsoil to the rear of the plot and 100 tonnes of hardcore piled up at the front. So I can’t get around and dig the trial holes to establish the best possible location for soakaways and a treatment plant, from which I could create a drainage layout plan.
It has frustrated me for weeks during my time working inside the house thinking of what I really should be doing outside. Chas kindly offered a full weekend of dumper driving to help redistribute the mound of topsoil around his plot and give me some breathing space.
The weather was stunning for that weekend and I was really pleased to have dispersed probably two thirds of the earth. I reckon one more weekend like that and I will have a clear run at the drainage issue.
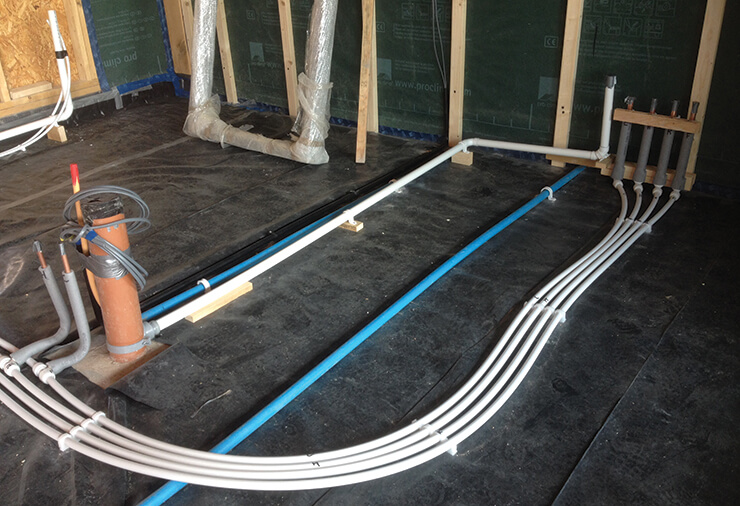
Pipework and cabling
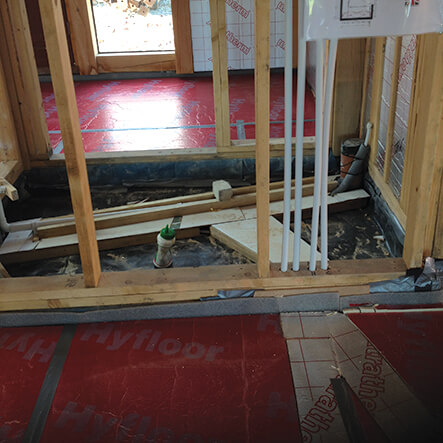
My initial plan was to put the first fix electrics and plumbing in after completing the studwork, but I soon realised that there’s a lot of other things that need to be done first. For example, I need to prepare the ground floor base for any cabling, pipework, ducting etc.
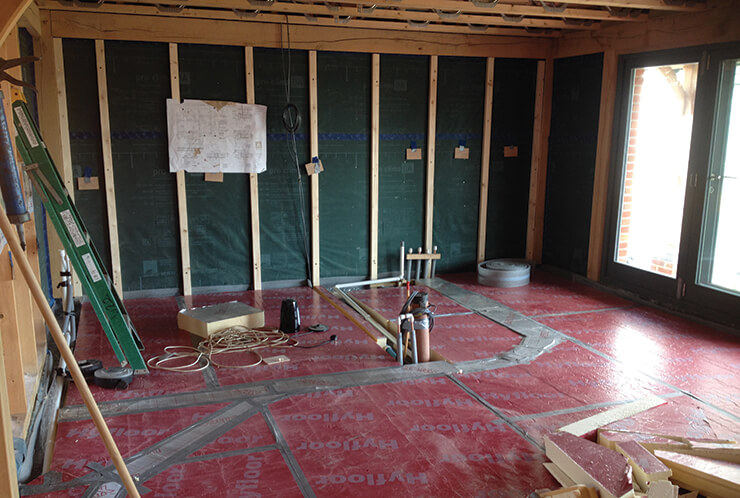
So I’ve got stuck into initially grouting the beam and block floor. I’ve also laid a complete damp proof course layer and taped this up to the airtightness membrane that was draping down the interior walls.
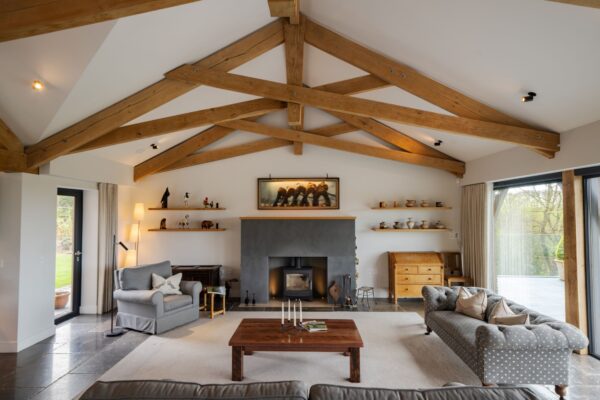
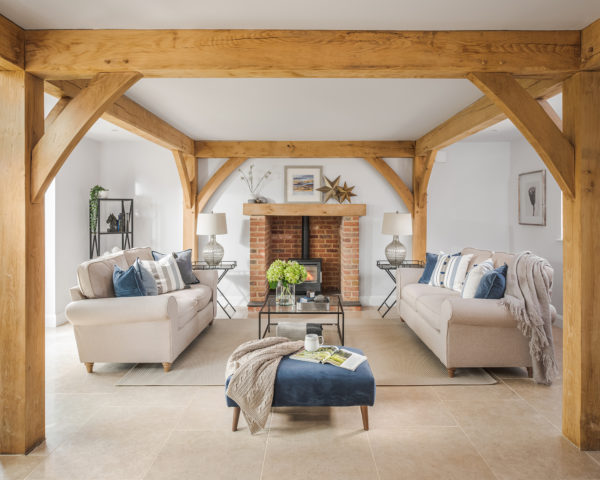
Julia and I have realised that having the oak framing on show internally means that locating the places to mount electrical sockets and switches is a bit of a task in itself. Likewise our open-plan layout makes running gas, waste and water pipes to things like kitchen islands and modern gas fires rather tricky.
We’re also installing underfloor heating (UFH) and the flow and return pipes need, wherever possible, to be laid under the screed on top of the insulation. There was a lot of head scratching going on as we tried to finalise a plan.
Our table lamps also require an electricity supply and with no wall outlets nearby, we’ve elected to go for floor sockets. Finding nice ones which didn’t look too office-like was a bit of a nightmare and it really surprised me that there was not much choice on the market.
Following an idea which a Welsh Oak Frame wedding barn client used for floor uplighters, Julia and I decided to forego the traditional central pendant in the living room and instead use contemporary floor lights we found at a shop called Lights To Go in Birmingham.
The consequence of all this work is a veritable spaghetti on the floor, which now requires insulation to be laid on top. I remember telling Julia that this element would be an easy job and would take probably a few hours at best to lay. Well I have been at it for two weeks now and I’m still not finished.
The cutting in is horrendous and the best advice I’ve been given is to have the water pipes protected within their own ducts to allow for expansion – these I duly knocked up out of batten and ply. The electric cables have been fed through a plastic conduit, while the gas pipe is running inside of a 35mm plastic pipe.
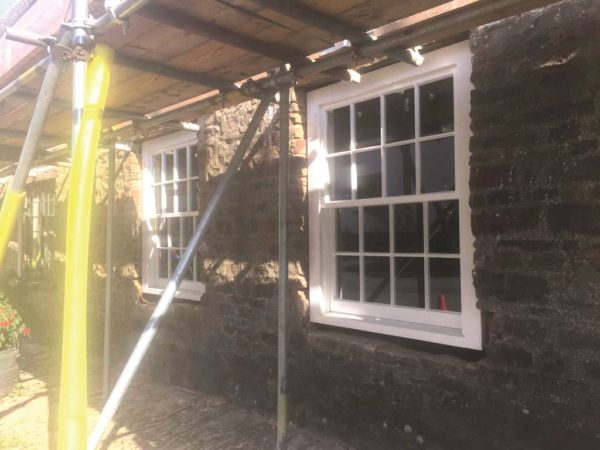
Complying with the Regs
We’ve had an issue with the location of the boiler as we hadn’t considered Building Regulations requirements for the position of the flue in relation to a window. Our plumber was not happy with where we had planned to install it, and after much debate we made the concession to move the unit to the kitchen. This actually turned out to be a good solution as we can easily disguise it with a cupboard. The space we lost will be regained in the utility room.
The second compromise we made was to keep costs down by using plastic push-fit water pipes. I had previously read a lot about the issue of mice gnawing at them and causing leaks. This worried me as we are, after all, living in the country. My plumber convinced me that this would not be a problem and that plastic is also far quicker and cheaper to use.
On this occasion I have given in against my instincts, but I am looking into the possibility of having some kind of shroud to protect the pipes, which will be exposed under the floorboards. I can fit these later if necessary.
Another item which slipped my mind while laying the floor insulation were that pads should have been installed for the staircase’s steel supports. I consulted our structural engineer to get a lead on the suitable make-up of each pad and have used concrete slabs, which span the beams of the floor, and then built up a brick pier. I made this fairly oversized so that I could accommodate any potential measurement errors, since the internal walls were not fully made up yet and I might need to allow a tolerance for the steelwork.
Underfloor heating
One of the main reasons for me concentrating on the ground floor was that, after the insulation went down, I needed to lay out my underfloor heating (UFH) pipework and then quickly get the liquid screed poured. Nothing can be laid on this for up to eight weeks while allowing the mixture to cure, so timing is of the essence.
I got an amazing service from Nu-Heat for the UFH system. The company’s product is generally considered to be one of the best and I was astounded by the quality of the design. The firm has manufactured a product that is absolutely top drawer. I have taken the decision to focus on this element and then, weather permitting, get started on my external drainage works.
Change of plans
I’ve also had to purchase my fancy gas fire, which I had not planned to do yet because it would mean having something else that’s vulnerable and expensive on site. However, buying it now means that I will be able to make accurate measurements for the mounting arrangements before the screed goes down.
As the project moves on I am often finding the need to get items delivered earlier than I originally thought. These are the lessons you learn on a self build: you need to plan and know ahead of time what is going to be required and when, in order to keep the project flowing. All in all I am pretty pleased with both the budget and timescales; only tiredness makes me wish that we could finish earlier.
One small side note to this month’s entry is that our nasty neighbour’s house sale fell through! I’m afraid we’ll have to suffer the curtain twitching for a bit longer.
Next month: Mark and Julia look forward to having a permanent water connection on site and aim to complete first fix electrics and plumbing.
Mark Jones
You may be interested in