


 Login/register to save Article for later
Julian Owen is one of Build It’s architectural experts. He’s an East Midlands-based chartered architect and author of several books on self build an house alterations. His publications include Self-Build, Home Extension Design and Kit & Modern Timber Frame Homes. He’s also the founder of the Association of Self Build Architects and runs his own […]
- Plan ItBack
- Design ItBack
- Build ItBack
- Homes
- ProductsBack
- CostsBack
- Self Build Cost Calculator
Estimate your project costs instantly with Build It's interactive self-build cost calculator
Calculate Now - Costs & Finance
- Contracts & Warranties
- Build It Estimating Service
Get an accurate, detailed cost breakdown of your project
Submit plans
- EventsBack
Designing & Planning a Plant or Utility Room – Your Complete Guide
Our homes are packed with ever-more tech and services, making plant rooms a go-to choice for many self builders. From handling laundry to accommodating modern plant and machinery, Amandine Lefevre explains why the utility is the powerhouse of your self build

With modern self builds needing to meet higher performance standards, today’s utility room must evolve beyond its traditional role of housing muddy boots and laundry to take on more of a central role in the home. As a multi-functional hub, it can accommodate the technology that drives comfort and efficiency – from smart home racks to heating cylinders, solar batteries and more. And because of the technical and spatial requirements involved, it’s crucial to consider this space from the earliest planning stages of your project.
Here, I’m speaking to architects and heating specialists about what needs to be considered when planning a utility room, and how to make sure it fits the needs of an individual home.
What should go into a utility or plant room in a self build?
In its most simple form, a utility room keeps storage and messy, disruptive chores away from main living areas. For families, pet owners or people with outdoor hobbies, it can act as a transitional zone to remove muddy clothes and boots; or for those who like to entertain at home, a place to house a second refrigerator.
But now there’s more at stake in modern houses. With new Building Regulations and energy efficiency standards, self build projects rely on larger systems that can take up a lot more space. Locating this kit in the utility room makes the most sense – it’s discreet, central and easy to access for servicing – only, it can’t be left as an afterthought. “It needs to be taken into account early,” says Opinder Liddar, director at Lapd Architects. “You can’t design a facade and lay everything out afterwards. You want to be putting all of your requirements in at day one, ideally.”
Systems you may need to allow for include:
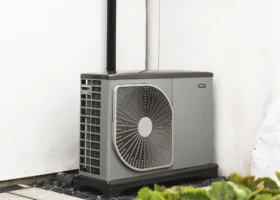
- Main heating system (eg boiler or indoor unit for a heat pump).
- Hot water cylinder.
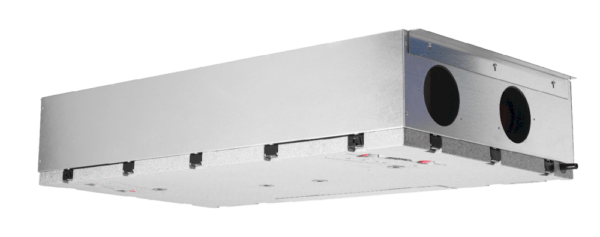
- MVHR (mechanical ventilation with heat recovery) unit.
- Solar PV inverter and battery.
- Smart home rack.
- Underfloor heating manifold & wiring centre.
Importantly, kit must be accessible yet separate from the main living areas, not only for your comfort and convenience – it is vital for acoustic performance, maintenance requirements and fire separation. “All wiring should come back to a central place – the plant room works well as it’s essentially the main engine of the home,” says David Hilton, Build It Live’s eco heating expert. So, choosing the right location is crucial.
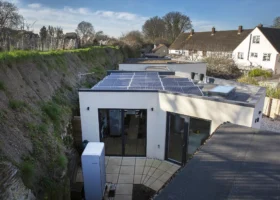
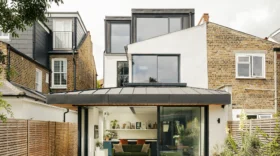
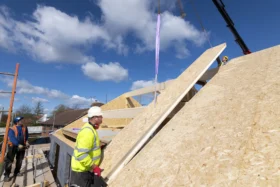
CASE STUDY The Build It Education House
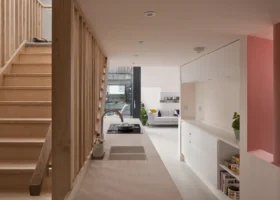
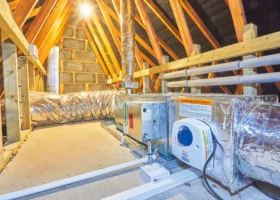
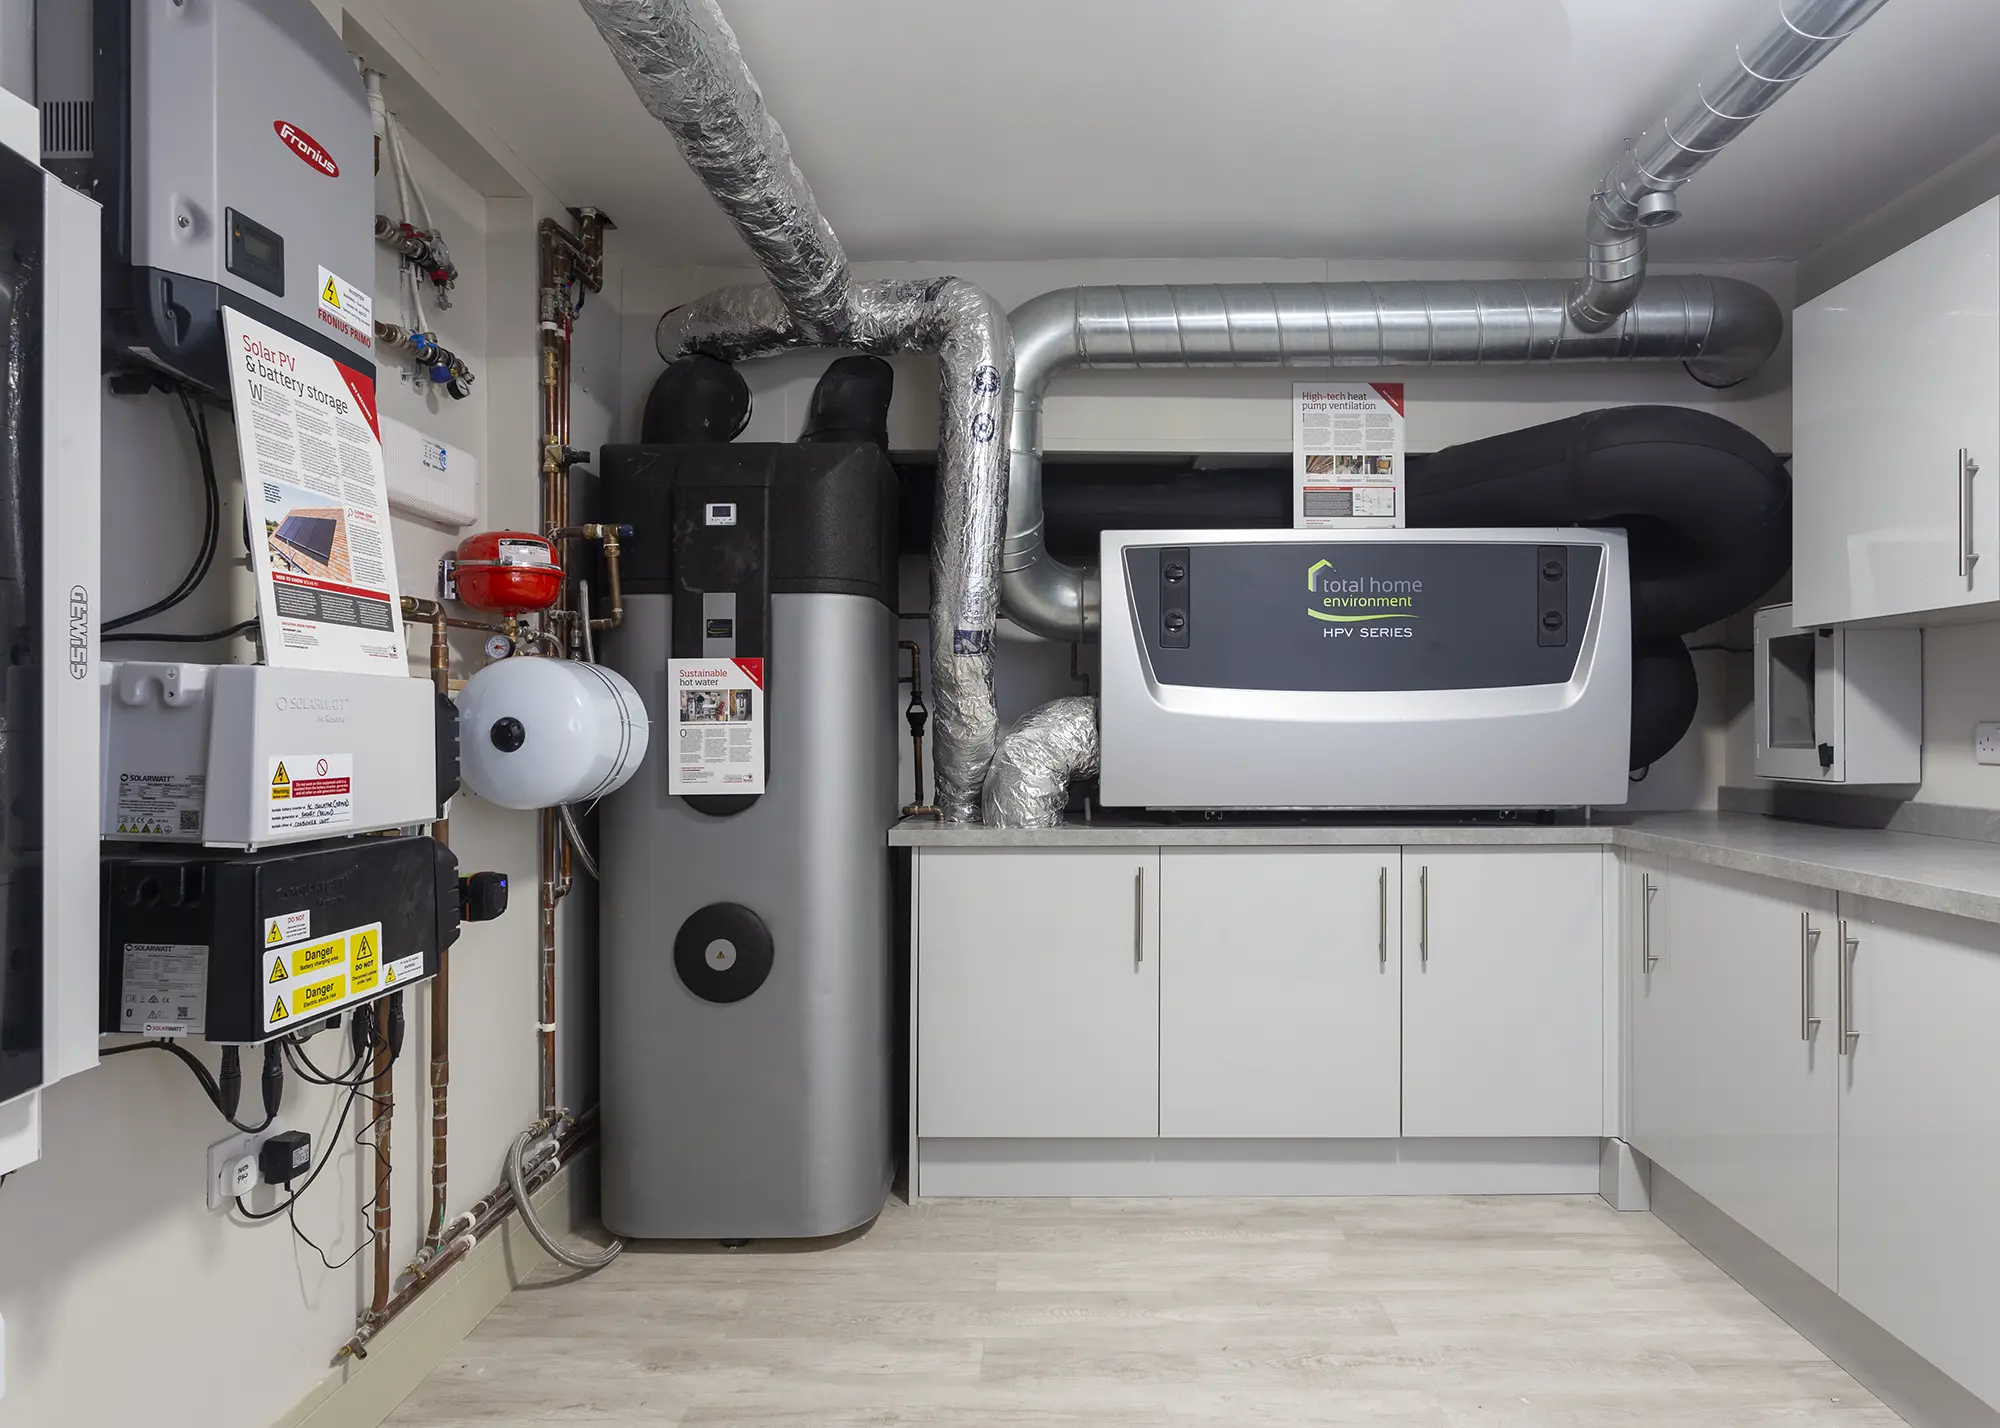
Build It’s own Self Build Education House, designed by Lapd Architects and overseen by the magazine team, was a unique project. From the start, the utility was designed as a working plant room, bringing together the technology that powers the home in one dedicated space. Creating a central hub that was easy to access while keeping the main living areas free of clutter and disruption was a priority. “The size of the modern kit lent itself to the utility room in the basement,” says Opinder. And since walls and floor structure are made of concrete, acoustic performance was not going to be an issue.
Photo: Build It
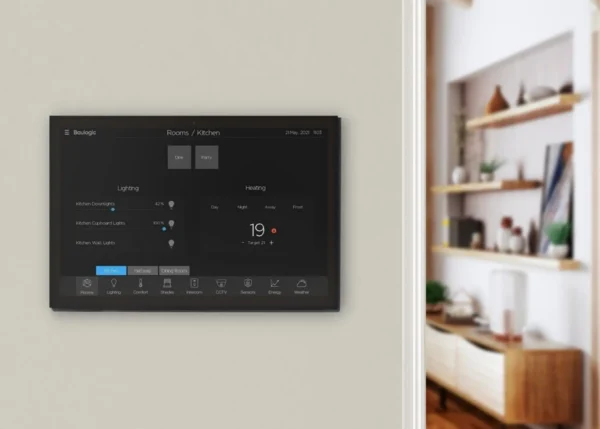
The utility houses a solar battery, hot water system from Total Home Environment, heat pump ventilation, underfloor heating manifolds and all of the smart home infrastructure. The wiring congregates in the plant room, which also houses the Niko home control and AV rack. Most of the services are also able to enter the building here, too.
The fit-out itself is deliberately utilitarian and minimal, using units from Howdens featuring grey oak interior carcassing, stainless steel-effect handles, and easy-clean vinyl flooring. Basement plant rooms do come with technical demands, with waterproofing, ducting routes and escape strategies all needing to be taken into consideration as soon as possible. “Get your providers involved board early and start coordinating with your designer otherwise you risk being disappointed,” says Opinder.
Where should a plant room be located?
Before finalising the layout, the first consideration should be its physical placement in the home’s floorplan. Avid cooks might benefit from extra prep space, a second fridge or freezer and larder storage, so a convenient location could be by the kitchen. Pet owners may need a dog shower, boot racks and drying zones to be accessed via a dedicated external door. If you can arrange flow from outside, through the utility and into the living areas, it will function naturally as a transition zone. These factors are generally lifestyle or aesthetics based, so the decision comes down to your preferences and priorities.
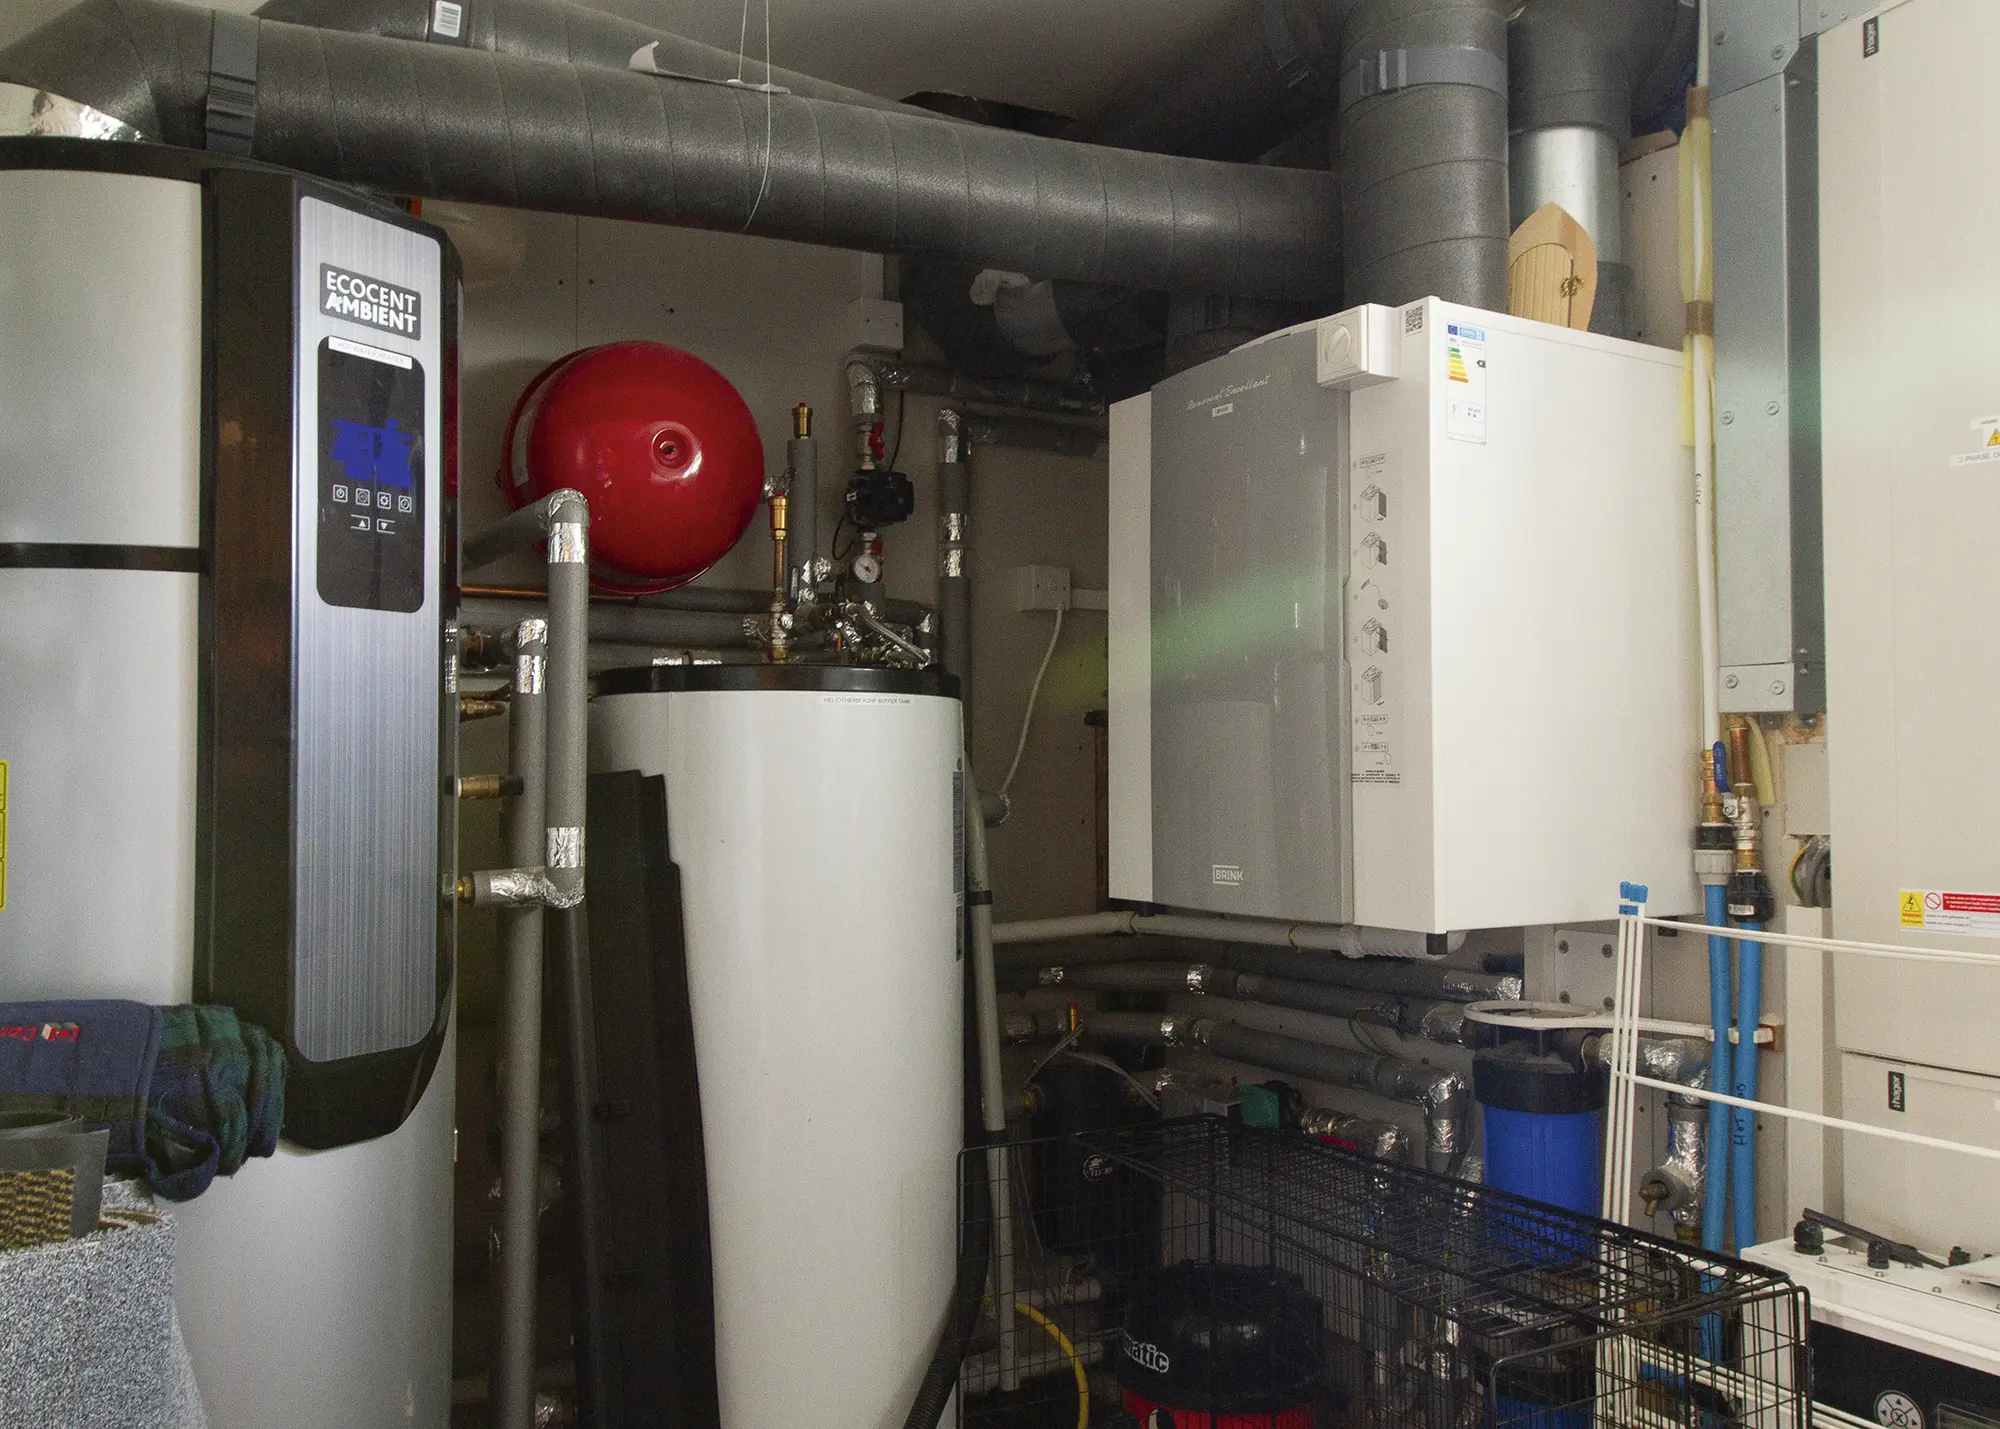
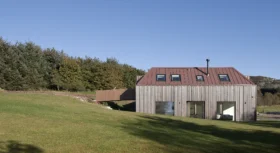
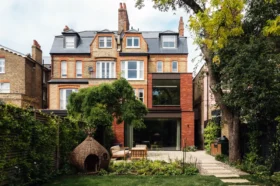
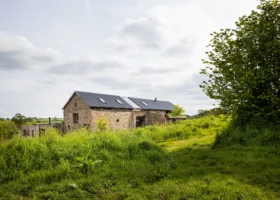
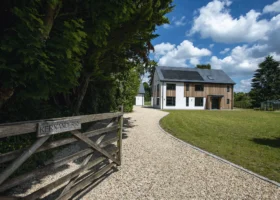
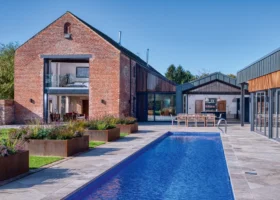
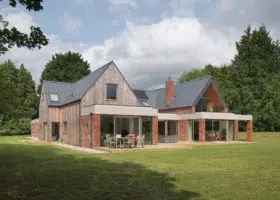
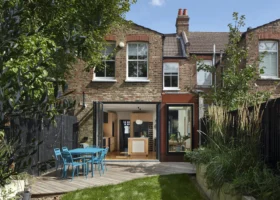
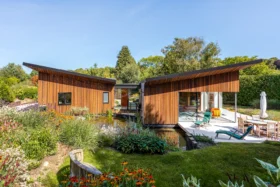
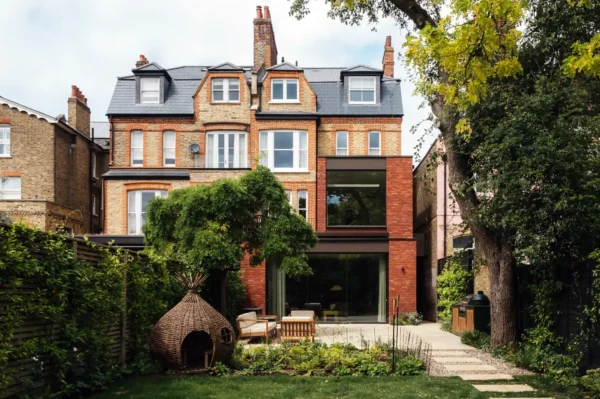
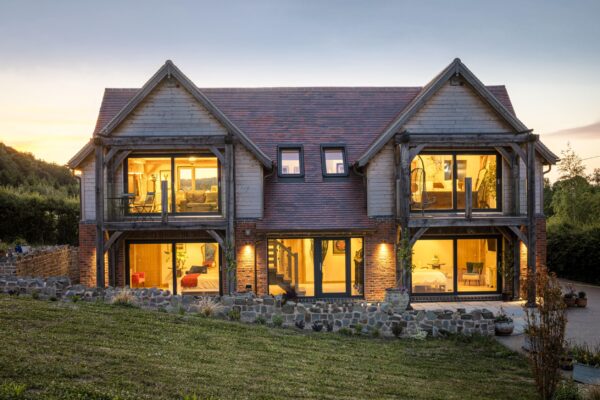
Build It readers Pauline and Frank Mace self built a low-energy timber frame home in the Herefordshire countryside. A host of eco technologies were incorporated to complement the highly airtight structure of the house, including an air source heat pump, which powers the hot water system and underfloor heating. Mechanical ventilation and heat recovery has also been installed to keep a fresh, airy climate inside the house. Photo: Shooting Reels
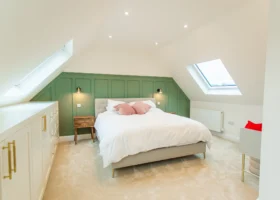
There is also a further technical element that must be taken into account. “Plan the services in advance – short runs for hot water are best, and pumps must be placed where they won’t disturb you, so not above bedrooms,” says David. Aligning the utility with the kitchen or bathrooms is a smart move, as it keeps plumbing efficient. “In some cases it might be more convenient to have two plant rooms,” says Julian Owen, managing director at Julian Owen Associates. “One reason for splitting it up like this is if you have a gas, oil or wood pellet boiler as they will need a short flue to a nearby outside wall, well away from any openable windows, which restricts the positioning options.”
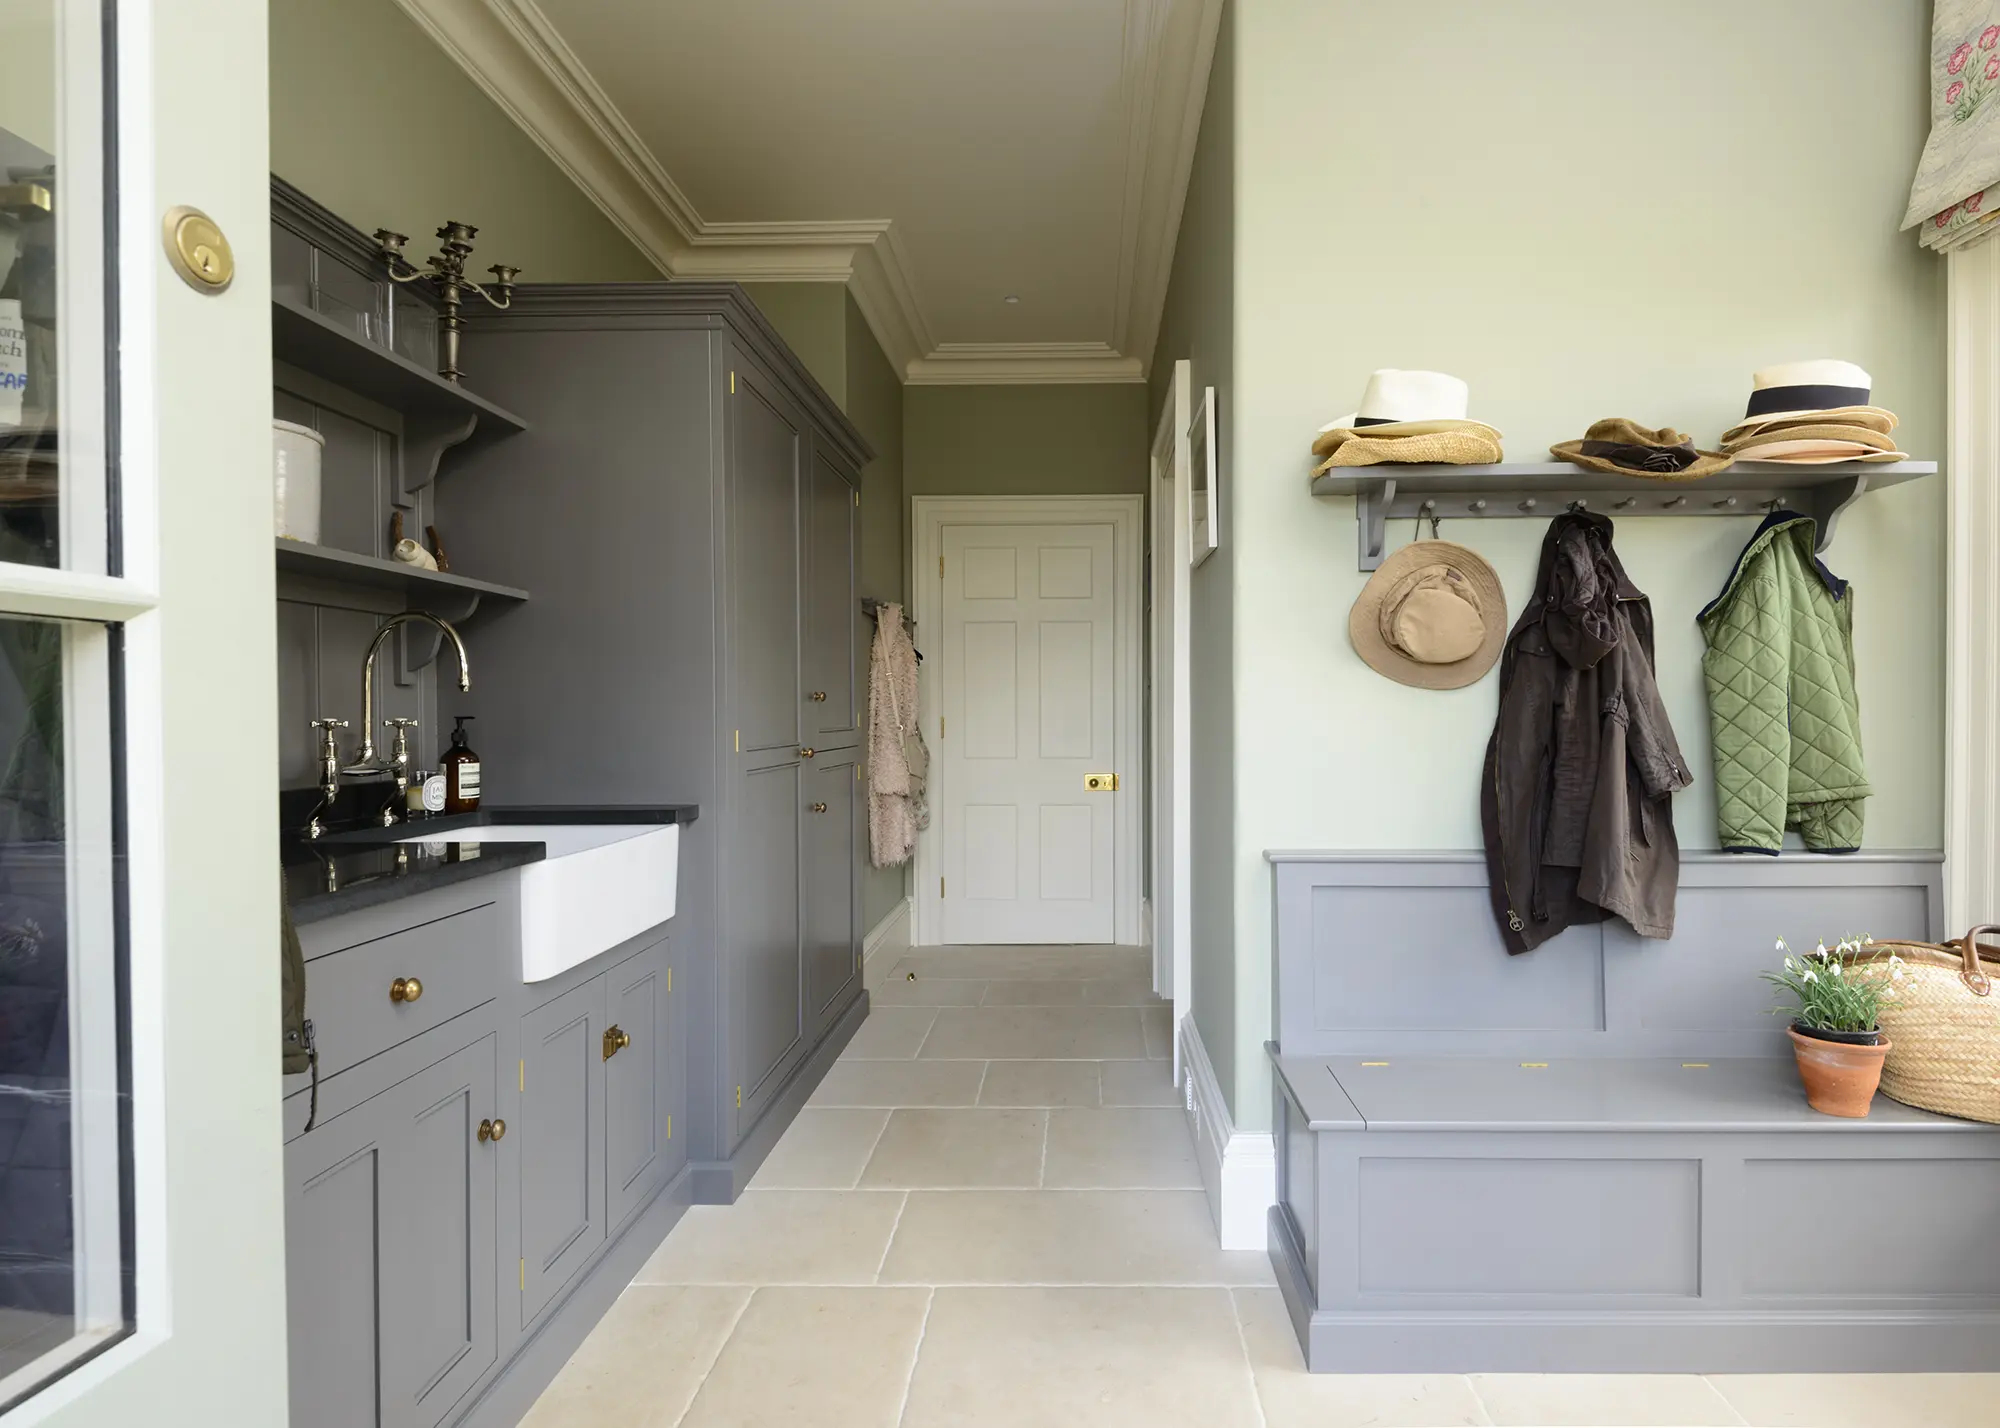
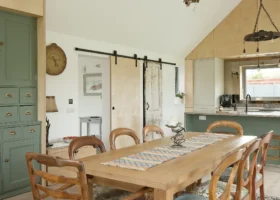
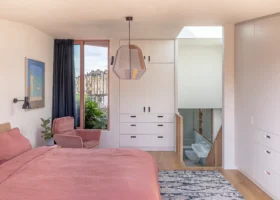
This well kitted-out utility space features units from the Real Shaker Kitchen collection by deVOL
Of course, some plant equipment can be installed in the loft void – a typical solution for air handling units used in HVAC and MVHR systems. If it’s a cold roof space, this can bring added considerations in regards to insulating equipment, pipework and ducts. Plus, current guidance means solar batteries must only be installed in well-ventilated, fire-safe locations – meaning zones like the attic and below-stairs cupboards are likely to be unsuitable for these systems.
“If you have a young family, make sure your plant room has a secure, lockable door because this room is a risky place for children, full of intriguing taps, levers and control panels that are irresistible to little hands,” says Julian.
Plant room design tips

Choose the right products
Choose the products and components that you would like, at least in principle, before work starts on designing the layout plans for the house.
Decide on the location
Figure out the likely locations of service pipes and ducts, with a goal of keeping them as short as possible. Ensure there is plenty of space to allow easy access for the maintenance and replacement of equipment – and considering making the space bigger than you think you need, to allow for extra equipment that might be needed in the future.
Consider the practical elements
Consider the need for ventilation to the outside, either to prevent build-up of fumes or to avoid electrical equipment becoming overheated. Bear in mind that some externally located equipment may have to be close to the plant room and could be an eyesore if it is in prominent position. You may need drainage for condensate, which should not just be a pipe sticking out of the wall because it can freeze.
Choose the right surface finishes
Floors should be slip resistant, and a floor drain is useful for keeping larger zones clean. Finishes should be waterproof, oil-resistant, low maintenance and non-combustible. Sound transmission should be minimised using solid walls if possible, with a well-fitting, good quality door.
How should a plant room be laid out?
So, how do you actually configure this dual-purpose room? Planning to have the utility units on one side, and the plant kit on the other is a great way to maximise the space. “I do not advocate U-shaped surfaces as you lose the corners from an access point of view,” says David. “Instead, I’d recommend a galley layout with only up to two doors ideally opposite each other in the centre, so there’s a clear path going through the middle.”

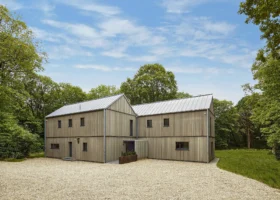
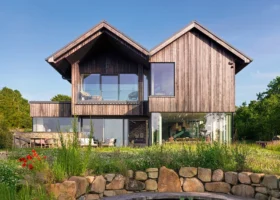
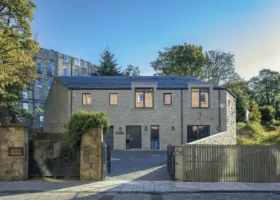
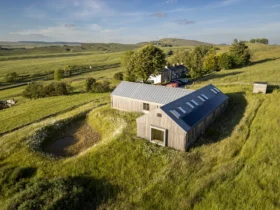
Build It readers Gordon and Katie Aitken self built an ultra-efficient new home that is comfortable year-round and benefits from extremely low running costs. Their plant room contains the hot water cylinder with an integrated heat pump. Photo: David Barbour
On the utility side, David recommends allowing a 2.5m length for four core appliances such as a washer, dryer, sink and a cupboard – and 600mm depth. For plant equipment, expect to need 800mm-900mm depth. Having good lighting and ventilation is essential, too.
Some of the tech will generate noise and heat, so providing air inlets and outlets is very important. “This means you don’t have to trim the bottom off the door for ventilation – and if it’s a fire door, the fire strategy remains intact,” says David.
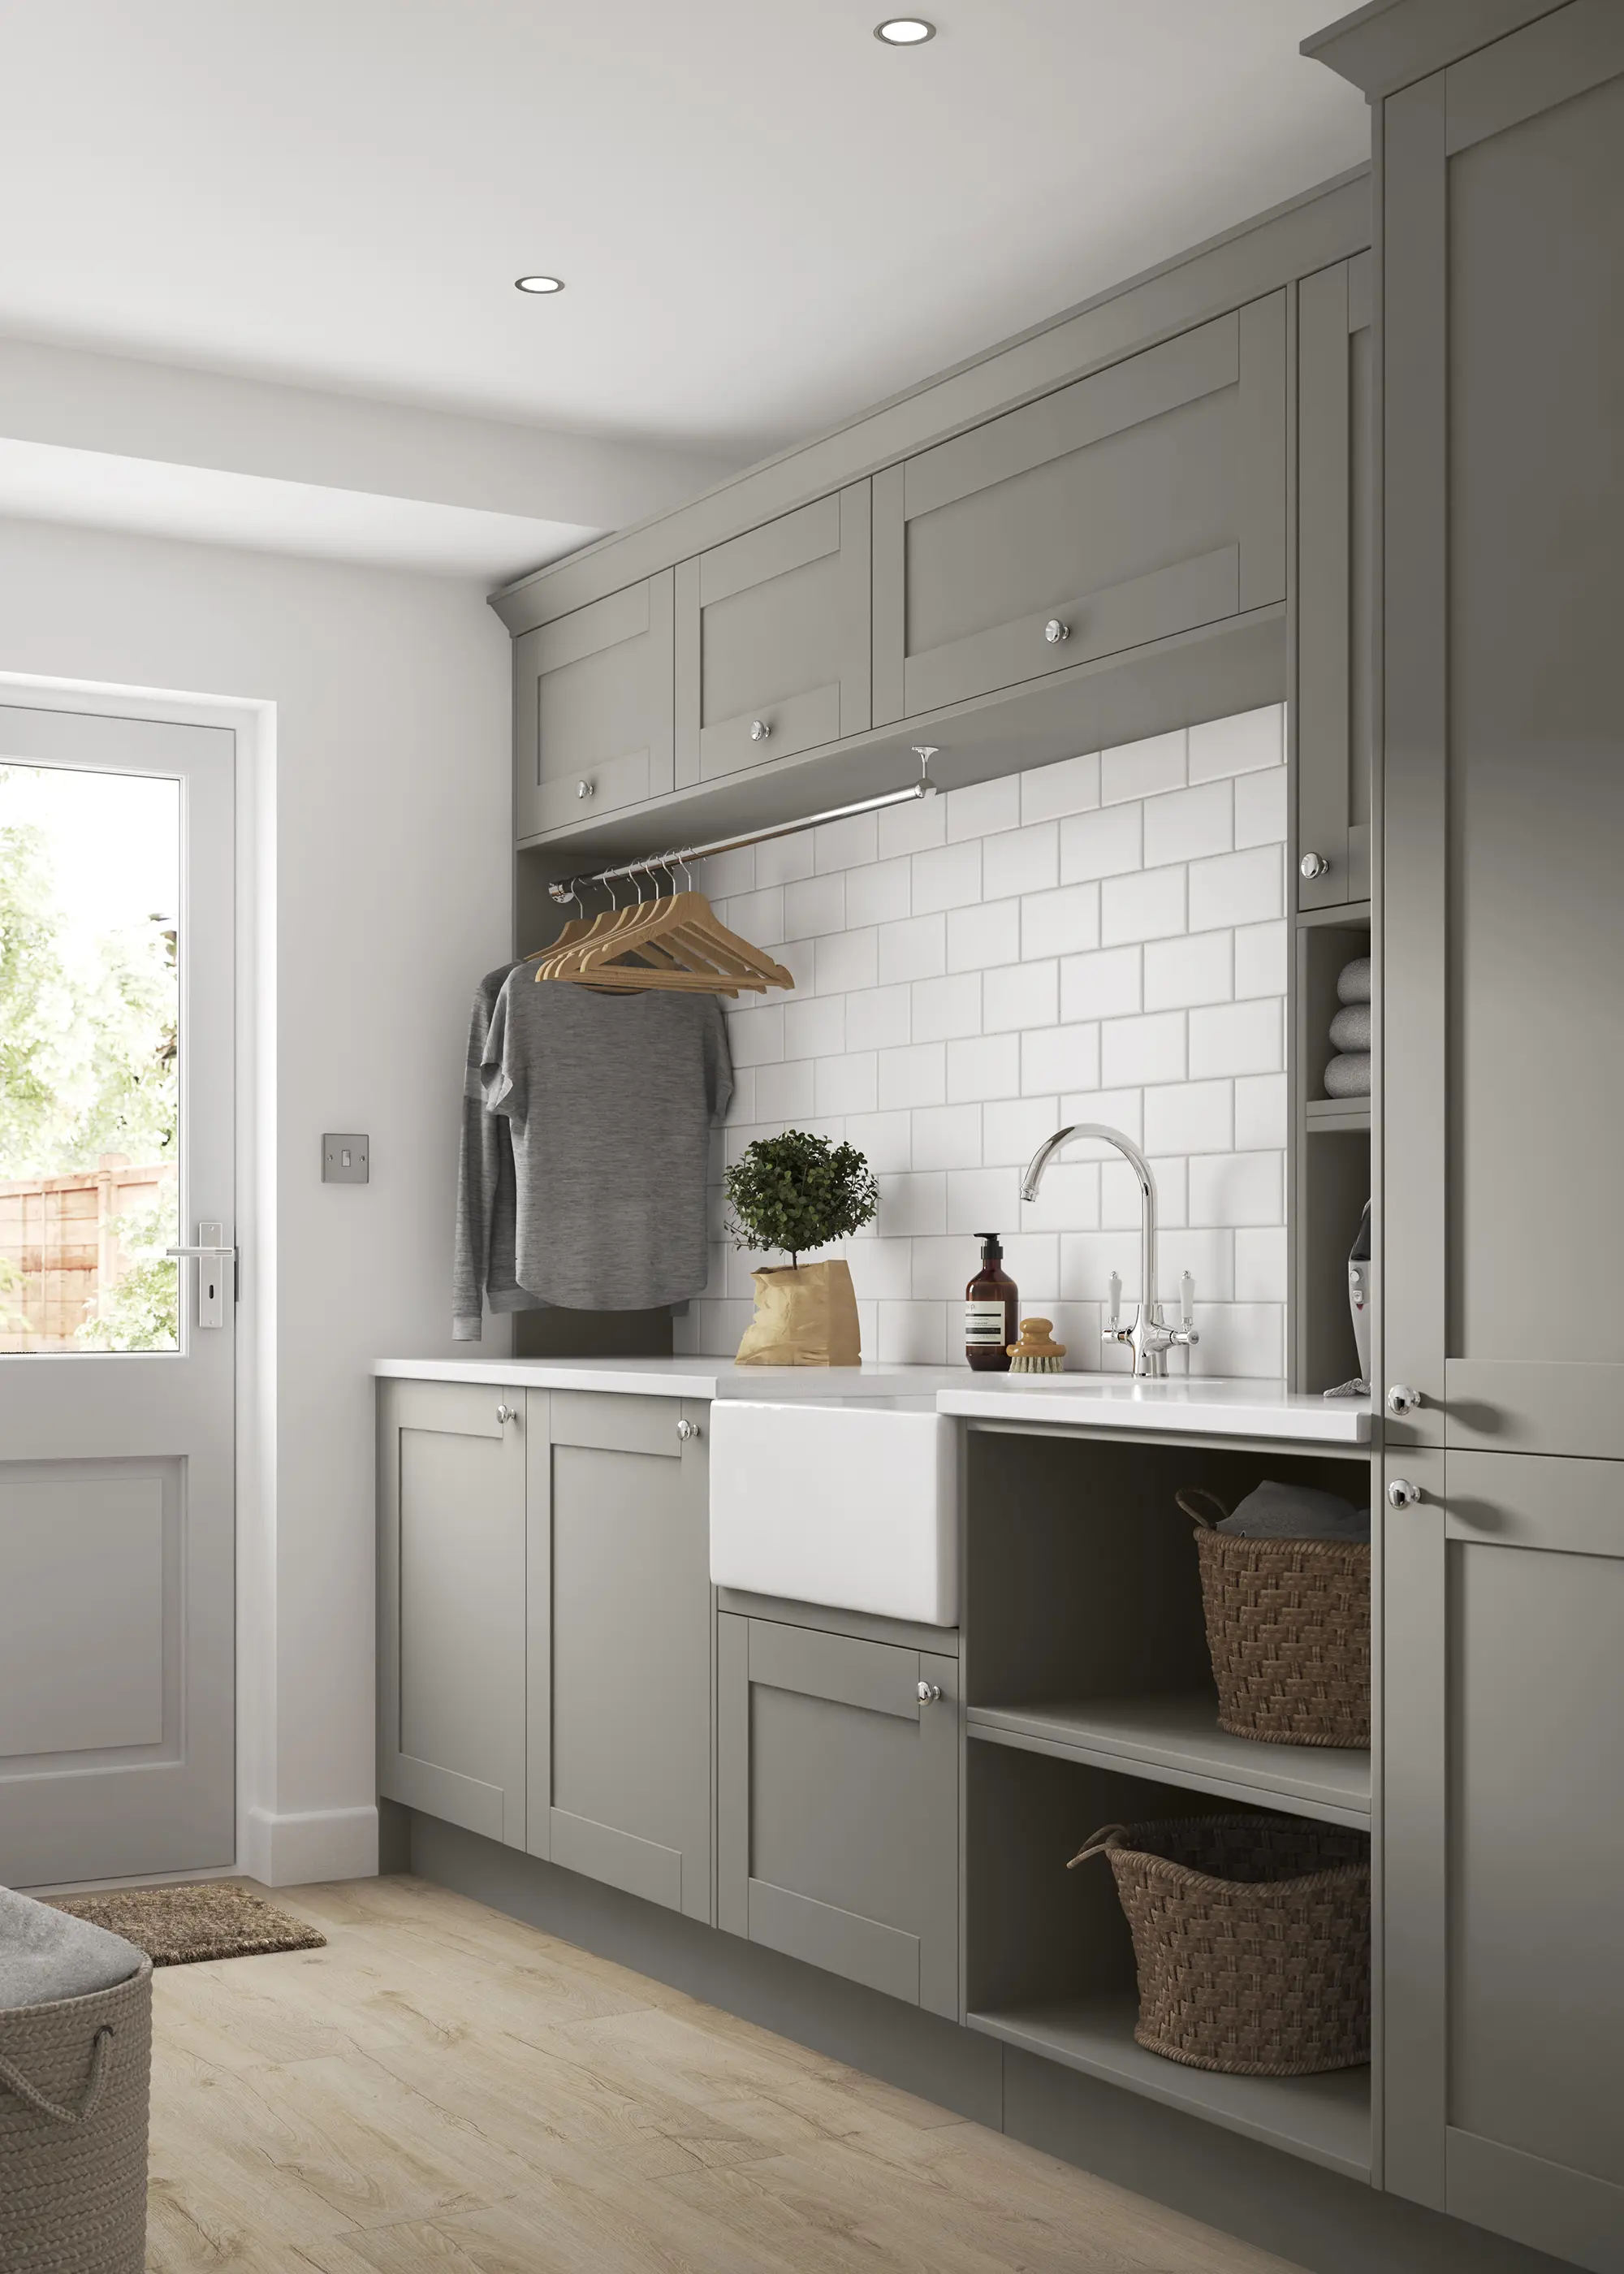
This Oxford Pebble Grey utility room by Benchmarx Kitchens includes practical features such as a laundry rail near the sink, and is directly accessible from the garden
Positioning MVHR systems above the utility side is often a neat solution if you’re looking at building a compact space. It’s also a wise move to tile the whole floor before starting to fit your appliances, so you have the flexibility to move things around later.
For high-spec builds, it’s a good idea to list every piece of kit before finalising the layout. “Knowing what is going to go in there exactly – such as washing machines, sinks, battery systems – allows you to incorporate more storage and ensure everything fits safely and efficiently,” explains Opinder. Careful pre-planning also helps avoid costly adjustments later, allowing you to prioritise the comfort and design of your home.
Amandine Lefevre

You may be interested in


Our sponsors

