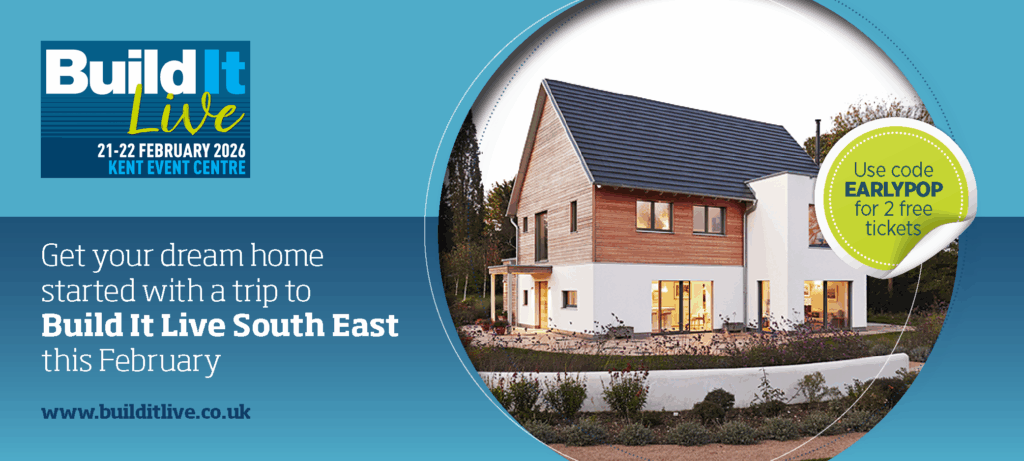
Early bird tickets now available
21st-22nd February 2026 - time to get your dream home started!
BOOK HERE21st-22nd February 2026 - time to get your dream home started!
BOOK HEREEstimate your project costs instantly with Build It's interactive self-build cost calculator
Calculate NowGet an accurate, detailed cost breakdown of your project
Submit plans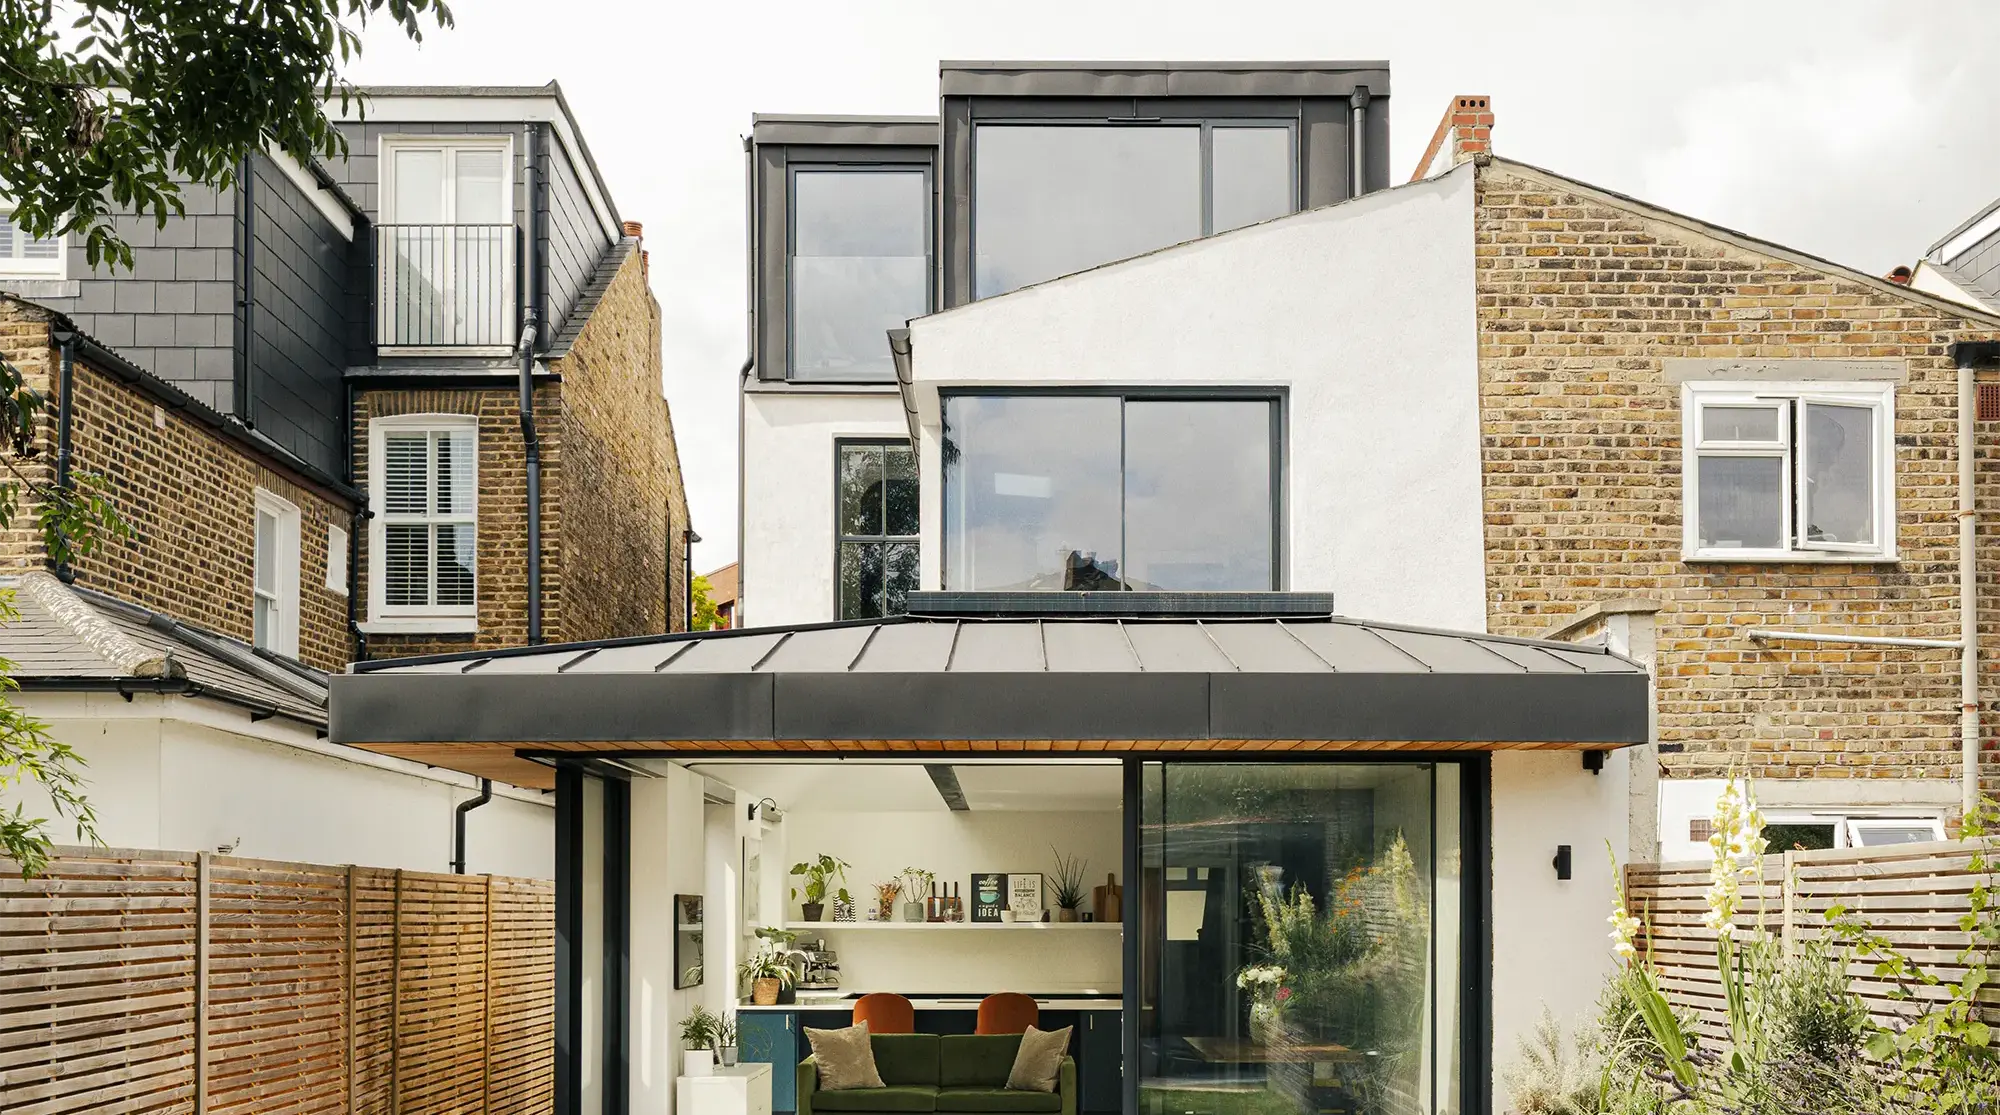

Wondering whether a loft conversion is right for you? A loft project can add around 30% more living space to a typical two-storey home. And with the right design, you could see the value of your house jump by more than 20%, so it’s no surprise they’re so popular among UK homeowners looking to add more space to their properties.
Loft extensions tend to be quick, affordable and less disruptive than many alternative routes to gaining space – but there are some considerations to bear in mind before you press ahead. Is there enough head height, for instance, and if not, can this be easily remedied by adding dormers, or will you need to invest more in a mansard or hip-to-gable loft conversion project? How can you ensure the new zone works effectively with the rest of the property? Do you really need a habitable space, or would a storage zone be a more practical project for your family?
From assessing the loft’s structure to planning permission, Building Regulations and fire safety, this self build loft conversion guide takes an in-depth look at the key things you need to consider when weighing up whether a loft conversion project is the right and most cost-effective way to add more space to your property.
There are few areas that need to be considered before you begin gathering any loft conversion ideas, or consulting an architect or designer to draw up a scheme, including:
You can check this yourself by measuring the distance between the top of the attic’s floor joists and the underside of the ridge beam. If there’s at least 2.3m of space available, you should be able to create a comfortable finished room once the new floor and ceiling finishes have been installed. You can get away with 2.1m, but it won’t feel like a full storey.
If the ridge height is too low, there are options to increase headroom. One is to simply replace the existing structure with a new roof – usually by craning in either attic trusses or a full modular loft (keep reading for the types of loft conversion). The alternative is to lower the floor level in the loft by sacrificing some height on the storey below.
The pitch of the roof – and how it relates to the span from wall to wall at floor joist level – will have a big impact on how much area you can add. Generally, the steeper the pitch, the more likely you’ve got a real project on your hands. For instance, at an angle of 45°, a zone with a span of 6.5m is readily convertible using rooflights or small dormers.
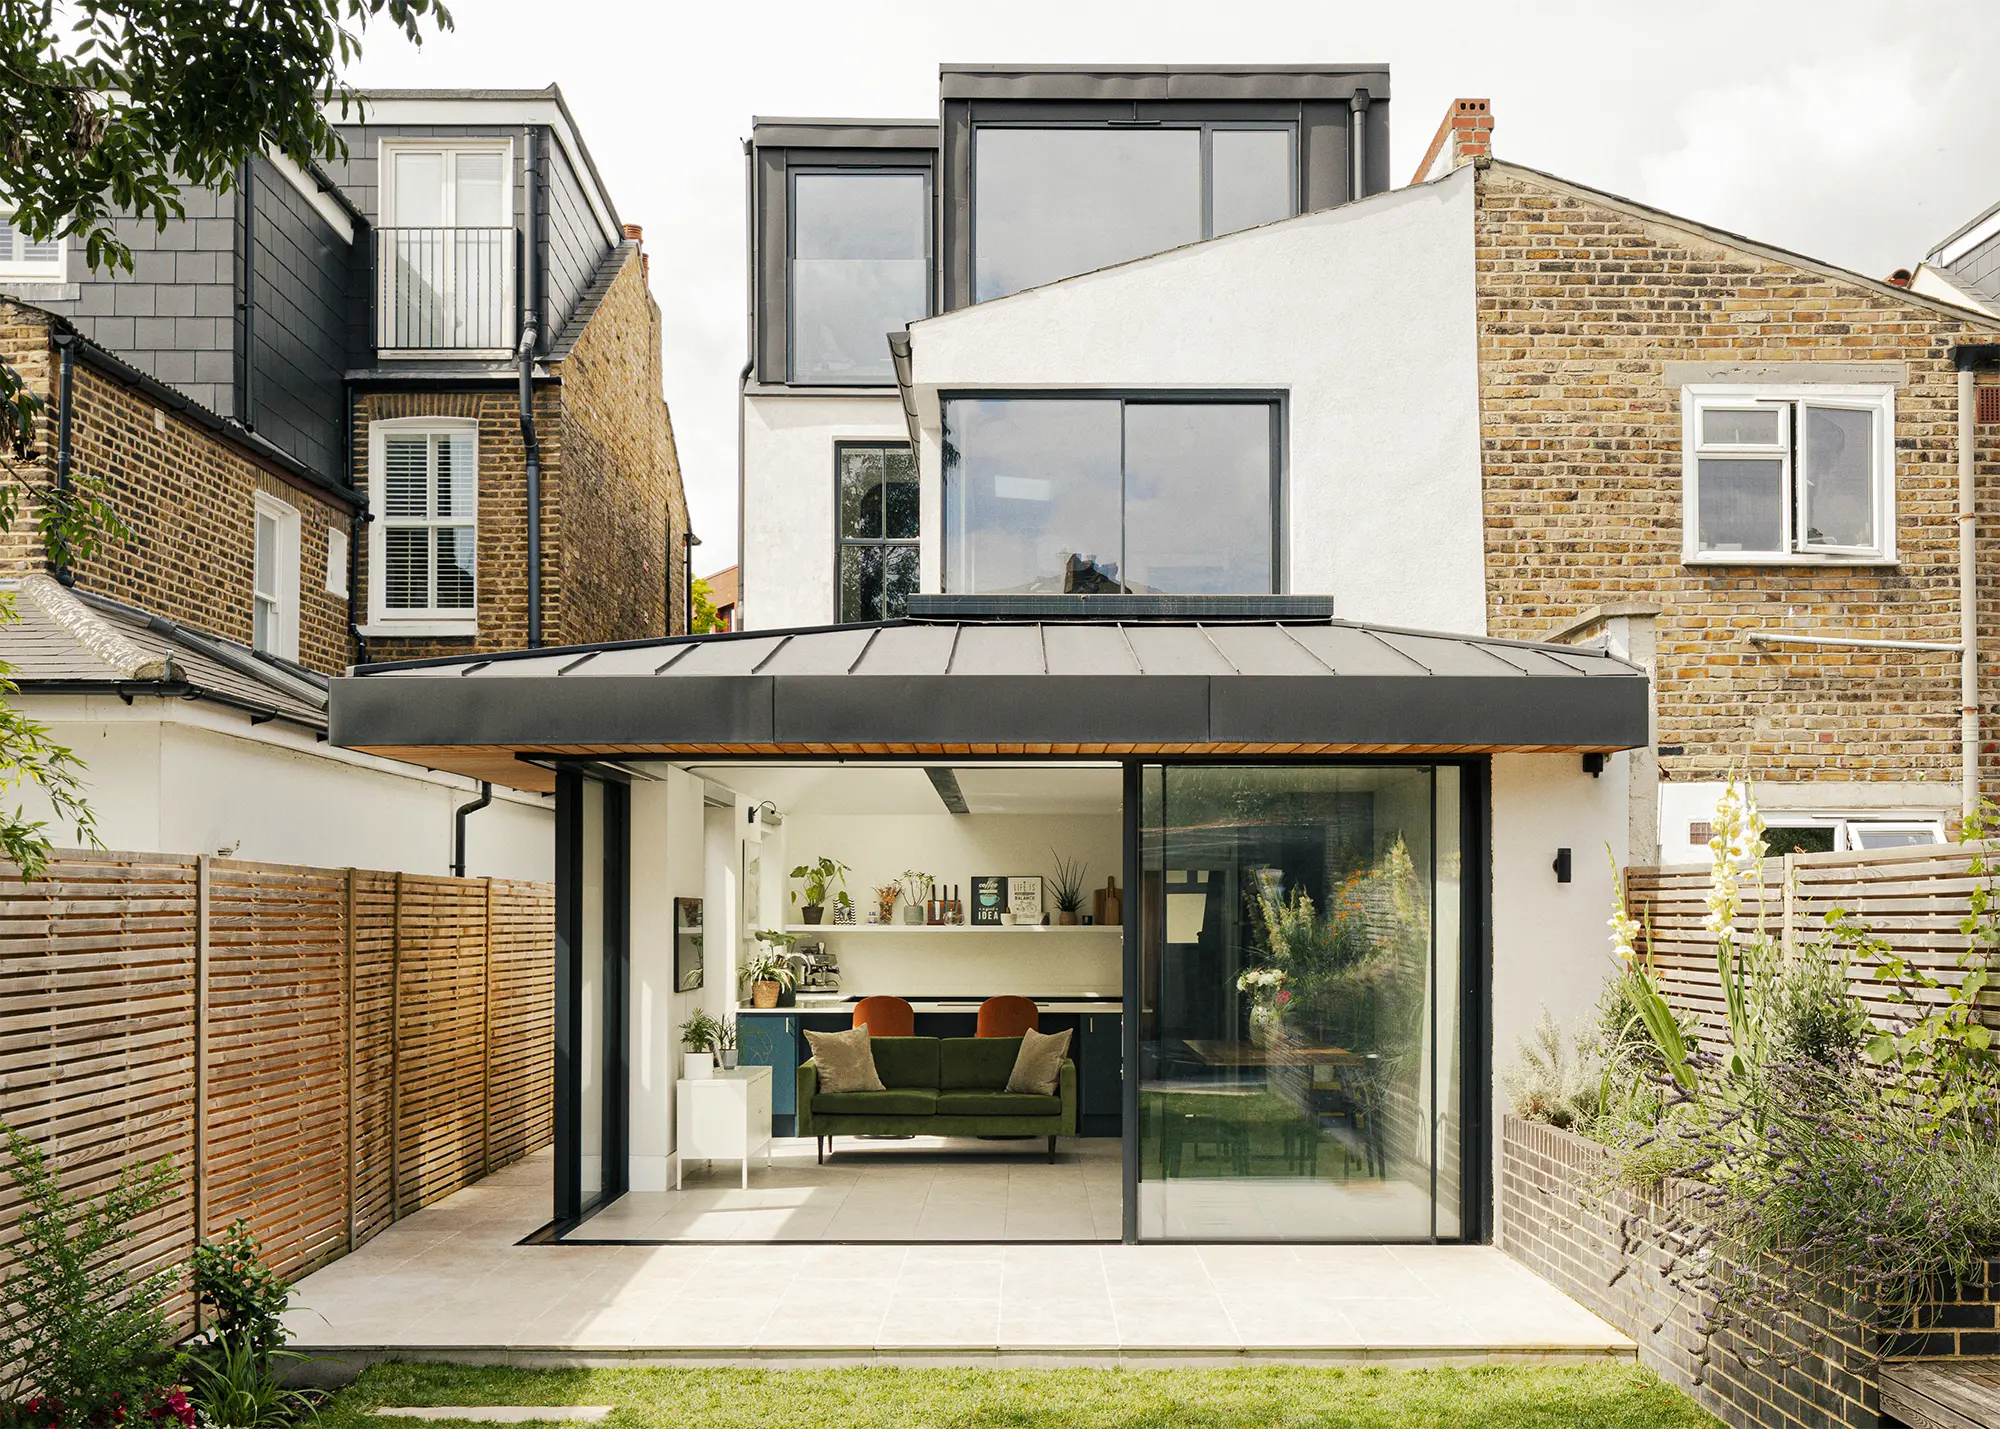
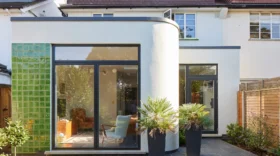
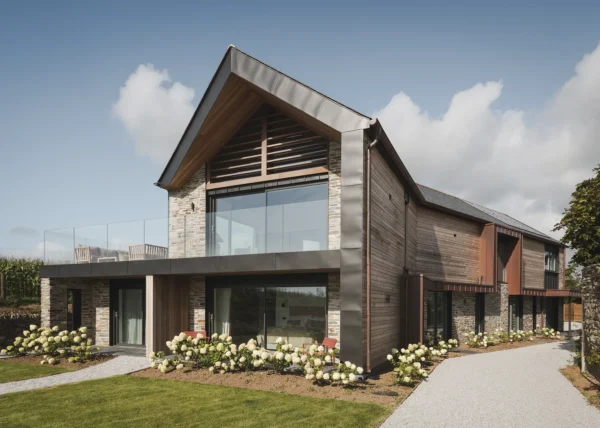
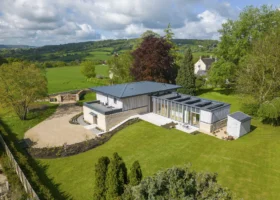
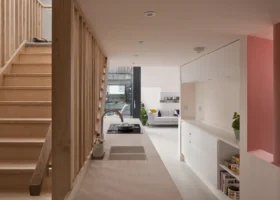
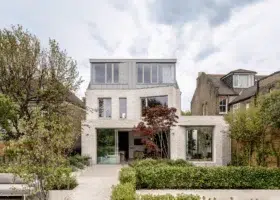
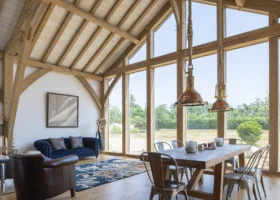
Designed by BetterPAD Architects, this full-house renovation in South London involved a side return extension and loft conversion, opening the house up to the garden and maximising daylight throughout. The loft space – which now holds two bedrooms and a bathroom – is clad in zinc and features large picture windows to capture the far-reaching city views. Photo: Chris Wharton
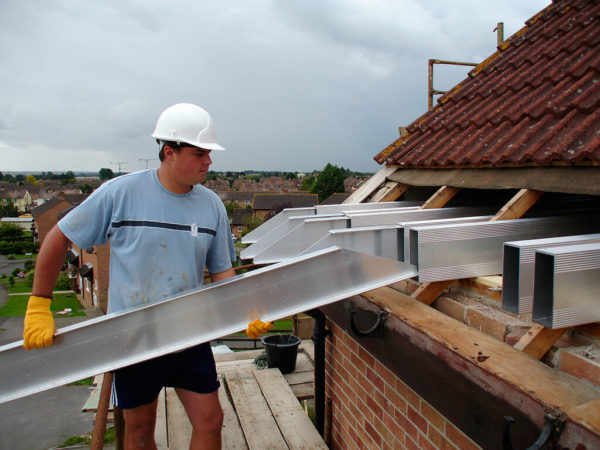
In the past, most roof structures were built (cut) on site using thick timbers, which resulted in relatively clear attics without too much bracing. So if you own a period property and the roof pitch is suitable, it may be straightforward to convert.
If you’re dealing with a house built after 1960, the roof probably consists of Fink trusses. Cheap to produce, these use a W-shaped web of bracing to reduce the size of the main timbers. Reconfiguring them to provide living space requires the input of a structural engineer. Modern solutions such as TeleBeam can help enable conversion of difficult roofs.
Premium Content
Build It's loft conversion downloadable e-guide takes you through the essential considerations, from costs to an estimated project timeline. Click below to find out more.
find out more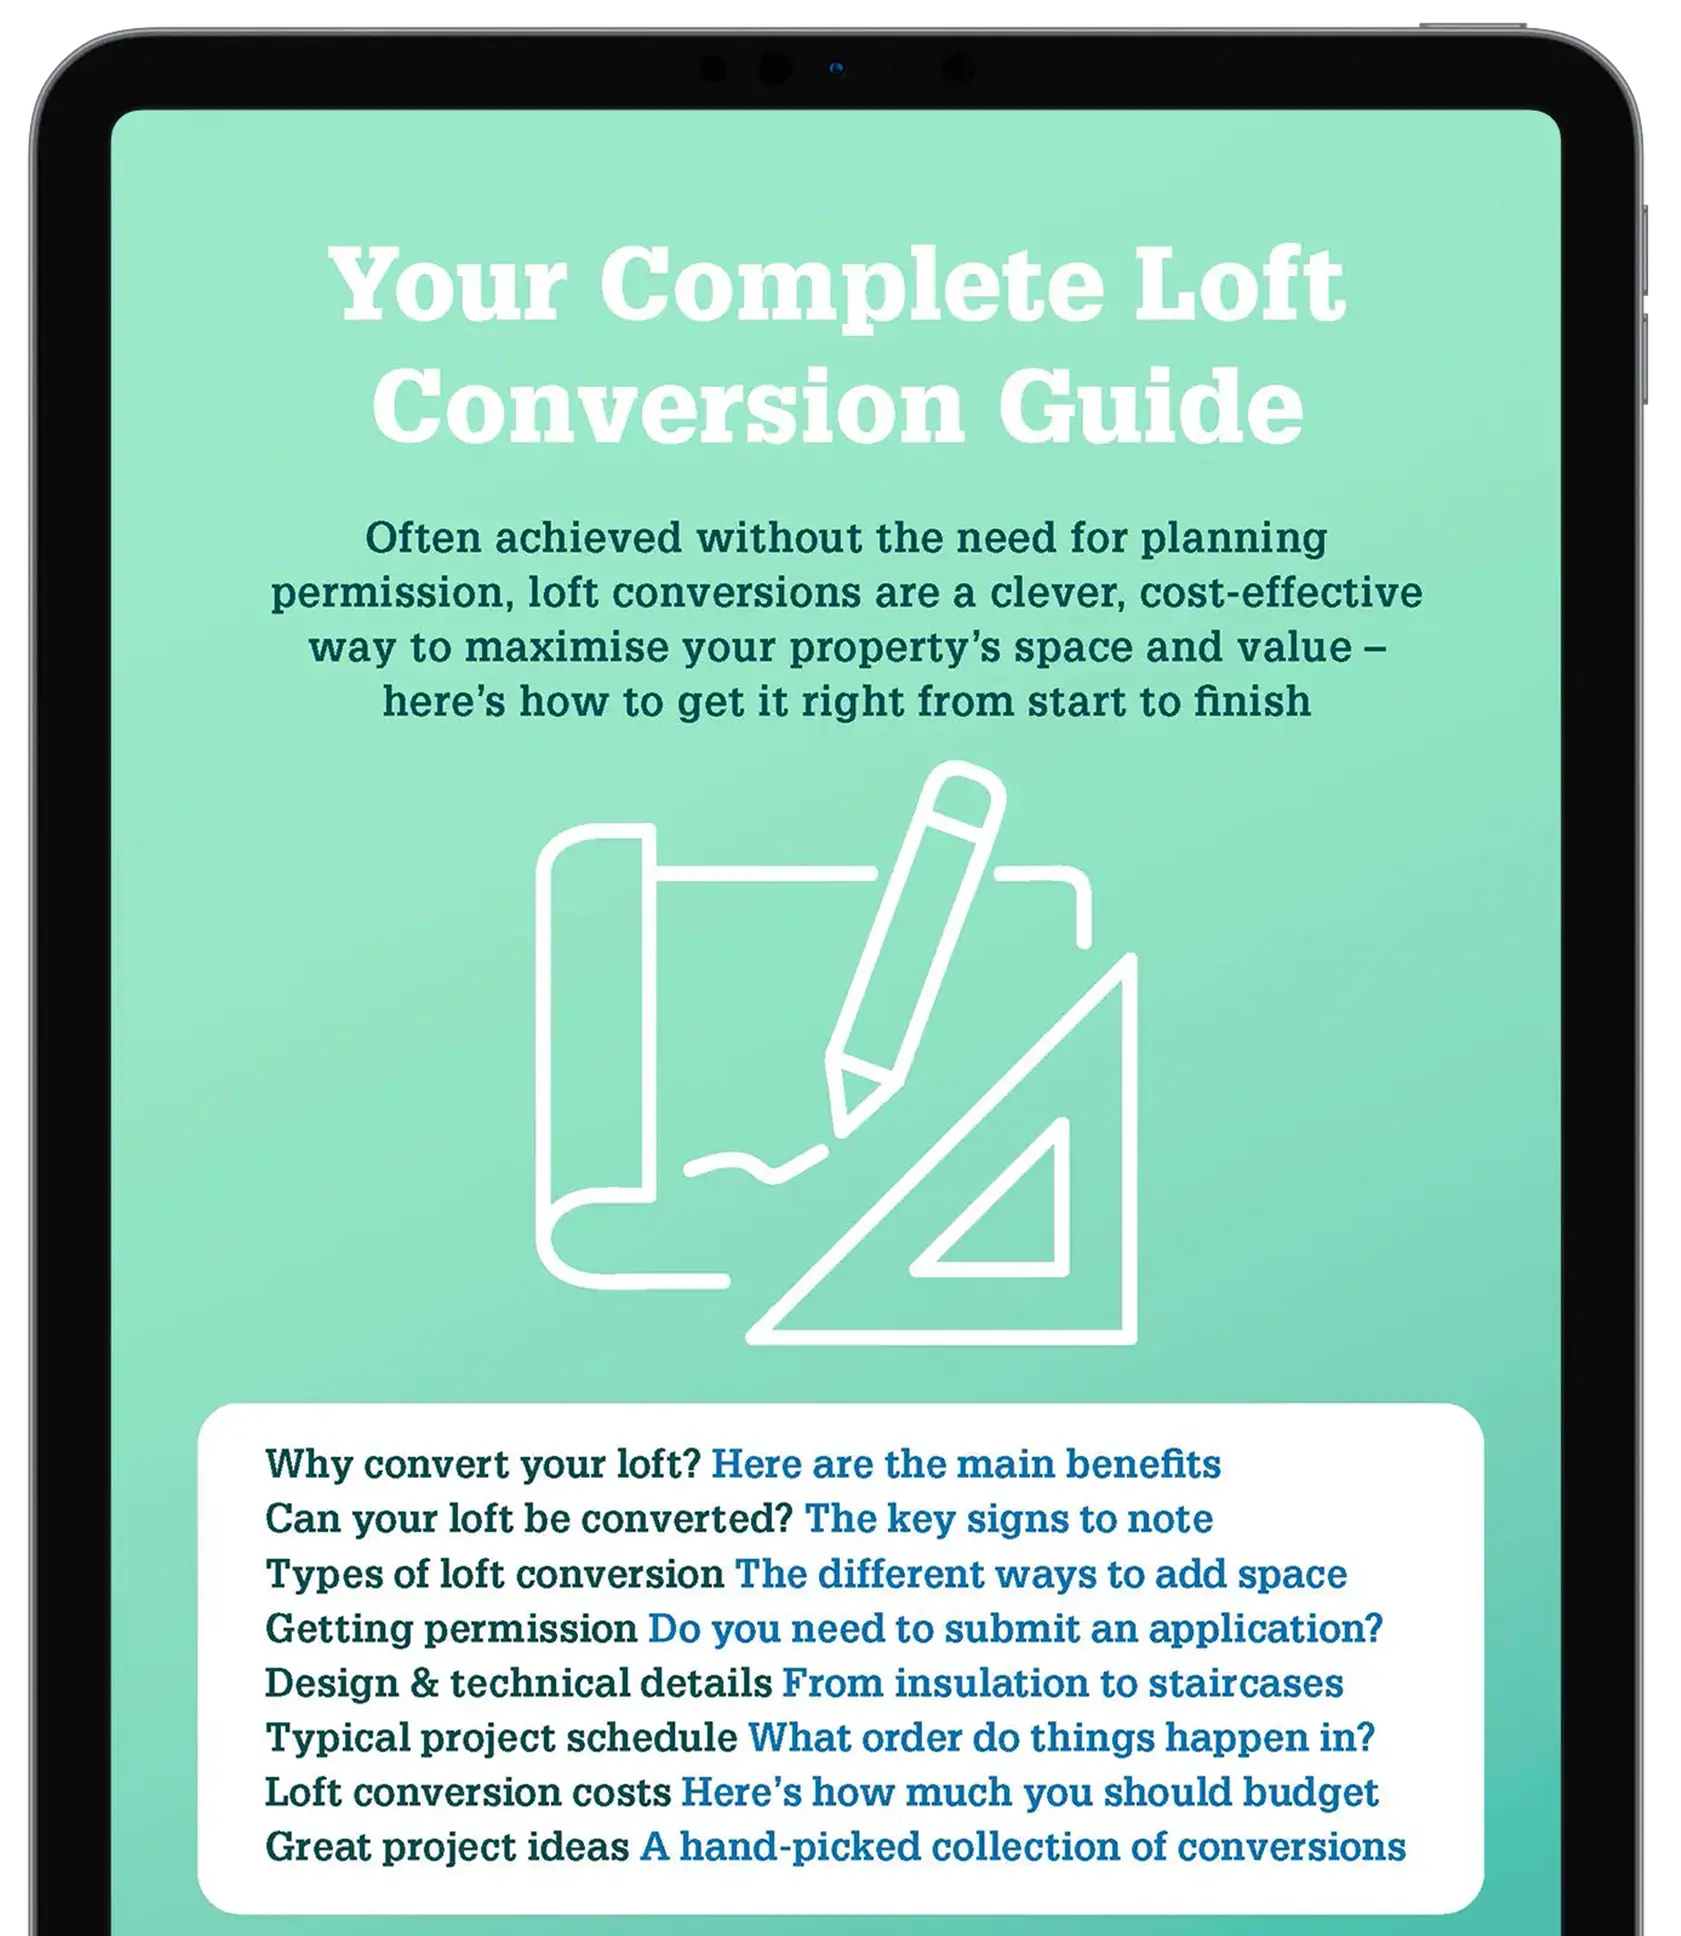
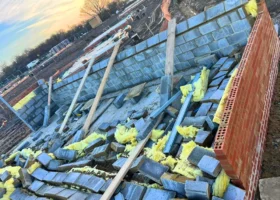
You might be put off tackling a loft project if you spot rotting timbers, defective roof tiles or undersized joists in your attic. In fact, these are common issues that a good builder or conversion specialist will be used to dealing with. You should still get them properly investigated in order to factor any extra costs into your budget before you start on site.
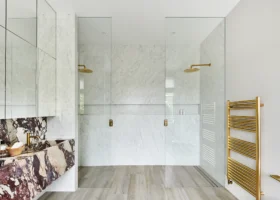
Adding a new ensuite bedroom is one of the most popular loft projects; and often a good choice for increasing value. With this kind of project, you’ll need to ensure there’s enough headroom for a decent shower. Other common choices include adding a cinema room or home office – in both cases, you’ll need to think through elements such as network cabling.
There are three main routes to go down in terms of planning the perfect loft conversion. If your scheme is likely to be complex or high-value, using an architect could help maximise the project’s potential. They’ll be able to introduce you to unique ideas – such as glazing features – that add a flair to your home.
For more straightforward, standard loft schemes, a specialist loft conversion company might be a better fit. These one-stop shops are able take on the planning and design stages, including sorting out Building Regulations, before handing over to their in-house construction team to complete the work.
An experienced builder may be able to offer a similar level of service and take your project to completion quickly. Whoever you appoint, be sure to ask for and follow-up on references, and secure detailed quotes for comparison.
Most projects will not require formal planning permission, as loft conversions are considered to be permitted development (PD) – meaning you can achieve your project without a full application. Bear in mind that, if your house is listed or in an area of outstanding natural beauty, for example, you will always require formal planning consent. Your loft conversion project needs to comply with the following to qualify for permitted development:
The current building should not:
Your project’s design needs to comply with the following rules to qualify for permitted development. If you want to create a more unique design, then it’s likely you’ll require formal planning permission. It’s wise to speak to your local authority, though.
There are two main routes to securing Building Regs sign-off. The first is to submit a full plans application, which is a good choice for complex schemes as you’ll get detailed structural drawings for the contractors to quote on and follow during the works.
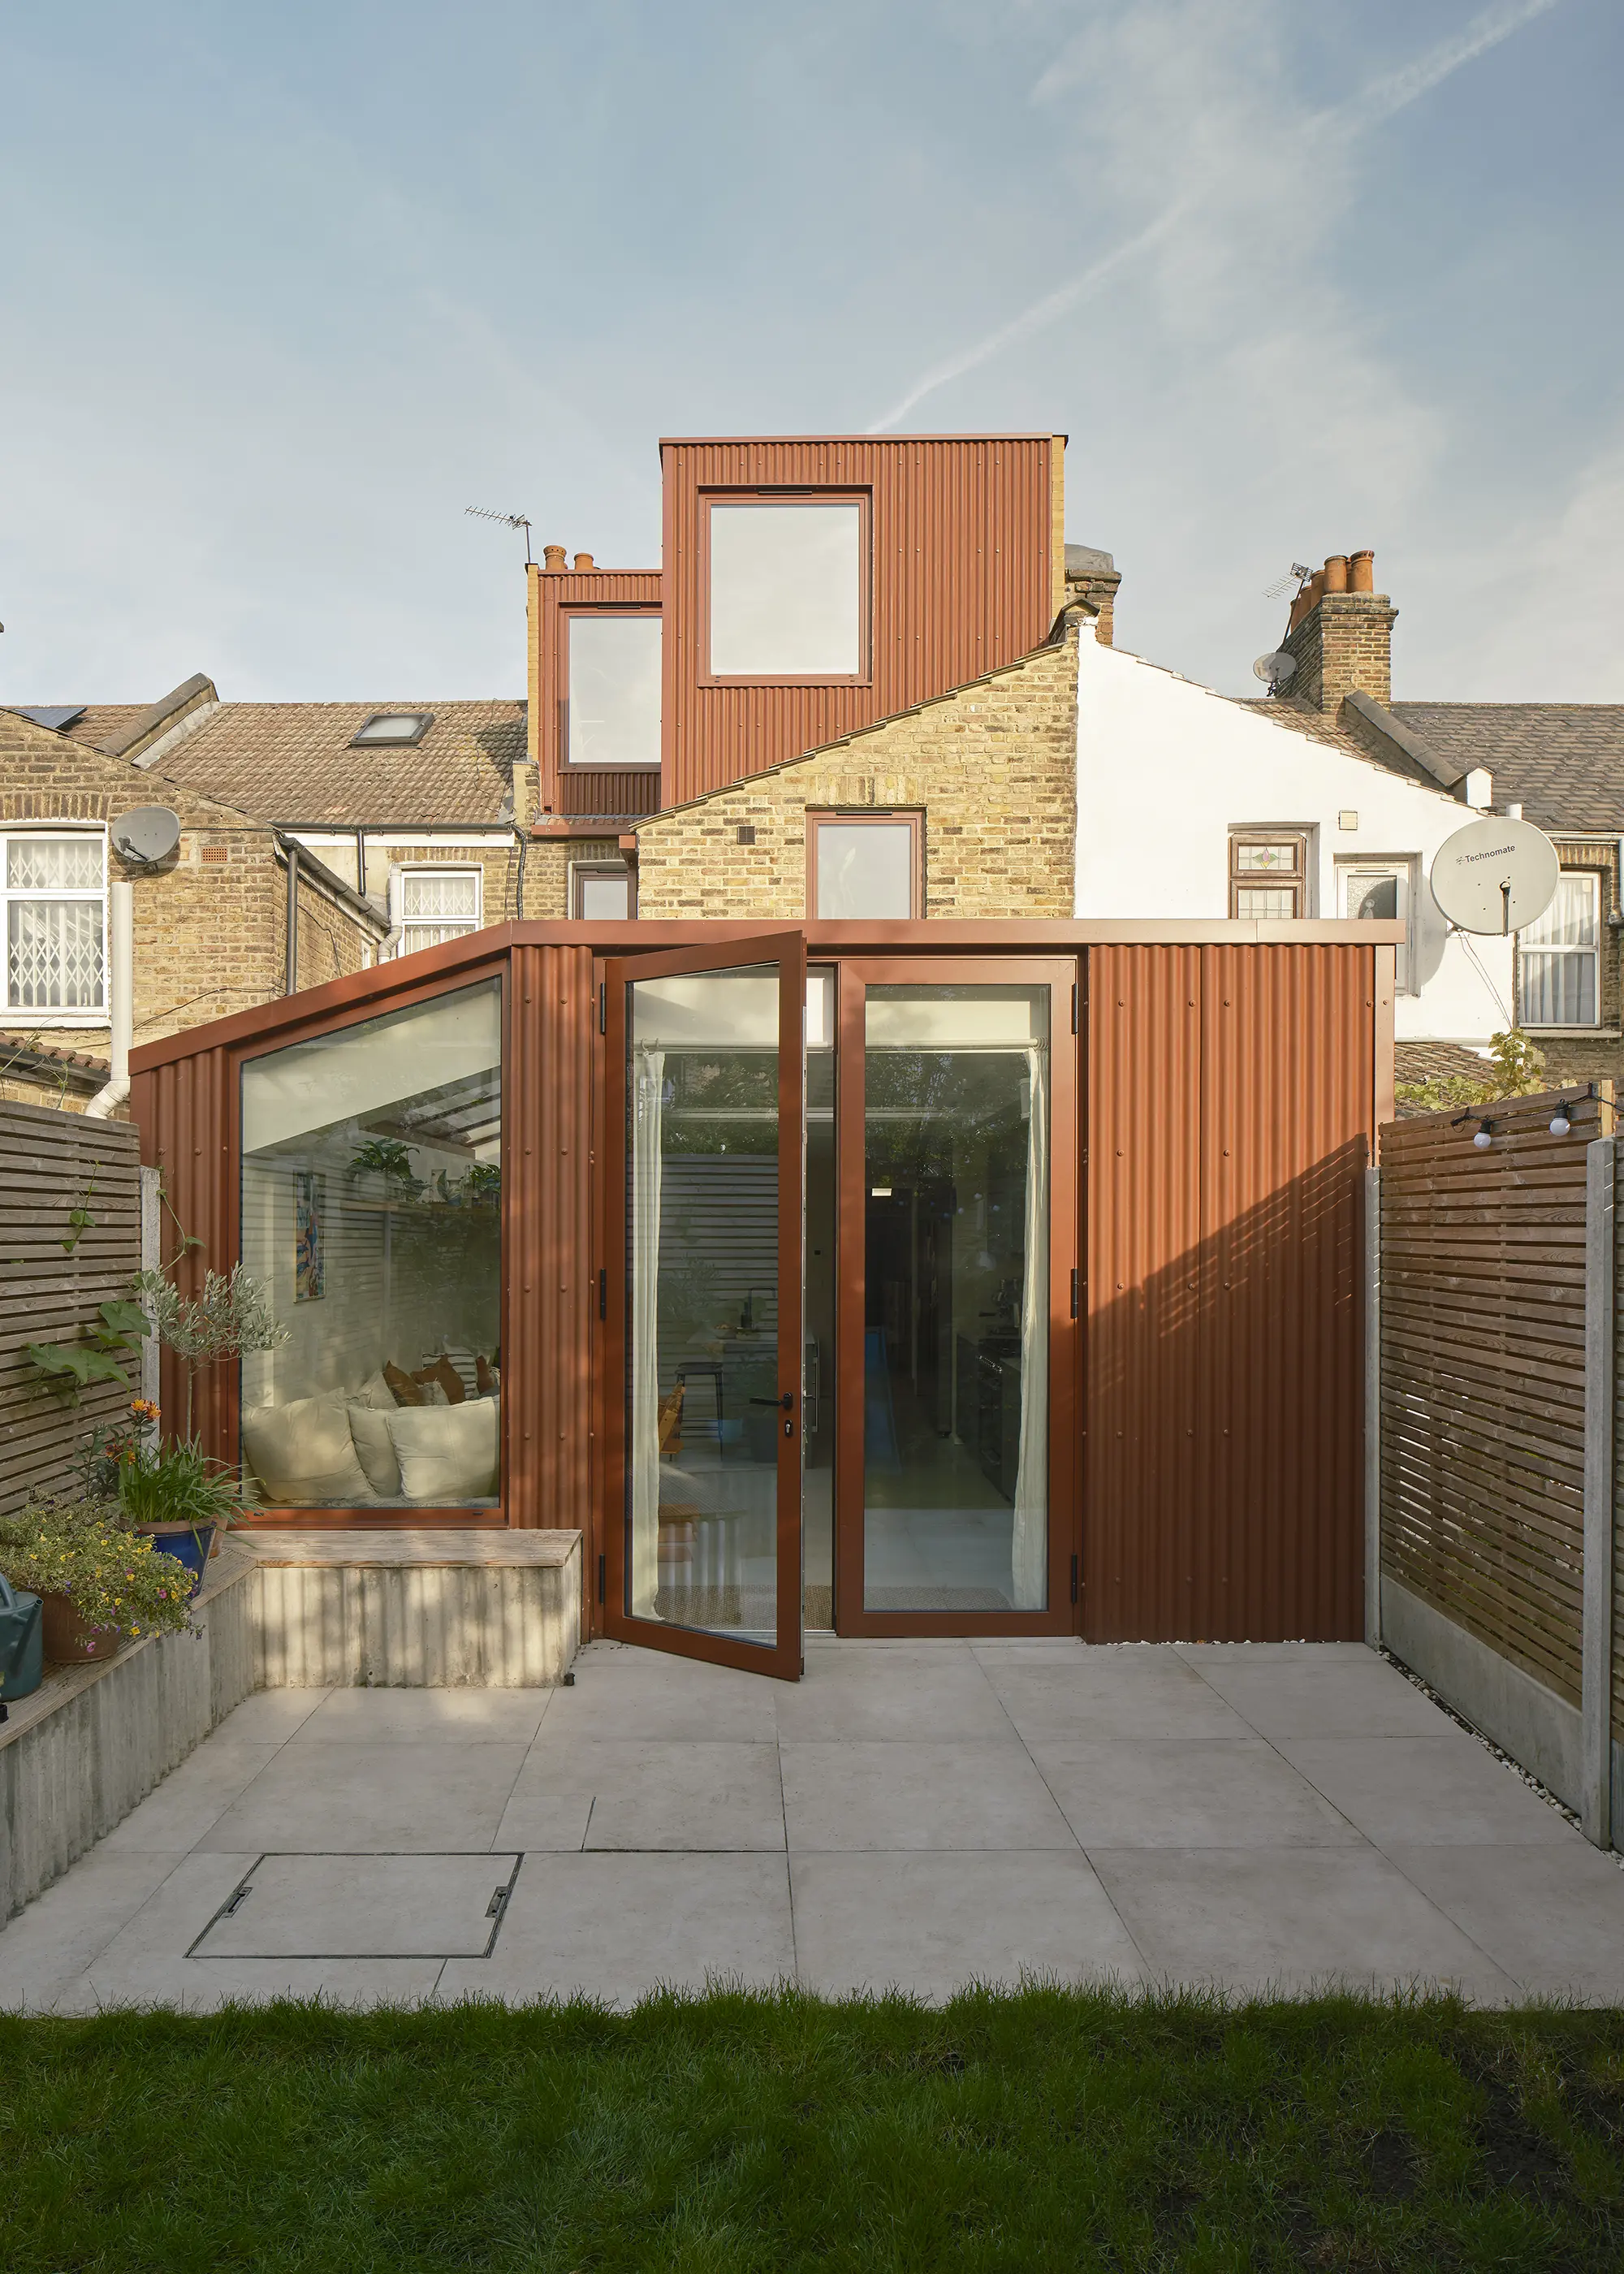
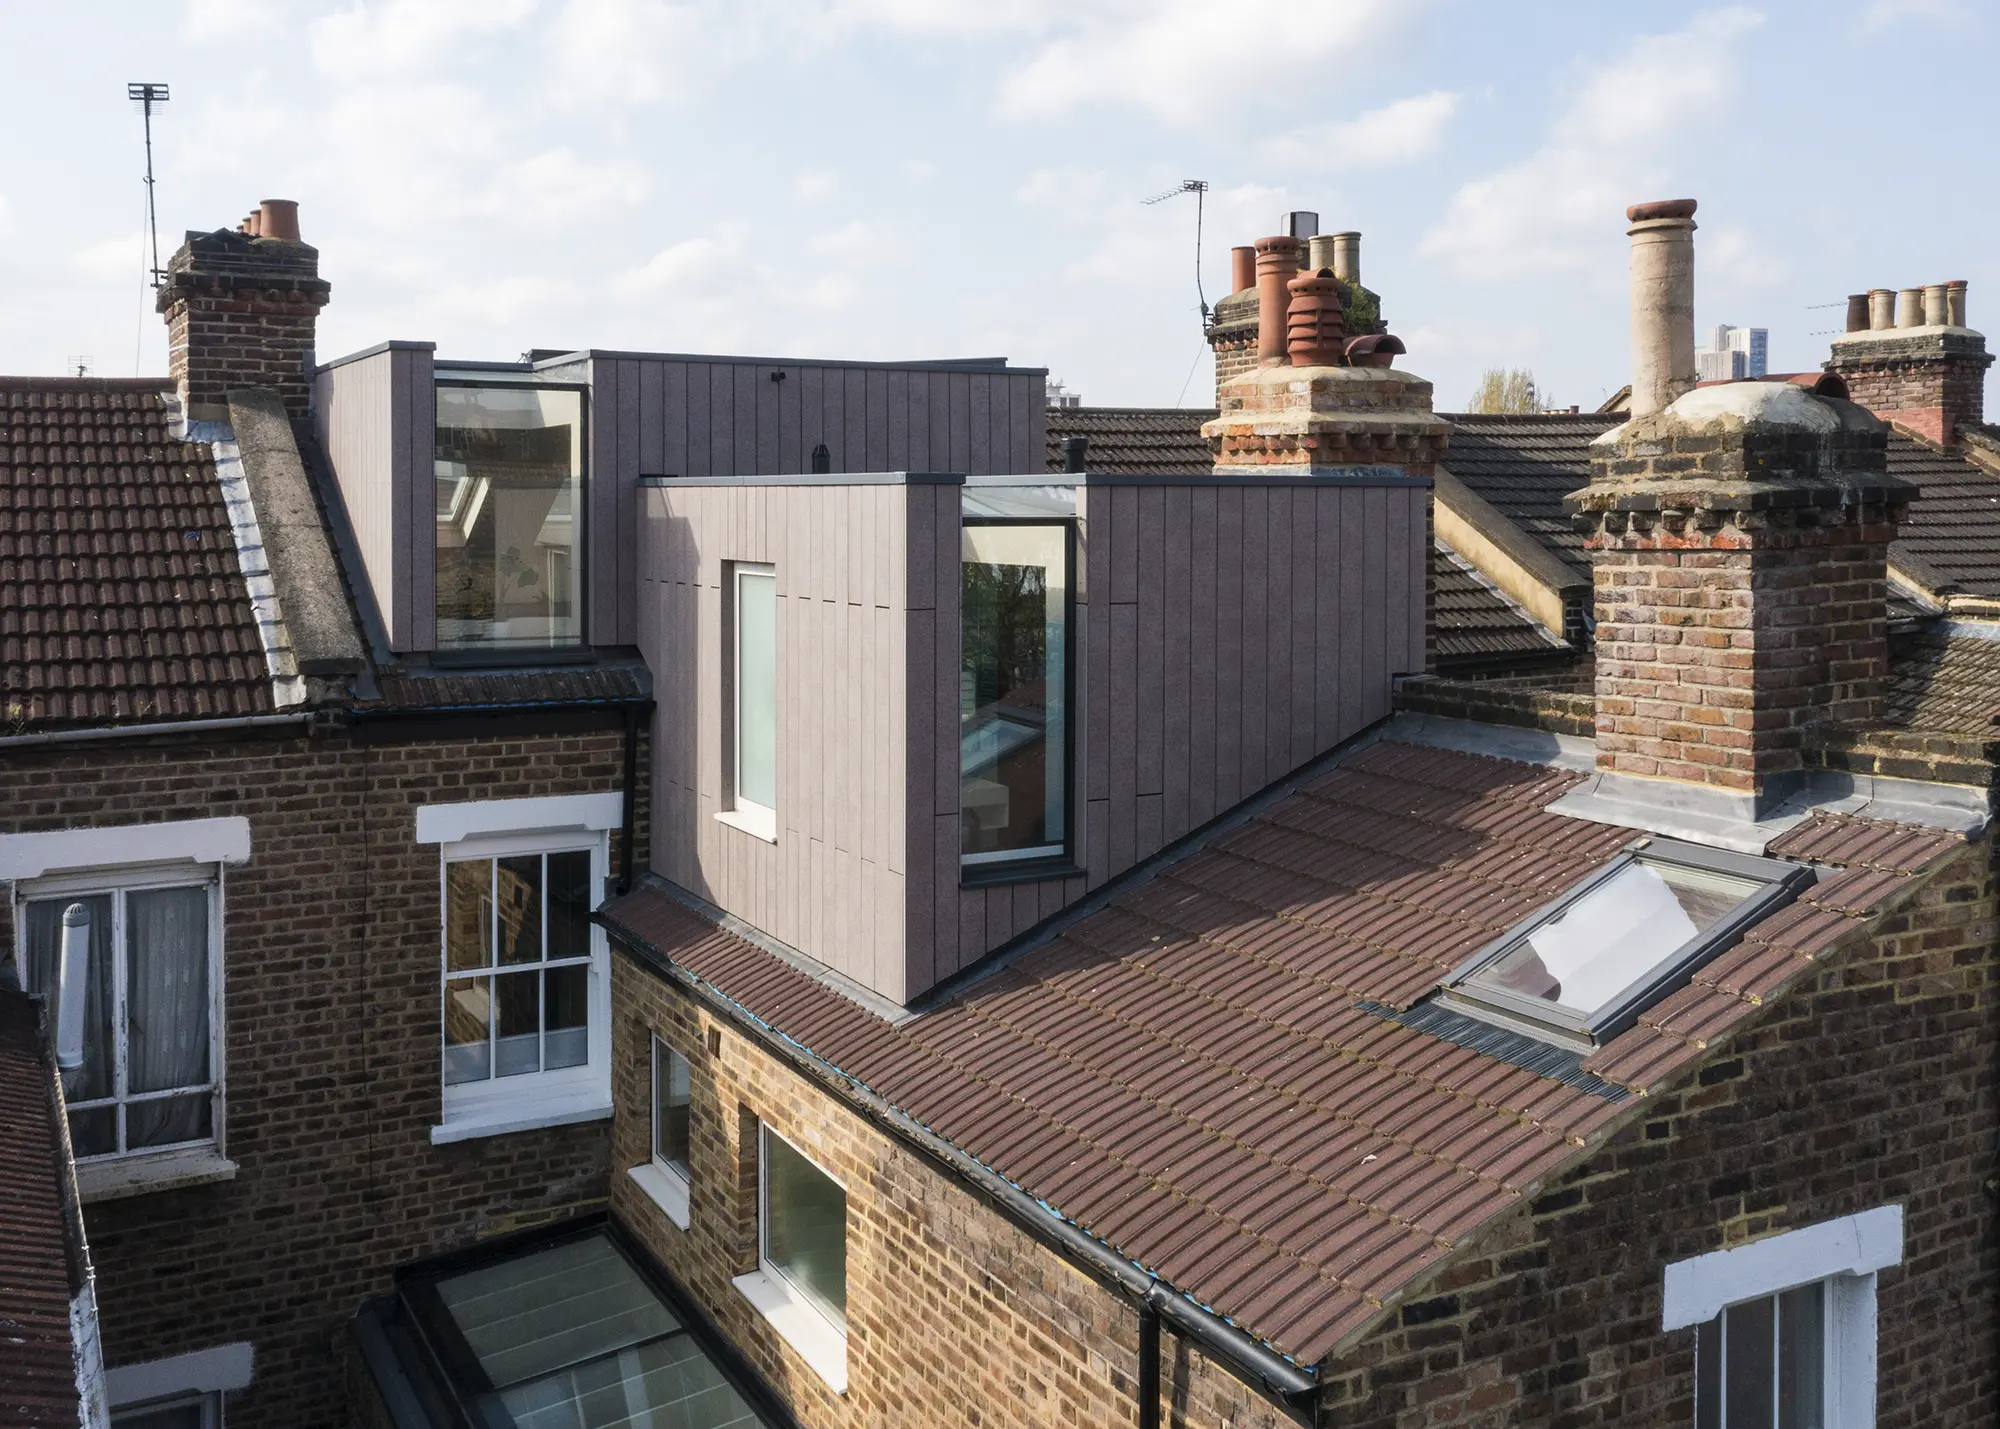
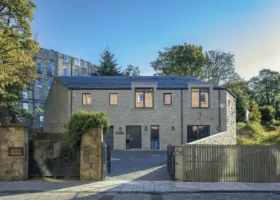
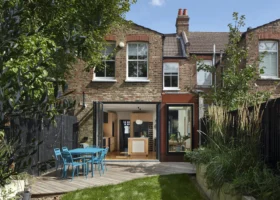
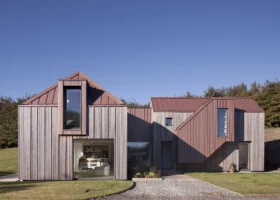
Mike Tuck Studio have transformed this typical four-bedroom Victorian terraced property with a rear extension and dormer loft conversion. The new additions feature a distinctive, deep rust-coloured corrugated cement board facade, making a contemporary statement set against the traditional period home. Photo: Luca Piffaretti
The second is to serve a building notice, which must be done 48 hours before work starts on site. This is a quick and cost-effective option, but really only viable for straightforward schemes.
Either way, the work will be inspected at key milestones – such as once the insulation is installed. If it’s all approved, at the end of the scheme you’ll receive a completion certificate to show the project meets the minimum standards.
You will almost always need to reinforce the floors when converting or extending a loft. The existing ceiling joists were originally designed to support only the ceiling below, not the additional weight of furniture, people and flooring. To meet Building Regulations and ensure safety, new structural floor joists will usually be installed – either alongside or above the current joists. Steel beams (RSJs) may also be required to span longer distances and support the new floor effectively.
Reinforcing your house’s foundations is not very common but may be necessary in certain situations. If your project involves a significant increase in weight – such as the addition of a full-width dormer – a structural engineer will need to assess whether your existing foundations can support the added load. Foundation reinforcement might be required if the original foundations are shallow, of poor quality, there’s evidence of subsidence, or if the soil type poses a risk to stability.
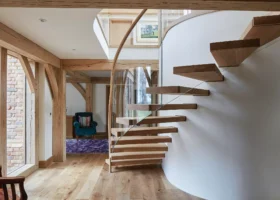
The Building Regs for loft staircases are basically the same as for any flight, but with one important difference: head height can be reduced from the normal 2m to 1.9m at the centre of the flight, and 1.8m at the edges. The reason for this is to account for the slope of the roof – and in some cases the extra leeway can avoid the need to raise the roof or drop the ceiling to create enough height. If possible, it’s best to run on from an existing staircase in order to avoid taking up additional space on the floor below – but it’s not always possible to do this.
The maximum pitch is 42 degrees. Risers (vertical parts of the staircase) should be between 190-220mm. Treads (horizontal parts) should be 220mm deep.
Loft conversions on bungalows have little effect on the fire safety of your home, beyond making sure that the new windows are large enough to escape out of. But in a house where two storeys become three, there are implications.
The new floor will need at least 30 minutes of fire-protection, which could mean re-plastering the ceilings below it and the loft room will have to be separated by a fire door, either at the top or bottom of the new stairs. You’ll also need one escape-sized window per room – some skylight windows are made specifically with this in mind.

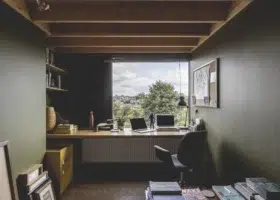
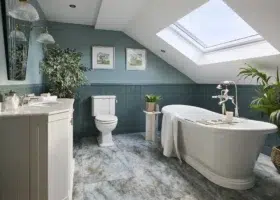
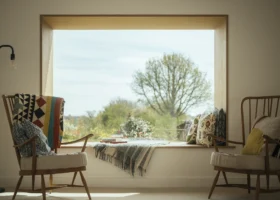
Located in south west London, this maisonette has been completely reconfigured and upgraded with an expansive, light and airy loft conversion, designed by Yard Architects. Photo: Chris Snook
Self-closing door devices are no longer required in homes. They’ve proven to be a risk to children’s safety because they can trap tiny fingers. Instead, existing doors on the stairway (ground and first floor) should be replaced with fire-resistant doors or upgraded – and this should be indicated on your loft conversion drawings for Building Control.
As part of the electrical installation for a loft conversion, mains-powered smoke alarms should be installed on each floor of your home and these should be interlinked so that they all sound when one is activated. Most have a re-chargeable battery as a back-up that allows the supply to be extended from a lighting circuit if need be.
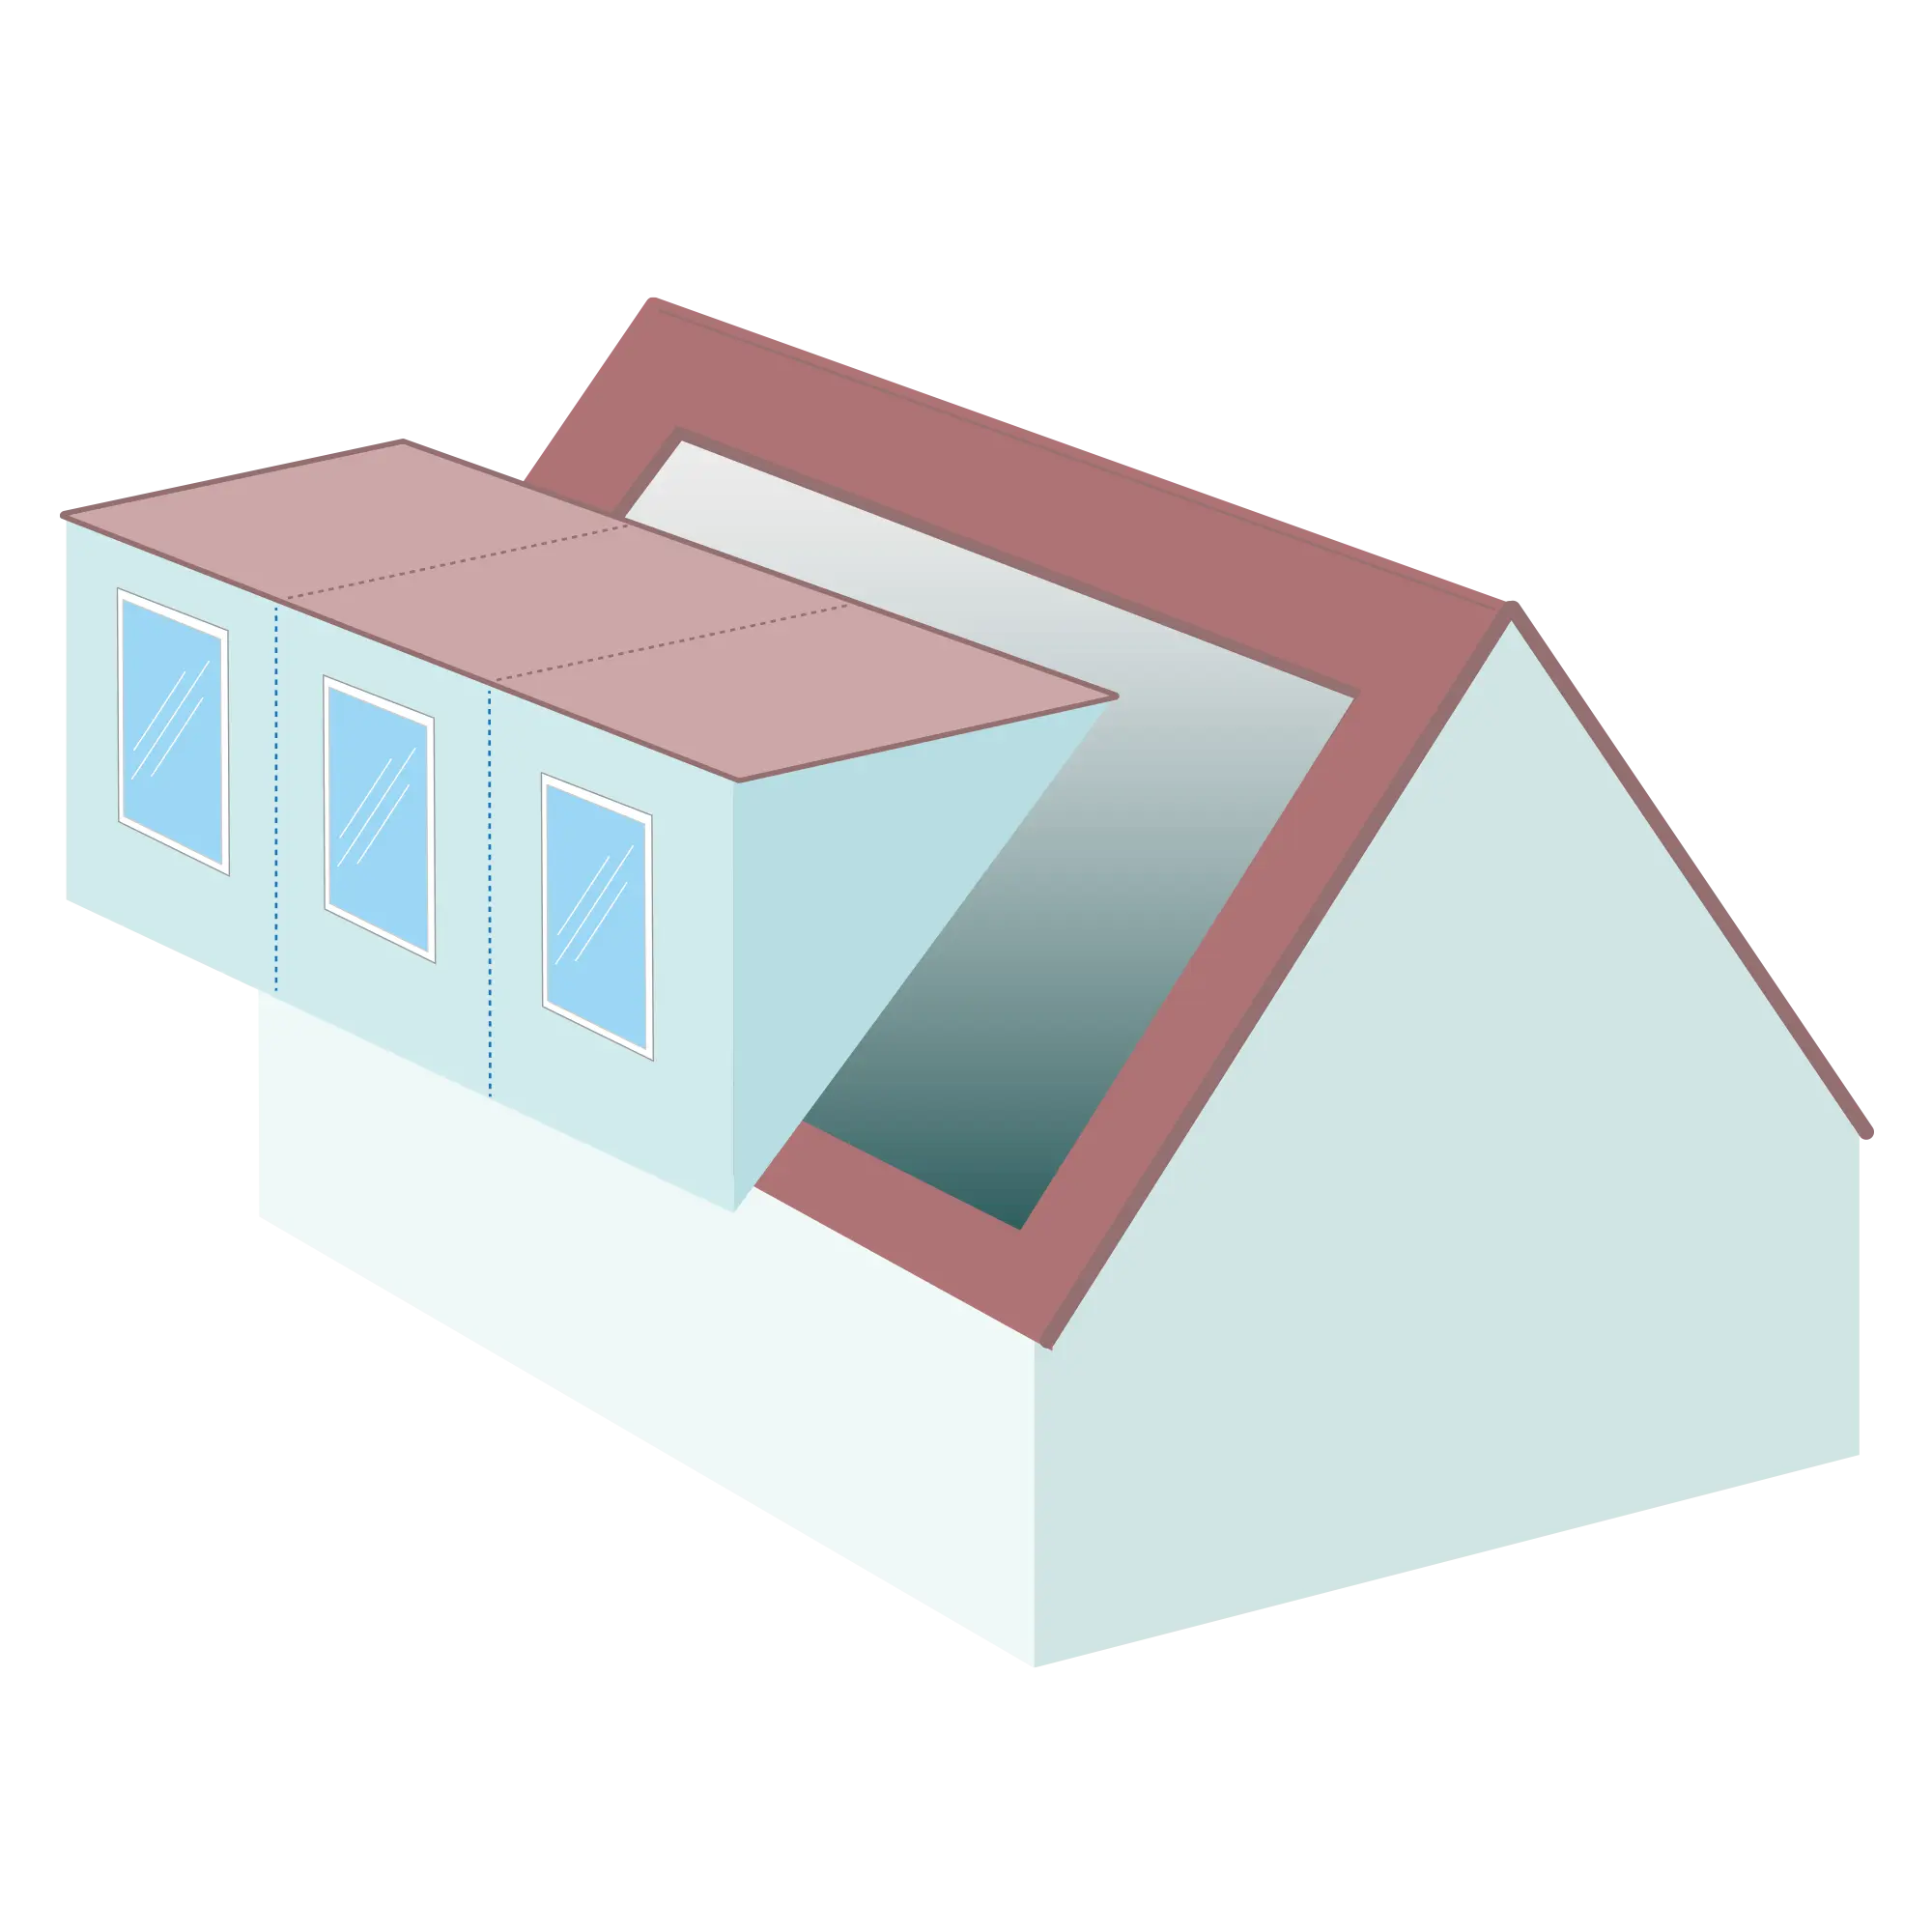
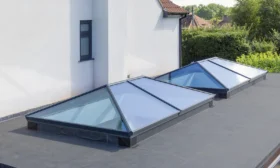
You don’t need to make a lot of structural alterations to accommodate rooflight or skylight windows in your new loft conversion, which makes them relatively easy to fit. Typically the rafters on either side of the rooflight are doubled-up and trimmed across the top of the opening. A popular alternative is to fit dormer windows, which are structures in themselves, as they have walls and a roof as well as the window itself.
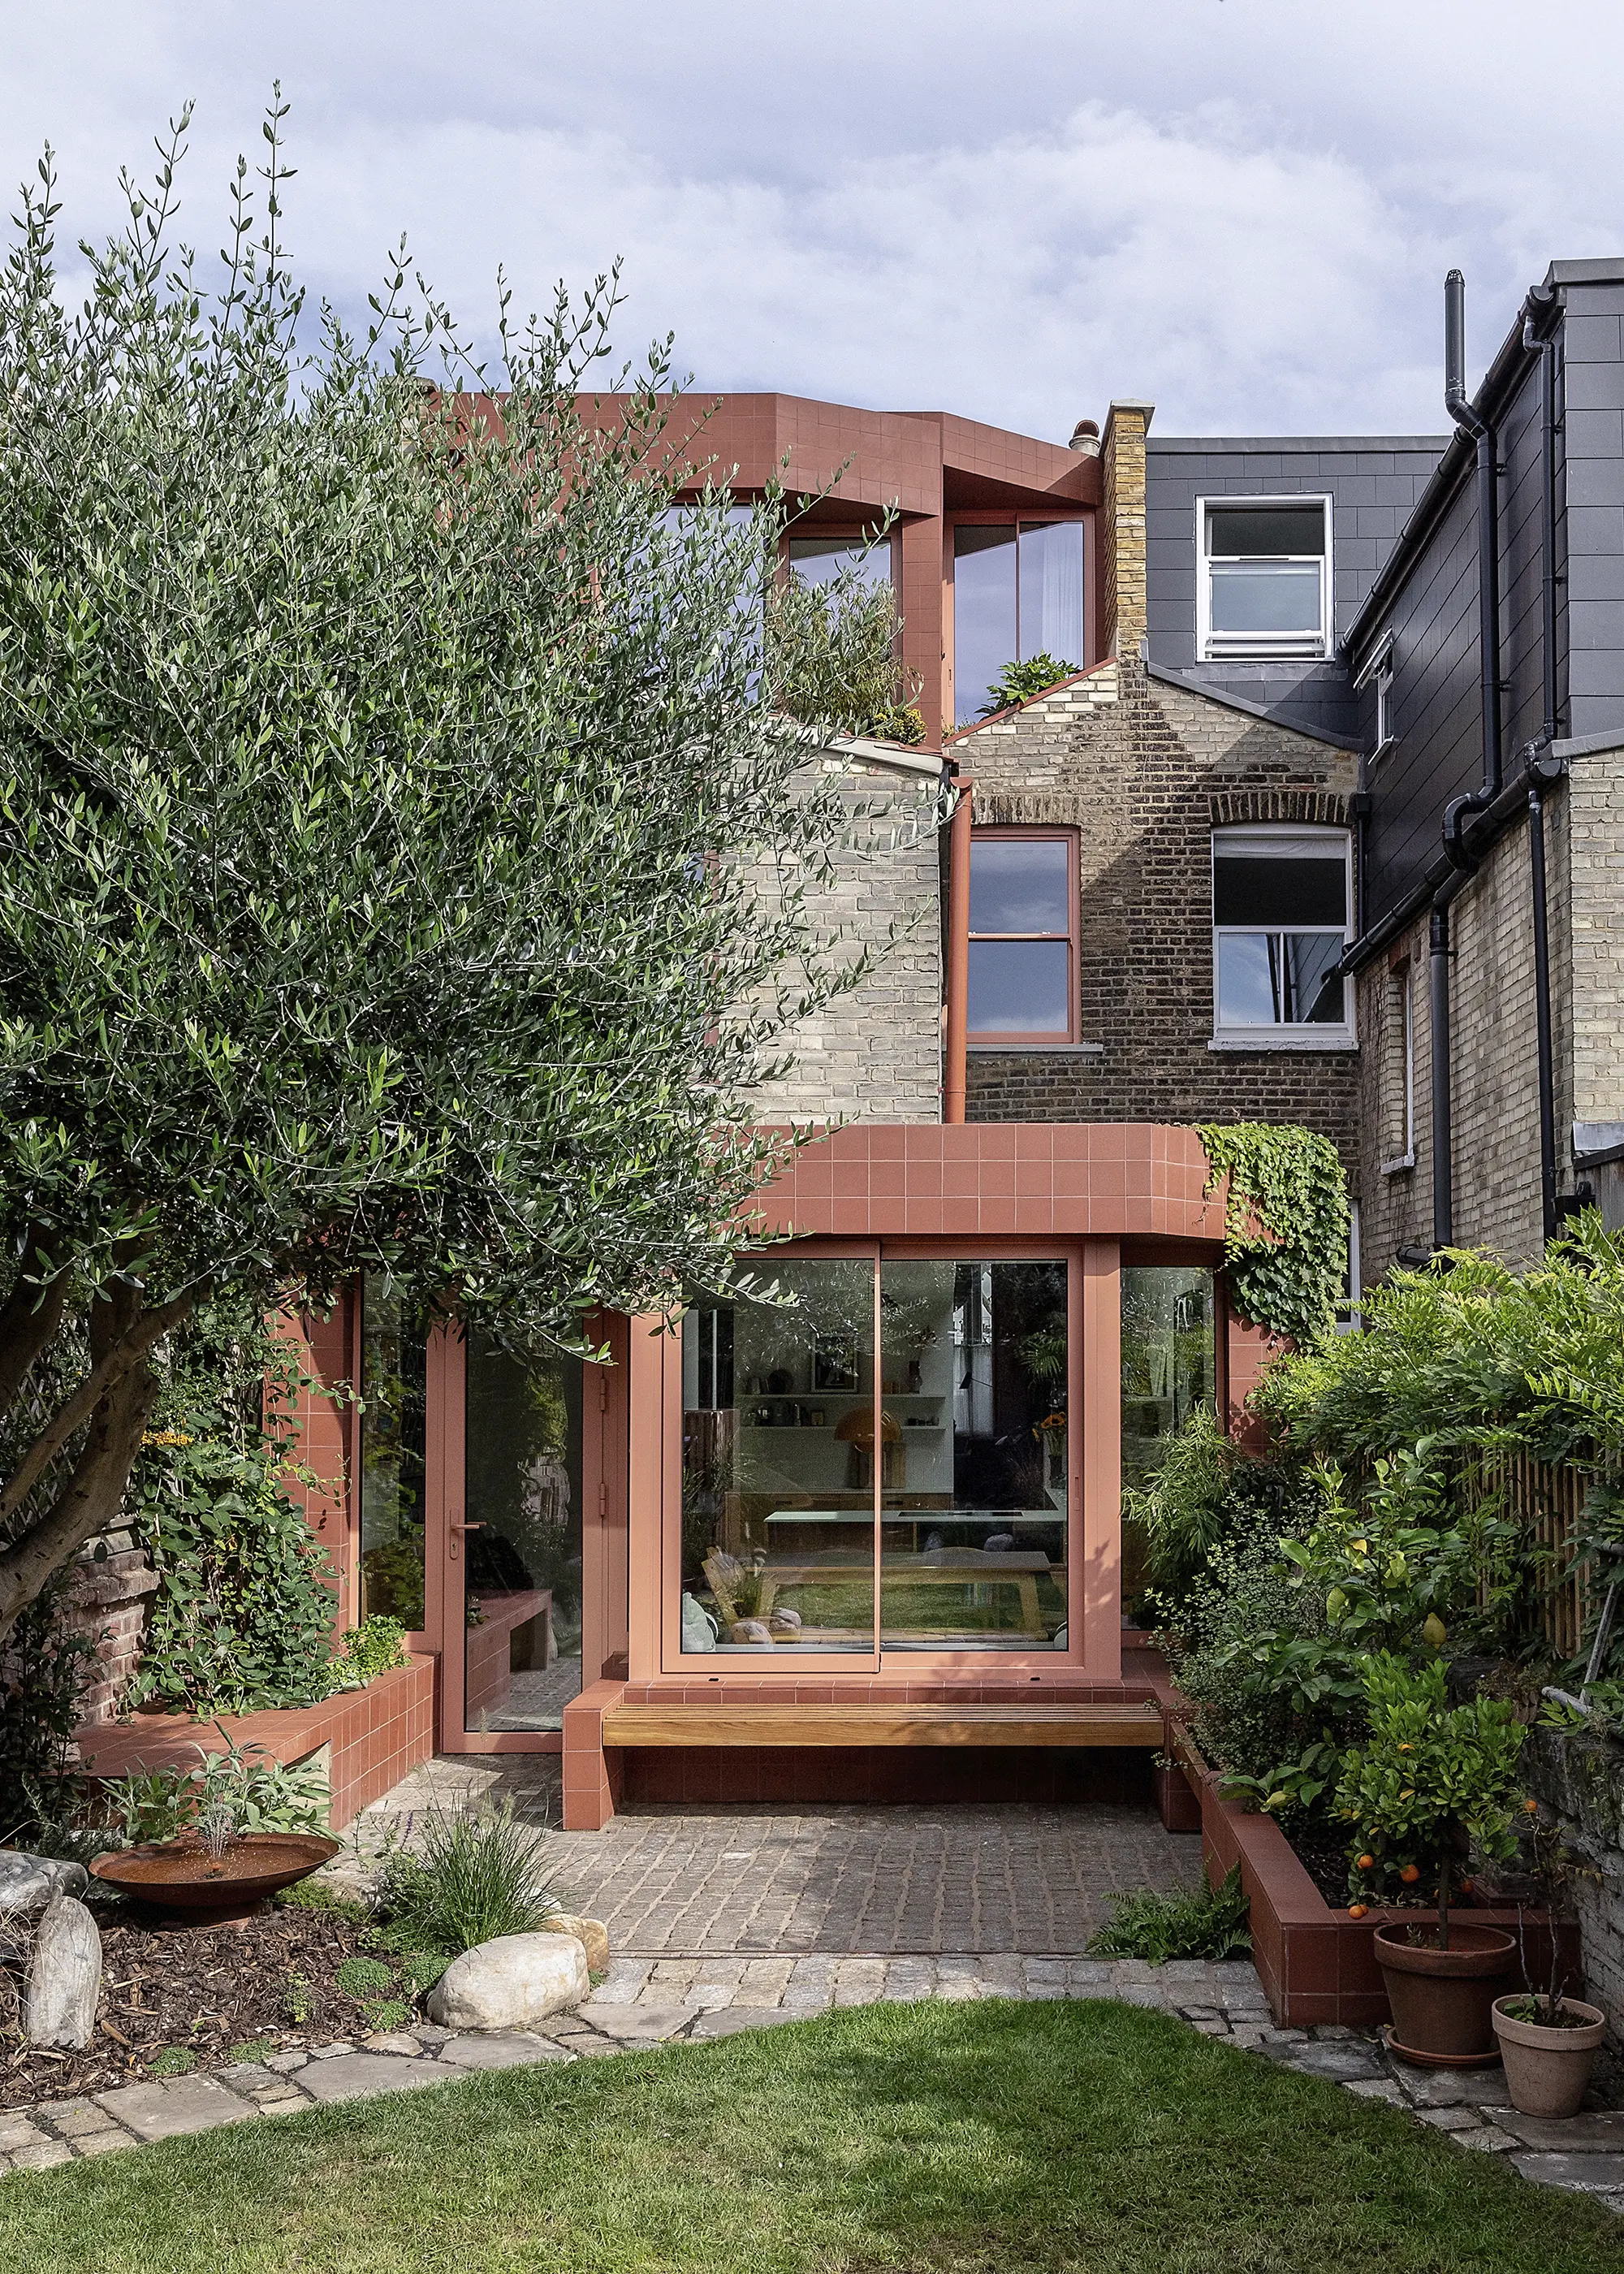
A contemporary rear extension and loft conversion by Emil Eve Architects has completely transformed this family home in east London. The striking design boasts a terracotta tile-clad exterior, making a bold statement against the original house’s brick facade. Photo: Taran Wilkhu
At the rear of many homes dormer windows can fall into the permitted development quota and so may not require planning permission. At the front of the house, however, they will require planning permission, which is why you often see rooflights or skylights instead.
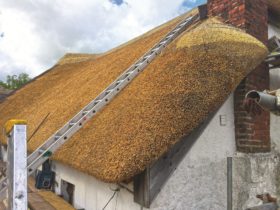
Dormer windows may be essential to maximise the headroom in the loft and provide useable space, but will need to be supported at the apex point (ridge). A ridge beam is installed beneath the apex before the dormer roof joists can themselves be fixed in place and the roof weathered. It is at this stage, when the dormer windows are being constructed, that your loft conversion will be exposed to the elements, so you’ll need good temporary sheeting to protect against the weather.
Adequate ventilation is essential in a loft space to prevent condensation, mould and long-term damage. UK Building Regulations – including Part C (moisture resistance) and Part F (ventilation) – require proper airflow both within the habitable loft space and the roof structure itself. Plan your ventilation strategy early and discuss it with your designer or building control officer.
Background ventilation can be achieved using windows with trickle vents, with rapid extraction via fans in bathrooms or other wet zones. Alternatively, a mechanical system (such as MVHR) could take care of both requirements.
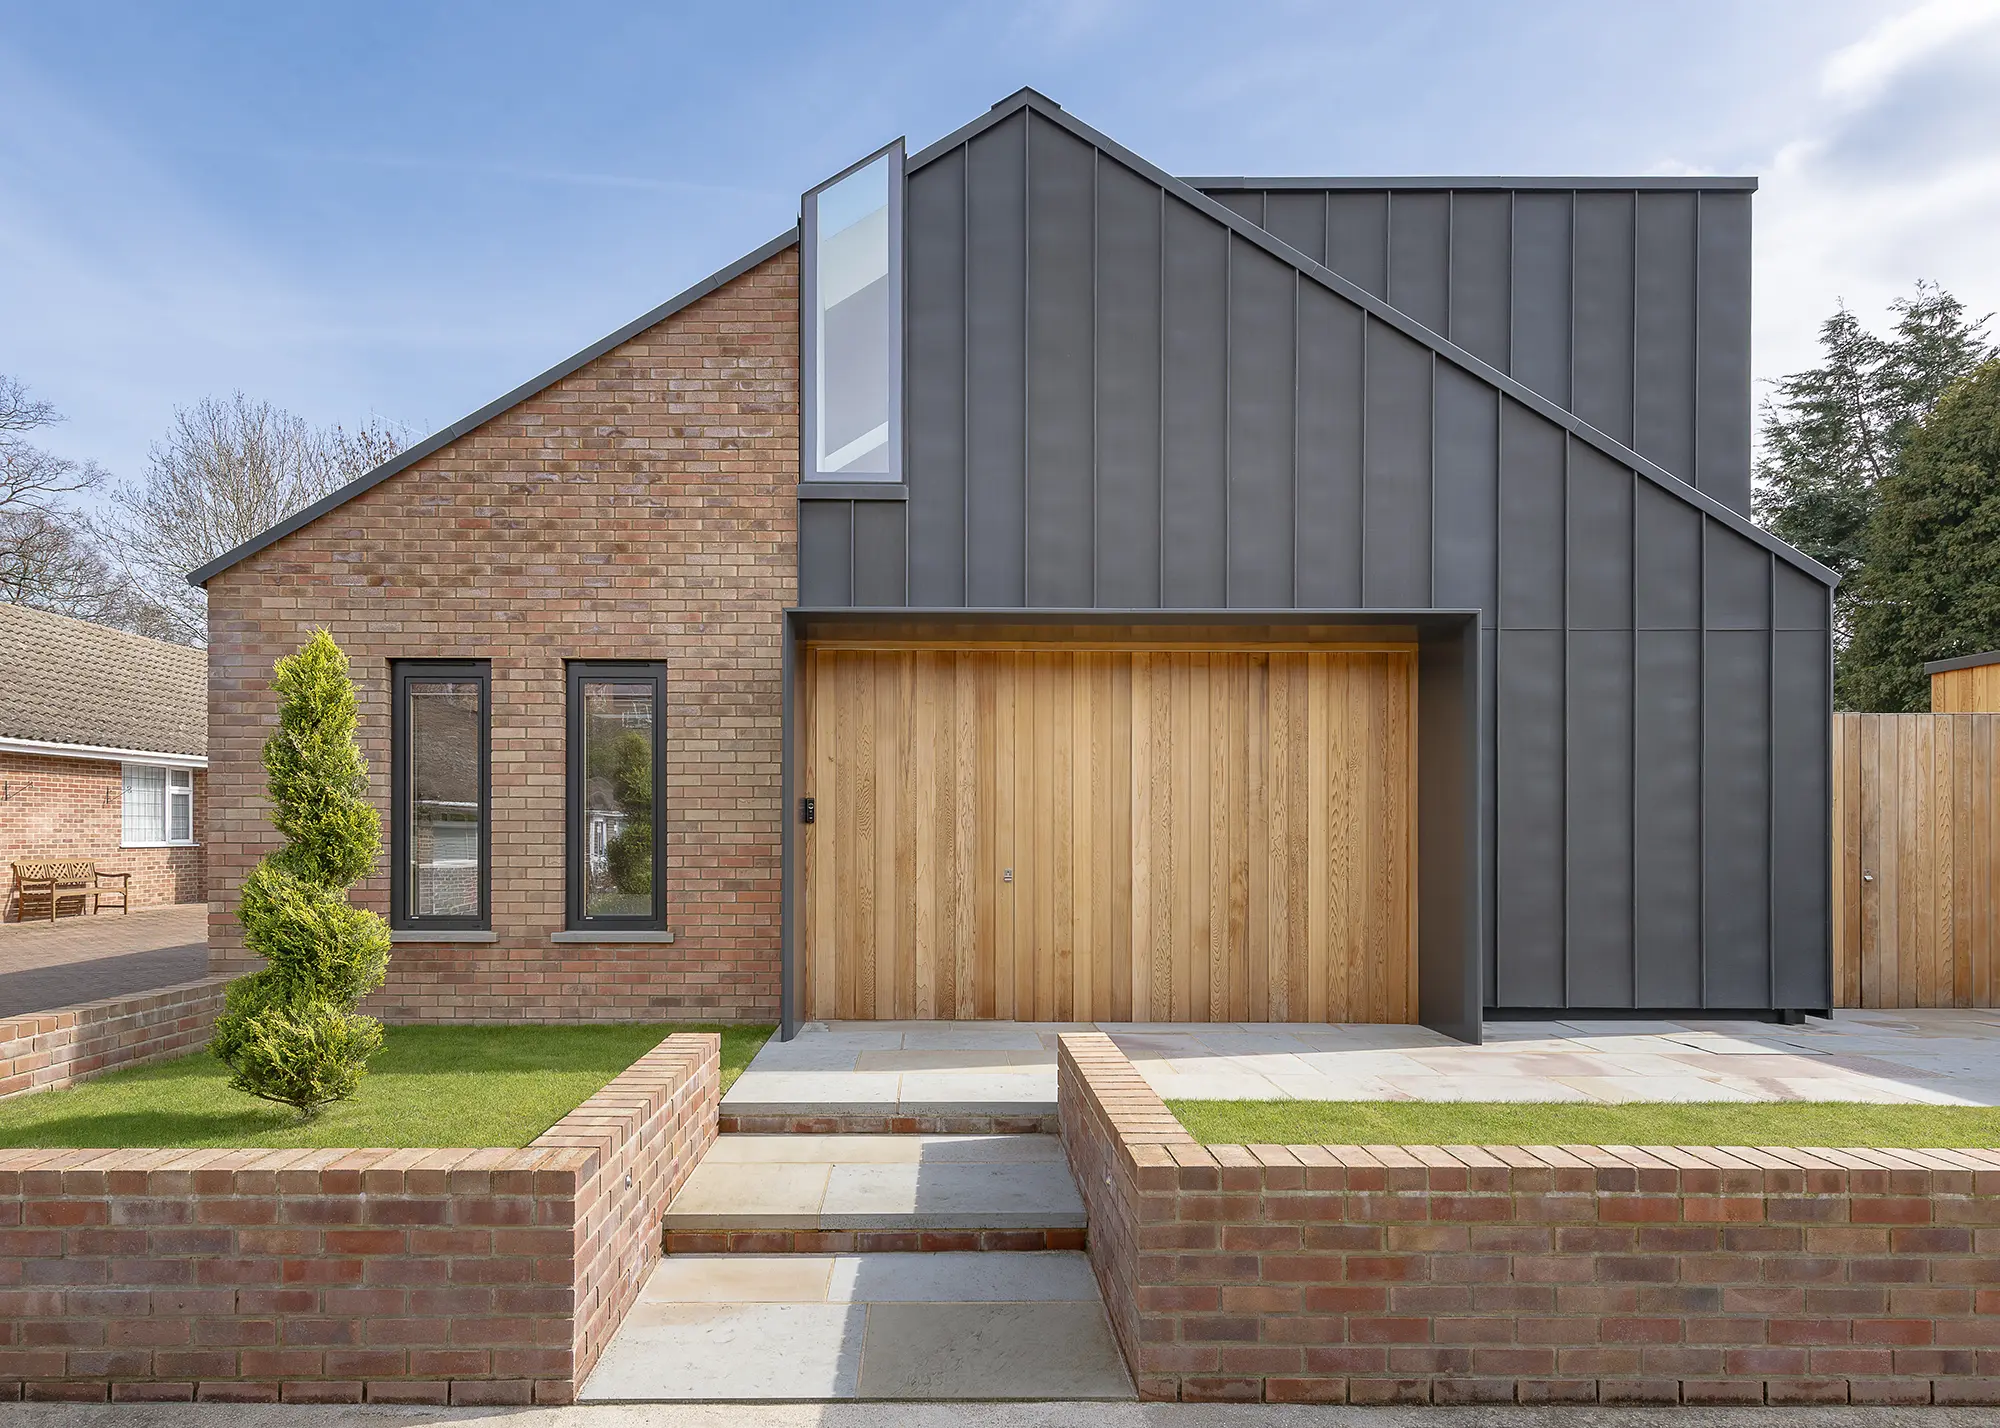
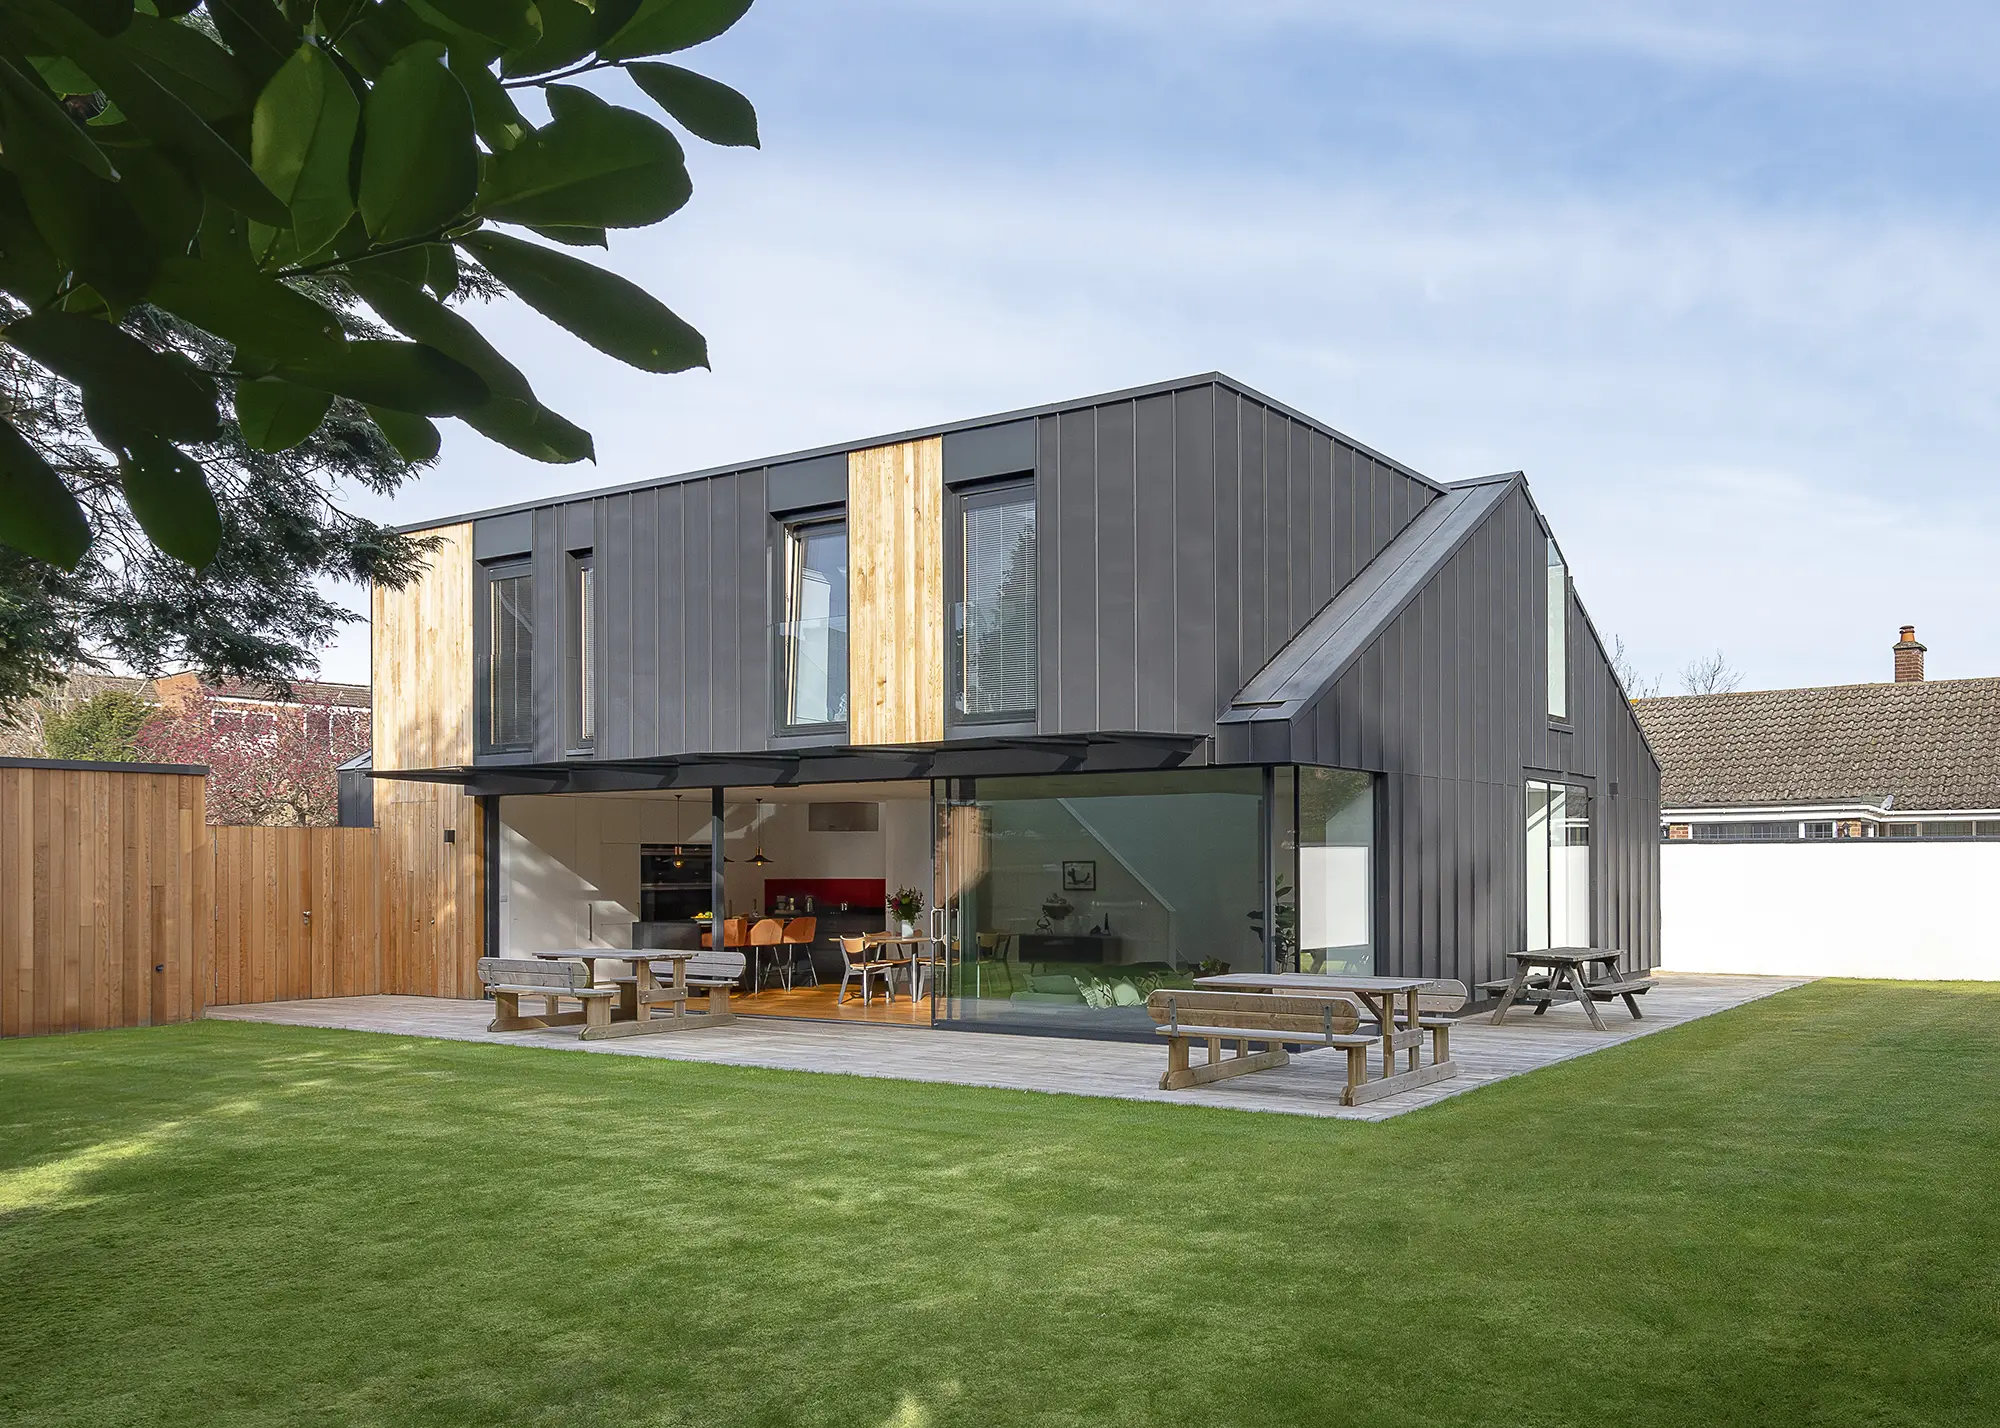
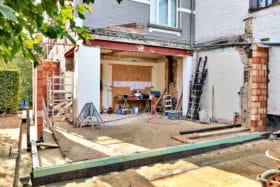
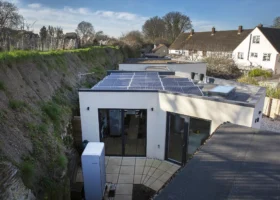
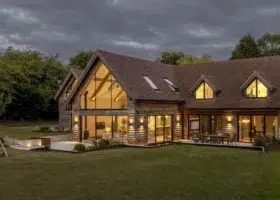
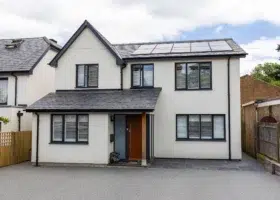
CASE STUDY How much did this dormer loft conversion & extension cost?Darren Young undertook a dramatic and lengthy renovation and loft conversion project to transform a 1960s bungalow in South London into a contemporary family home. Darren had a simple brief; he wanted to add a second storey and create a spacious internal layout, with ample natural light and sliding doors that would bring the outside in. |
| Preliminaries | £15,000 (£63 per m²) |
| Foundations | £50,000 (£209 per m²) |
| Roof structure & covering | £80,000 (£335 per m²) |
| Plumbing & heating | £28,000 (£117 per m²) |
| Electrics | £40,000 (£167 per m²) |
| External works | £50,000 (£209 per m²) |
Photos: Immer Architectural Photography
Loft insulation typically uses rigid foam boards, mineral wool and multi-layer foil quilts – often in combination, depending on your design and layout. Here are the two main ways to insulate a loft roof:
This is the most common insulation method for straightforward loft conversions where the roof covering is staying in place. Rigid foam insulation is fitted between the rafters, with a small air gap left behind the insulation for ventilation. You’ll then fix insulation to the underside of the rafters. Most rafters, however, aren’t deep enough to hold both the insulation and air gap, so you’ll likely need to fix timber battens along the rafters to build up their depth.
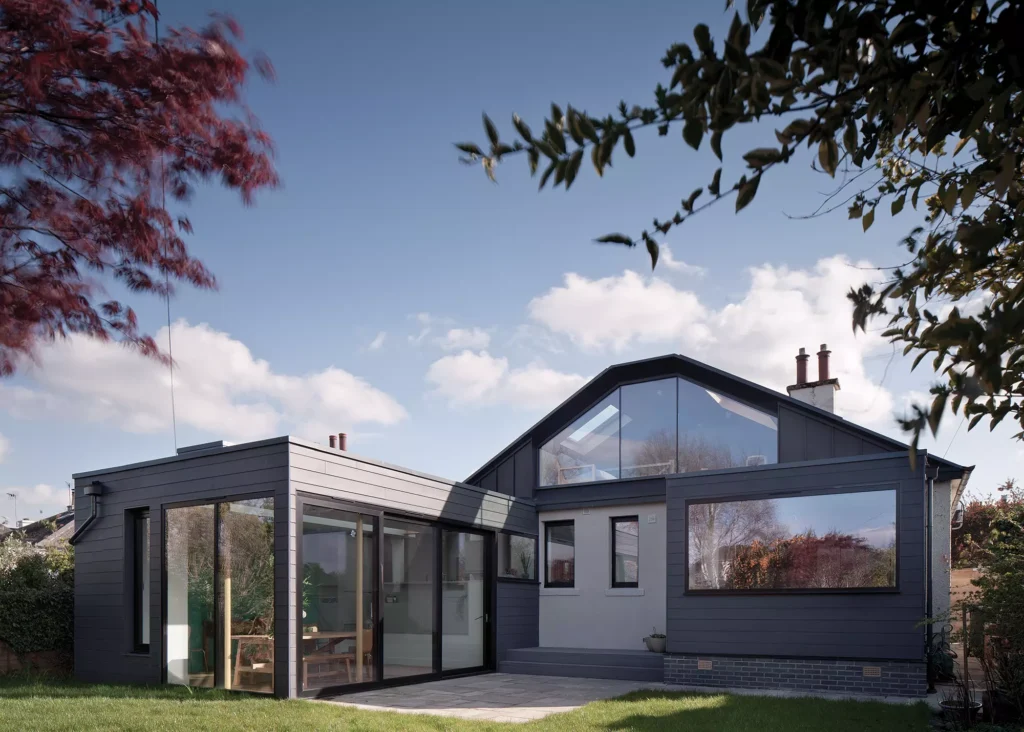
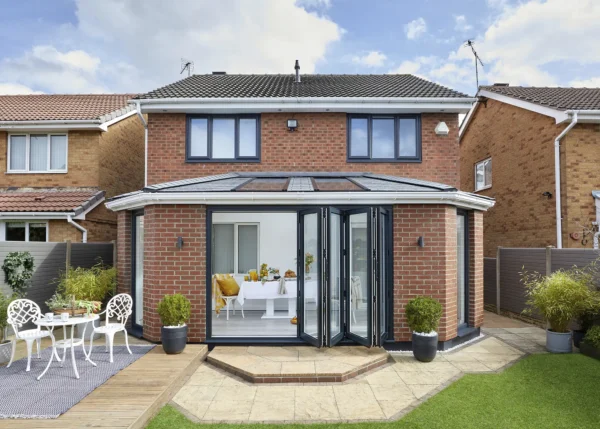
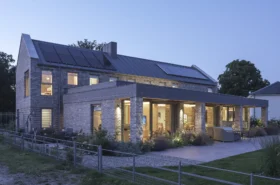
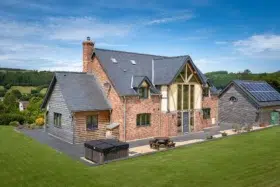
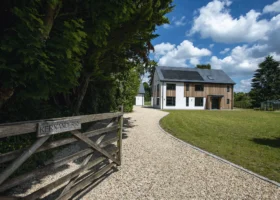
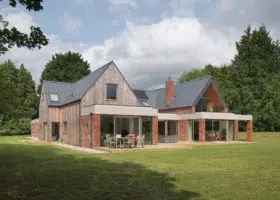
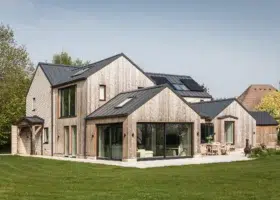
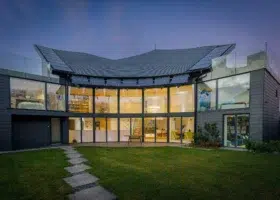
With the help of Chambers McMillan architects, John and Susan Yates completely transformed this traditional single-storey build by converting the loft into livable space as they felt they could benefit more from the solar gain in a living zone instead of a bedroom. Some locals were concerned that the loft conversion’s dormer window would overlook them, but the model demonstrated this wouldn’t be the case. Photo: David Barbour
If you’re stripping the roof or building a dormer, the warm roof method will be best for you. This approach keeps the rafters warm by placing insulation on top of them, which improves energy efficiency and reduces the risk of damp. A warm roof design for a loft conversion involves insulating the roof structure itself, rather than just the loft space above it.
This means installing insulation between and above the rafters, effectively creating a warm, insulated roof. This approach ensures the roofing timbers remain insulated, providing a warmer, more energy efficient loft space and potentially more headroom.
Use sound-deadening materials such as acoustic plasterboard at ceilings, gables and party walls – and consider specialist glazing if you’re facing a major highway. Packing floors and partitions with Rockwool will minimise sound transfer between rooms and storeys. But if you’re planning a home cinema or similar space, then look to robust solutions such as the use of resilient bars in floor structures – and consider bringing in a specialist consultant.
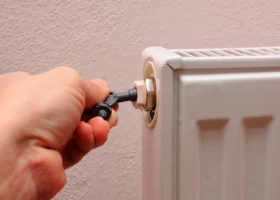
Heating is key to a comfortable loft space, and the right system will ensure a cosy space throughout the colder months, while meeting Building Regs and complementing the space’s layout. Quality insulation can reduce heating demand significantly.
How much a loft conversion costs will vary widely depending on the type of project and the level of finish you’re after, as well as geographical location (with southern areas being more expensive than northern). The following figures from the Build It Estimating Service are based on undertaking a straightforward conversion project that creates 40m² of new internal floor space.
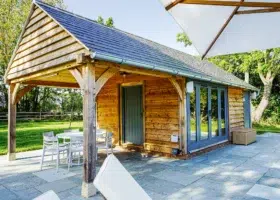
Bradley Van Der Straeten Architects and Optimal Build, the team behind this project, took a fabric-first approach to this period renovation, paying attention to the unique thermal properties of the original house. The loft extension has been finished with Valchromat cladding, a matt wood fibre material, with a fluted texture. Up and over glazing floods the space with daylight. Photo: French + Tye
In addition to the core build costs, you’ll need to account for several other expenses. These involve strengthening floor joists to meet Building Regulations, adding insulation at rafter level, adding electrics and plumbing as required, and installing stairs and windows. The interior fit-out – such as plastering, flooring and lighting – also needs to be factored in to your overall spend.
It’s wise to allocate around 10–15% to a contingency fund to account for any unexpected costs along the way and ensure you are covered in case of any unforeseen issues.
Start by thinking about why you are undertaking this project and detail the must-haves, should-haves and could-haves. Then invest in quality drawings. “For simple, non-structural home improvements you could probably go straight to the builder; for anything else hire an architect to produce detailed plans,” says Deepak Singh Udassi, managing director at City Lofts London.
Next, compile a shortlist of potential builders. “Seek recommendations from friends and family, and find accredited professionals through the Federation of Master Builders’ Find a Builder service. Invite a minimum of three builders to quote. Give the same detailed plans to each builder, and ask them the same questions, so you can easily compare quotes,” says Deepak.
Review the quotes carefully. Each quote should include plans that address all elements within the project scope – and note what falls outside it. The pricing should be fixed and clearly state whether VAT is included. Any assumptions or specific conditions the builder is working with should be explained.
Before making a decision, note down any concerns and ask the builder to respond in writing. Request references, inspect current or completed projects, and verify their credentials – such as FMB membership – and insurance coverage.
“You don’t need an architect for a loft conversion and there are plenty of very competent companies who will handle the process of designing and building the new space for you. They tend to work according to a generic design for your type of property, though,” says Mike Tuck from Mike Tuck Studio.
“An architect can create a specific design that takes into account local planning constraints and thinks carefully about common problems, such as solar gain and overheating, and appropriate use of materials. Lofts are usually very complex spaces, so having an architect involved in the design process can help you understand and visualise how it will all come together, as well as the best way to maximise space, before any of the construction work takes place,” says Mike.
When you convert your loft you are, of course, going to lose storage space. Make the most of what you have by using the eaves behind the ashlaring – fit access hatches and have roll-out storage bins made to fit. And if you insulate down the rafter line to the eaves you’ll create a warm store for your belongings. Built-in wardrobes are also a great feature in loft bedrooms, where standard units won’t fit – and are among the most innovative loft storage conversion ideas.
If your attic isn’t suitable for full conversion into a habitable zone, don’t give up on the idea of putting it to good use. Storage is a real issue for many householders, especially if you’ve gone for open-plan living elsewhere.
Boarding out some or all of your roof could give you the perfect hideaway for lesser-used items. And with products such as Loft Leg you can do so whilst also upgrading insulation. These products provide a raised platform onto which you can affix your boarding – so there’s no risk of squashing the thermal protection beneath.
To make best use of your new storage, look to install a good-quality loft ladder and get a lighting circuit installed (ideally with an indicator outside the hatch so you can tell if you’ve left the lights on accidentally).
“The best way to be cost-effective is to spend a little more at the outset. For example, opting for aluminium glazing and a highly durable waterproofing system will require a greater upfront cost, but such products will last much longer than cheaper, plastic windows or felt roofing,” says Marco Curtaz, founder and director of Curtaz Studio Architects. “Unique cladding is also a great way to create something a bit more interesting, and although it will cost more than standard finishes, you’ll end up with a high-quality and personalised aesthetic.”
“Planners tend to favour sensitive designs, and within planning applications, officers take into account how the proposed addition will be differentiated from the original dwelling externally, both in terms of form and materiality,” says Marco. “Try matching the new stairs to the existing to create some continuity between the spaces, so the new area doesn’t feel completely cut off. Mirroring what is already there is also much more cost effective. Then choose more modern doors, ironmongery and interior details, so that the top floor feels spatially different.”
This article was originally published in 2020 and has been updated in June 2025.


 Login/register to save Article for later