Get early bird tickets to our brand new show
30th-31st May 2026 - time to get your dream home started!
GET TWO FREE TICKETS HERE30th-31st May 2026 - time to get your dream home started!
GET TWO FREE TICKETS HEREEstimate your project costs instantly with Build It's interactive self-build cost calculator
Calculate NowGet an accurate, detailed cost breakdown of your project
Submit plans

One of the best decisions I made when self building my own house was to specify beam and block intermediate flooring. In this article I’m expanding on the benefits on beam and block flooring and explain in detail why this system is such a good choice, not just at ground floor level but also for upper storeys – at least where it’s practical for your scheme.
Once the footings are in, you’ve got a choice in terms of what you use as the platform (the oversite) on which your home will be built. Years ago, the simplest solution was to fit timber joists covered in floorboards. But suspended timber structures can be draughty and noisy, so they won’t suit modern self builds, where decent levels of insulation and airtightness are required.
The most straightforward option today would be a concrete slab laid on top of compacted hardcore. The latter would be covered with a layer of sand (known as blinding) to protect against sharp edges, plus rigid foam insulation on a damp proof membrane.
While this is a common choice, the labour requirement is reasonably high – plus you’ll need to wait for the concrete to cure before work can continue.
New systems appear all the time. Fully-integrated insulated slabs are now a popular choice on high-spec eco homes, for example. Even more common, however, is the use of beam and block for the oversite – and potentially intermediate floors, too.
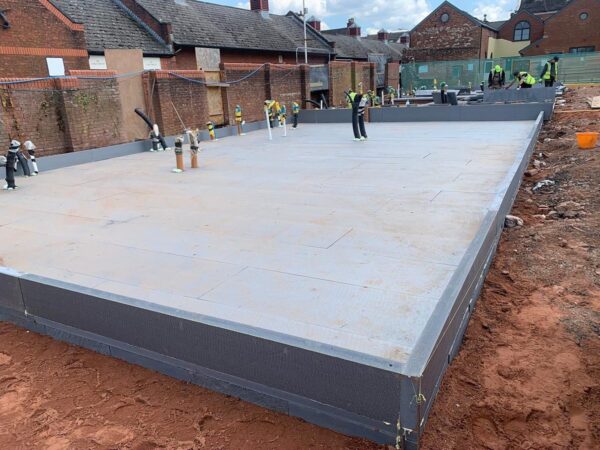
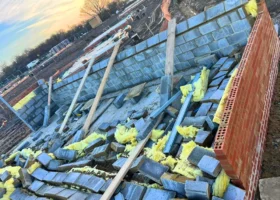
Beam and block flooring comprises a series of inverted T-beams made of pre-stressed concrete, which look remarkably similar to train rails in profile. These beams are cut to a specified length – determined by the construction drawings.
On site, they are laid perpendicular to the supporting blockwork walls that make up the inner leaf of the footings (at ground floor level). The rails rest on a damp proof course and have a 100mm bearing; in other words, they cover the whole width of that inner leaf of blockwork.

Available in depths of 155mm and 225mm, the easy-install ReadyFloor suspended system from Cemex consists of pre-stressed concrete beams, with standard blocks for the infill
The beams are laid at suitable centres to allow them to be filled with standard-sized lightweight aircrete or dense aggregate blocks, until the whole slab area is covered. The floor structure is then brushed over with a 4:1 dry mix of sharp sand and cement to fill the gaps. Because this is an entirely dry process, in that no mortar or adhesive is required, as soon as the slab is laid, it forms a instant working platform, ready for your follow-on trades.
Each installation will be tailor-made to suit the project by the supplying company. The system will come with detailed plans that show the layout and orientation of the beams, the specification of blocks to be used and any relevant construction details.
One of the main reasons why many choose beam and block is simply speed. Beam and block is very quick to install – partly because there’s minimal need for ground preparation. The resulting labour savings make it very cost-effective, too, despite the slightly higher cost of the materials.
There are other benefits to bear in mind; including improved acoustic performance, higher thermal mass and greater fire resistance. What’s more, because the beams and blocks are inert material, they are unaffected by damp, rot or vermin.
They can also be used with all structural systems at ground floor level, from brick and block construction and insulated concrete formwork (ICF) through to the various timber frame construction methods.
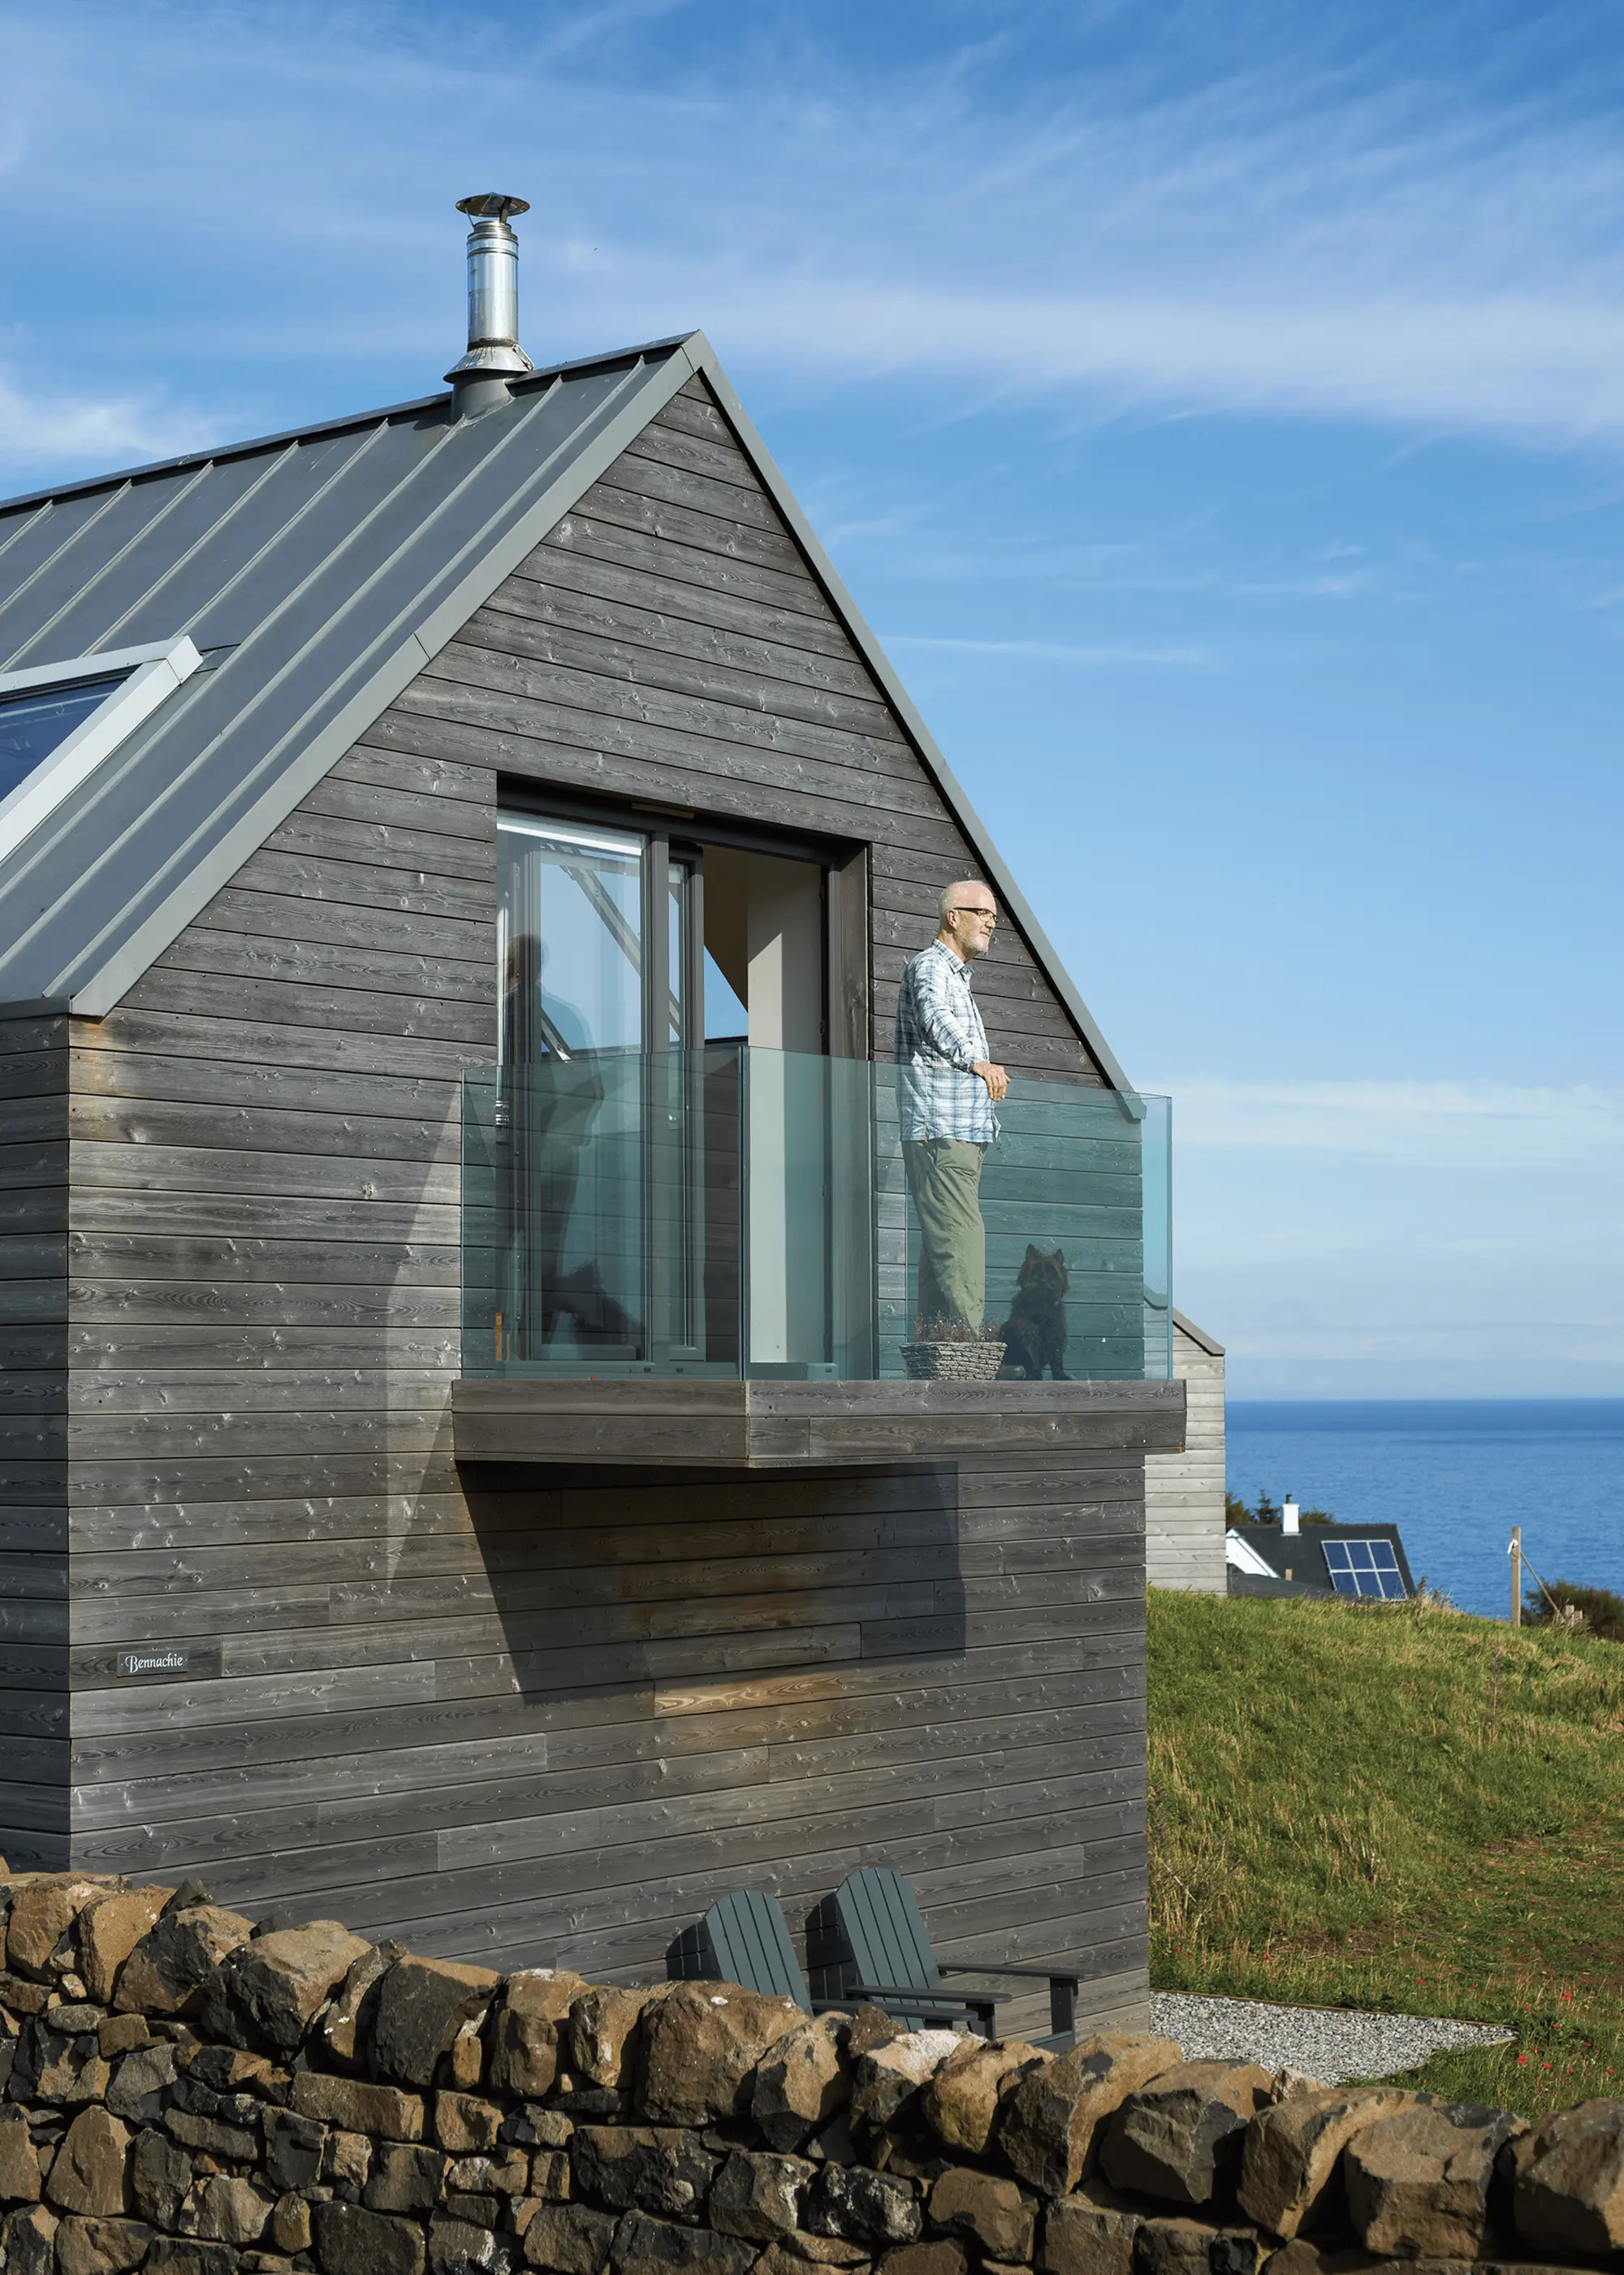
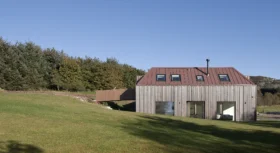
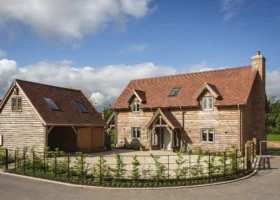
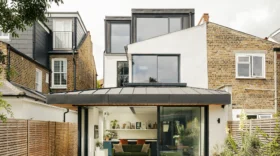
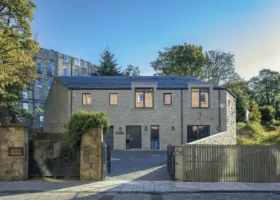
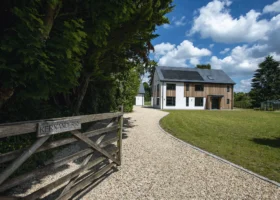
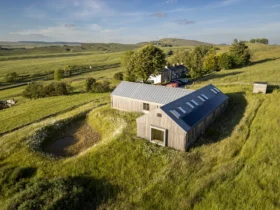
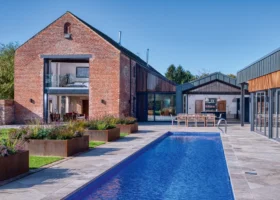
CASE STUDY Coastal self build with beam and block floorsA dramatic location was paramount for John Ritchie when it came to searching for a self build site. When he found his dream spot – a piece of grazing land in Skye surrounded by impressive mountain and coastal vistas – he reached out to local company Dualchas Architects. Ground stability problems were unearthed during construction and the house had to be tucked into the hillside, inadvertently creating an upside down scheme that draws on an innovative use of glass.
Once the construction work got underway the builders moved swiftly. The site was excavated to create two level platforms for the main house and annexe. The principal home is a hybrid structure. A beam and block floor was used to create a rigid concrete box for the ground floor, with a timber frame sat on top. There were other benefits to this setup. “You get really good sound insulation between the floors and it’s simpler to put in underfloor heating upstairs as you can easily pour a screed,” says Neil Stephens from Dualchas Architects.  Contemporary details, such as a zinc roof, mixed with traditional elements, give a fresh interpretation to the area’s croft-style houses.
Photo: Alistair Nicholls |
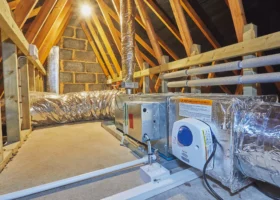
The beams themselves will be pre-stressed, which means there will be an inbuilt camber, or curve. The longer the beam, the more pronounced the bowing will be. This is not a problem if the floor is to be screeded, as the finished floor levels will be easy to adjust. Rigid insulation is applied on top of the beam and block structure – to reach the performance spec for your project – before the screed is applied.
Installation may be trickier if you fit a floating floor of decking sitting on rigid foam insulation, because the levels will not be even at finished floor height and unsightly gaps can appear under the skirting boards. I would always advise going for a screed to avoid this problem – although you can apply a self-levelling compound to get a more even result.
There is also a limit to the length of rail that can be used; the biggest span will be just under 8m, depending on the beam profile specified. Any more than this and the floor will develop an unpleasant bounce, so additional support in the form of dwarf walls or reinforcing pillars may be required.
One of the advantages of beam and block flooring versus a traditional floor slab is that very little excavation is needed. All that’s required is a minimum gap of 150mm between the soil and the underside of the beams to allow for ventilation.
This can be easily taken care of with a bit of site levelling. Air is admitted into this space by the use of cranked ventilators, positioned at regular intervals around the perimeter at damp proof course level. The vents have a Z-shaped profile that allows air in but keeps light out, thus stopping unwanted vegetation from growing under the floor.
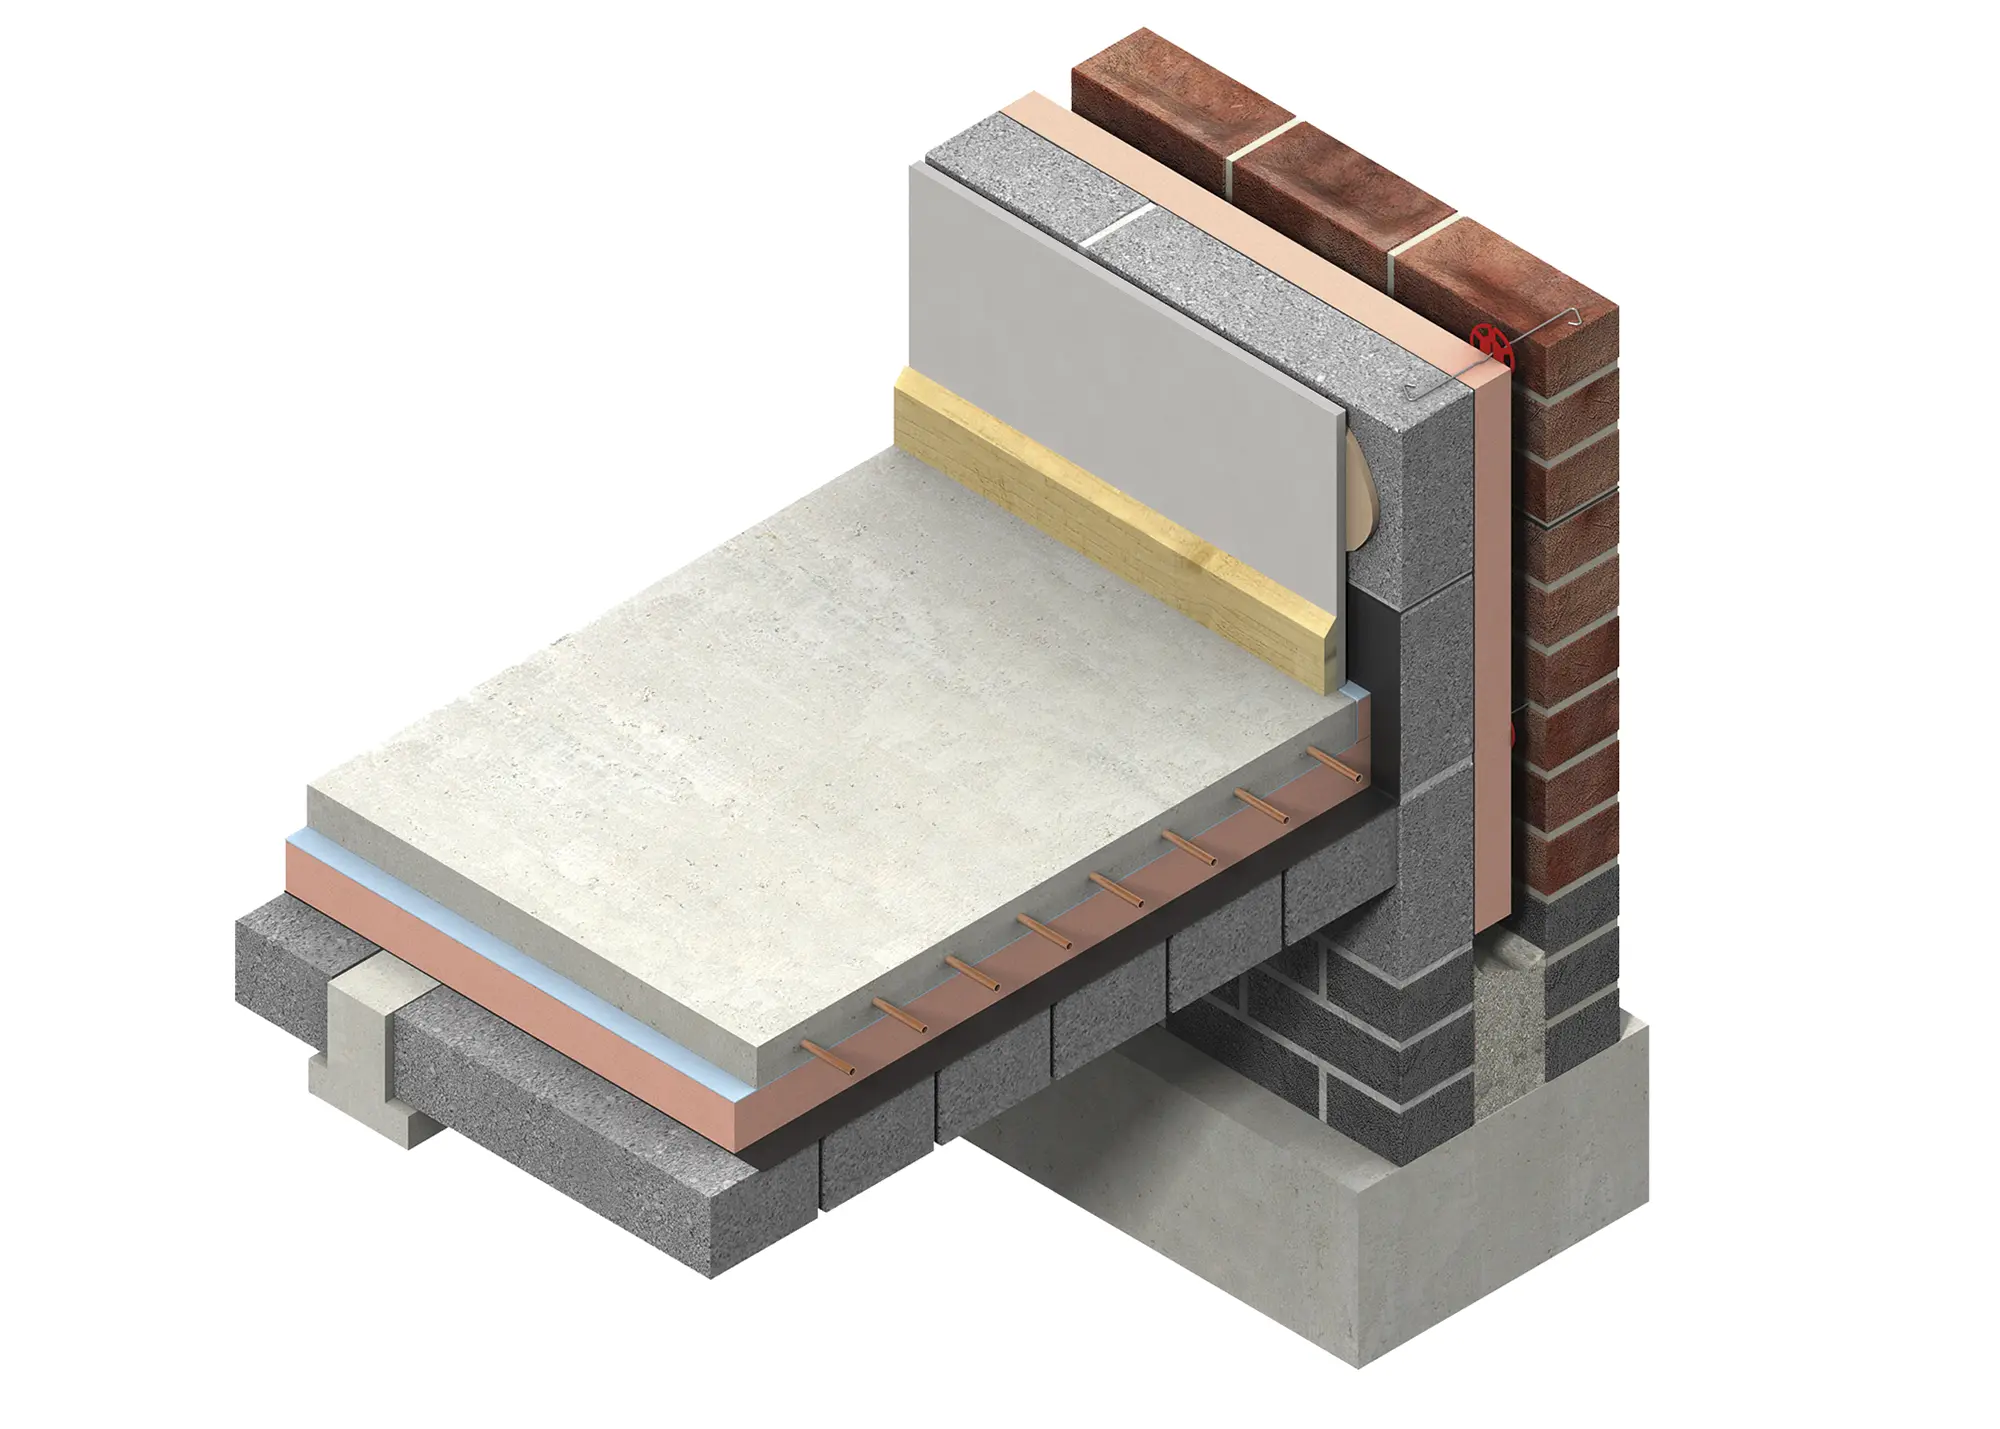
This diagram by Kingspan shows how high-quality insulation can be combined with beam and block floors in a screeded setup to maximise the efficiency of underfloor heating
There are a number of variations on the theme. Probably the most popular is the use of formed rigid insulation blocks in place of the standard aircrete or dense concrete units. Strength is restored by the use of a reinforced concrete topping instead of a simple screed. This helps to improve energy performance and reduce thermal bridging, while delivering a thinner floor profile – all at relatively little additional cost. These systems can therefore be a good option if you’re aiming to achieve low heating bills.
Some of the system’s biggest advantages come to the fore at intermediate level (eg for first floor structures), where it can replace traditional suspended timber or engineered wooden joists.
This isn’t possible with all building methods because of the additional weight it imposes – instead, this floor solution is best suited to construction techniques that can more easily accommodate the extra loads, such as brick and block, thin-joint or ICF.
The many benefits of installing an intermediate beam and block floor structure in your scheme include:
There aren’t many negatives to using beam and block at higher levels, but there are a few things to consider. As I’ve already mentioned, it’s not suitable for lightweight timber frame construction – unless, that is, your team inserts additional (expensive) supporting structures. So if you wish to fit this type of intermediate flooring you’re basically limited to masonry construction. You will probably also need to hire mechanical lifting aids, as the beams can be pretty hefty.
One of the most important things to think about is where the services will run. You can’t simply notch a concrete rail like you would with a standard timber joist, nor can you run pipes and cables through it as you might with an open metal-web engineered floor.
There will be plenty of clear space beneath the blocks, running in parallel with the beams – and even more after battening out for the plasterboard ceiling. But getting services to run perpendicular to this, especially larger diameter items such as soil pipes or ventilation ducts, can be challenging. It’s all solvable with proper planning, however; fitting counter-battens under the pre-stressed beams (and above the plasterboard finish) will usually offer sufficient space.


 Login/register to save Article for later