- Plan ItBack
- Design ItBack
- Build ItBack
- Homes
- ProductsBack
- CostsBack
- Self Build Cost Calculator
Estimate your project costs instantly with Build It's interactive self-build cost calculator
Calculate Now - Costs & Finance
- Contracts & Warranties
- Build It Estimating Service
Get an accurate, detailed cost breakdown of your project
Submit plans
- EventsBack


 Login/register to save Article for later
Applying the Modern Silicone Render

There are 9 steps in this guide
- First Fix Smart Home Electrics at the Build It Education House
- Heat Pump Ventilation: a Modern Home Heating System
- Underfloor Heating Installation
- Fitting the Rainscreen Cladding
- Installing the Rear Sliding Door
- Applying the Modern Silicone Render
- Plastering Internal Walls
- Roofline and Rainwater Goods
- Installing the AV and Invisible Speakers
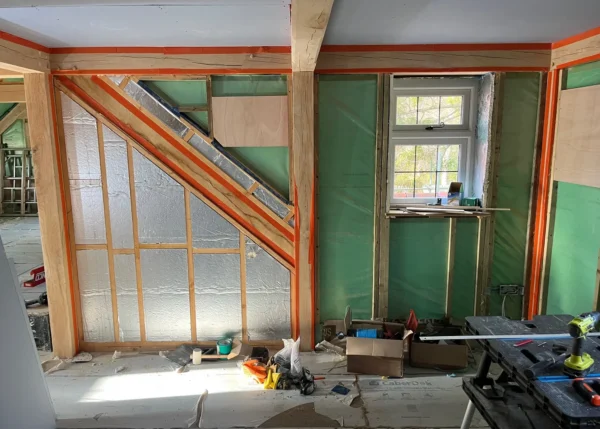
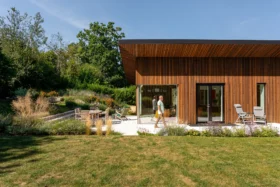
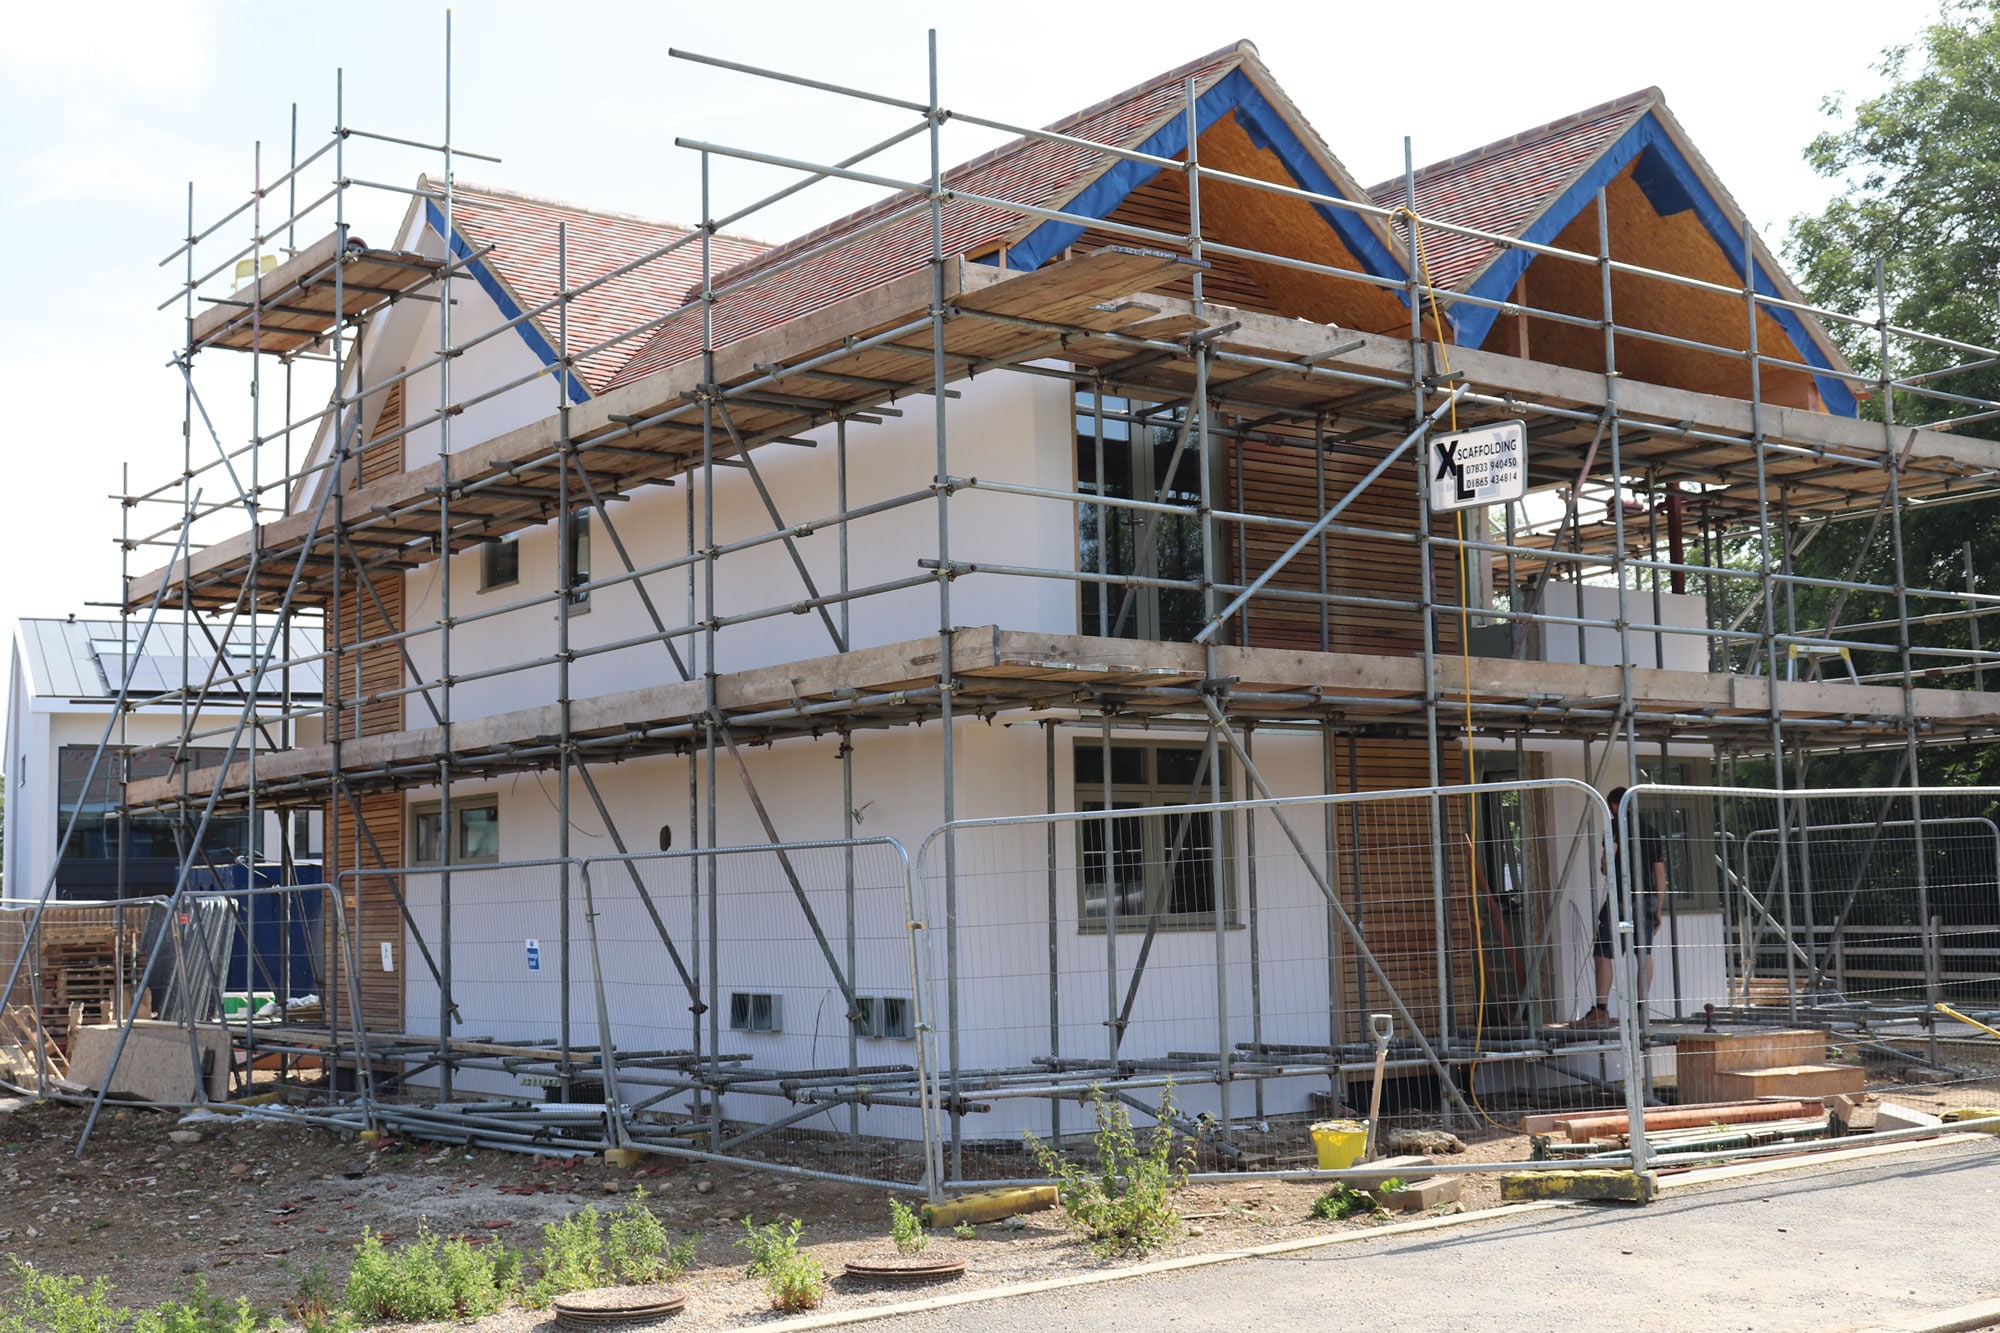
We’ve opted for a mix of pre-treated larch timber cladding and silicone render for the Education House’s external walls. They need to fulfil two key roles: prevent moisture ingress and provide an attractive finish.
Rendering involves fundamentally the same skillset as internal plastering. Hence, most plasterers do both types of work (and often floor screed, too). Many self builders will therefore engage the same team for these wet trade tasks.
In our case, however, we wanted to use a specialist to install the modern render we’ve selected. So alongside Drewett and Hunt’s plasterers, who are completing the internal tack and skim, we brought in silicone render specialist Prestige Energy, which has worked on a number of other projects at Graven Hill.
Benefits of silicone render
We’ve selected K Rend’s silicone thin coat render, which has a fine textured finish, for the Build It Education House.
A cement-based render system incorporating silicone, it offers a number of advantages over traditional solutions. Here are the key reasons we chose this modern option:
1. Silicone render is self-coloured. Probably the biggest attraction of our silicone render is that the colour (there are 20 standard options) is embedded into the topcoat. So it doesn’t need painting, and there’s no redecoration to do over its lifetime.
2. It’s very flexible. Properly applied and cared for, K-Rend has a long life expectancy of 30+ years. One reason for this is silicone render is more flexible than traditional products,
so it accommodates movement and resists cracking.
3. It’s water repellent. The silicone imparts a hydrophobic quality, which means it’s highly water (and dirt) resistant. So much so, that this type of render offers an element of self cleaning. The only regular maintenance is a light pressure wash every few years.
There’s no doubt that silicone render is a premium product. Depending on your project, it might come in at double the cost of a traditional finish.
But the speed of application should reduce the amount of skilled labour required for installation. Its dirt-resisting qualities will also keep a lid on long-term maintenance.
So it can represent very good value for money for a self builder looking to stay in their home for many years.
K Rend sent out a sample pack for us to evaluate, which helped narrow down the options. We were confident a shade of white would be the right fit, as per Lapd Architects’ original design. But we couldn’t decide between two tones.
K Rend again stepped in to help, providing a couple of tubs for us to trial. That helped us settle on Limestone White, which will give a crisp, characterful finish to complement the larch cladding, yellow-grey window frames and red/brown roof tile blend.
Silicone render isn’t the only up-to-date option on the market. A wide range of alternative modern renders are available, each with their own benefits and considerations.
Applying the render base coat
It’s best to have all the key elements of your home’s elevations done and dusted by the time the renderers get on site.
Ideally, the windows will be in, other external finishes (such as timber cladding) fitted, and the soffits and fascias installed. With those in place, getting a neat finish should be a doddle.
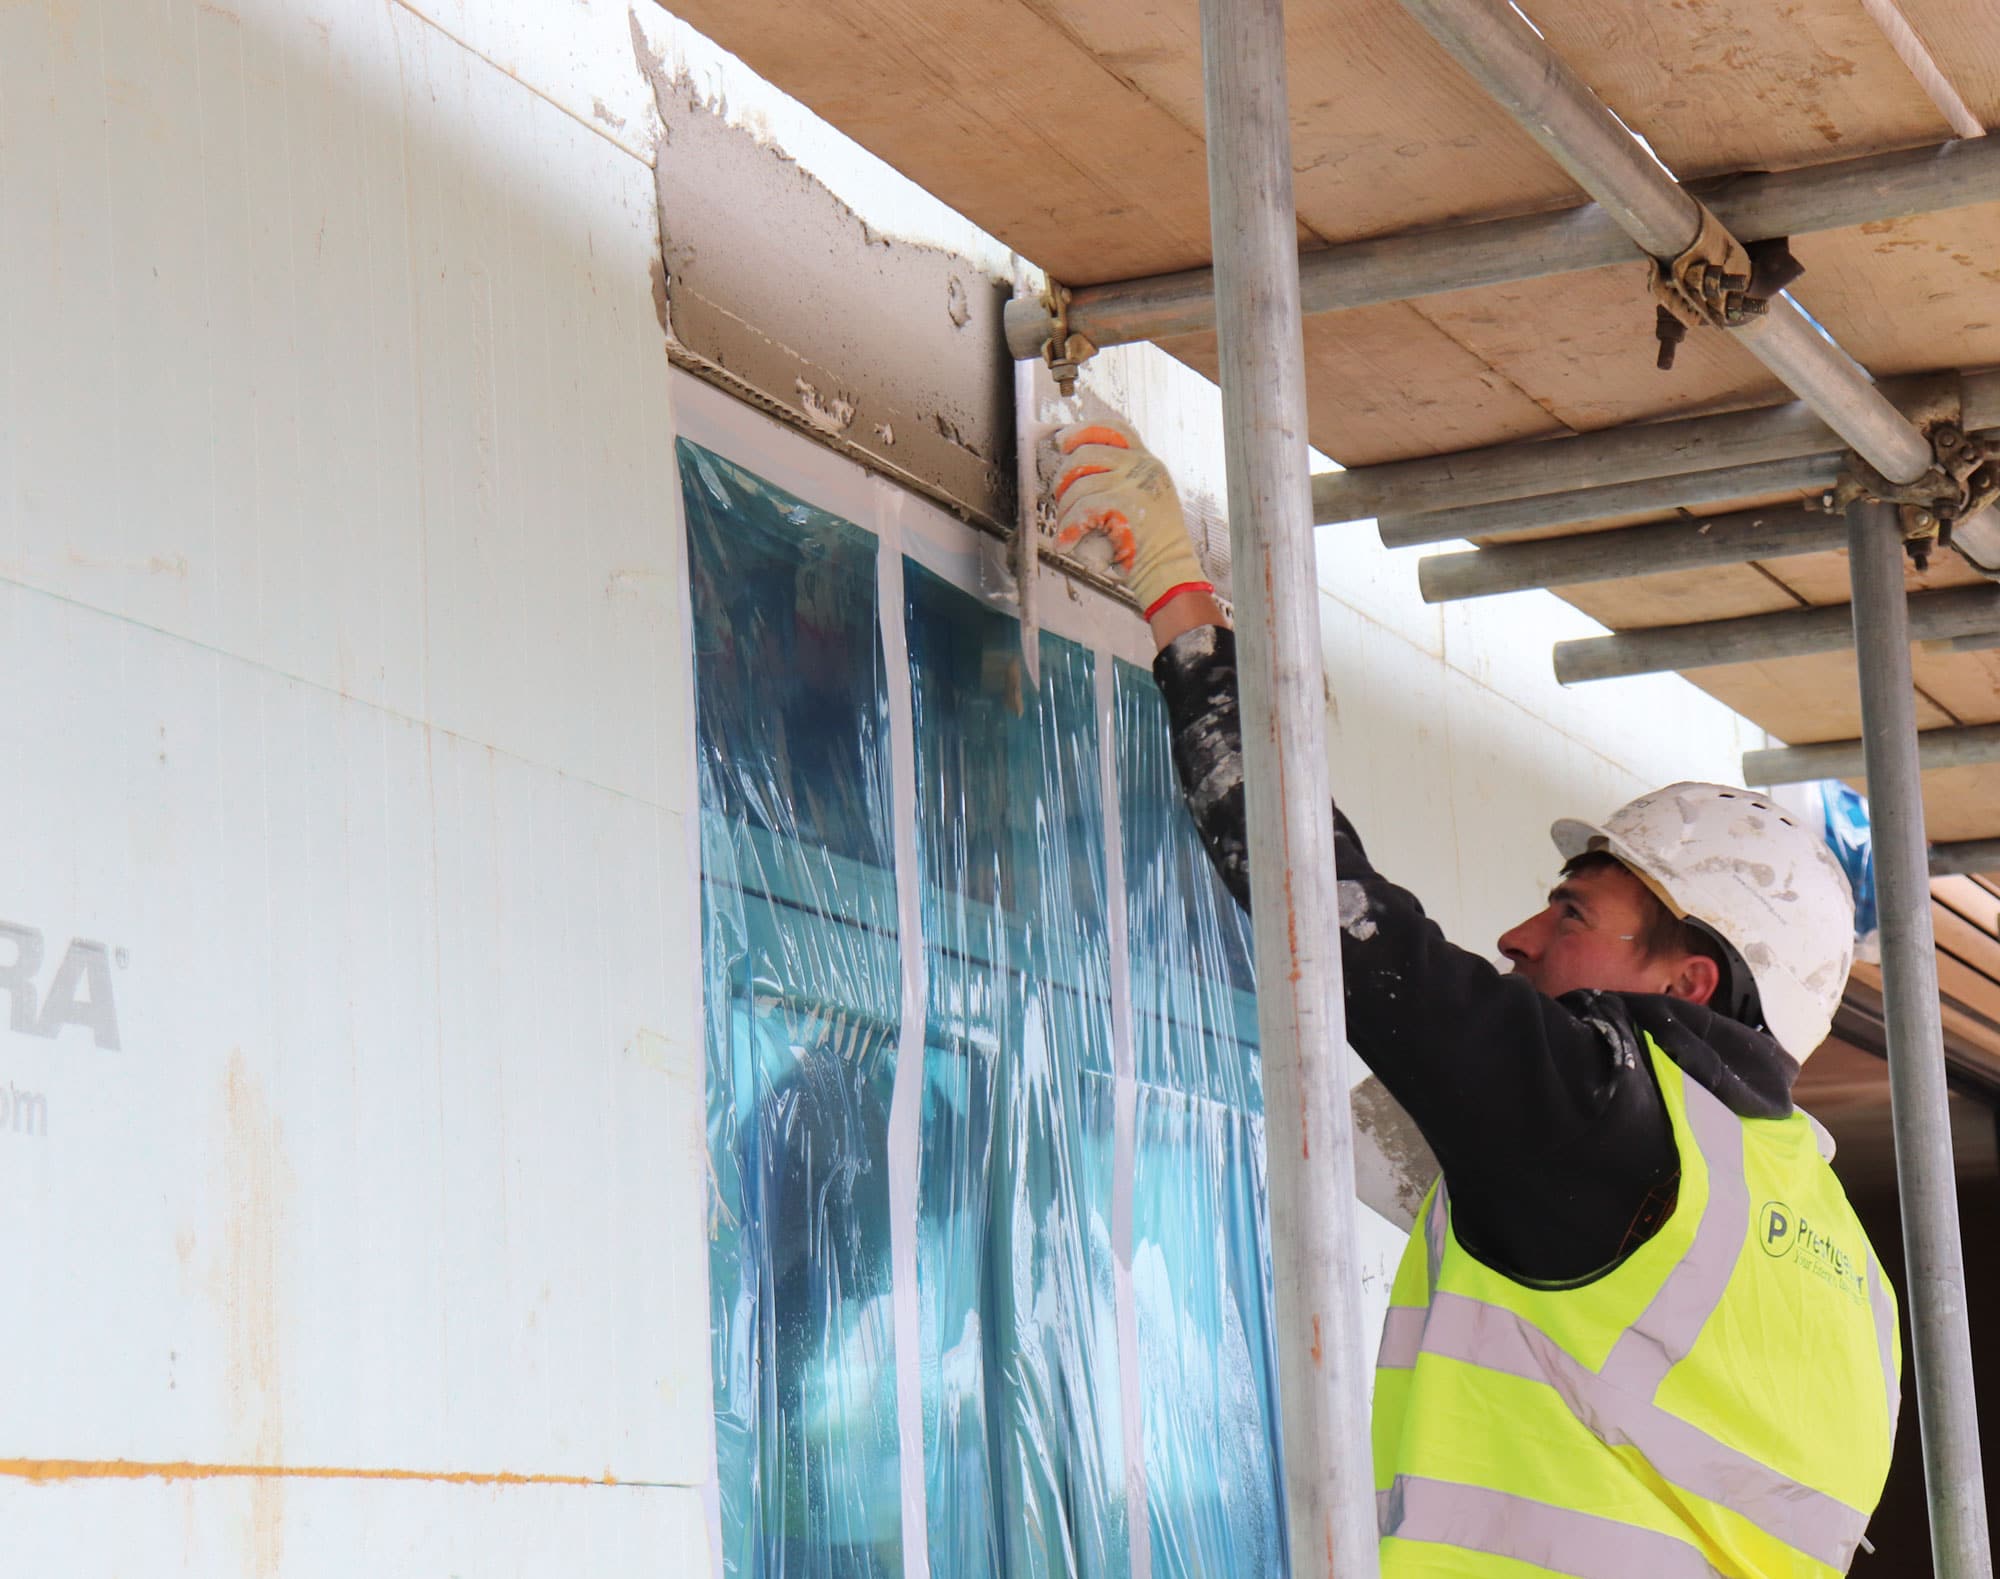
Prestige’s team, led by site foreman Darren, started by taping up the windows, doors and joints with other exterior finishes to protect them.
Incidentally, our Kloeber timber windows have a microporous finish that needs to be allowed to breathe. So they can only be covered for a short amount of time. All the more reason to use a quick-apply render solution!
With the prep done, the first step was to bed in the PVCu stop and angle beads. The team installed these where the render finishes or reaches internal/external corners (eg at the windows).
This is the fiddliest bit of the job, and the team needed to build up a few corner beads to overcome thicker bits of silicone seal.
To keep up momentum, they set to work applying a base coat to the most straightforward elevations first. This was trowel-applied directly to the face of the insulating concrete formwork (ICF) walls, with an alkali-resistant fabric mesh embedded while the render was still wet.
The mesh helps smooth out imperfections in the polystyrene, reducing the risk of cracking even further and improving impact resistance.
You can spray-apply silicone renders, but Prestige tell me this is more common on commercial projects rather than one-off houses. When the work’s on different elevations, it’s actually quicker and easier to trowel on by hand. By the time you set up the sprayer, the job’s half-done anyway!
Modern silicone render topcoat
After 48 hours, the wall was ready for its next coat. After this cured, the team applied a primer – ready for the topcoat.
The Prestige crew worked over a weekend to get this done, to help streamline our build programme and enable us to get the scaffold down quicker.
Soon after, the walls were ready for the topcoat, which Prestige advised should be 1.5mm thick. This is enough to give a little bit of texture, while completely hiding any imperfections in the substrate.
K Rend’s topcoats come in ready-to-go tubs with the colour already pre-mixed.
The total build-up of silicone render is just 6mm-10mm, depending on how straight and plumb your walls are. That compares to around 25mm for a traditional cement render.
Add the difference up around the perimeter of a whole house, and this thinner finish can help maximise on precious internal space.
Chris Batesmith
You may be interested in