Estimate your project costs instantly with Build It's interactive self-build cost calculator
Calculate NowGet an accurate, detailed cost breakdown of your project
Submit plans

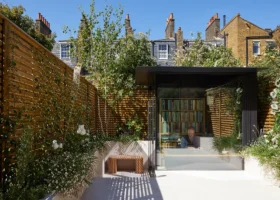
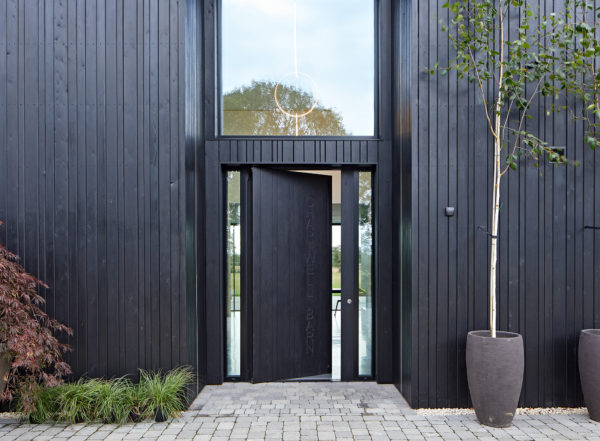
Creating a good connection with the garden is a key goal for any self builder. The question is, do you achieve that with sliding doors or bifolds?
We faced that conundrum with the Build It House, and the original concept drawings showed bifold doors. These concertina back to give you almost totally clear garden access when open.
The downside of bifolds, of course, is that there are more panels than with sliders. So sliding doors give you a better glass-to-frame ratio. In the end, that’s what swung the decision for us.
We’ve gone for the Build It Award-winning theEDGE2.0 thermally broken aluminium slider from IDSystems, on a supply-and-fit basis. It offers slim sightlines of just 20mm and good performance for weather tightness, security and energy efficiency – all at an appealing price point for such a high-spec product.
A long-established UK glazed door supplier, IDSystems is still family owned and has a knack for innovation, so was a natural fit for this part of our project.
I’d assumed we’d need a fixed frame at one end of the run, with the doors sliding on a triple track (one of which would be redundant).
But David Clarke, IDSystems’ marketing manager, suggested a plant-on panel could give a better aesthetic. This would allow for a narrower twin track and a thinner external frame.
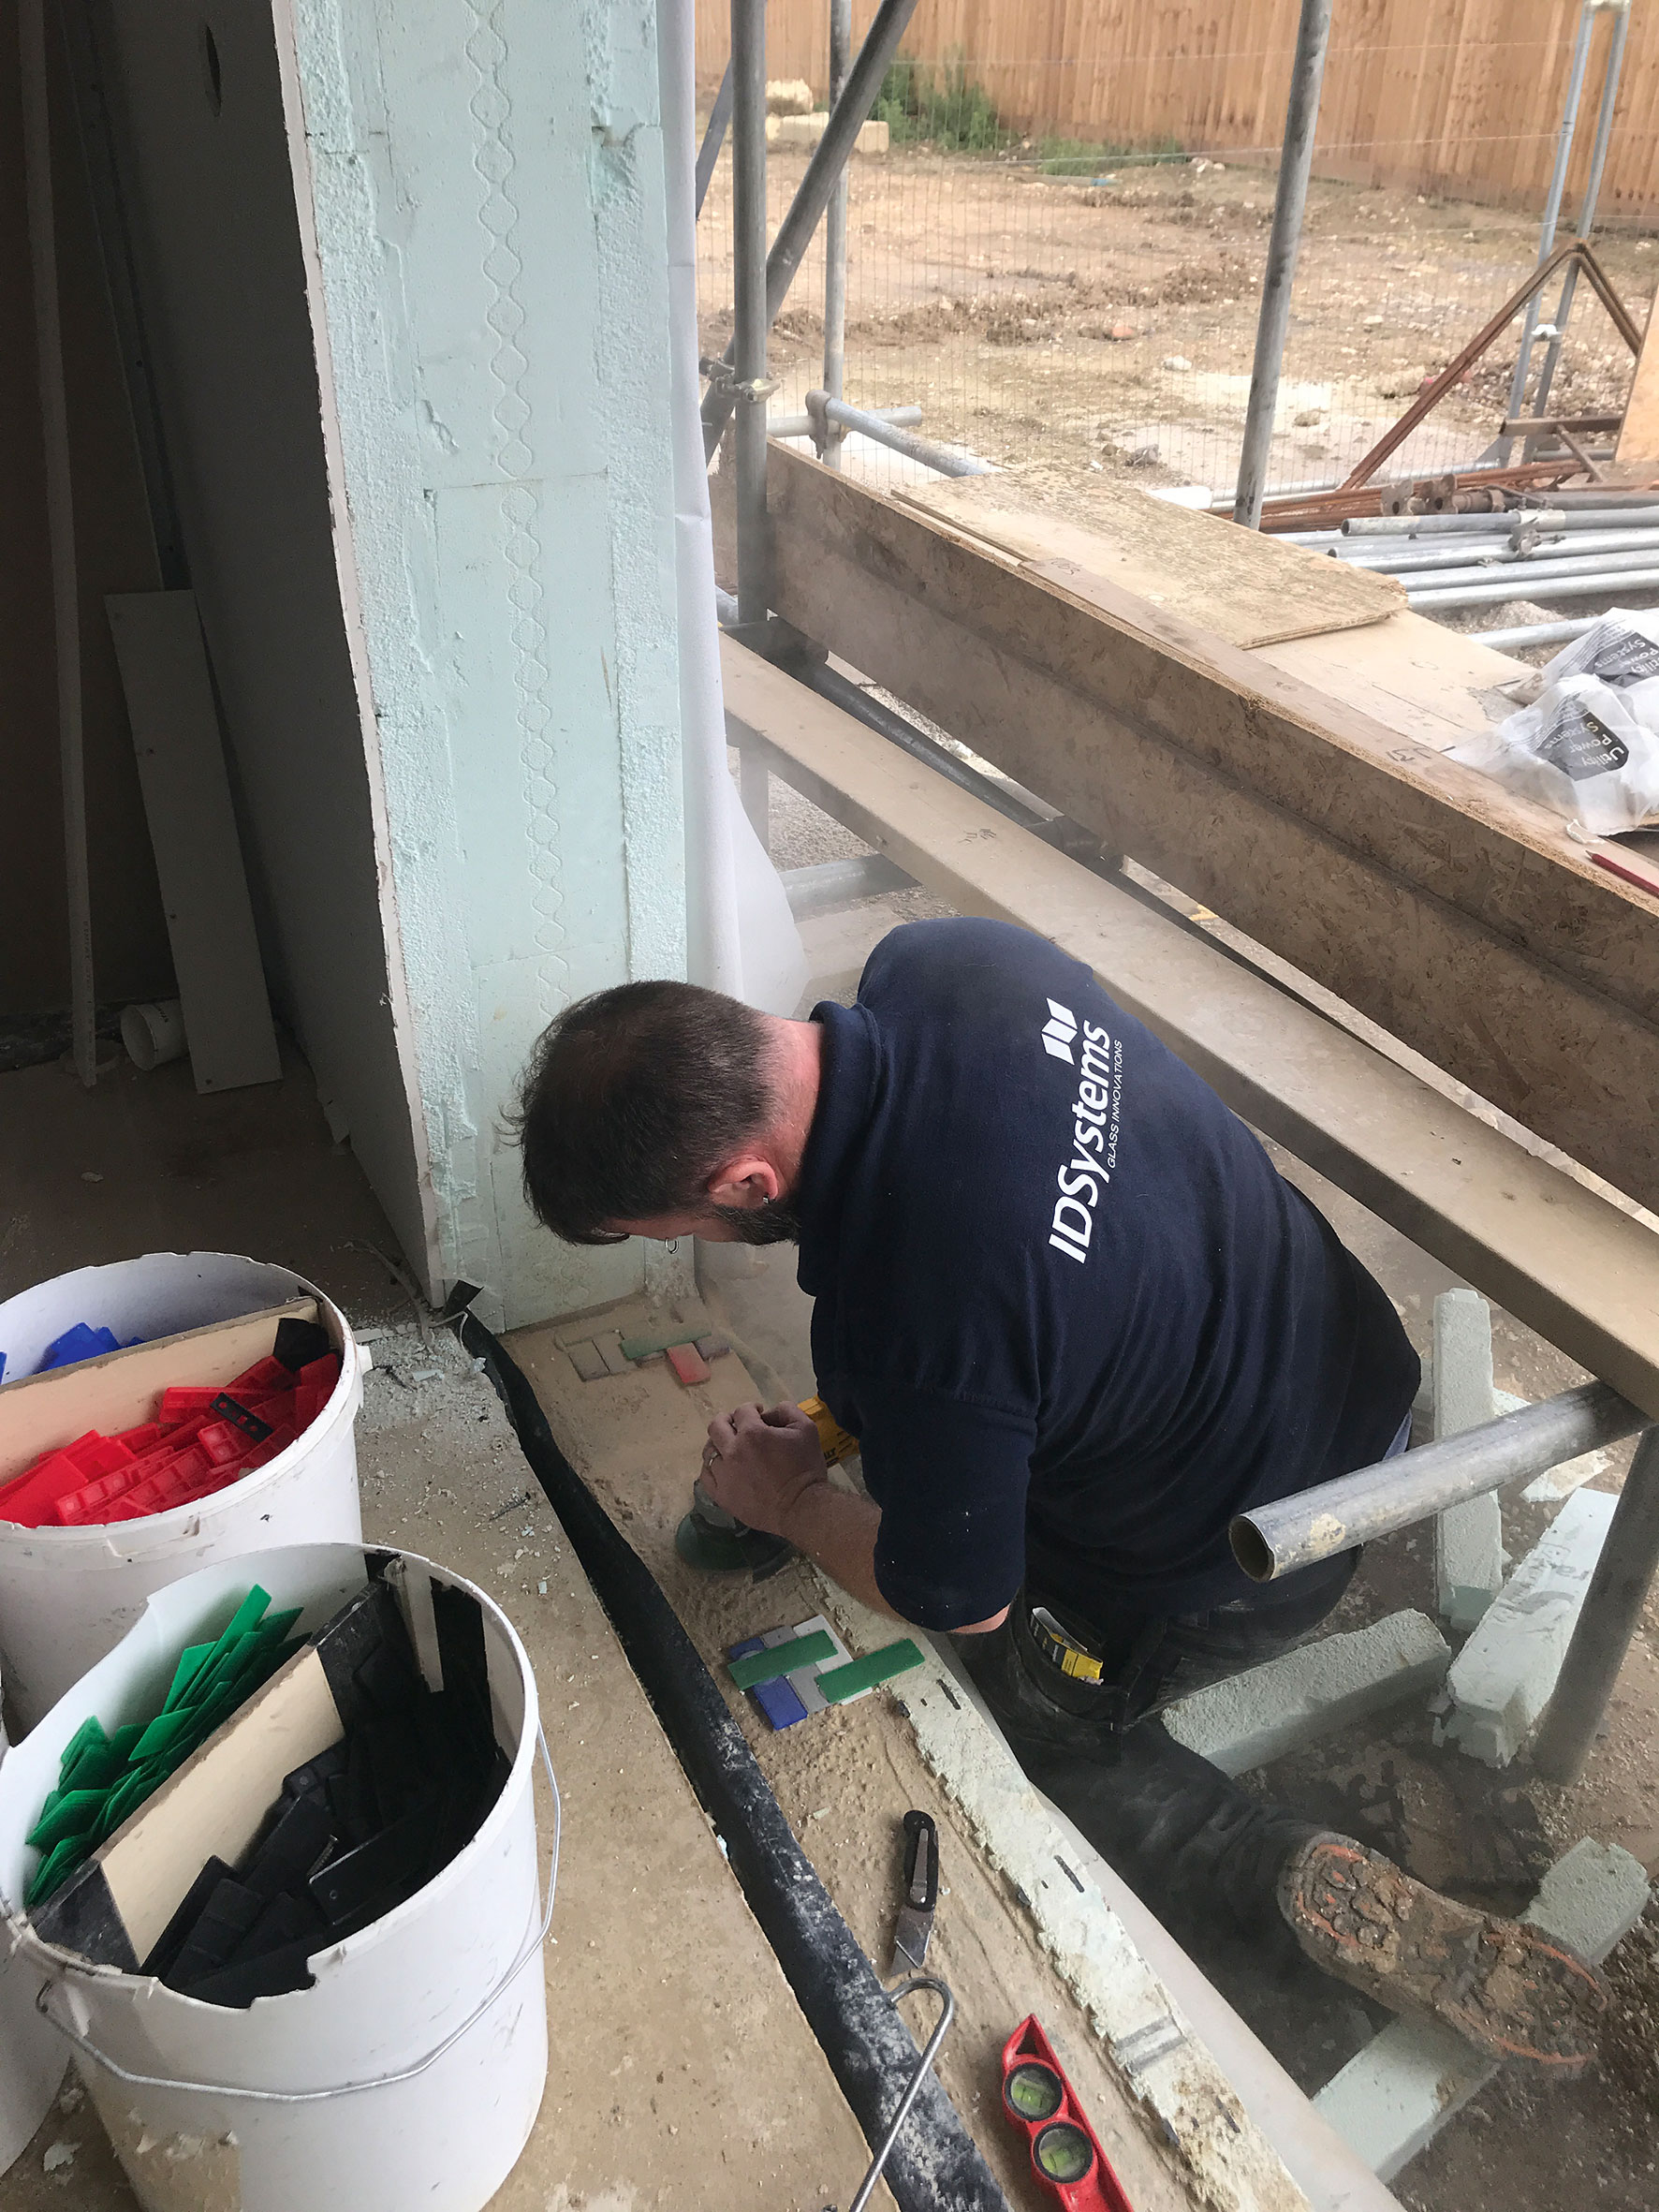
Step 1 of 6: The IDSystems install team grind cut the last few bits of high concrete
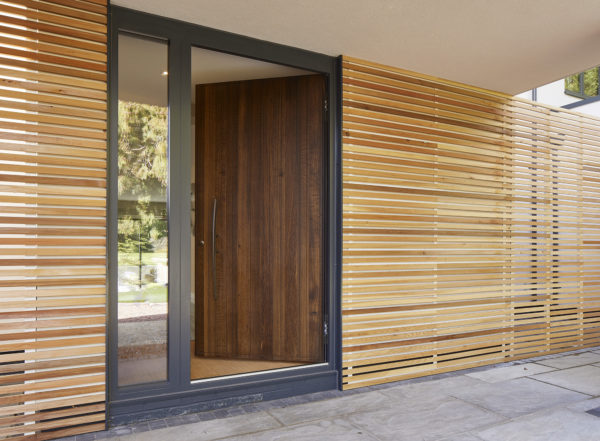
It was an easy decision to go with the plant-on. The fact is, sliding doors are kept closed most of the year, so it’s all about maximising that view through the glass. When they are open, theEdge2.0’s panels will stack flush, keeping sightlines nice and slim.
While we could have colour-matched the unit with our windows, these are timber rather than aluminium. As a result, the hue would never be exactly the same. So we decided on RAL 7016 anthracite grey, which looks sleek and will blend into the garden setting.
Step 2 of 6: The DPM is taped and glued onto the door cill
The double-glazed panels have low-e toughened glass on the inner pane, and 8.8mm clear laminated glass externally to deliver on safety and security. Once we’d finalised the design, IDSystems’ contracts team got in touch with drawings and documentation to sign.
No stone is left unturned at this stage: after all, it’s not in anybody’s interests if the install team turns up on site to find that the doors don’t fit properly. Among other details, the six PDFs I received included in-depth notes on what to check to ensure the structural openings are correctly prepared.
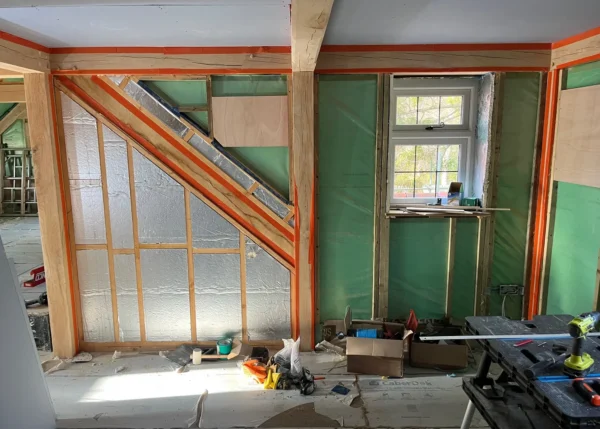
By now, most of the work was already done – and I’d been in touch with IDSystems at key points to ensure they were happy. The ICF closers to the sides of the openings provide fixing points. At the base the track can be screwed directly into the concrete, and into timber at the head.
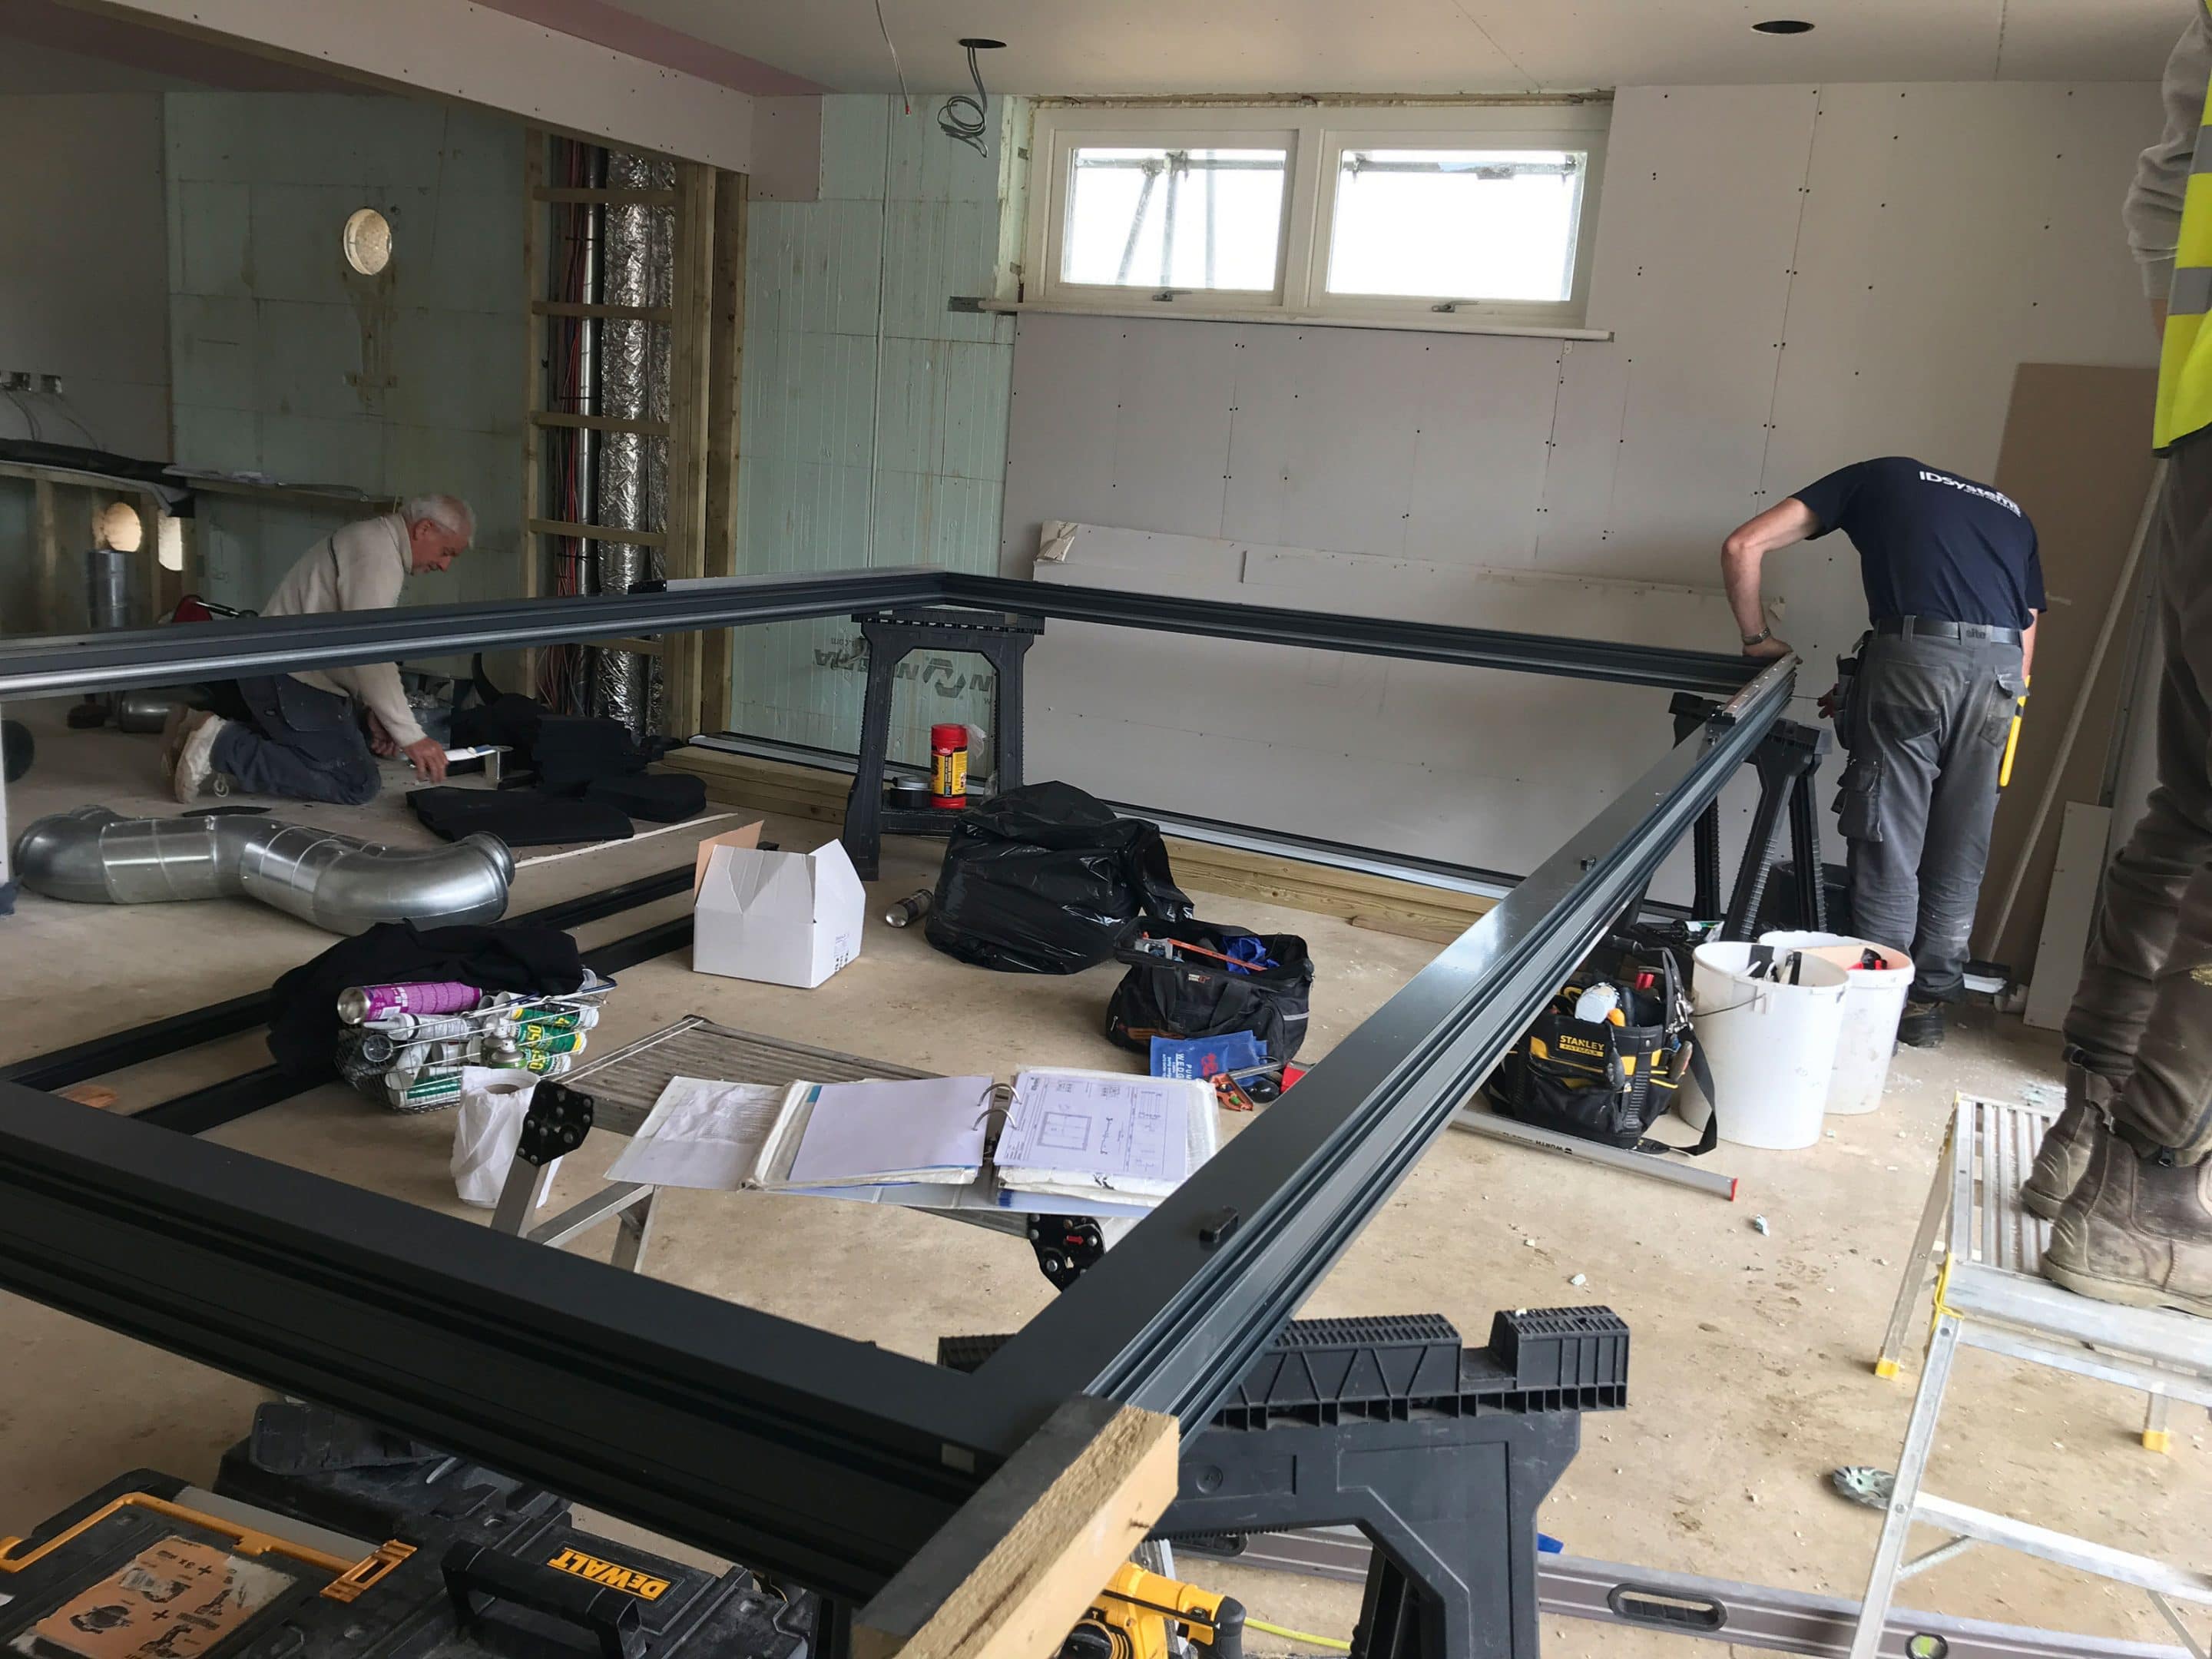
Step 3 of 6: Assembling the frame took less than an hour
The few bits left to do at our end included cutting the insulating formwork back to the polystyrene closers, chipping out the corners of the opening where the concrete pour was slightly over, and getting the screed in.
With a five-week lead time between order and delivery of the doors, there was plenty of time to sort this – although the final bits of trimming happened on fitting day.
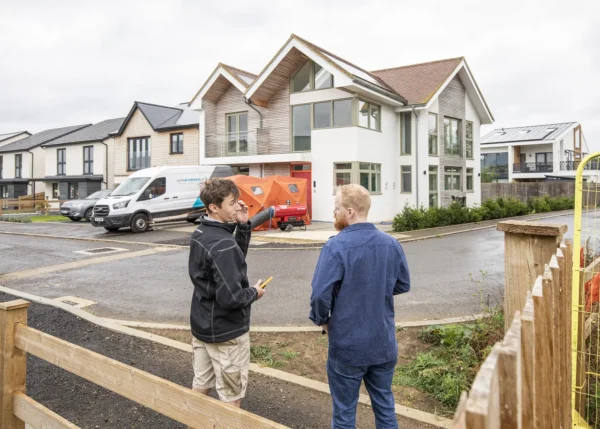
When IDSystems’ install team, Paul Shorter and Mark Williamson, arrived on site, the first thing we did was check out the structural opening to make sure it was as expected. Pretty quickly, we noticed a discrepancy – the screed had been poured to a depth of 55mm (rather than the intended 40mm).
It looks like Screedflo did this to marry up with the insulation and underfloor heating build-up in the WC, which makes sense. But this was the first Scott and I had heard about it! Thankfully, we had enough space at the head to raise the sliders up a little higher without compromising the look – and as we’ve not yet specified the patio make-up, we can easily accommodate this.
It does mean we need to cement fill or dry-pack beneath the bottom track. I’d imagined we would fit the track so it’s perfectly flush with the tiled finished floor level (FFL), which will sit 17mm above the screed. But Paul suggested going for a 3mm-4mm lip.
This is just enough to reduce the amount of debris that might get kicked into the running channel, but not so high it becomes a trip hazard (apparently anything up to 7mm is fine). What’s more, apparently if you go completely flush, the tile grout lines are much more likely to crack.
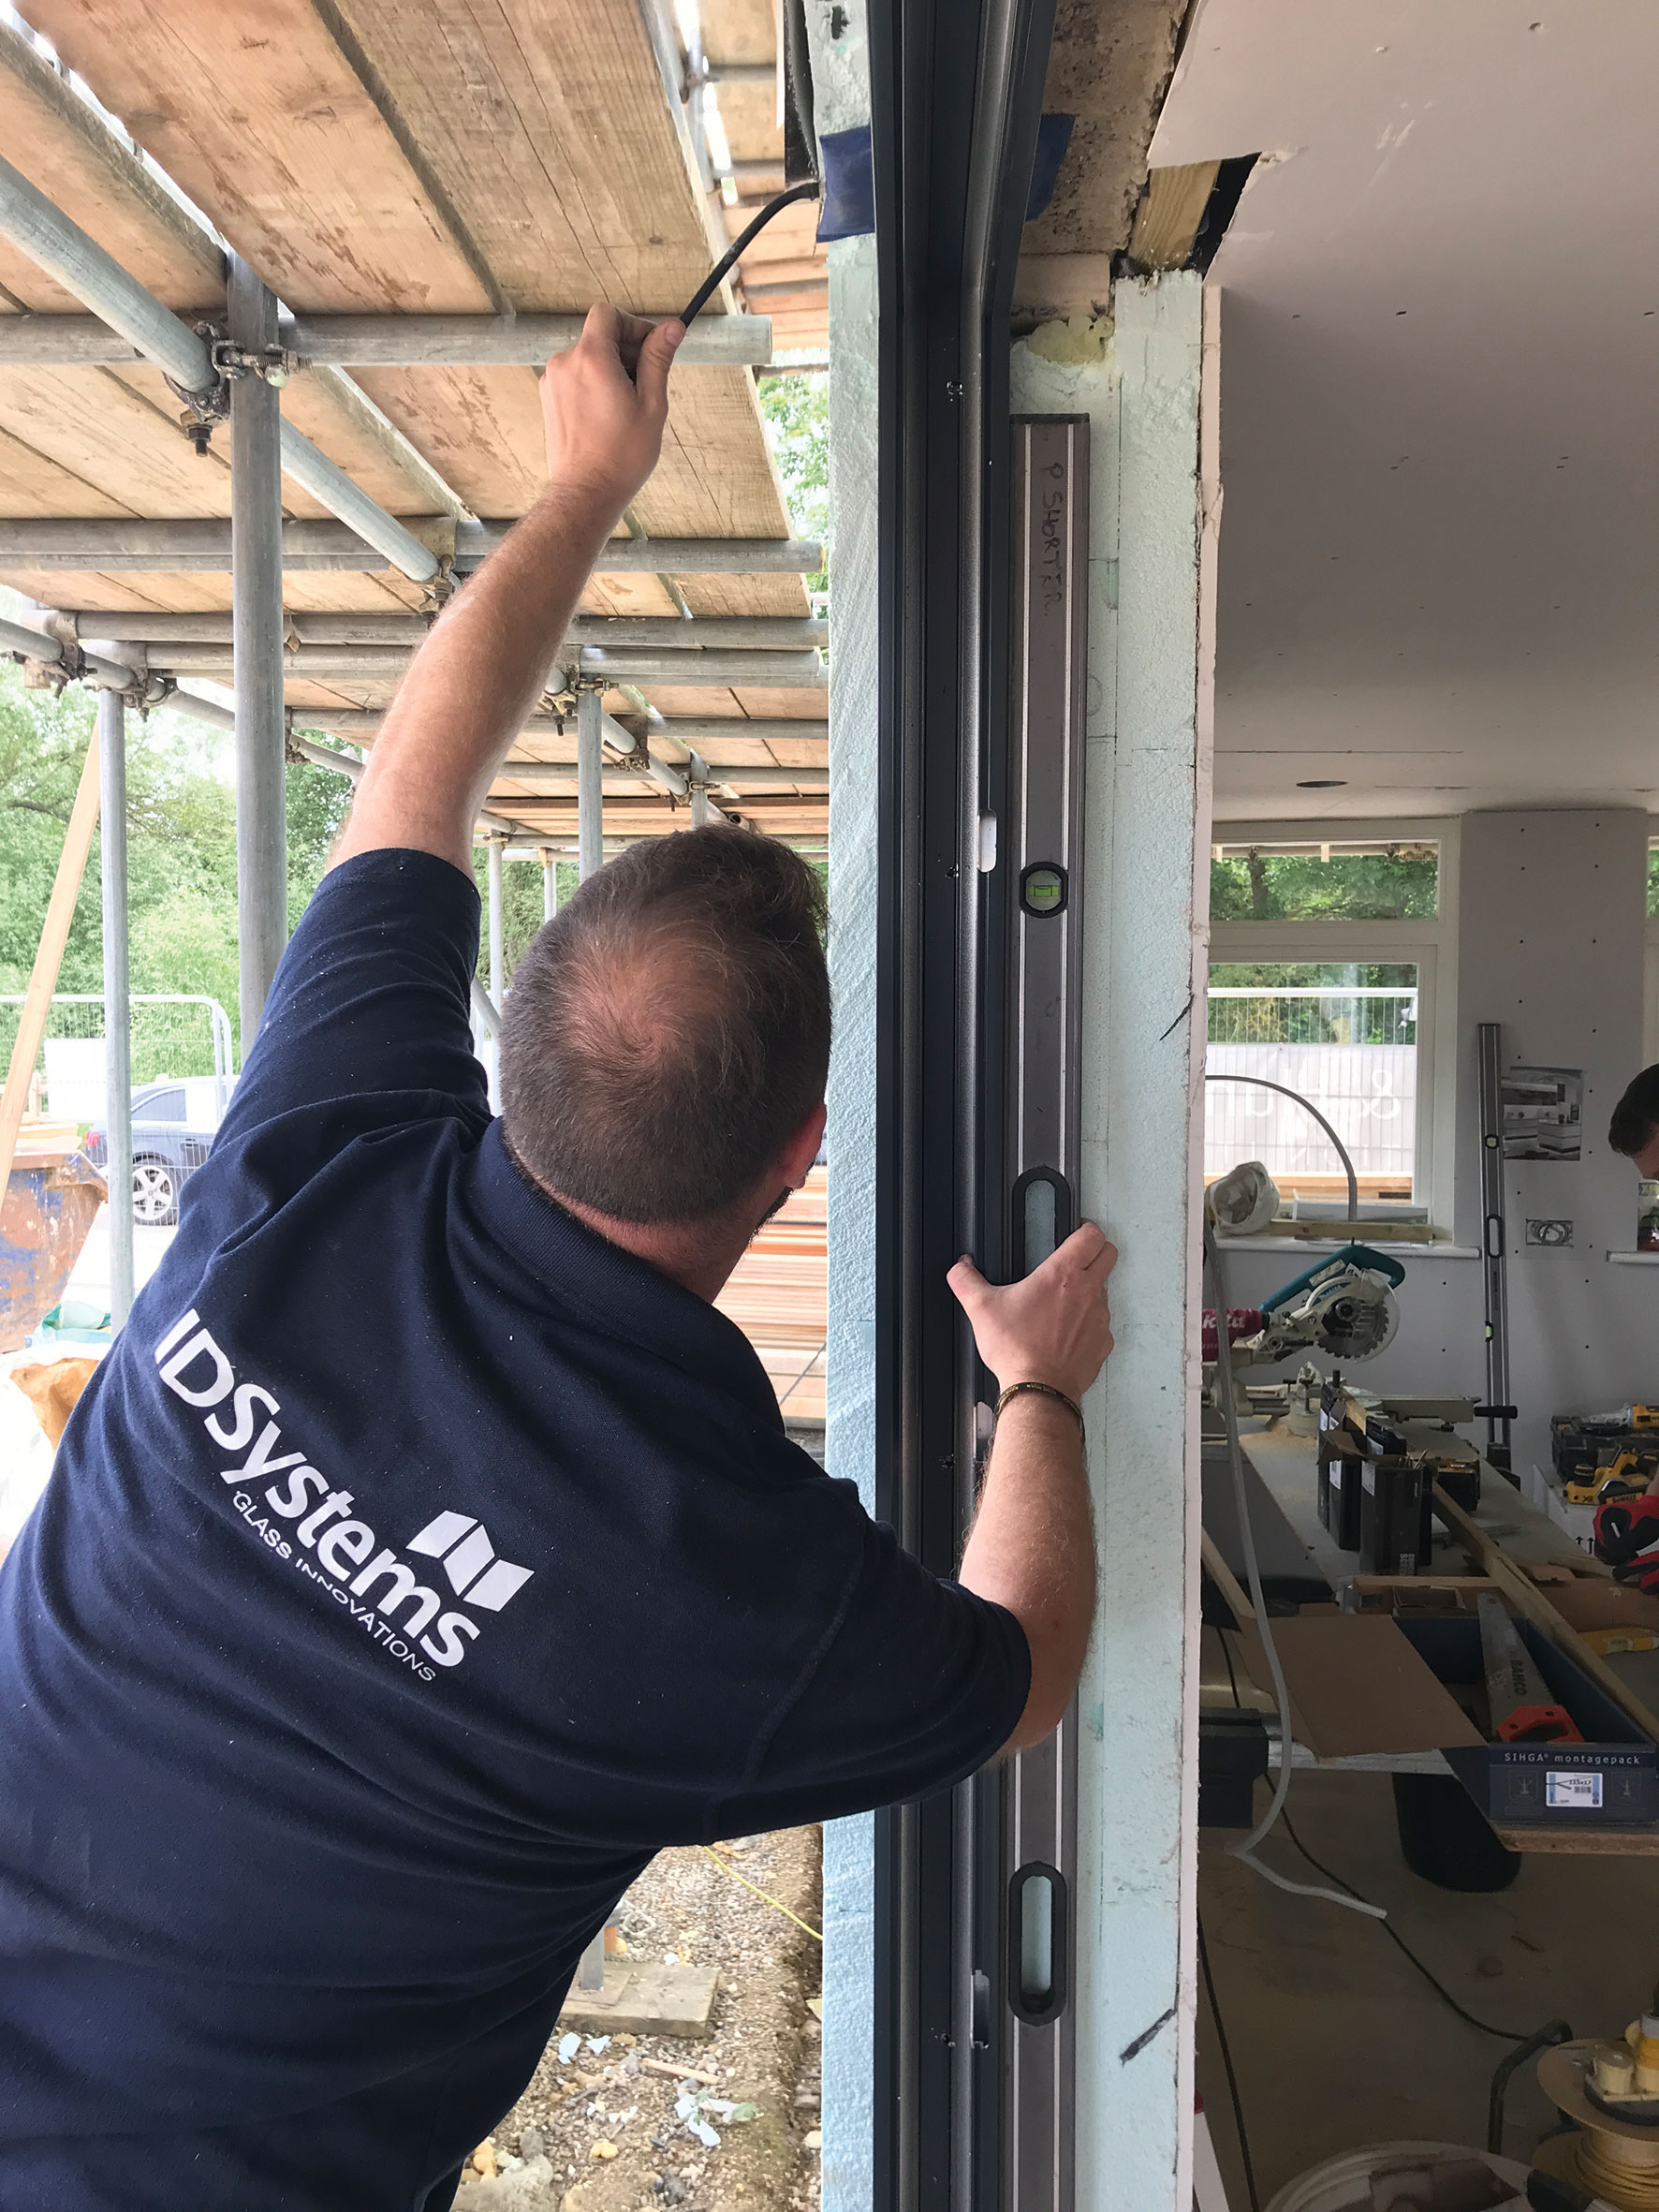
Step 4 of 6: Ensuring everything’s level and square is crucial – otherwise it just won’t run smoothly. This stage is probably the most time-consuming
The next big question was how deep the setback should be (ie how far back the door should sit in the external wall). A twin track is much thicker than a standard window frame – so it’s never going to match up completely – while the two outermost panels are at different points within the frame depth (in fact, the plant-on is slightly proud).
It’s the same with any slider, of course, but accentuated where we have timber cladding on one side and render on the other. We agreed that the best visual effect would be achieved by lining up the plant-on so that the full thickness of the larch cladding is on show.
With the details nailed down, IDSystems’ fitters cracked on with the install. Paul and Mark worked as a team, one putting together the frame segments, the other prepped the bottom of the opening with spacers and clearing any last remaining areas of high concrete.
The damp proof membrane (DPM) is incorporated into the system – taped and glued to the cill – rather than being laid into the base of the opening. Once the full 4,208mm (H) x 2,488mm (H) aluminium frame was assembled, the guys lifted it in and got to work aligning it. Everything needs to be pretty much perfectly square, within a tolerance of maybe a millimetre or two, to ensure the running mechanisms operate smoothly.
Then there was the issue of getting the setback perfectly right to show the doors and the cladding (not yet fitted alongside the door) in their best light – which had Paul nervously quadruple-checking dimensions before the screws went in. I’m delighted to say he got it spot on!
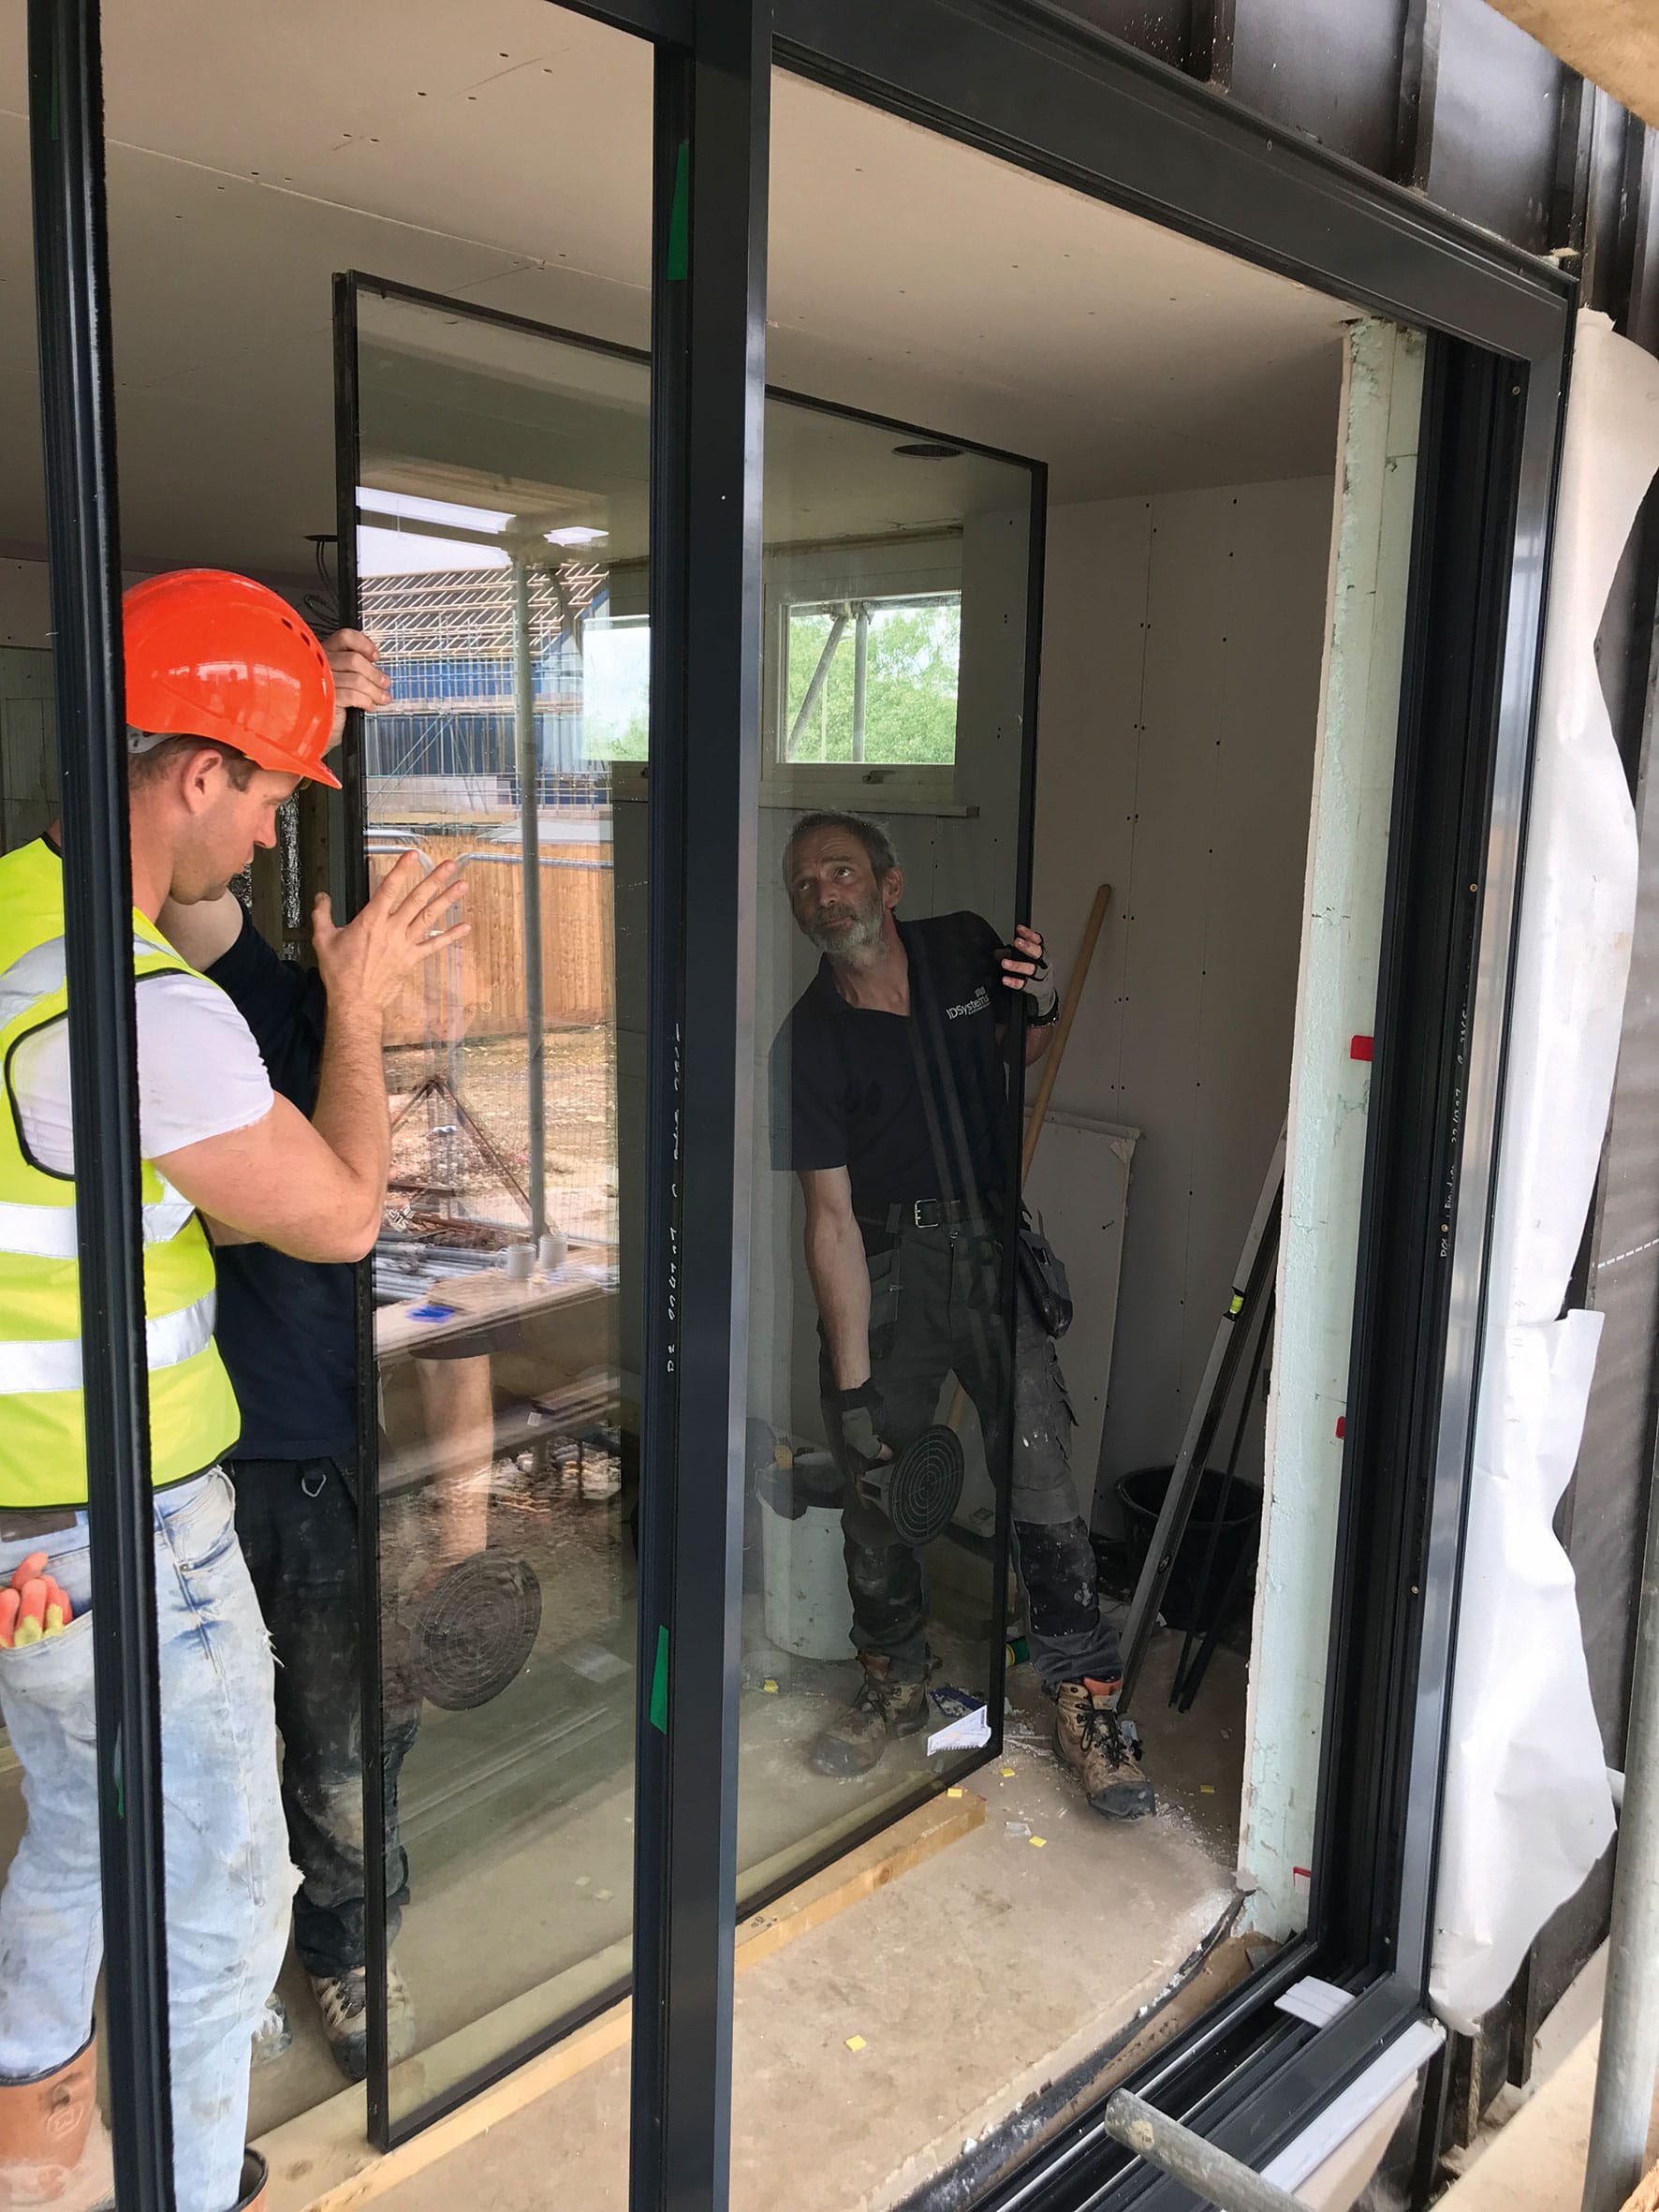
Step 5 of 6: One of the glass panels is lifted into position. It’s then clipped into place with special beading
The glass panels on a slider like this weigh in at over 100kg each, so they’re added on site after the frame is squared, levelled and fixed. The team fits the empty panels first to check the operation and locking systems, before inserting the glass. Interestingly, the doors actually slide at their smoothest when they’re fully assembled and heavier.
The final piece of the puzzle was to clip in the beading and re-test the lock positions (which Paul did by attaching strips of masking tape to check the alignment of the multi-point). A few minor adjustments later, and our glazed slider was fully installed – all in less than a day.
IDSystems’ literature asks for the owner to be present for a handover – and I have to say it was a useful exercise.
Paul went through the long-term maintenance instructions and gave clear guidance on how to care for the sliders over the coming days and weeks on site.
Your first thought is to cover the doors, for instance, to protect them from potential damage. But you need to give them 48 hours for the seals to fully dry before doing so.
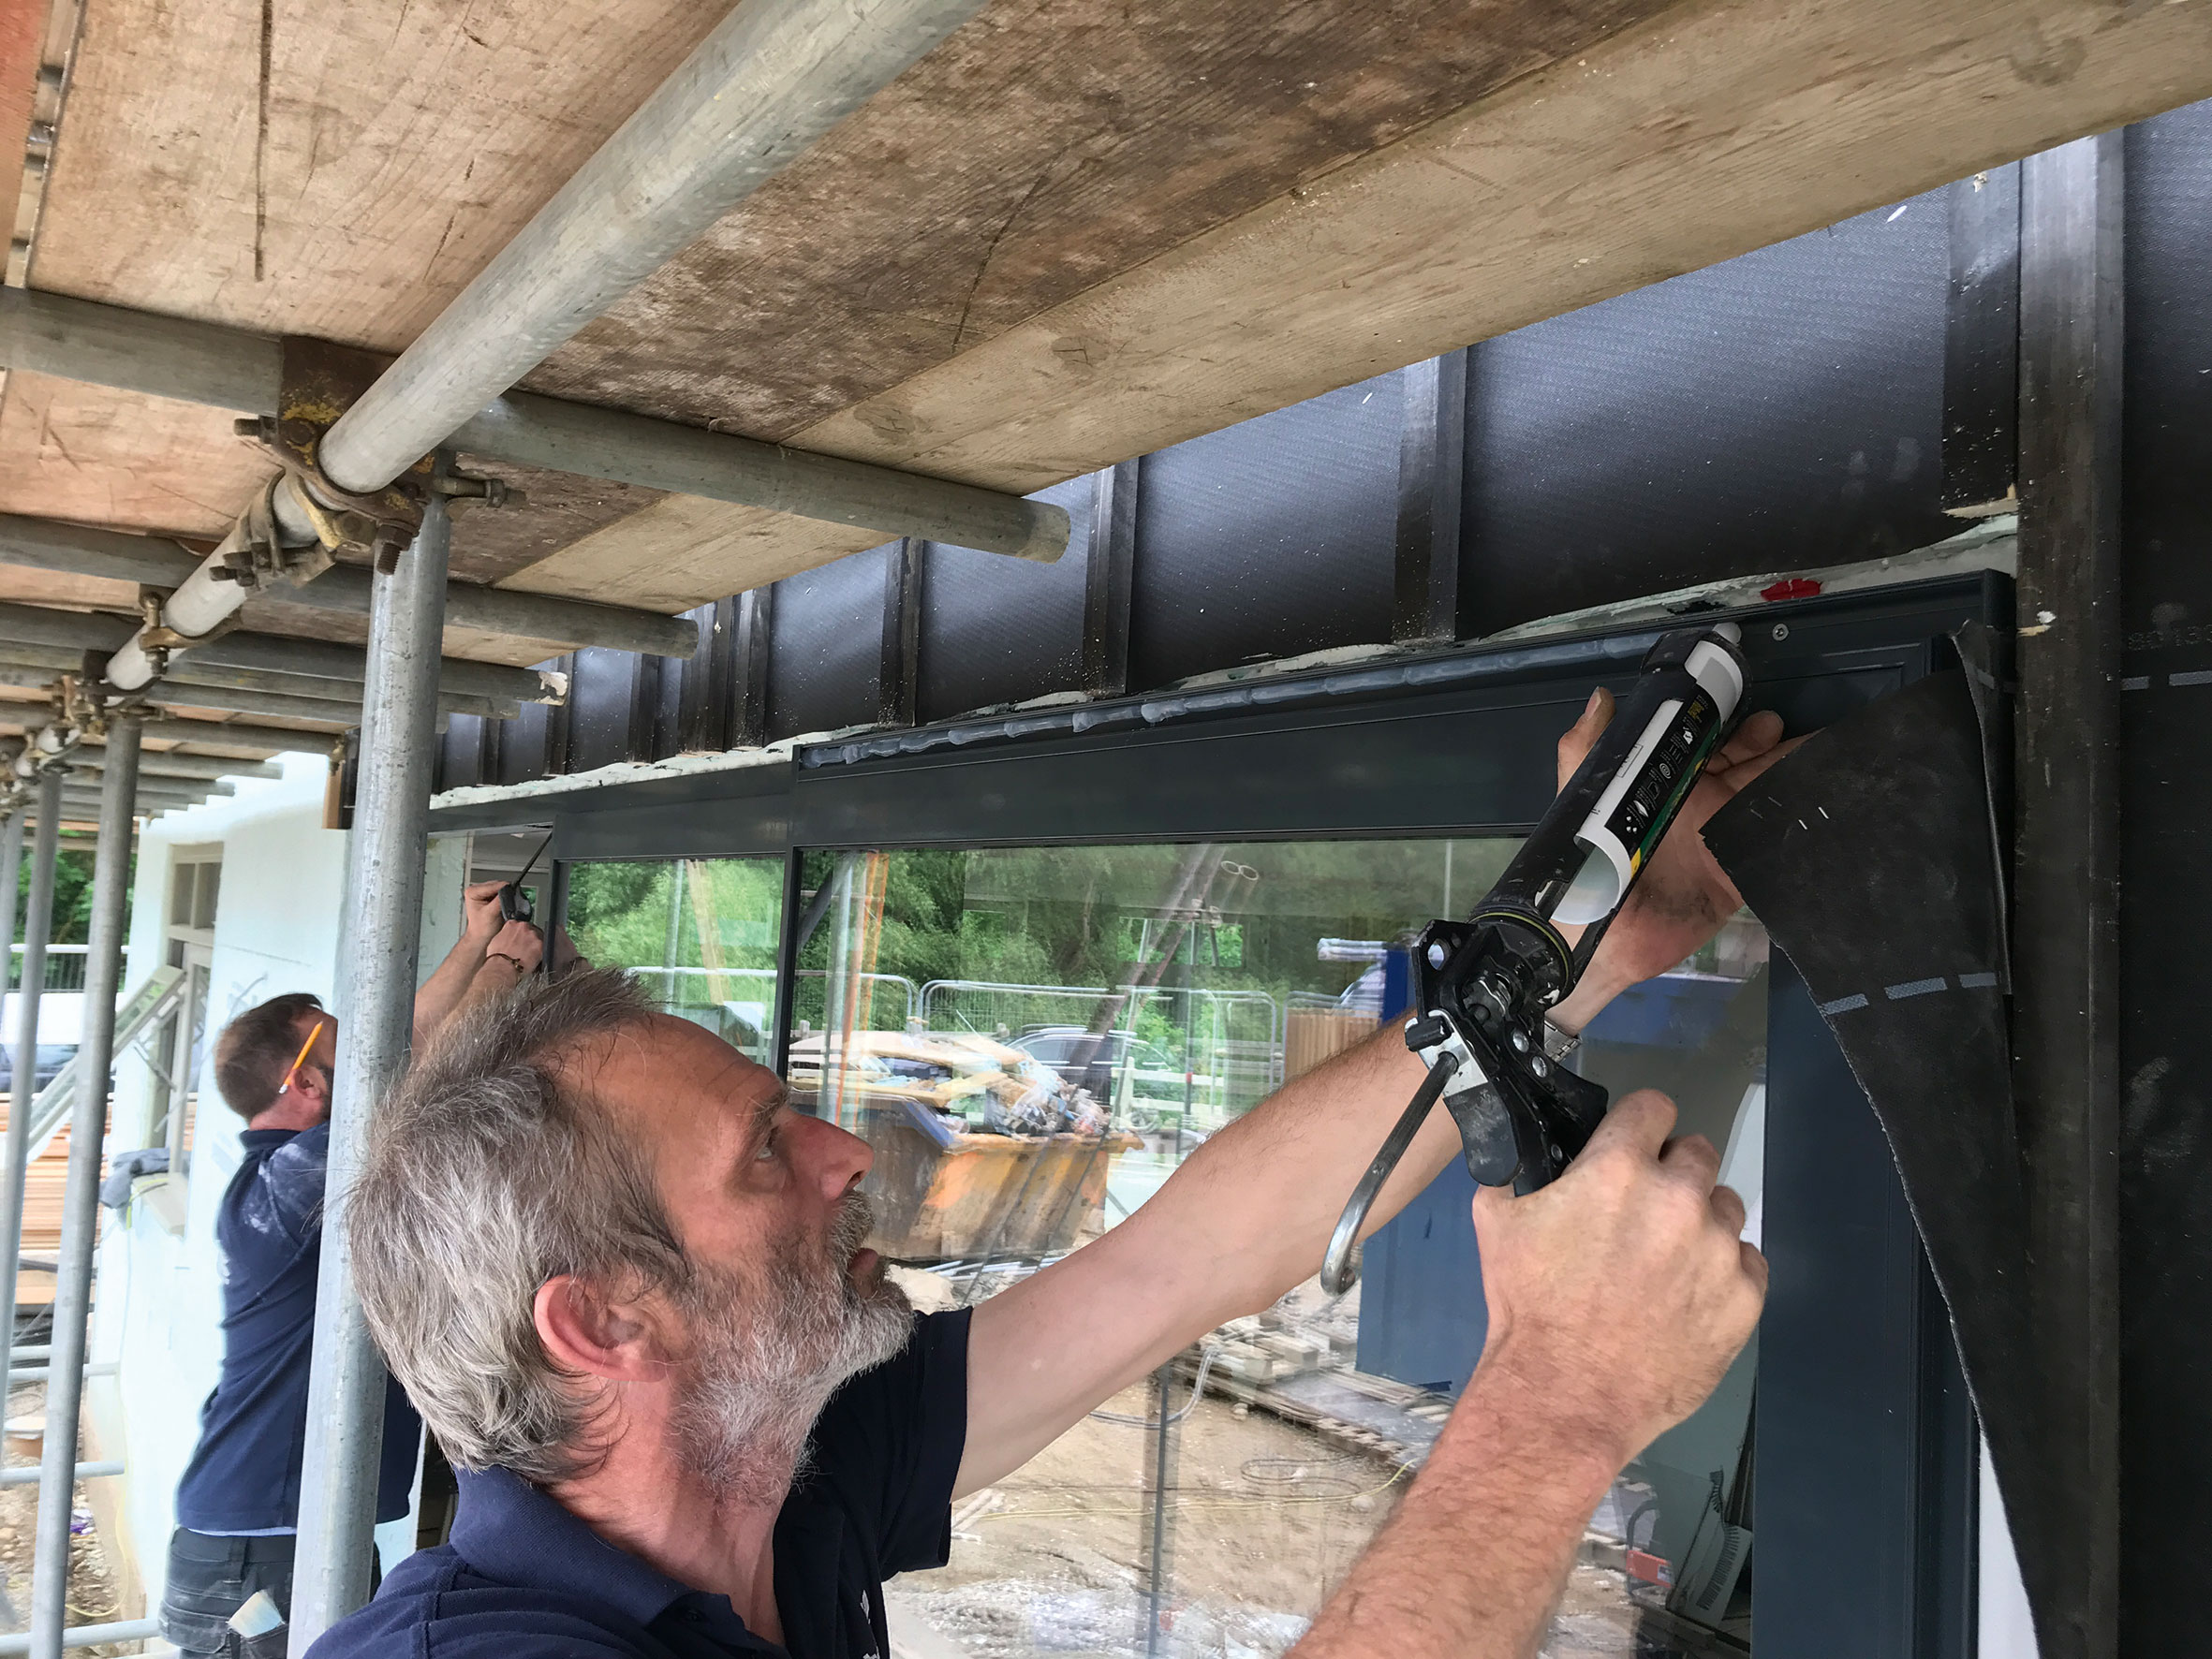
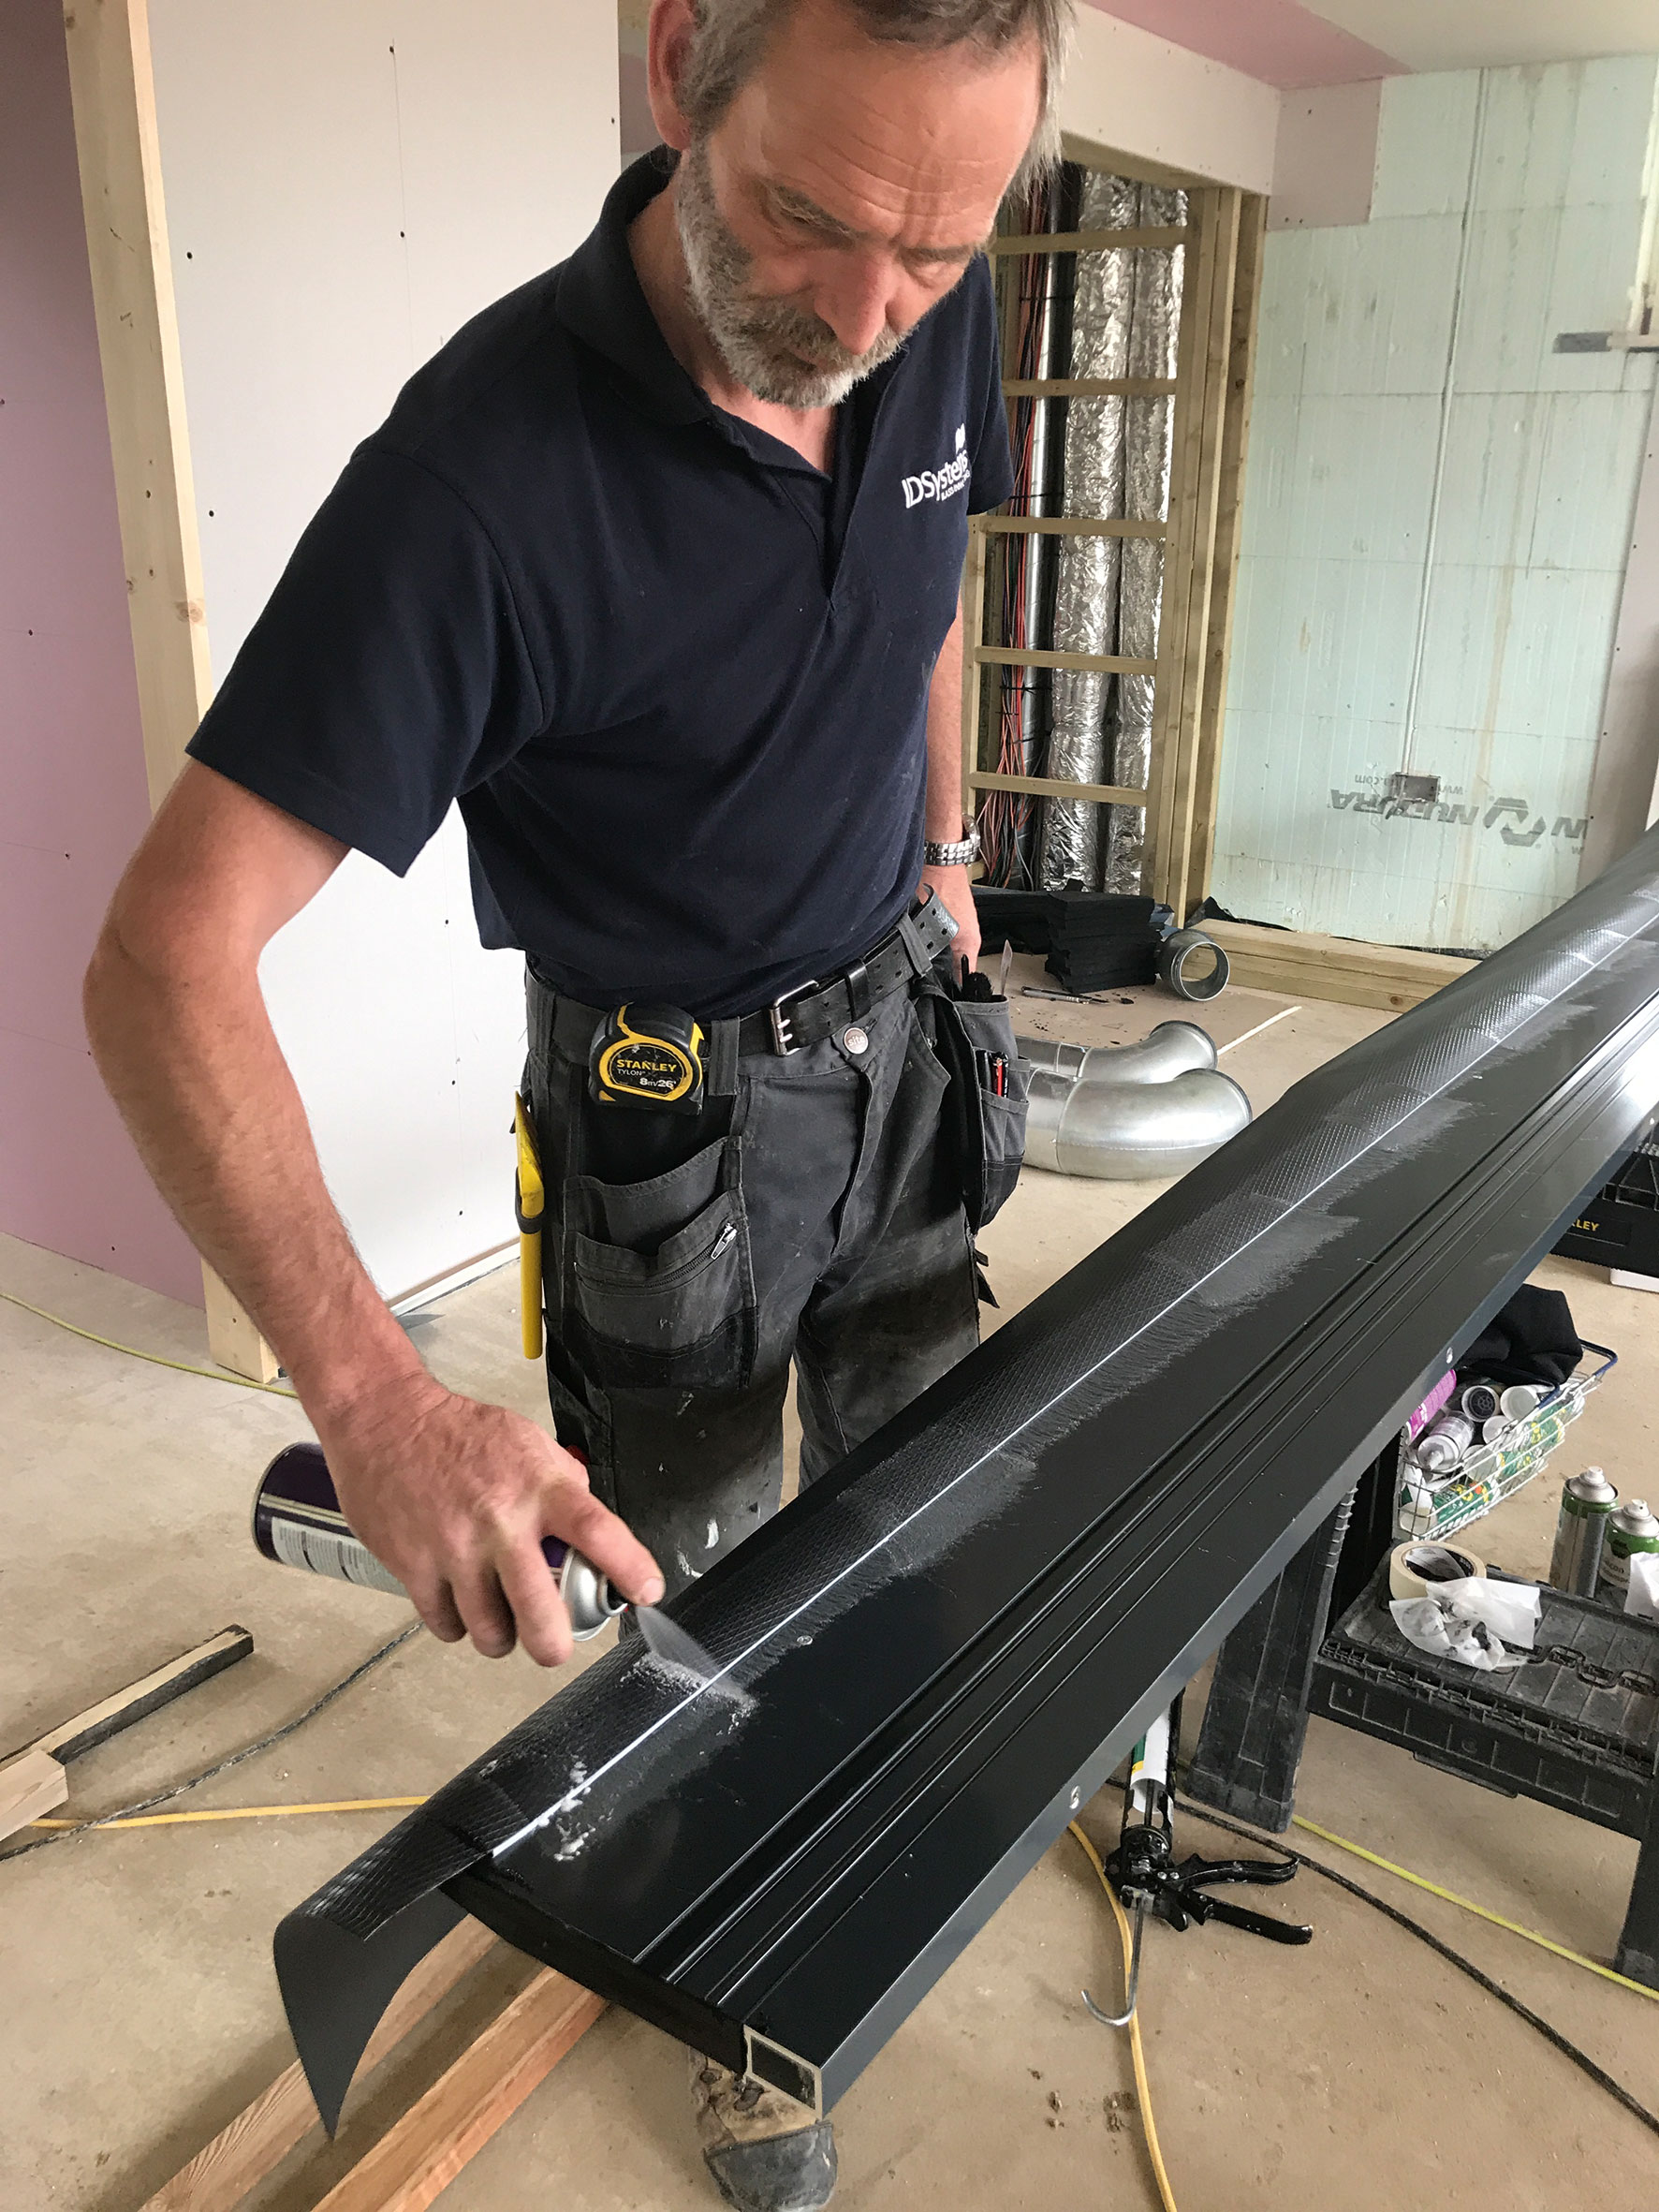
Step 6 of 6: Silicone sealant is run where needed, before the whole unit is wiped down using a special cleaning solution
They shouldn’t be operated for at least 24 hours either (cue all keys being taken off site). Once once you do open them, it’s a good idea to protect the track to avoid construction debris getting in there and potentially damaging the mechanisms.
There’s a bit of work for us to do to finish it off. For instance, we need to fill in a small bit of screed. We deliberately left this a little short so that it wouldn’t get in the way of the install. When we do that, we’ll need to ensure we wrap IDSystems’ DPM up the inside of the frame.


 Login/register to save Article for later


Hey, great write up on the install! We’re looking at something very similar for our project this year. I’m wondering at which point during the build the doors were installed? Given the 5 week lead time, did you progress first / second fix before the installation?
Hi Robin,
We installed our reader slider towards the end of the first fix work – before the plasterboarding was complete.
This meant that we could decide on site exactly how deep into the opening to position the doors, before running plasterboard (and external claddings) into the reveals. You can of course plan this beforehand but you may find you want to adjust slightly.
Obviously your installer needs to account for the future floor build-up to get the threshold detail right (so you do need to have decided on your floor finish etc!). You would normally have technical drawings that show all this detail.
Sealant and airtightness tapes etc are applied to between the door frame and the walling structure, too, so you don’t want things to be covered up with plasterboard before you install the sliders.
You’ll also want the building to be weathertight (not to mention secure) before you move on to second fix work. Previously we were weathertight thanks to temporary ply boarding (including an opening leaf) but this isn’t the most secure setup when you start bringing expensive items and materials into the building.
Do be careful to keep the door protected once it’s installed, though: we kept ours locked most of the time so trades didn’t use it as a main thoroughfare.
Hope this helps!
Chris (editor, Build It magazine)