

- Plan ItBack
- Design ItBack
- Build ItBack
- Homes
- ProductsBack
- CostsBack
- Self Build Cost Calculator
Estimate your project costs instantly with Build It's interactive self-build cost calculator
Calculate Now - Costs & Finance
- Contracts & Warranties
- Build It Estimating Service
Get an accurate, detailed cost breakdown of your project
Submit plans
- EventsBack


 Login/register to save Article for later
The Complete Self Builder’s Snagging List & Guide

Snagging is the process of identifying small faults within a completed building project that need to be rectified before moving in. Developing a comprehensive snagging list is therefore an extremely important aspect of a self build project – ensuring you’re getting what you’ve paid for, and everything meets your expectations.
These can be common, honest mistakes that have somehow slipped through the net when completing a project. There are things you can do to make the final steps to completion easier for both you and your builder, though. Keeping a comprehensive record of works that you can cross-reference using a snagging list and check off later down the line can be an excellent idea.
So, if you’re part-way through your self build project, or simply drawing up plans, collating a snagging list and knowing what it’ll involve will prove beneficial. Read our complete guide to ensure you’re prepared.
What is Snagging & Why is it So Important?
When you’re building a bespoke home, there will always be small defects that need sorting out along the way. This might include things such as unfinished edges, sticking windows, poorly hung doors and paint splashes.
Choosing good-quality products and trades will help minimise problems, and most issues will be picked up as you go along and addressed during the works. There will, however, always be some minor elements that are only identified as the project reaches its conclusion.
Snagging is the process of identifying these outstanding glitches and getting your builder to rectify these at the end of the project. Fundamentally, you’ll need to produce a comprehensive snagging list of all the things that need sorting out before you settle the final bill.

Some package home companies will offer the internal fit out, which can mean keeping track of the works will be easier. Kevin Crotty chose a Dan-Wood Turnkey package for his self build project. The Dan-Wood team finished the interiors to an extremely high standard. Photo: Dan-Wood
Most self builders will hold back around 2.5%-5% of the agreed contract price to cover snags. This is an accepted part of the industry, but the retention needs to be pre-written into your contract with the builder – as it is with the small works agreements available from the likes of the Joint Contracts Tribunal (JCT).
Premium Content
Downloadable E-Guide
Where should you start when planning your home building project? Build It’s in-depth downloadable guide to self building a house contains everything you need to know to make your project a success.
find out more
If, for whatever reason, they don’t finish the work to your satisfaction, you’ll have a lump sum in the bank that you can use to pay someone else to remedy the situation – or you could net a little windfall by sorting it out yourself.
Bear in mind that, if you’ve project managed the build yourself and hired individual trades, you’ll need to negotiate the snagging process with each of them. Exactly when that happens – and who is responsible for certain faults – can be up for debate. This can be particularly difficult if something has suffered minor damage after installation.
SNAGGING LIST What to look out for
|
At What Stage Do You Need a Snagging List?
The final snagging process usually occurs once the build is ready to move into. This might be before or after formal completion. Formal completion basically equates to receiving sign-off from your local authority that your project accords with the planning consent, and that the house is safe and meets the minimum standards laid out in the Building Regulations.
Typically, your main contractor, surveyor, project manager or package house supplier will sign off the property and apply to the local authority for a completion certificate. If you’ve managed the scheme yourself, then the responsibility for arranging this will rest with you.

Freddie and Katie Pack saved up to build this contemporary and efficient house on their family’s Romney Marsh farm after living in a small cabin a few fields away. The exterior cladding had to be laid perfectly to ensure the build was able retain its slick look. Photo: Richard Gadsby
The completion certificate is an extremely significant document you’ll be issued with over the course of your scheme. This is the official written record showing that the house has been built and finished to a satisfactory standard, and will be important when it comes to the snagging process. So be sure to lodge a copy with your solicitor.
A completion certificate is also the trigger that allows you to apply to HMRC for a VAT reclaim on any eligible materials you’ve used. Your new home will now become liable for council tax, so expect a band assessment to come through from the local authority within a few months. When your first bill hits the floor, it will be backdated to the completion certificate. So it could amount to a significant sum.

Some package home companies include the fit out within the contract, which can make keeping track of works easier. As was the case for this Build It Award-winning turnkey build by Facit Homes for homeowners Adrian and Tammy Connor
It is possible to move in before the house is 100% finished, provided it meets certain minimum criteria. To do this, you’ll usually need to arrange an inspection with building control with a view to obtaining a habitation or temporary occupancy certificate.
You’ll collect a number of other important documents over the course of your project, all of which should be filed for safekeeping. These will include various benchmark certificates showing that domestic heating appliances meet the required standards and final safety certificates from the Part P registered trades (eg for electrics).
Unless one of your professional team is securing it as part of their responsibilities, you’ll also need to commission an Energy Performance Certificate (EPC). This details how efficient the house is (this is required whenever a property is built, sold or rented).
Common Defects to Look Out For
According to the Local Authority Building Control (Feb 2023), the six most common areas for defects (and where your focus for snagging should be) are:
27% |
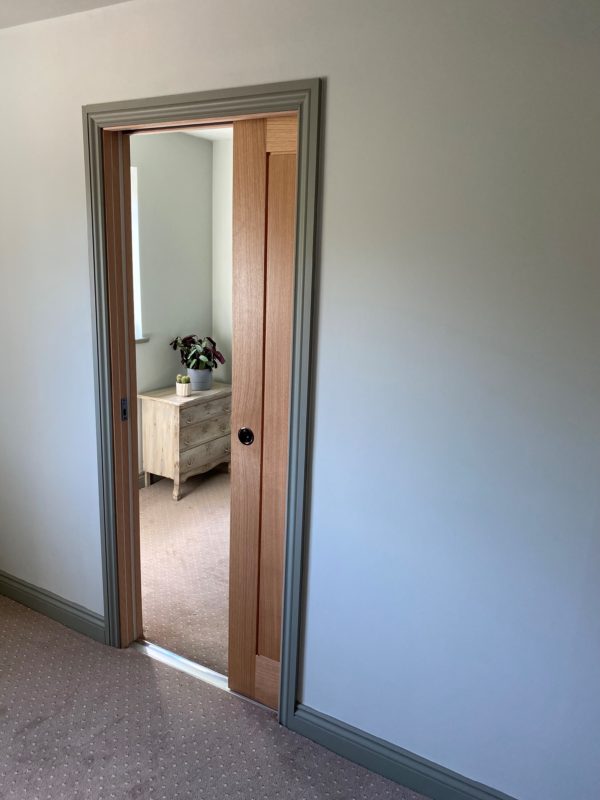
Windows & doors Poor fitting with leaky seals and windows that don’t open properly. |
23% |
Building tolerances Vertical and horizontal alignment relating to walls and ceilings. |
20% |
External masonry walls Poor workmanship, cracking and missing weep holes and vents to flashing, lintels and DPCs. |
12% |
Second & third fixes Complaints about finished bathrooms, ceramic tiling, failing grout and gaps. |
10% |
Roof coverings Poor installation of ridge/verge tiles and torn or damaged breather membranes. |
8% |
Above ground drainage Incomplete rainwater goods that leak or not laid to correct falls. |
Snagging Inspections & How to Check Building Works
Your snagging inspection should take place at an agreed date after the completion certificate has been issued. At this point, you know the house already meets the Building Regulations, so there shouldn’t be any major issues to address.
The snagging process usually takes the form of a walkaround of the house with your contractor – with both parties noting defects as they go. It will typically take a couple of hours to snag a three-bedroom house. If possible, have your architect or designer in tow as they may be able to help negotiate any contentious points.

After finding the perfect plot in the Suffolk countryside, Steve and Suzanne Richardson enlisted Cocoon Architects to bring their ideas for a low-energy home to life. The efficient, timber frame home was designed to be low energy, requiring a highly-airtight structure. Photo: Matthew Smith
Do remember that this is your chance to have genuine faults corrected – not a means to get the builder to do more work for free, that’s not what snagging is about. If they’ve followed the drawings for elements such as light switch positions, door hanging etc and you change your mind, you’ll have to pay a fair rate for the job.
One of the issues around snagging and developing a snagging list can be subjectivity. What might be permissible in the eyes of your builder might not match up to your own ideal. For instance, industry standards aren’t exactly tight when it comes to details like acceptable thresholds for uneven plaster. The best way to overcome this kind of problem is to ensure your quality expectations are mapped out and agreed in the original contract.
How to Protect Your Self Build – Latent Defects & Warranties
Your new home is likely to be the biggest investment (both in terms of time and money) you ever make, so it makes sense to protect it.
The conventional route to guarding against hidden defects is to take out a structural warranty. Providers include BuildStore, Protek, SelfBuild Insurance and Self-Build Zone. You need to arrange this before construction begins, as the provider will inspect the scheme at regular intervals (much like building control). It will issue corresponding certificates for each phase, as well as a final document on completion.
Most insurance-backed structural warranties last for 10 years. They will pay out to put right any damage caused by defects in the structure that become apparent over time – such as cracked walls and failed drainage – whether as a result of poor design, workmanship or components.
Typical warranty costs range from £1,500-£5,000, usually payable in a single premium. While that may seem like a big chunk of your budget, it will be essential should you decide to sell within that period. Most mortgage companies require this as evidence of professional competence before they’ll lend on the property – even if it has a normal completion certificate.
There is a slightly cheaper alternative available, in the form of an architect’s certificate, which most lenders accept. This will cost around £1,000 and is valid for six years. It’s important to be clear, however, that an architect’s certificate is not an insurance-backed warranty. If you do experience major problems, your only recourse will be to make a legal claim against the architect’s professional indemnity insurance.
find financial services in Build It’s directory
Featured image: iStock Natee Meepian
Chris Batesmith


You may be interested in


Comments are closed.