- Plan ItBack
- Design ItBack
- Build ItBack
- Homes
- ProductsBack
- CostsBack
- Self Build Cost Calculator
Estimate your project costs instantly with Build It's interactive self-build cost calculator
Calculate Now - Costs & Finance
- Contracts & Warranties
- Build It Estimating Service
Get an accurate, detailed cost breakdown of your project
Submit plans
- EventsBack


 Login/register to save Article for later

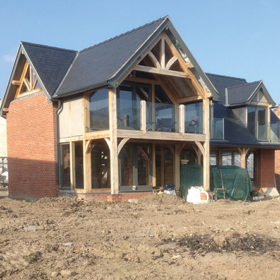
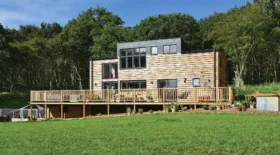
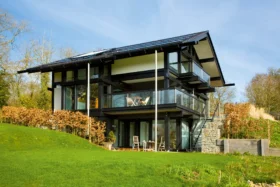
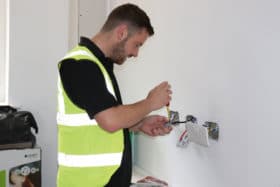
With the main electrics and plumbing in place, Mark and Julia get to grips with the lighting scheme, ventilation and second layer of insulation
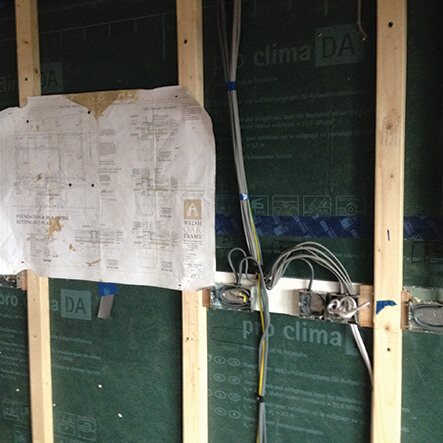
It’s been a few weeks since we completed the first fix, and true to form, my electrician and plumber were excellent. Edward the sparky reckons close to 1,000m of cabling has gone into the house, and I wouldn’t consider the property to be that complicated!
I have come to particularly respect the skill these guys have – especially when it comes to an oak frame build and how they’ve managed to hide the gubbins and avoided exposed ugly clipped wiring throughout the house. It takes some pretty clever tricks of the trade to come up with the perfect finish, and I’m pleased to say I couldn’t be happier.
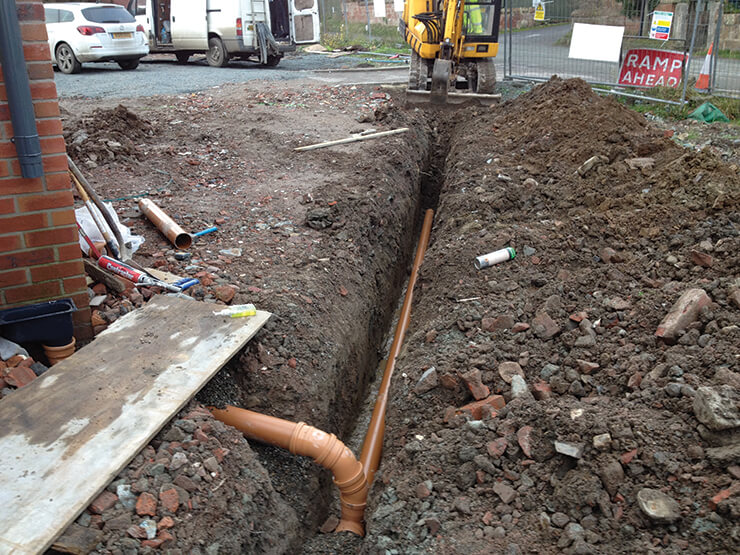
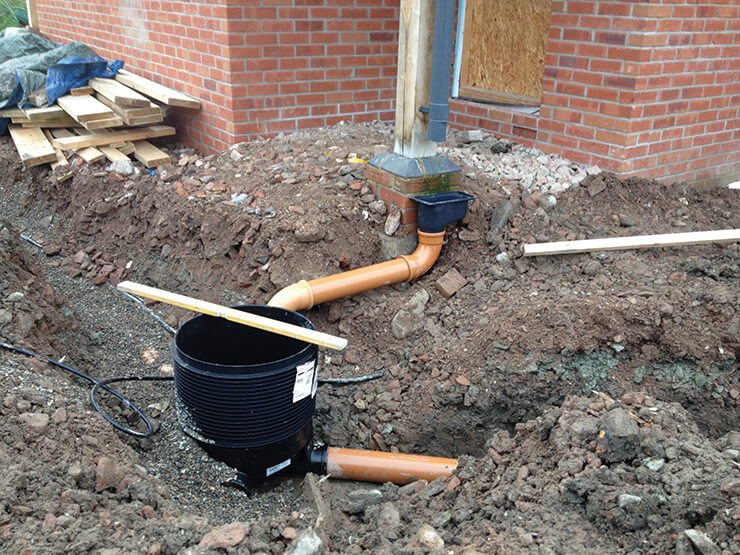
On the other hand, the foul and storm drains that I had hoped would be complete at this stage are still a little way off. There are lots of clay pockets in the soil makeup so we had problems finding a suitable position on site where the ground would percolate well.
As a result, I’ve spent over £1,000 on attenuation crates to improve the efficiency of the chosen soakaway area, which I hadn’t originally budgeted for.
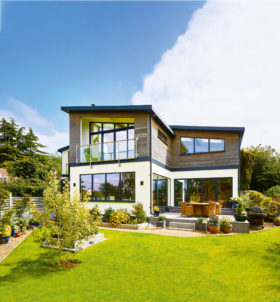
Let there be light
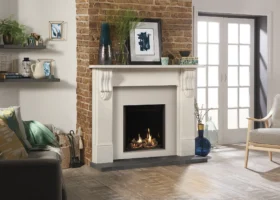
I must confess that Julia and I have been quite picky about illumination. We both share the opinion that from an aesthetic and economic point of view, LED lighting should dominate the overall effect. We’ve come to realise that back lighting is the key to creating the wow factor we’re after.
I mean, let’s face it – if we’re going to pay for a beautiful oak frame, I want to see it in its full glory, but lit with a degree of subtlety at the same time. We’ve opted for LED strip lighting along the lengths of all the first-floor purlins, which should softly illuminate the ceiling from behind the oak structure. It won’t be cheap but Julia and I have loved that idea for a long time.
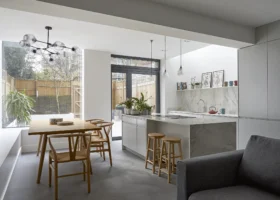
The living room will have no ceiling lights at all. Instead, we’re going for a few wall fittings and lower level table lamps. We will finish it off with eight LED floor fixtures at the base of each principle oak post.
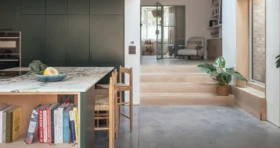
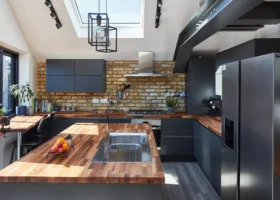
The kitchen and utility will be illuminated with conventional LED down lighters. When Edward said there would be a total of 60 located around the house I did have to take a deep breath before agreeing to go for it. After all, there’s no point short changing ourselves at this point!
I found some very reasonably priced LED units from GAP Lighting, and I’m going to use them for the stairway at foot level. I think they will look great, but Edward did shout out a few expletives because of all the work required to wire them.
The main hallway and landing feature fully vaulted ceilings, and I just let Julia have her way on this one – she always swore that one day she’d have her dream house with proper bling chandeliers, so watch this space. They haven’t been ordered or paid for yet, so I still have that pill to swallow. Either that or I need to get some more overtime in!
A hands-on approach
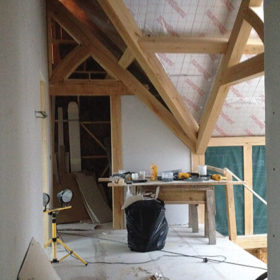
Once the first fix was done, the remaining space within the floor joists could be used to run the mechanical ventilation and heat recovery (MVHR) ducting through to each zone of the house. I actually found the job quite enjoyable and the kit supplied by Systemair was very user-friendly, with the instruction diagrams fairly easy to follow.
The gap left behind within the webbing of the posi joists was a perfect fit for the ducting and looks really neat. I did have to drill though a few noggins here and there, but in the main it was a straightforward job. I must admit, it looks like a plate of spaghetti at the point where all the ducts come out of the unit, but it all makes sense to me.
Edward came up with the idea of wiring some of the lights to automatically turn the system’s boost function on. This means that as soon as they’re switched on, the air is exchanged at a faster rate than normal – a very handy feature, particularly in the bathroom and ensuite.
The only bad news is that with the electrics and plumbing now complete, I am back on insulation duty, which I hate with a venom. This is the second layer that will cover up the first fix work and bring the wall makeup out to its final thickness before it’s plasterboarded.
I’ve decided to take a couple of days off work to hit the job hard and get it over with! The upside is that the next job – putting the plasterboard in – heralds the final stretch to the finishing line, which is keeping me motivated.
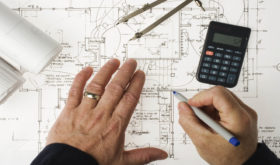
Weighing up the cost
On the finance front, my budget is looking pretty good. I’ve only underestimated one thing recently and that was the drainage equipment, for which I had allowed £1,000. However, the final bill came closer to £2,000 and now I have to get it all laid too.
I could have opted for some cheaper materials but I felt safer with the Osma range of products from Wavin as it’s so much more robust-looking with steel rodding eyes and inspection covers rather than plastic. Ultimately, I felt that anything going wrong underground was something I would hate to have to deal with further down the line.
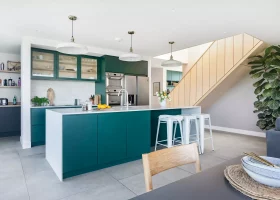
I guess the final stages of the project must be coming up, as Julia seems to have her work cut out in researching and getting quotes for bathrooms and kitchens. I’ve been chuffed with her hard-nosed wheeler-dealer approach and she’s come in well under budget on the bathroom and ensuite. Let’s hope she can work even more magic on the kitchen price.
Next month: Once the second fix of insulation is completed, Mark will get started on plasterboarding so the electrics and plumbing can be finished.