- Plan ItBack
- Design ItBack
- Build ItBack
- Homes
- ProductsBack
- CostsBack
- Self Build Cost Calculator
Estimate your project costs instantly with Build It's interactive self-build cost calculator
Calculate Now - Costs & Finance
- Contracts & Warranties
- Build It Estimating Service
Get an accurate, detailed cost breakdown of your project
Submit plans
- EventsBack


 Login/register to save Article for later
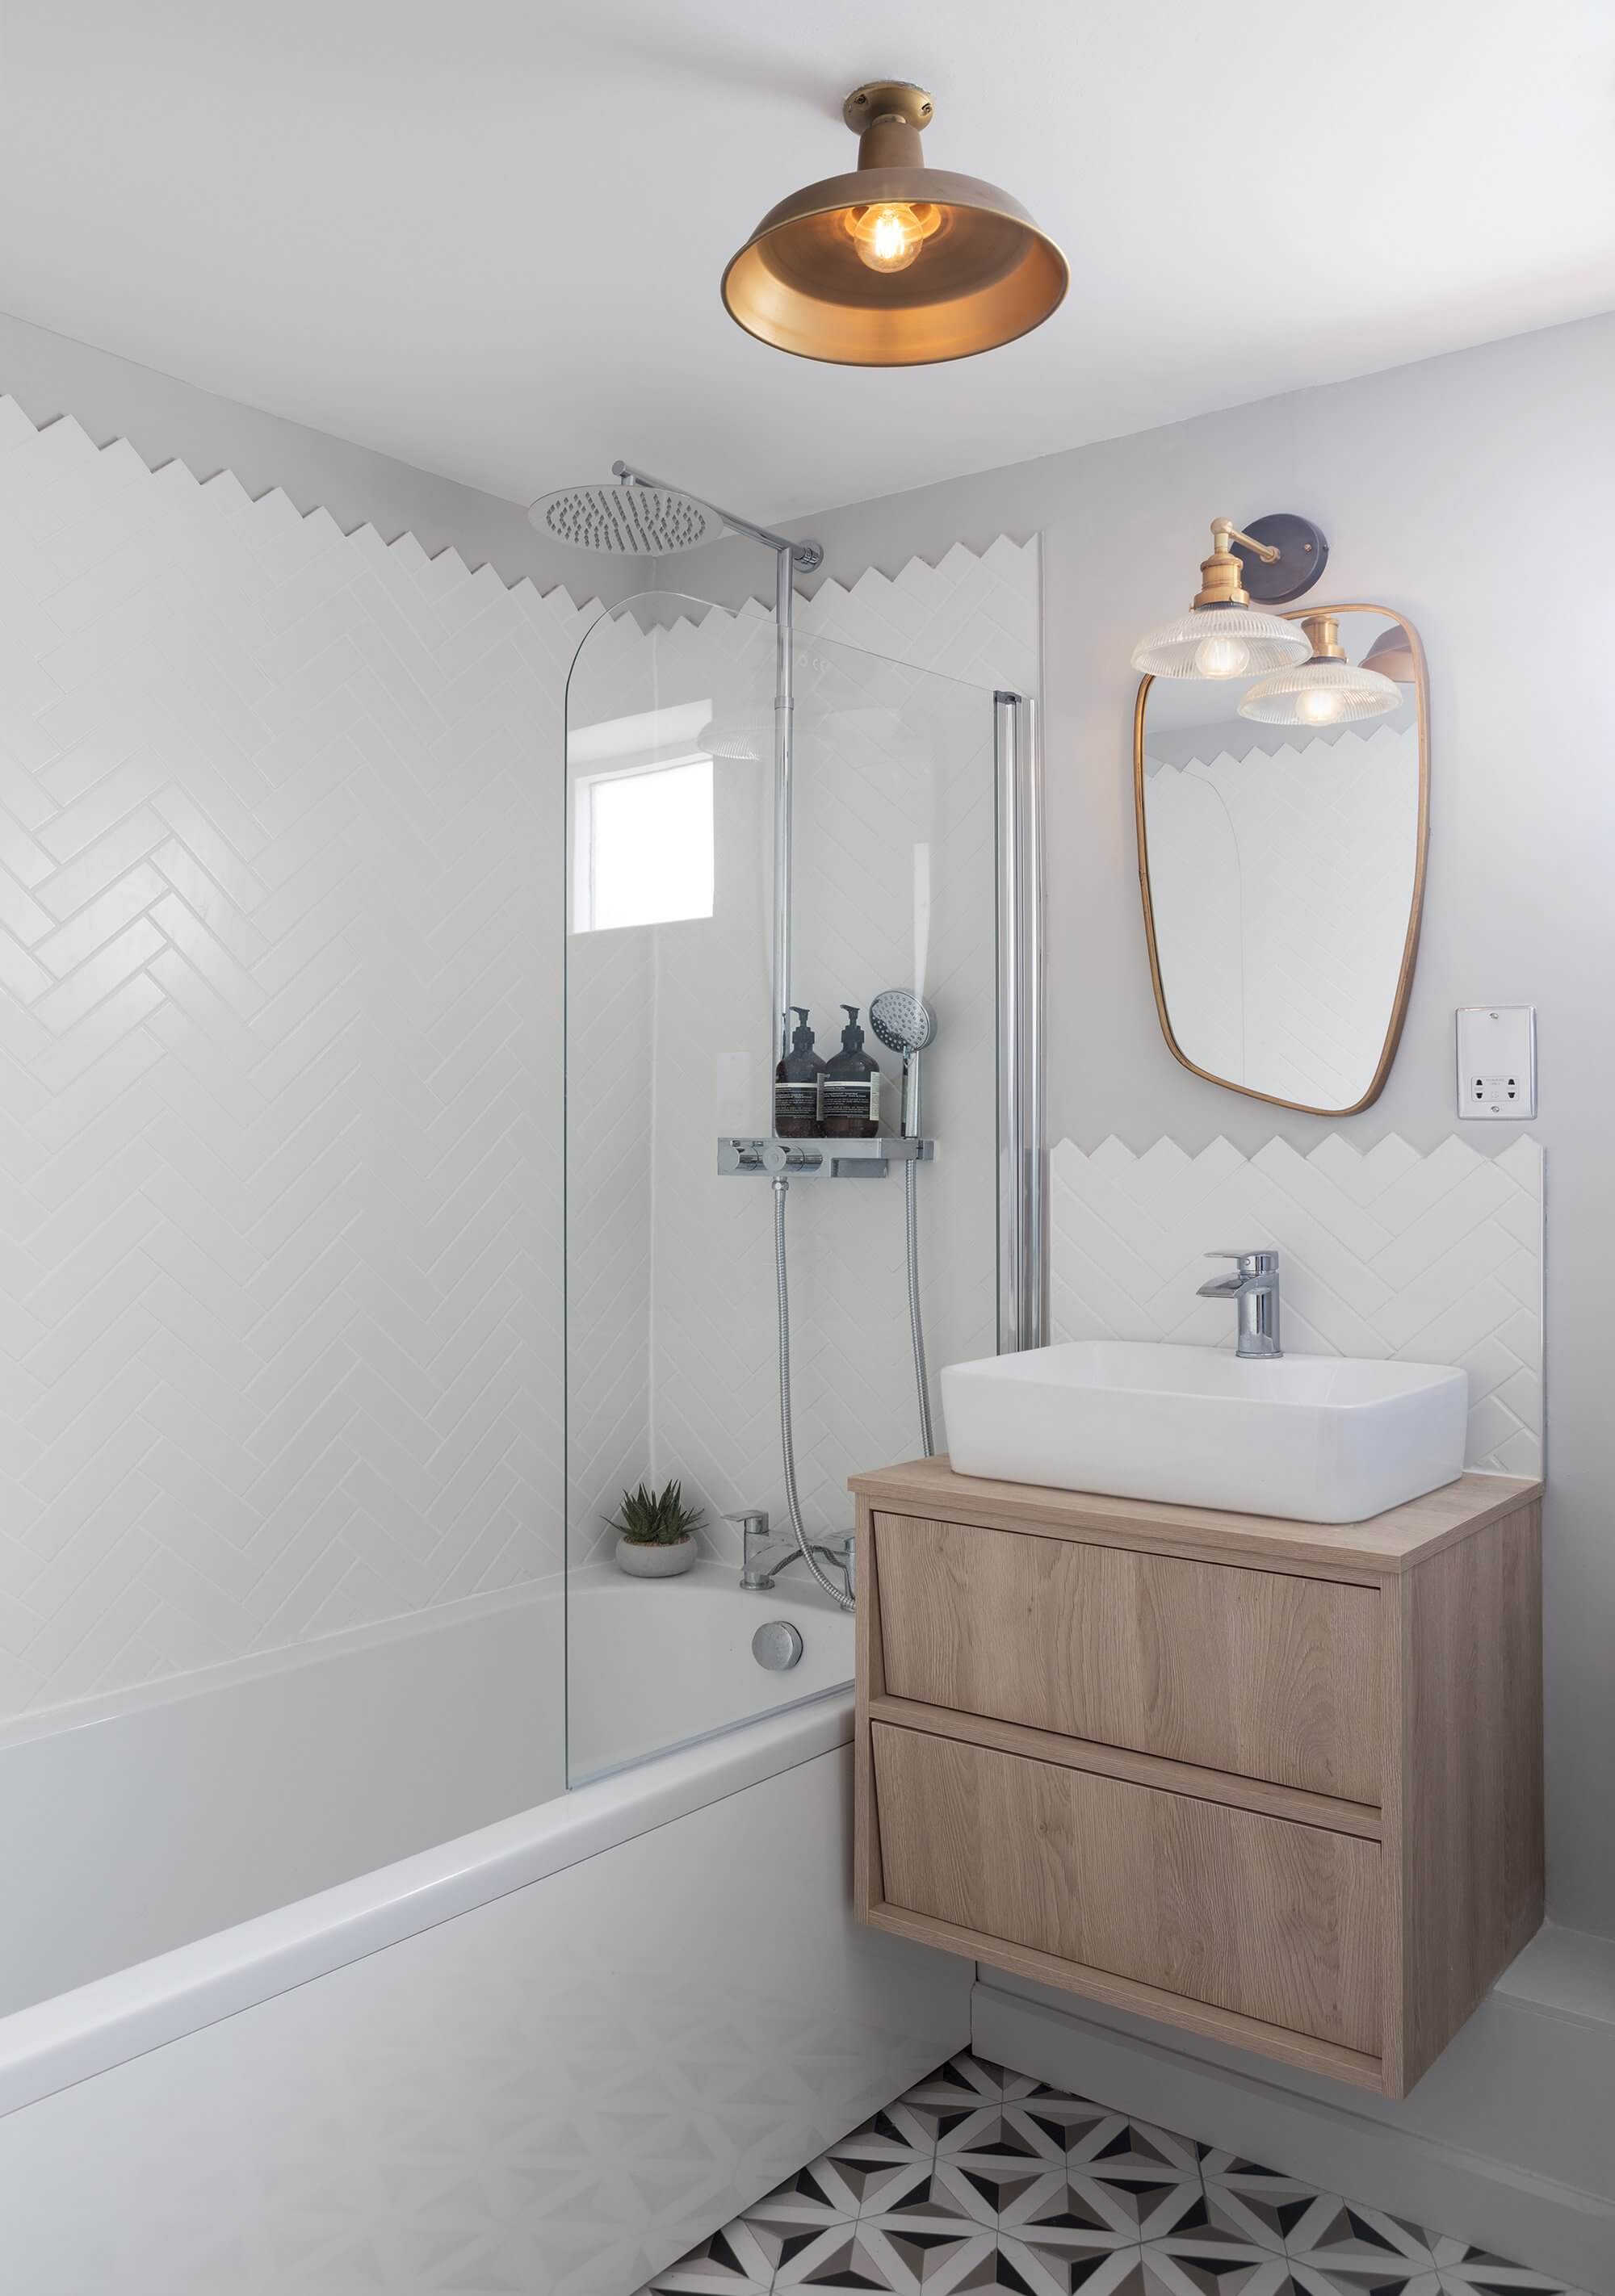
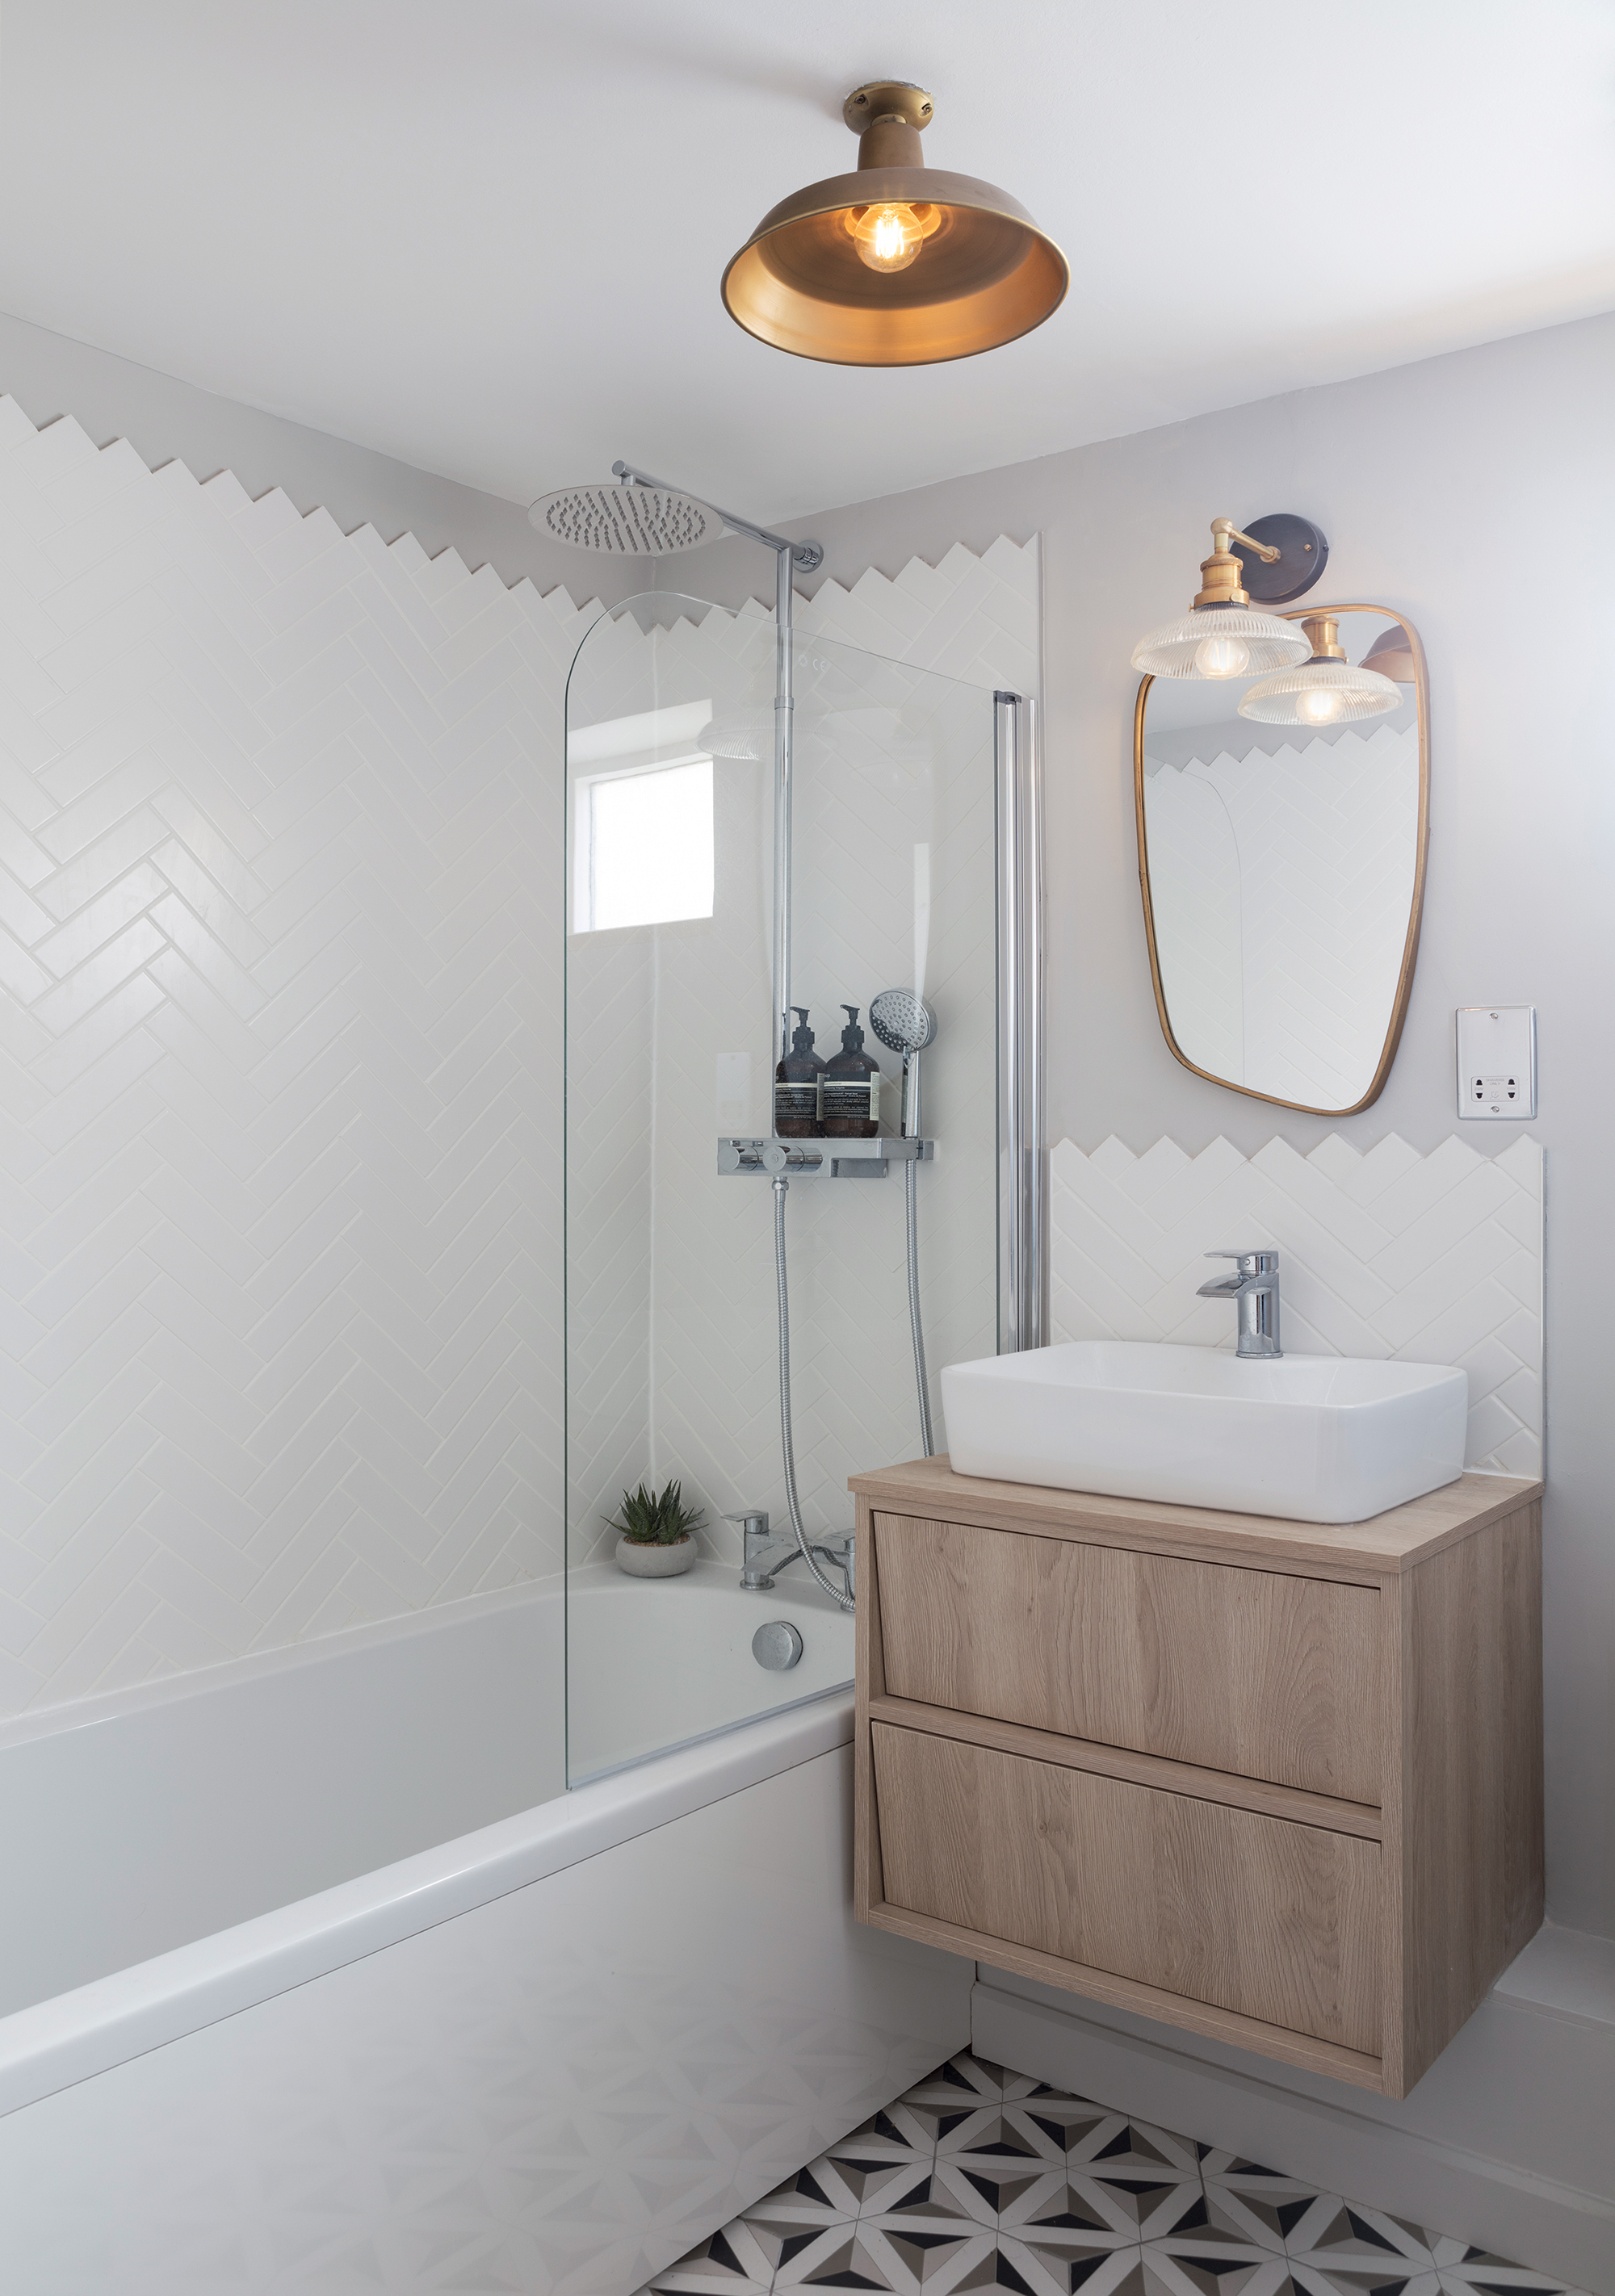
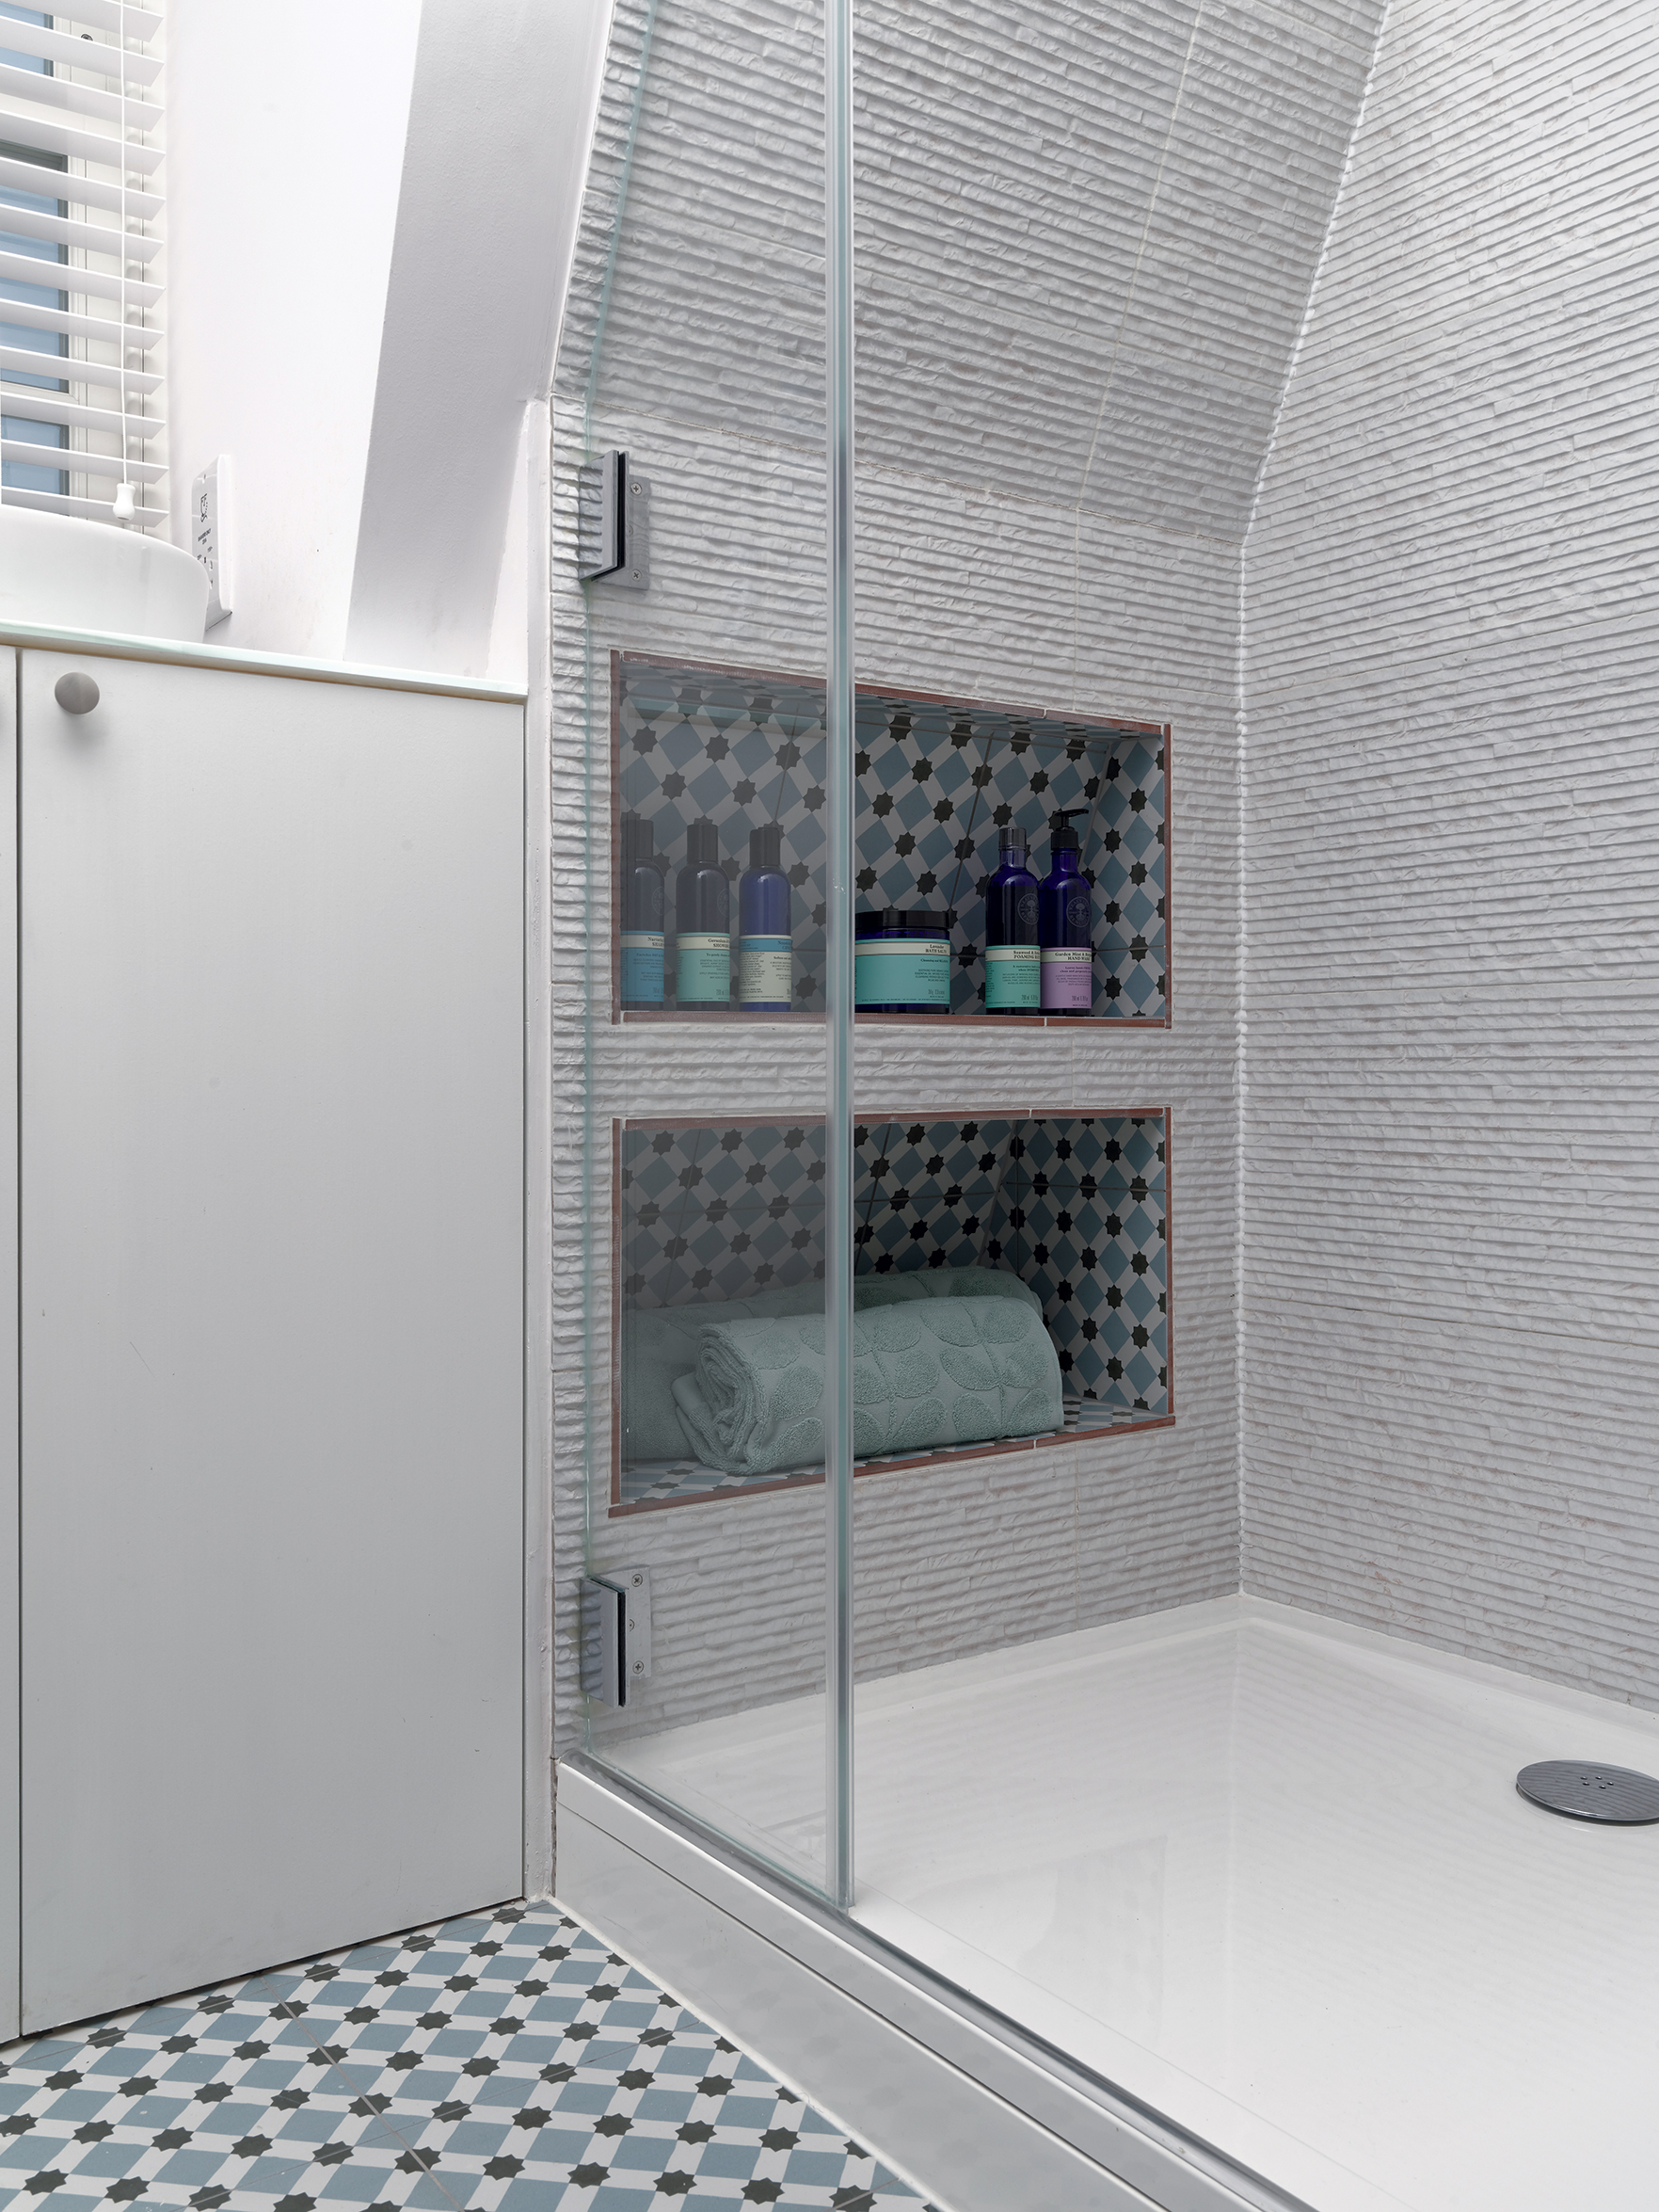
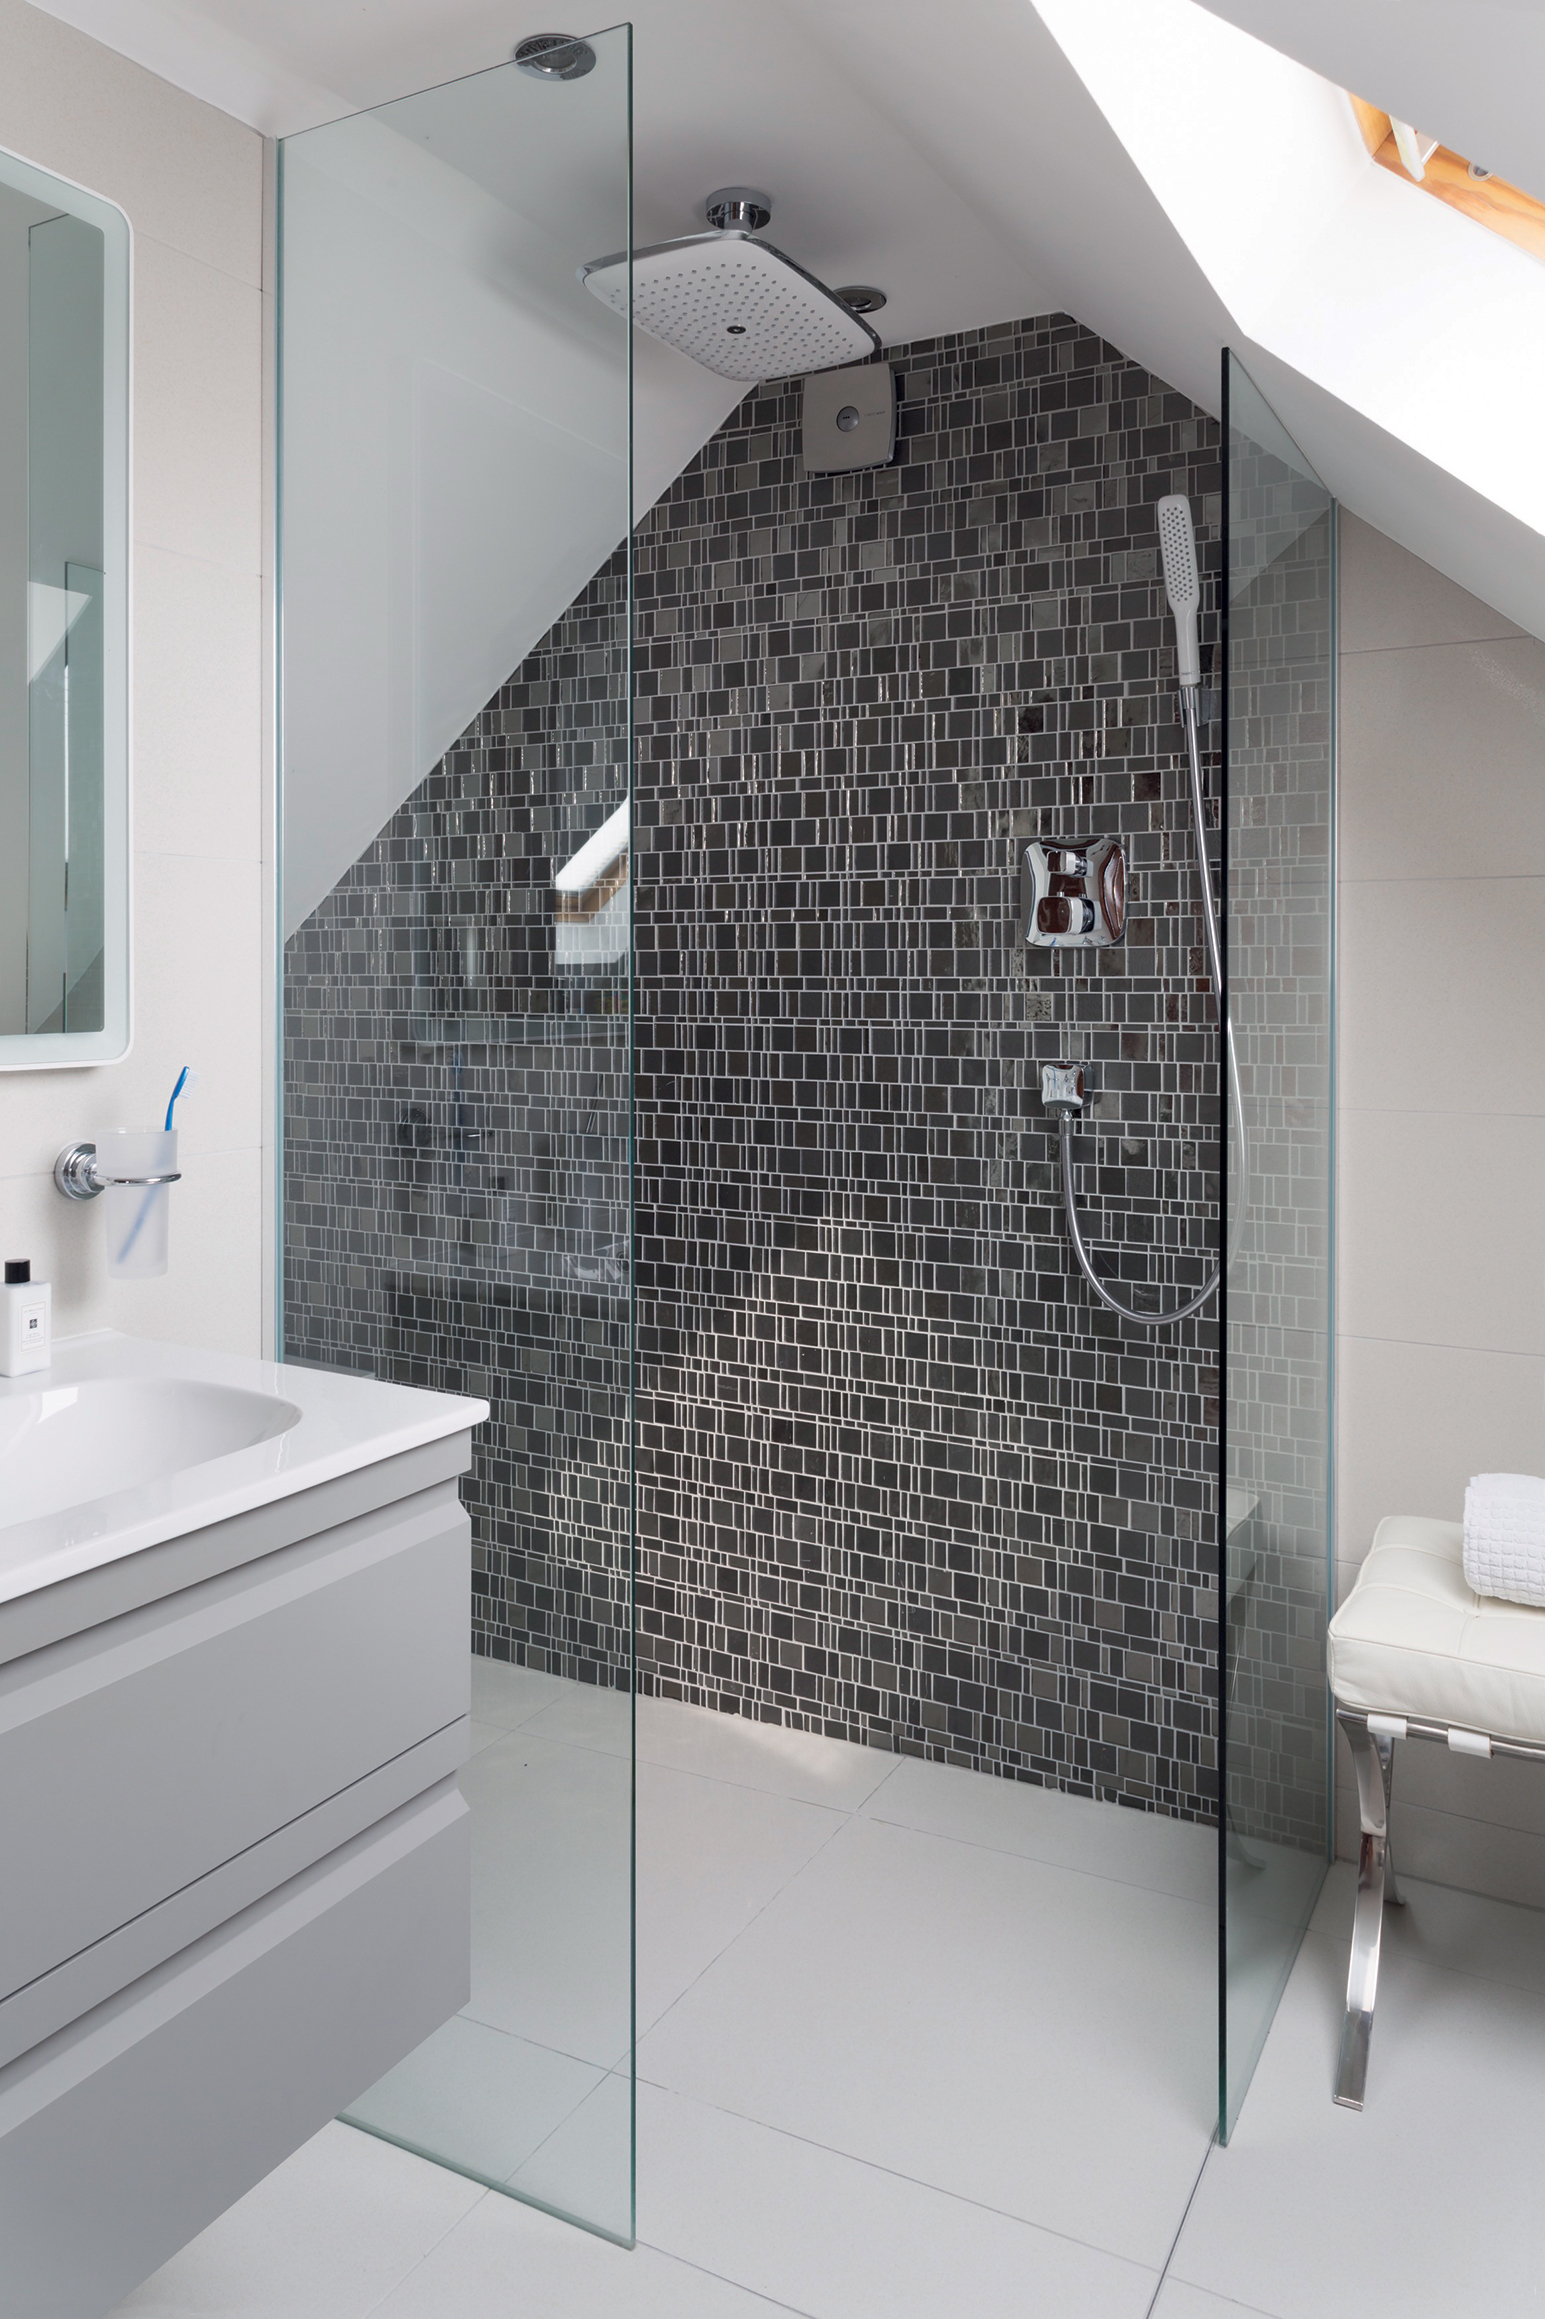
How to Tile a Bathroom Wall

Professionals will charge upwards of £20 per m2 for most wall tiling jobs, but if you’re looking to pinch the pennies on your self-build or renovation, then it’s well worth taking on the tiling as a DIY project.
Even a novice can make a good job of tiling; and the key to success lies in careful planning and preparation.
The first step is to calculate the number of tiles you need (including an excess for ‘wastage’ – in other words breakages and cuts).
Most manufacturers and suppliers offer guides on their websites as to how many square metres of wall each pack of tiles can cover. Match your requirements up with this, then add around 10% for wastage and spares.
Prepping the wallNew walls should already be suitably prepared to accept tiles (you may need to score plaster with your notch trowel to make a good ‘key’ for the adhesive to stick to). Existing walls might need some remedial work to provide a sound and level base for the adhesive and tiles. |
In the below guide, our seasoned expert has simply pushed the tiles into position by hand, ensuring they’re flush by eye.
You may prefer to lightly press a straight-edged baton diagonally across several tiles to help you achieve a flush surface throughout.
Project guide: Tiling a wall
| You will need | ||
|
|
|
 Step 1:
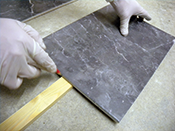
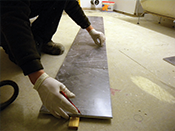
To help you determine where you need to set out your tiles, start by making a gauging stick. Take a length of timber and lay it on the floor. Place a tile on it lengthways, flush with one end of the stick, and mark the timber where this tile finishesx
Step 2:
Place another tile in sequence with the first (separated with tile spacers) and mark where this tile ends. Repeat the process until you fill up all the space available on the stick. Saw off any excess timber, then make up another stick for the width of the tiles
 Step 3:
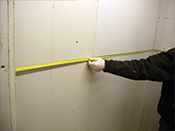
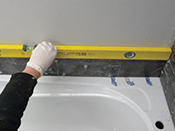
Measure the width of the first wall you’ll be tiling. Halve this to find the centre of the wall. Use a spirit level and pencil to mark a vertical line at this point from floor to ceiling, before finding and marking the horizontal centre line
 Step 4:
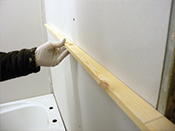
Determine where the tiles will start and end by offering your gauging stick up to the lines you’ve drawn on the wall. Mark out tile locations and cuts accordingly. Aim for even cuts at the extremes of the wall (top and bottom; left and right) for a good finish
 Step 5:
Starting at floor level, prop your first tile up with spacers to allow for a grouting gap. Hold the tile against the line on your wall and mark up for the first cut. Place the tile in your cutter, ensuring the blade lines up perfectly with the marked line
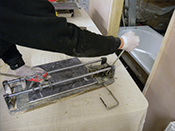 Step 6:
To make the cut, draw the blade along the front of the tile using a single stroke of the scoring wheel. Apply just enough pressure to score all the way along the surface. Move the wheel to the centre of the tile and pull down the handle to snap along your scored line
 Step 7:
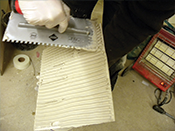
Spread adhesive on the back of the cut tile using a notched trowel. Set the tile into position on the wall and press gently but firmly. In this project, the wall includes cuts around a bath, so we’ve fixed a single column of tiles vertically with spacers between each one
 Step 8:
At the point where the top of the tiles is higher than the top of the bath, take your spirit level and draw a horizontal line above the tub. Any tiles laid below this line will need to be cut to size, as per steps 5 and 6
 Step 9:
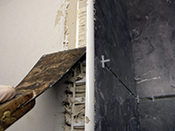
Where the tiles meet the lip of the bath, you may need to make a shaped cut. Offer the tile up to the area dn market the position of the lip and the depth of the cut. Use a square to extend these guides and create the template of the cut
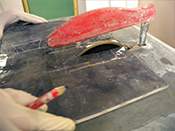 Step 10:
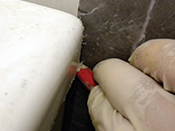
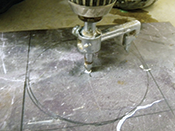
Wearing safety goggles and gloves, use the tile saw to cut the tile down both sides of the lip you’ve marked out. Keep making cuts 10mm apart through the section, then nibble these ‘fingers’ off using tile cutters. File down any rough edges
 Step 11:
Spread adhesive onto the back fo the cut tile and push it into position, using spacers along the top of the bath to make room for the sealant. cut the rest of the tiles to size and fix them to the wall along the top of the bath; again using spacers
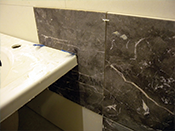
Step 12:
With the complicated cuts done, you can now spread adhesive directly onto the wall. Tackle around one square metre at a time. Position the tiles carefully, using spacers both horizontally and vertically. Complete the wall, cutting in any tiles at the perimeters
 Step 13:
On the adjacent wall, continue the line of the lowest cut using a spirit level. Set out as in steps 3 and 4, then cut and fix the first tile along the top of the bath, with its centre at the vertical line. Cut in the remaining tiles
 Step 14:
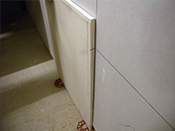
Wall trims are required at external corners, for safety and a good finish. Cut to length, spread a thin line of adhesive on the wall and embed the trim into it. Scrape off any excess adhesive and clean up the front of the trim with a damp sponge
 Step 15:
To cut in tiles around pipes, mark the height and width of the cut on a square tile. Box out the shape with your square, then use an offcut of the pipe to draw a circle. Mark the centre, drill with the tile hole cutter and file off rough edges
 Step 16:
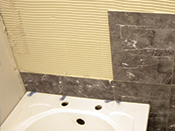
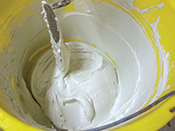
Once the walls are tiled, leave them to dry out before grouting. Put some water in a clean bucket, add the grout a little at a time and mix to a creamy consistency. Leave for five minutes before using
 Step 17:
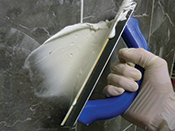
Using your trowel, scoop some grout onto a squeegee. Apply to the face of the tiles, working the grount into the joints well to avoid air bubbles. Cover a section of wall, then wipe off any exceess and continue
 Step 18:
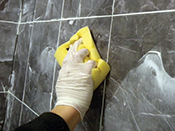
Leave for 10-15 minutes, then wipe down with a damp sponge (hold it flat so you don’t dig grout out of the joints). Rinse the sponge regularly. Complete the wall, leave for five minutes, then repeat. Leave for 30-60 minutes, then polish with a soft dry cloth
Top tips
- Always use flexible sanitary silicone rather than grout in the corners of a bathroom. In a wet environment, the point where walls meet can be subject to differential movement, which may cause grout to crack
- When sealing around a bath, half fill the tub with water before you start. Apply the silicone and leave overnight to cure, then empty the bath the next morning. This will stop the silicone from splitting in the future
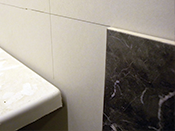
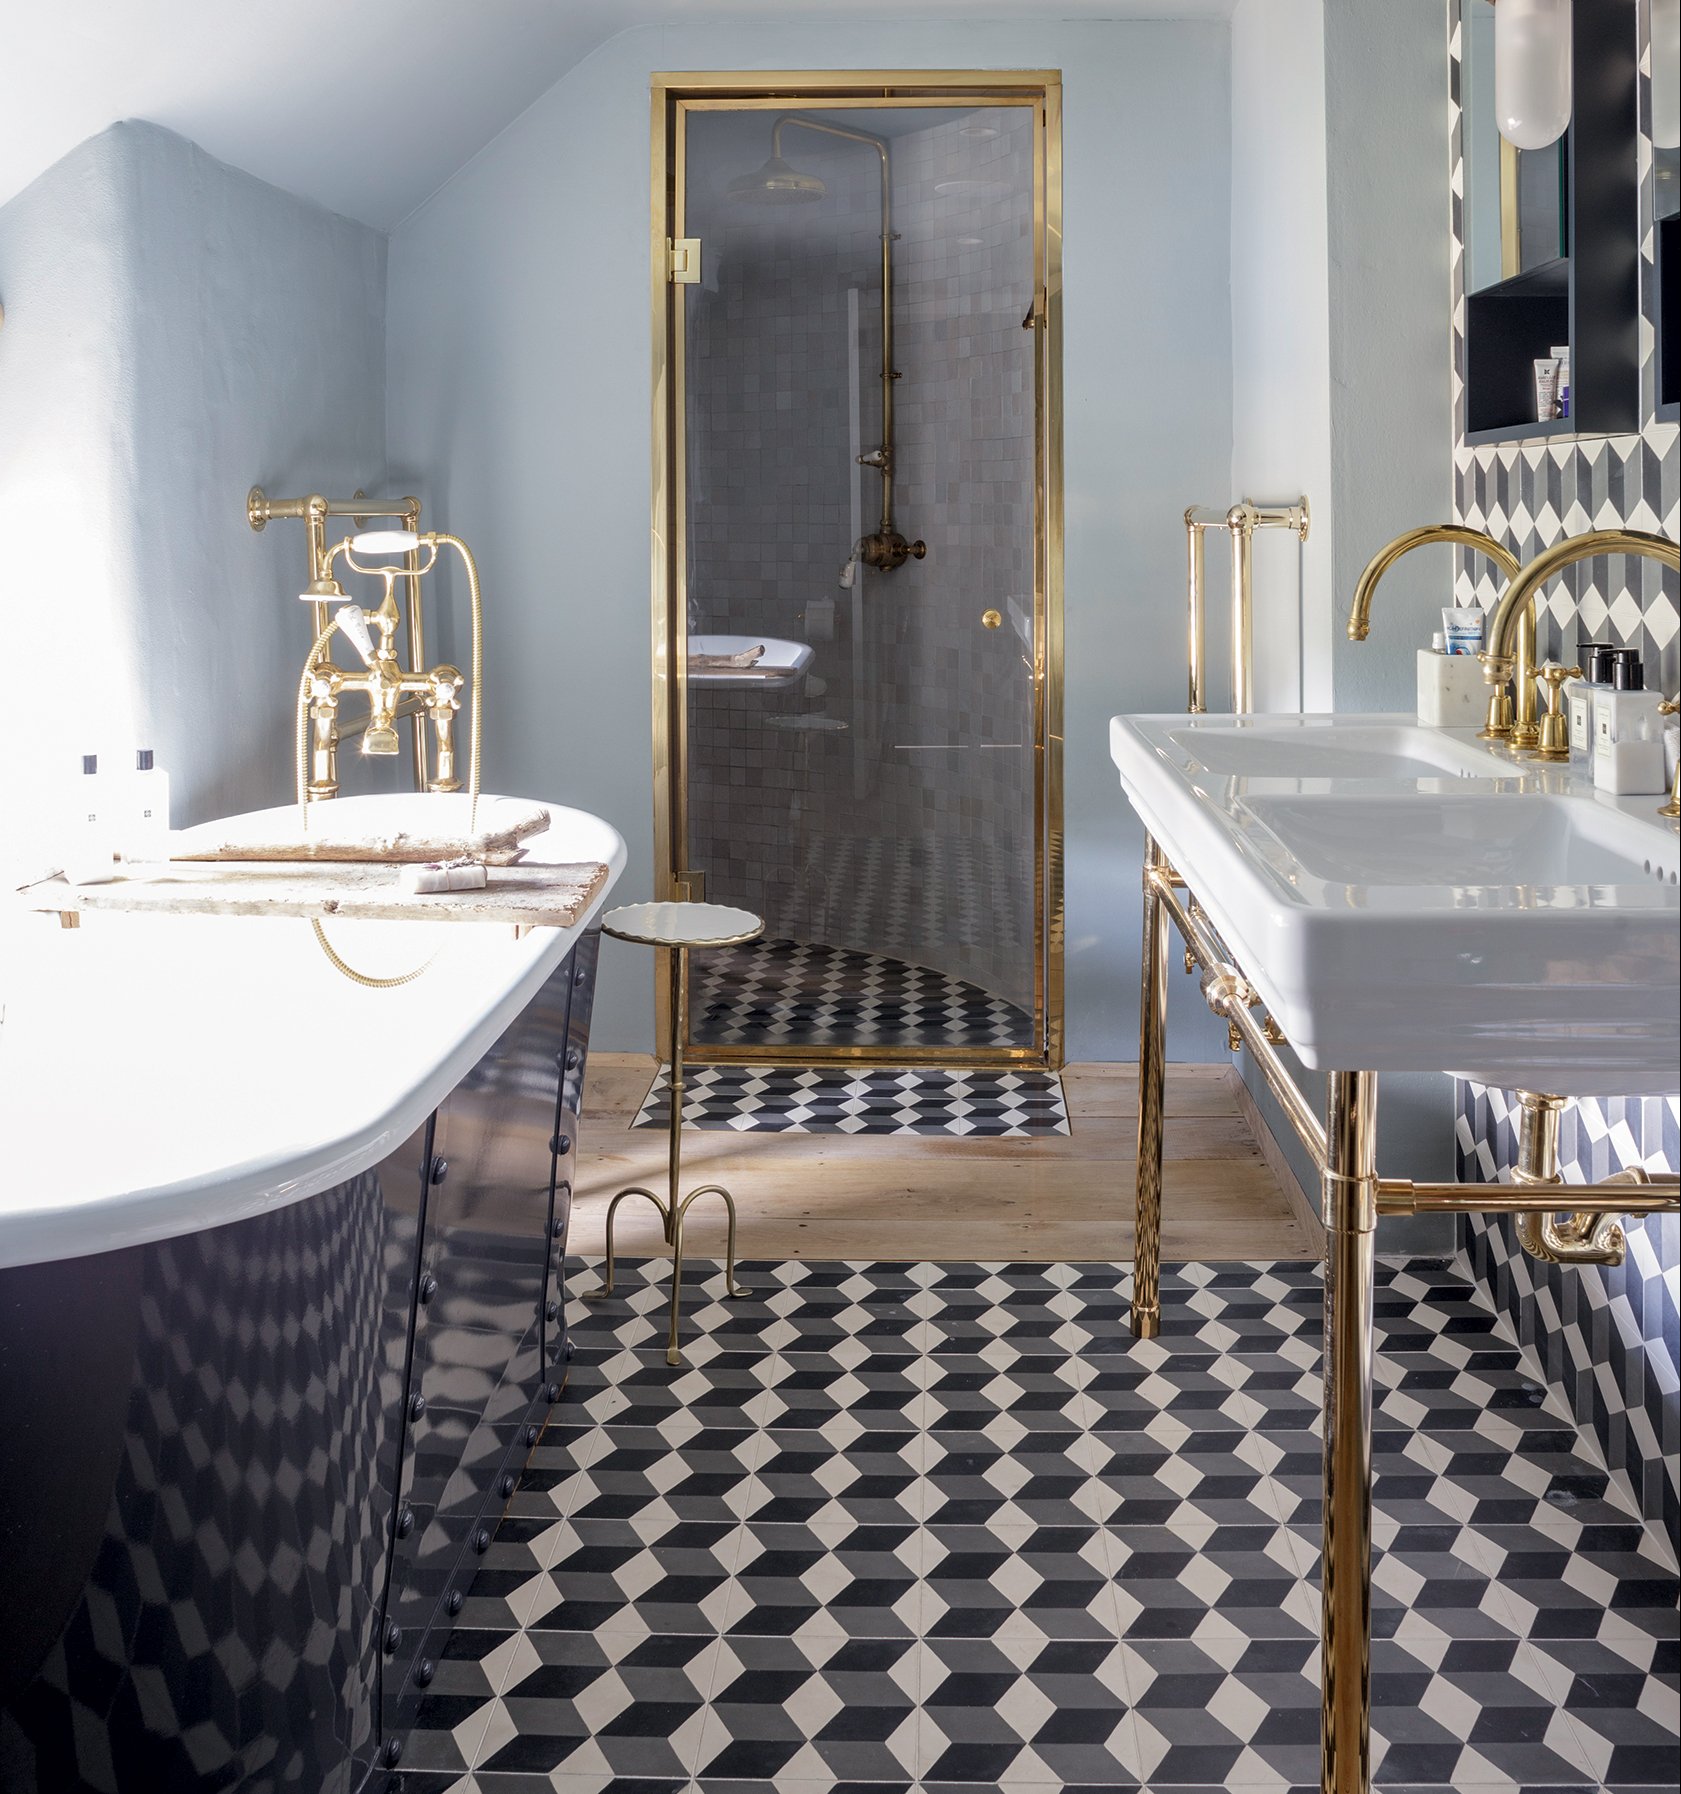
Choosing Bathroom Tiles
Bathroom tiles are a simple way to create character in a practical way.
Your choice of materials will vary depending on your desired aesthetic, budget and maintenance requirements.
Learn more: Choosing Bathroom Tiles

This step by step guide is supplied courtesy of TradesSupermarket
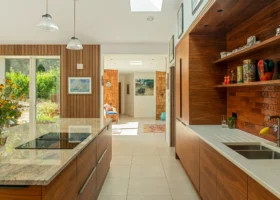
Main image: Fisher Interior Design

You may be interested in