Become a plot hunting pro with our next online training course!
Use code BUILD for 20% off
Book here!Use code BUILD for 20% off
Book here!Estimate your project costs instantly with Build It's interactive self-build cost calculator
Calculate NowGet an accurate, detailed cost breakdown of your project
Submit plans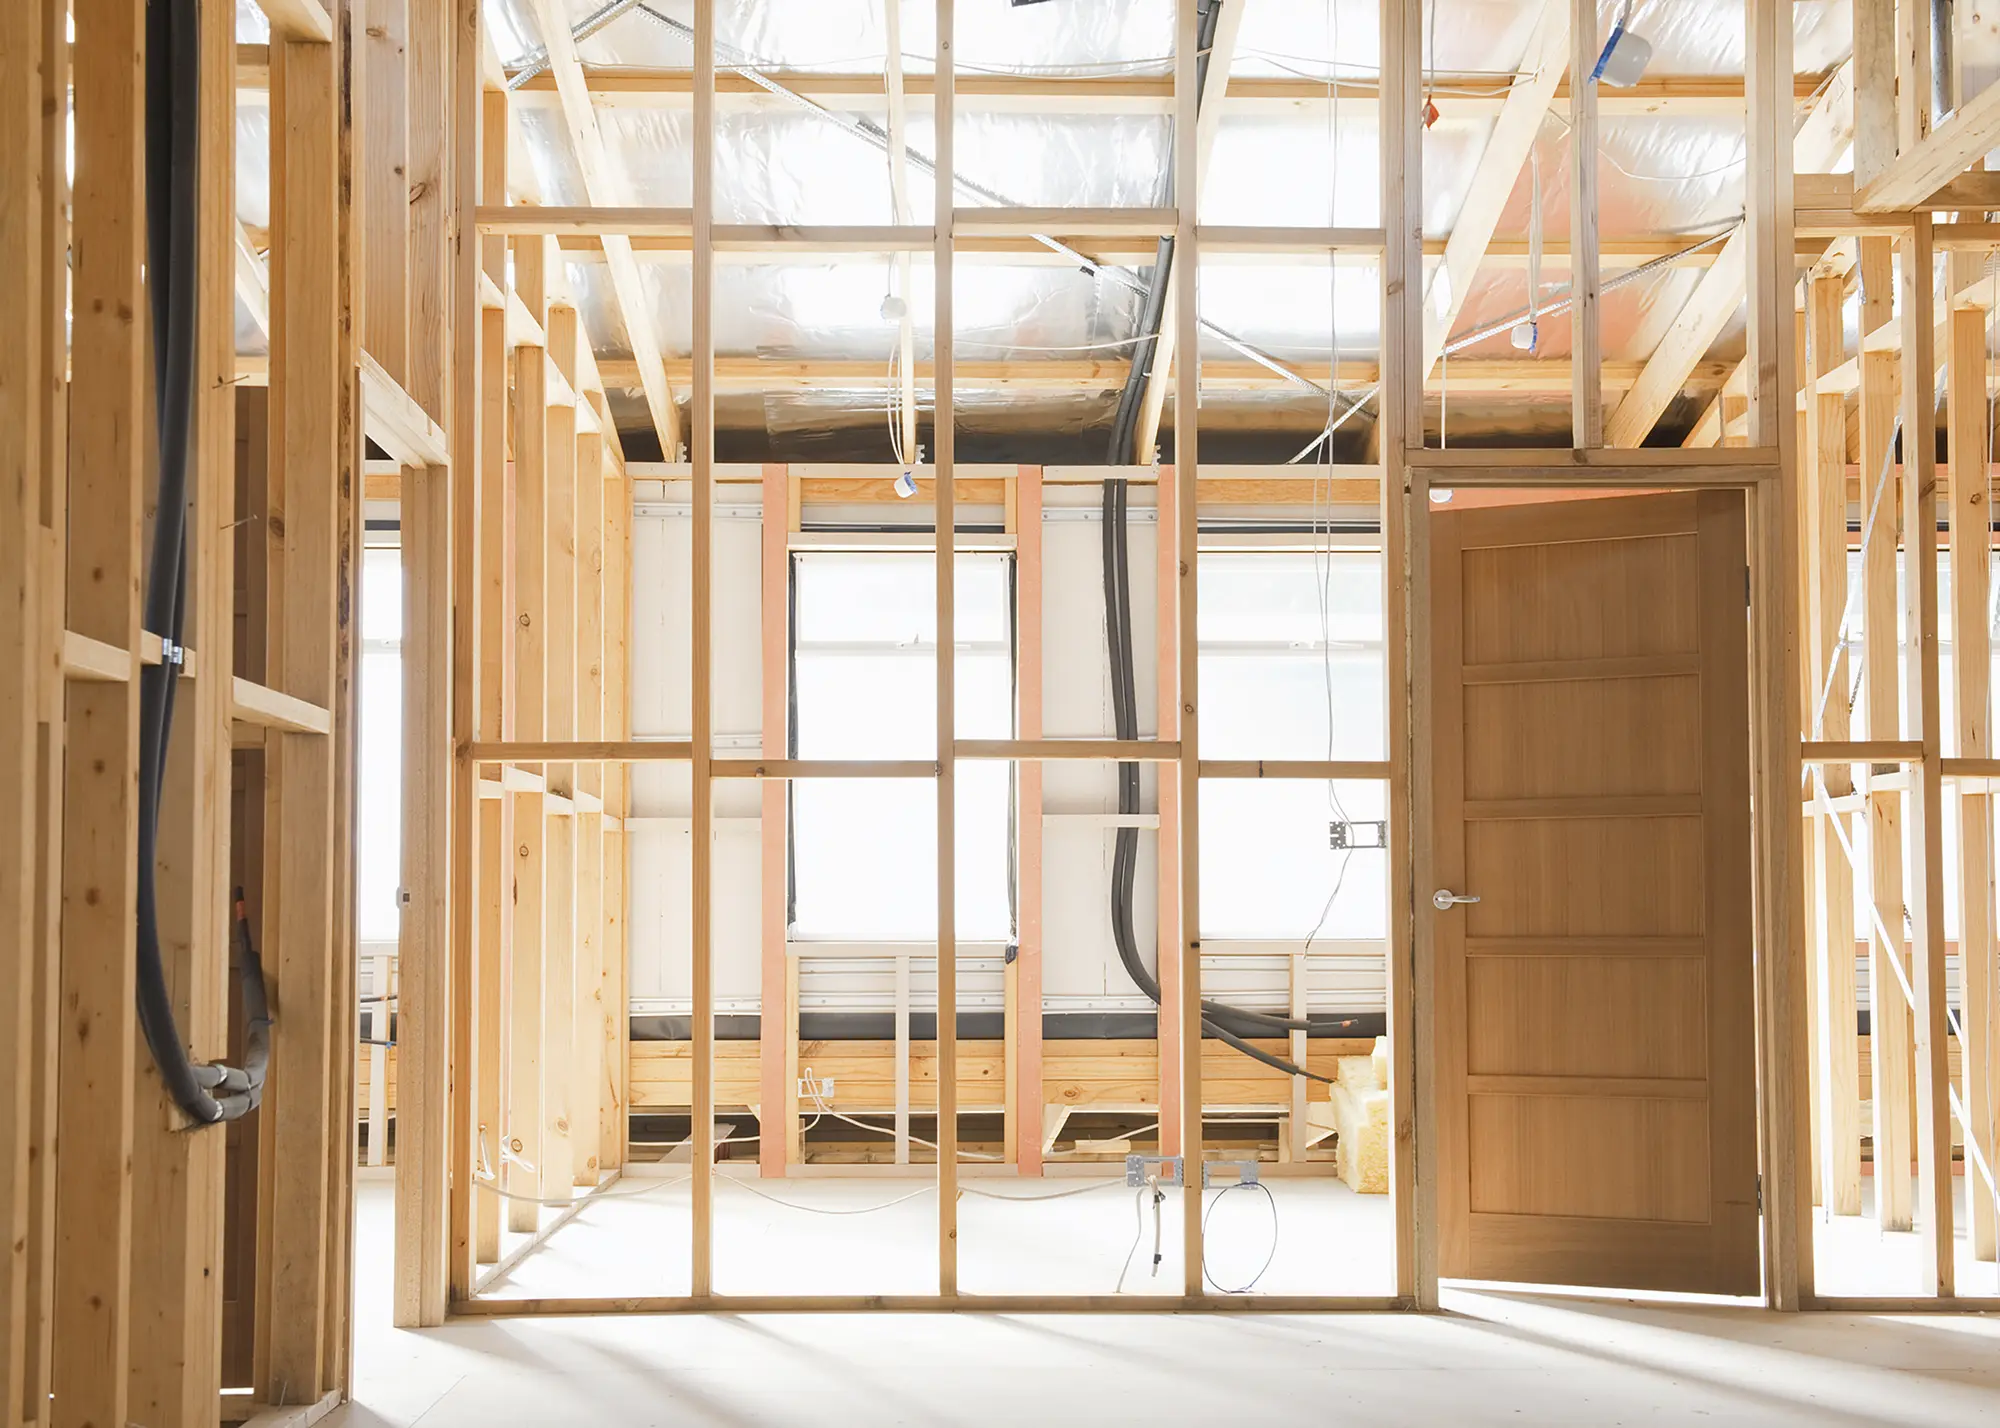

Designing generous, open-plan living spaces is a hugely popular home improvement trend in the UK. Whether it’s a kitchen-diner transformation, a seamless living area, or a reimagined bedroom layout, knocking down walls can bring in more daylight, improve internal flow and make your home feel more spacious.
But before grabbing a sledgehammer, though, it’s essential to consider whether opening up your floorplan is truly the best option, and how to execute the project properly. This guide explores the key factors to keep in mind, from initial planning to practical considerations and design choices.
Before committing to breaking down internal walls, it’s crucial to take a step back and consider your goals. What are you hoping to achieve? Are there other, less invasive ways to improve your layout? Start by asking yourself the following few questions; do I want a brighter, airier space? Better flow between rooms? Or, a more sociable area for family and friends? Sometimes, opening up a room is the best way to achieve these aims, but in other cases, alternative solutions – such as better lighting, reconfiguring doorways or even building a house extension – might be more effective.
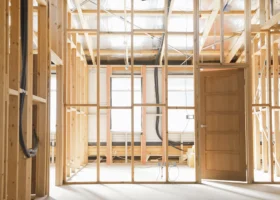
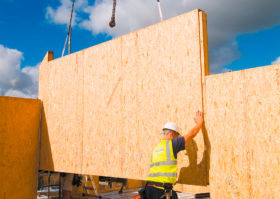
Timber stud walls are commonly used to divide up rooms. They’re quick to install and relatively simple to remove, too – although you should always check if they are load-bearing first. Photo: iStock.com/levkr
Not every home is naturally suited to large, uninterrupted spaces. Victorian terraces and semi-detached houses often lend themselves well to open-plan living, as they tend to have solid proportions and good ceiling heights. However, in a cosy cottage or period property with lots of charm, taking down too many walls could strip away its character or leave it feeling cold and empty. In addition, opening spaces up can make them more challenging (and more expensive) to keep warm. You may also need to add more or larger radiators, which will increase your costs.
If you’re already devising an extension, knocking down walls inside your home could work well alongside your plans. For example, opening up a kitchen-dining area and pushing out into the garden could truly transform the space. However, if you’re solely knocking through without adding extra square footage, it’s essential to ensure the new layout still provides the practical zones you need.
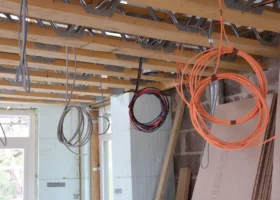
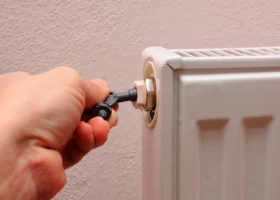
Once you’ve decided to go ahead, there are several key practicalities to bear in mind. Not all walls are the same and removing one could have significant structural and cost implications. Load-bearing walls play a critical role in supporting your home’s structure, whether they carry the weight of the floor above or contribute to the overall stability of the building.
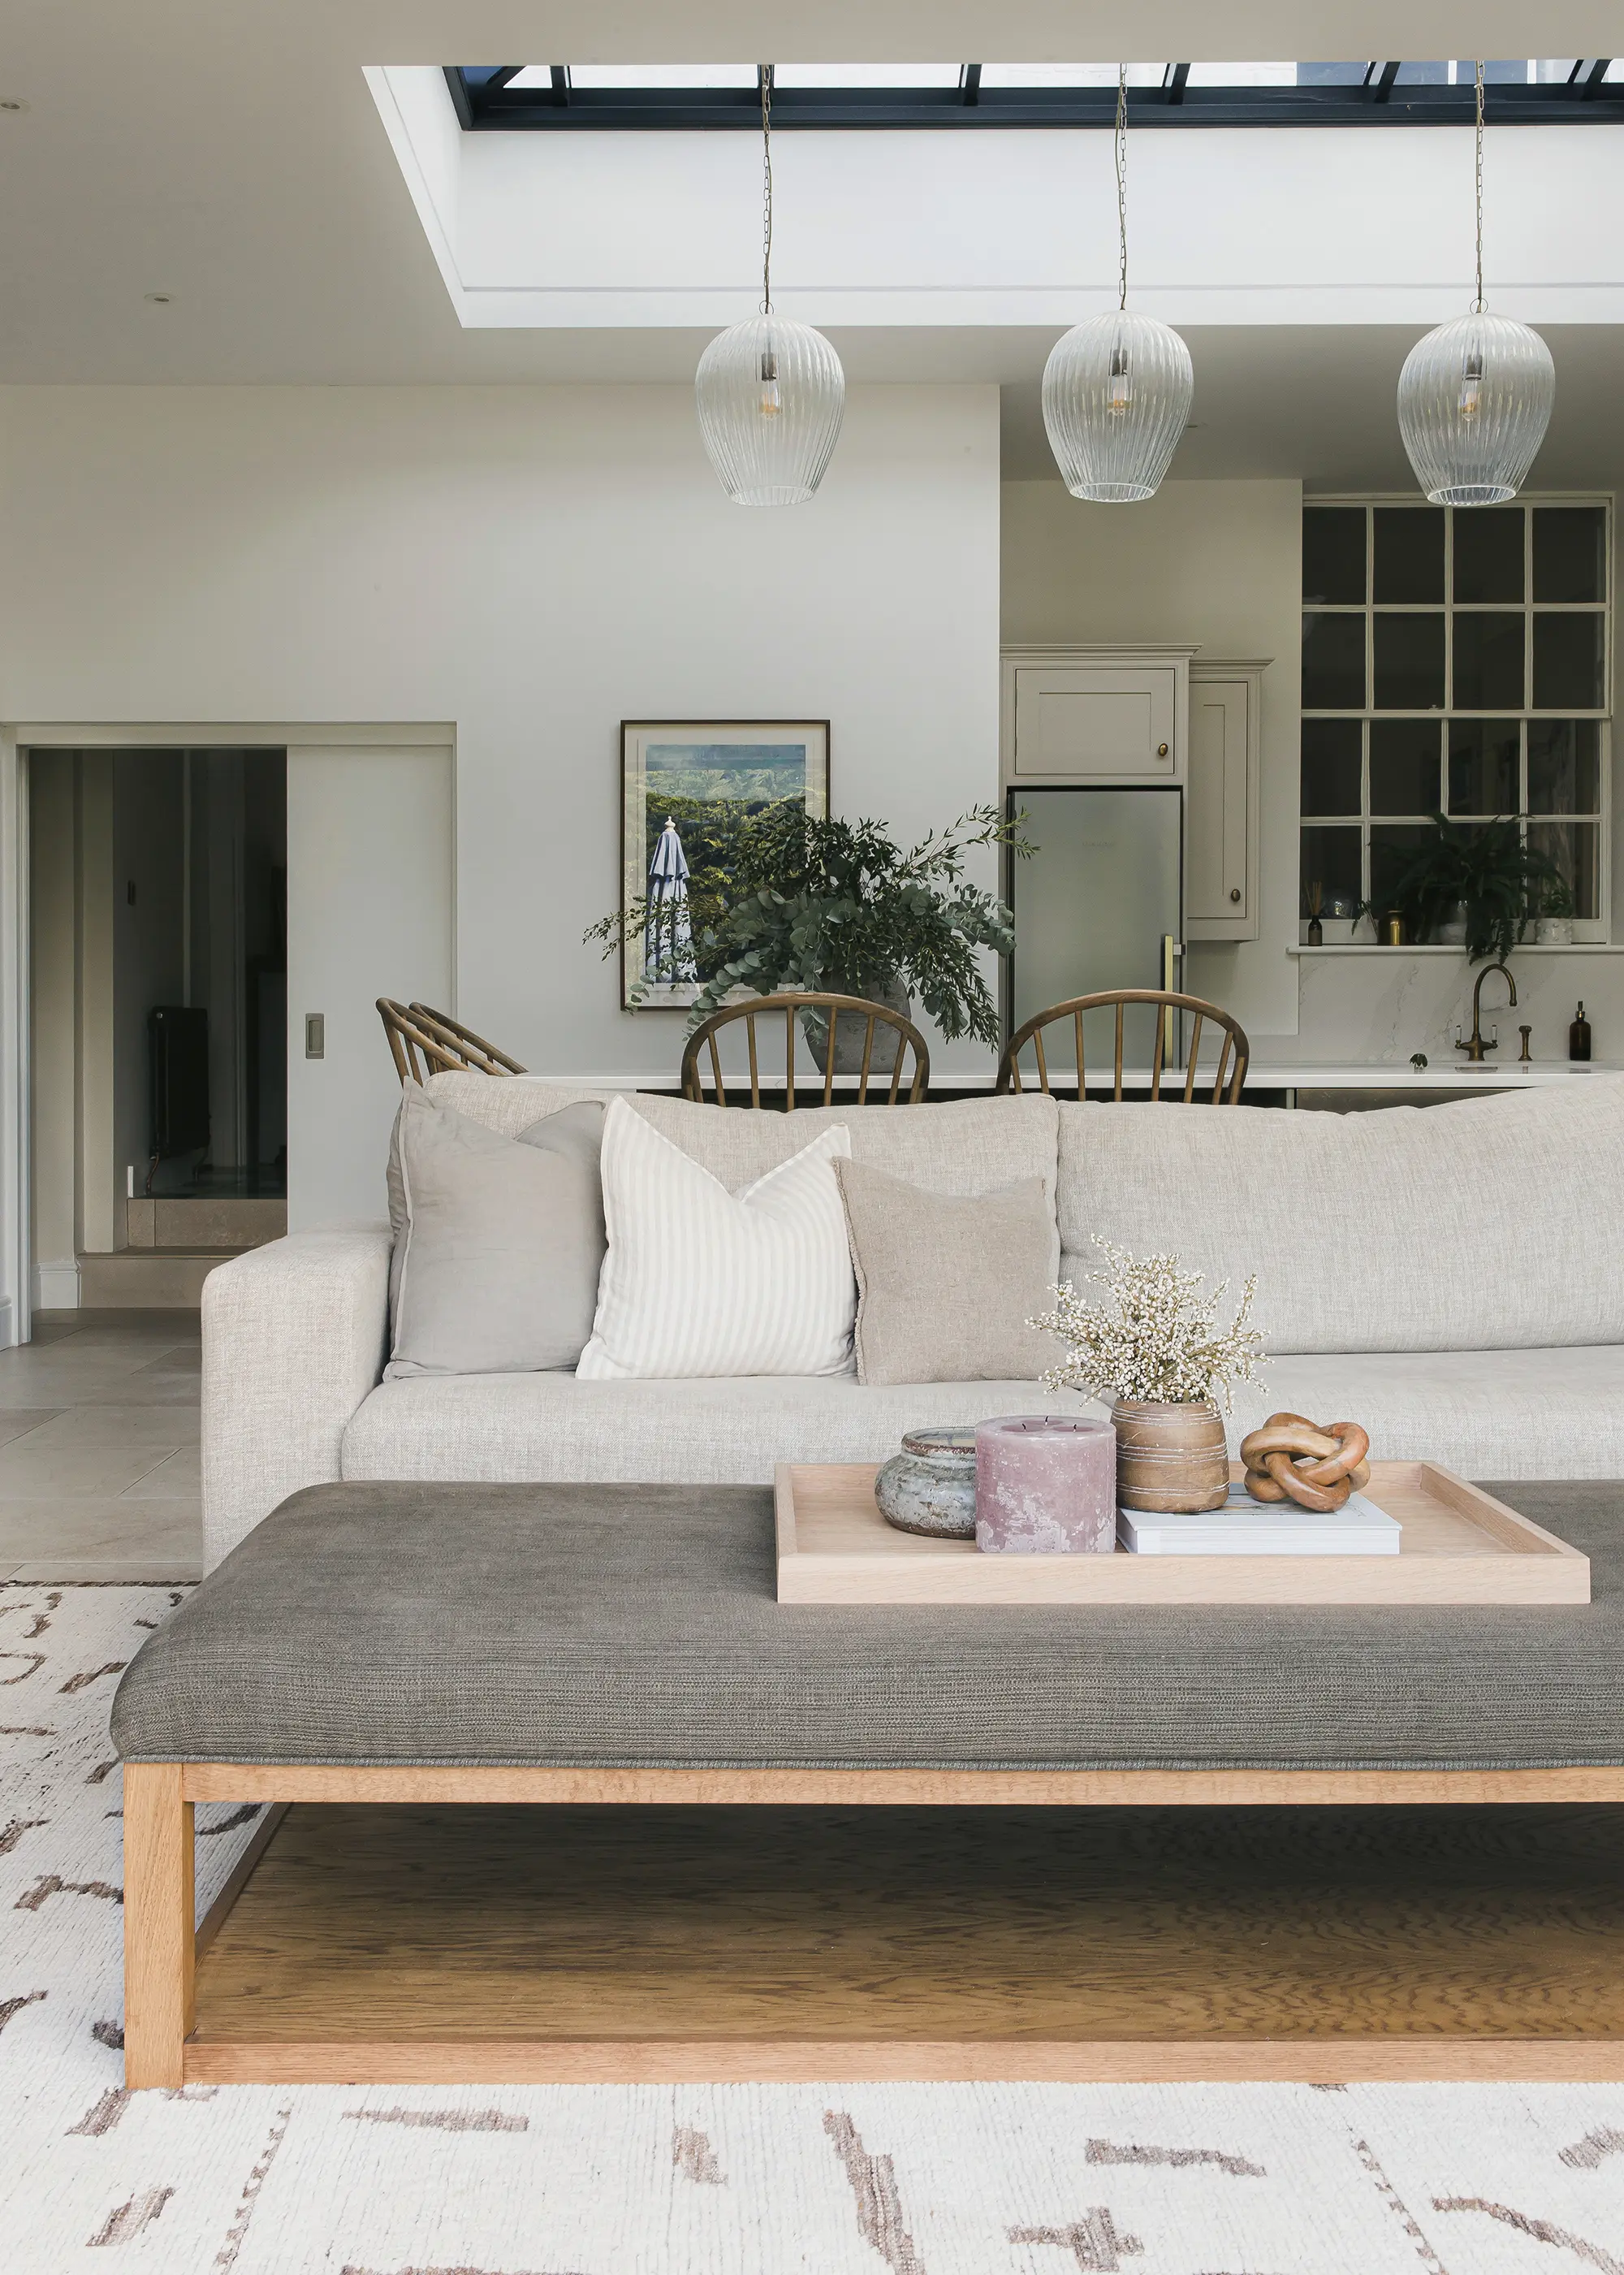
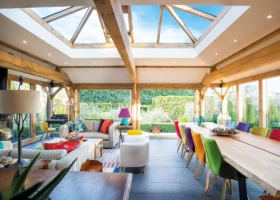
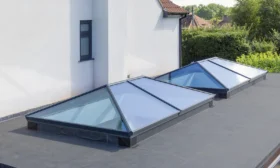
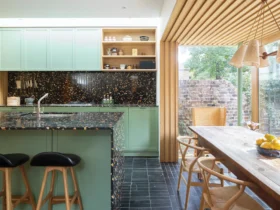
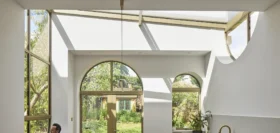
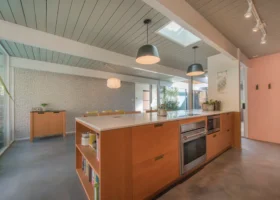
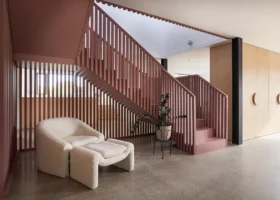
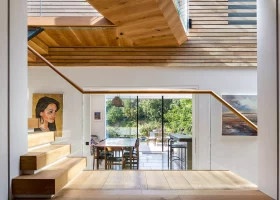
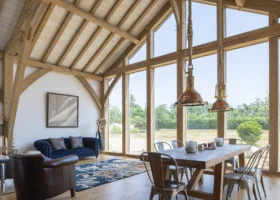
Claire Garner Design Studio delivered the fit-out and finishes for this stunning open-plan living space. Soft furnishings carefully divide the kitchen and living areas while discreet pocket doors add flexibility to the plan. An eye-catching rooflight, plus pendant lights, zone off and highlight the dining area
Even lightweight partitions may have developed a structural function over time, so it’s essential to get expert advice before making any changes. It can be easy to check whether a wall is load-bearing by knocking on it. If it sounds hollow then it is often simply a studwork partition with no load-bearing responsibilities – but be sure to have this checked by a professional. If your wall is structural, the process of removal involves:
In most cases, you’ll need to hire a structural engineer to calculate the size of the beam, and a builder to carry out the work. Plus, it’s likely you’ll also require building control approval. You can check this with your local authority, who manage these regulations at a local level. For simple stud partition walls the process is less complex and, while dusty, mostly involves knocking the plasterboard and timber out, before making good any gaps or holes where the walls had previously connected.
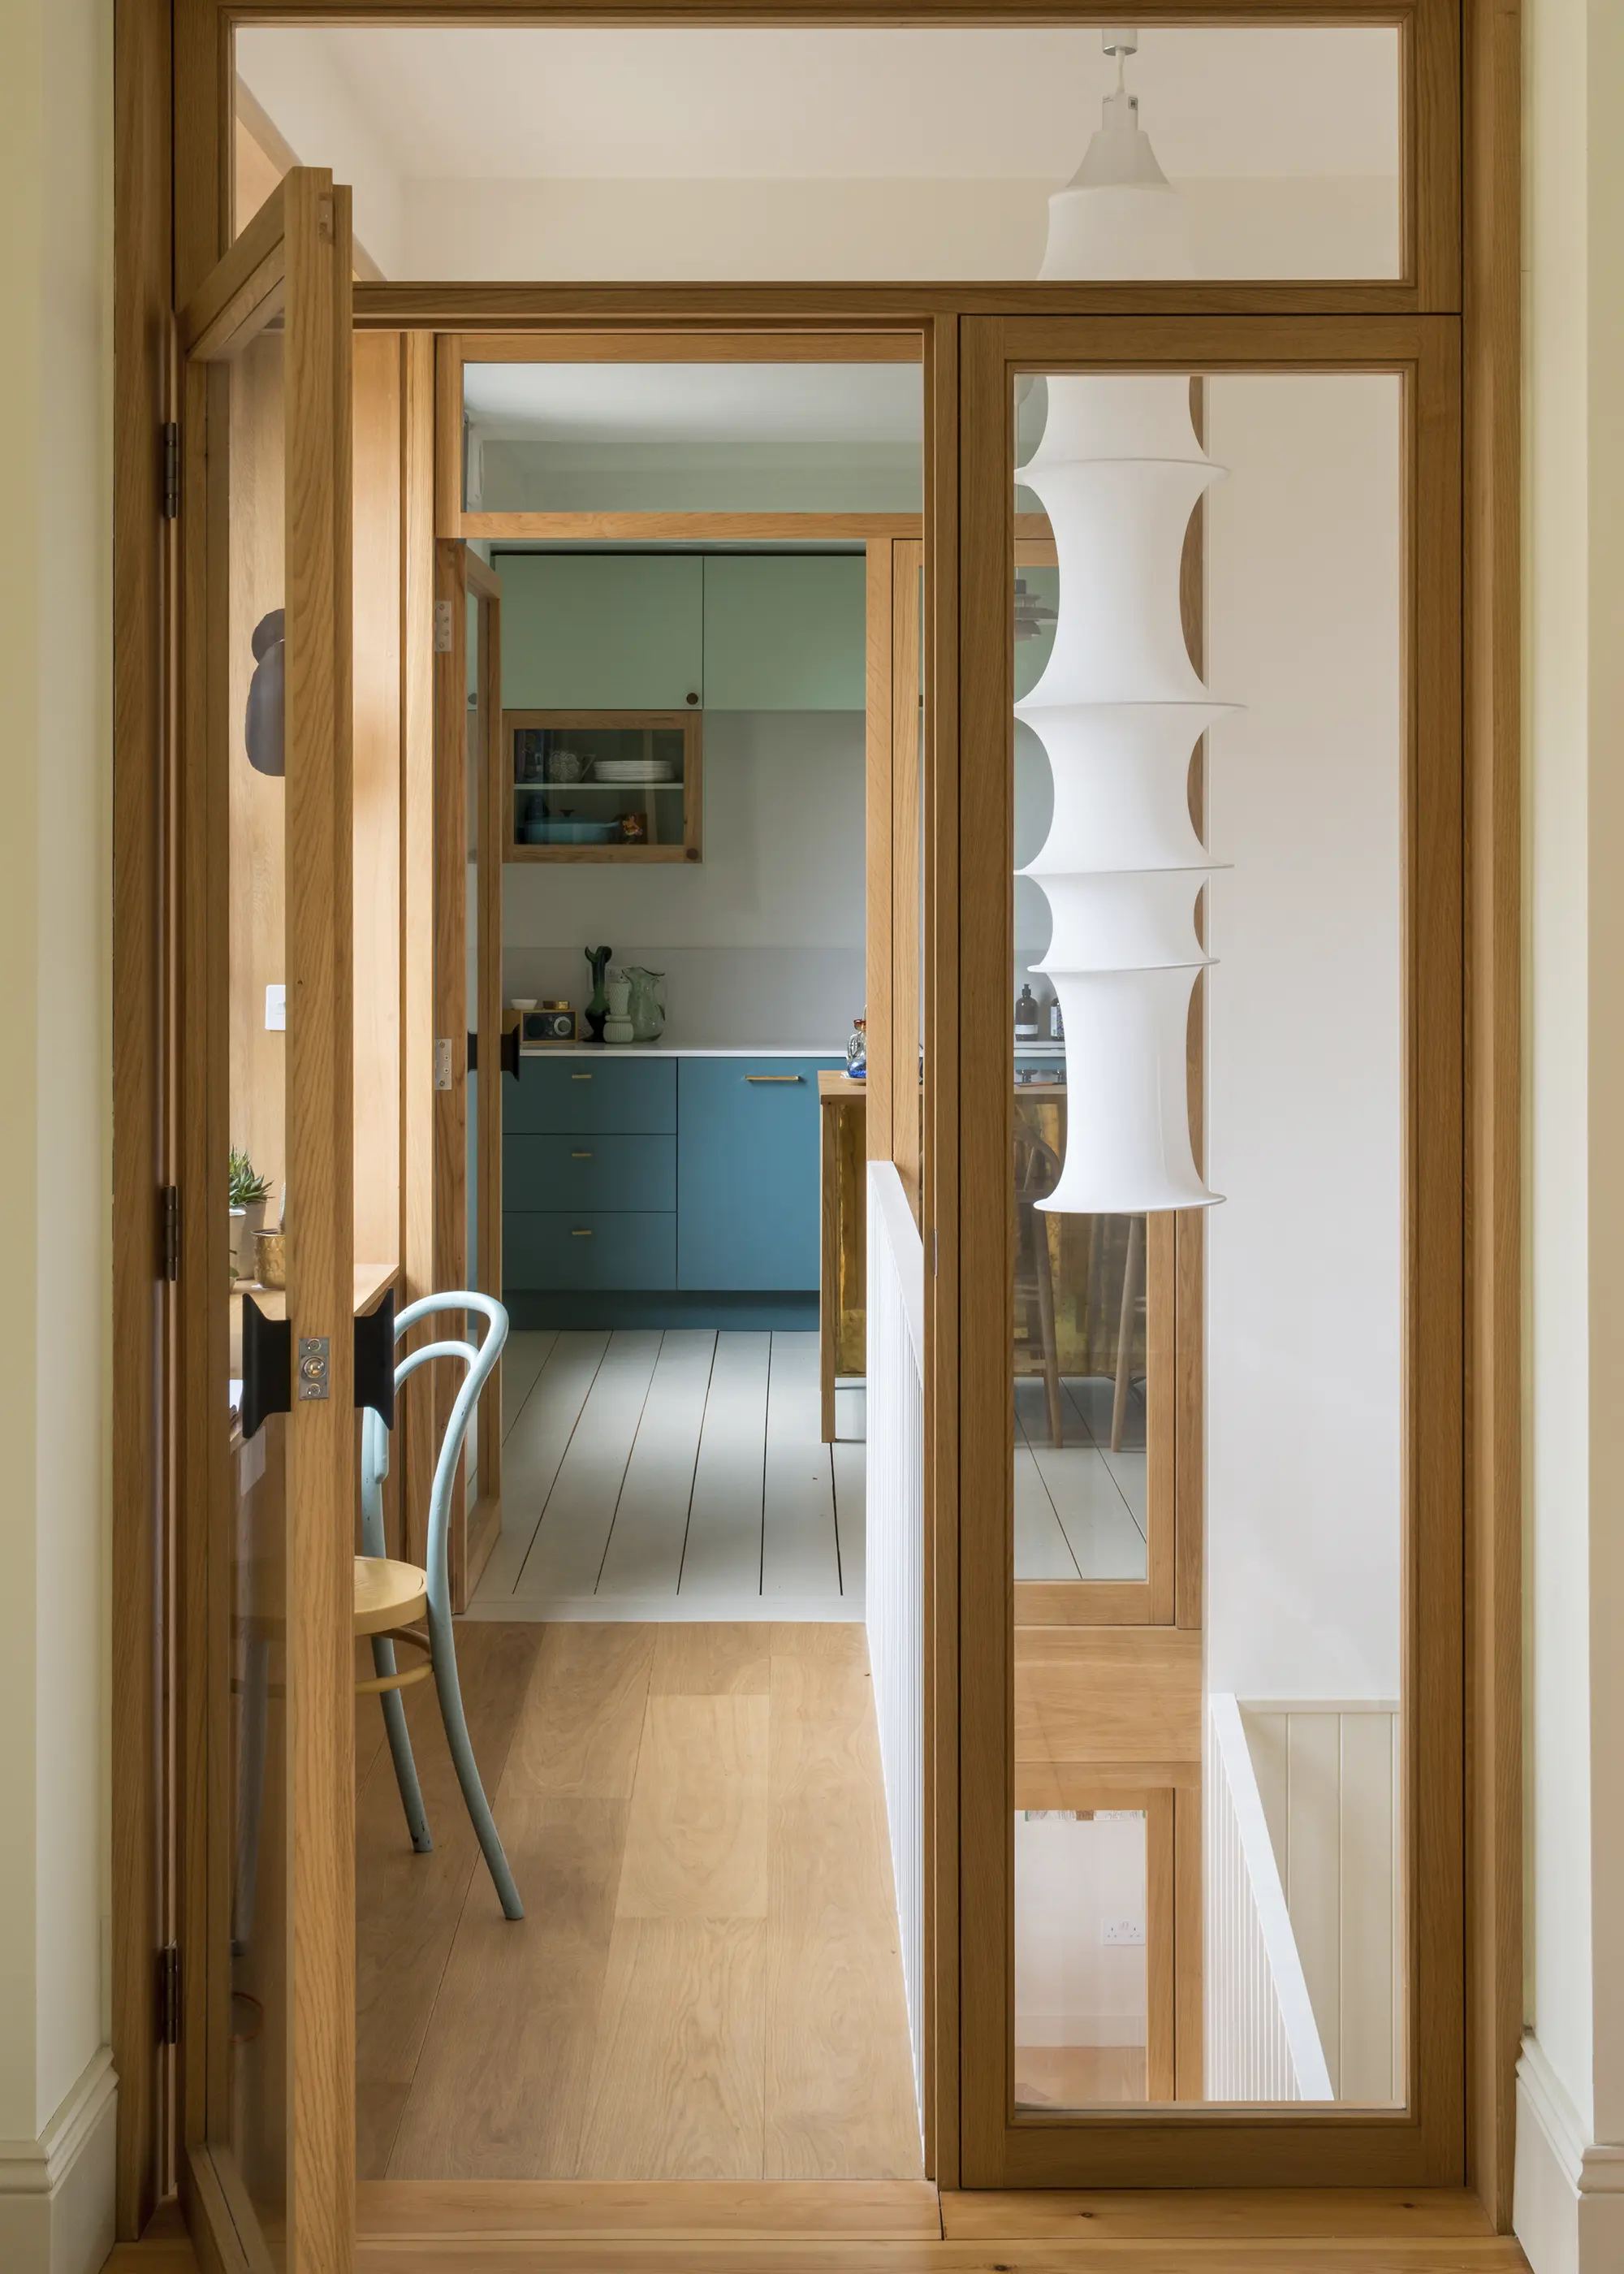
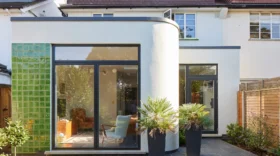
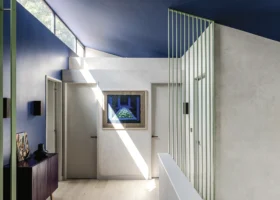
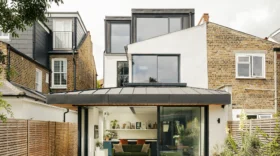
Designed by Bradley Van Der Straeten Architects, a series of full-height glazed doors make this home’s floorplan feel open, while maintaining some separation between rooms
The cost of knocking through a wall varies depending on factors like whether it’s load-bearing, the size of the opening, and whether additional works (such as rerouting electrics or plumbing) are required. As a rough guide:
Once the structural work is done, the success of your open-plan setup depends on thoughtful design. Having a clear vision for your space is essential and it’s always helpful to create a list of wants and needs before pinning down a firm brief. For more complex projects, you may require professional design services. This could include:
A measured survey to ensure accurate planning. Completed by a suitable professional, this accurately depicts a room or entire home, including level changes, doorways, windows etc down to the millimetre. It’s essential for more complex projects but may not be necessary if you’re only changing a single room. Approximate costs for a comprehensive measured survey of a three bedroom semi-detached house in the UK are £800-£1,500.

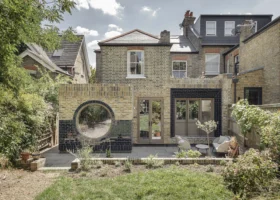
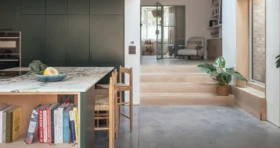
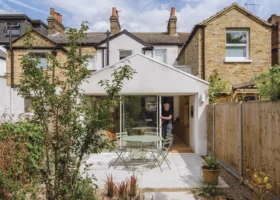
The owners of this Victorian terraced house thought that their property’s split levels were a negative aspect of the design. MW Architects, however, was confident in this feature’s potential to connect the kitchen, living and dining spaces, opening up the lower and ground floor zones to create a dramatic yet functional family home. The rear side return was filled at the garden level to create a spacious kitchen-dining area that opens to the patio area through steel heritage-style glazed doors. Photo: French + Tye
Section drawings to show structural changes may be required by your builder when taking out supporting walls and altering the structure. A structural engineer will generally be needed to calculate the wall being removed, plus size and load-bearing capacity of the steels that will go in its place.
Floorplans to map out the new layout will help you to see how things look and fit together. It’s a good idea to try and draw true-to-size furniture in the space so you can get an idea of how everything will fit, as well as how you’ll live in and use the space on a daily basis.
For simpler projects, if you have an idea of the current space and how you would like it to look then you can do much of this yourself by searching for similar projects on Build It’s website, where you can find real-life projects and house plans. You could also look on your local authority’s online planning database for inspiration. If you need to illustrate things for a builder, you can hand draw it using a scale ruler or an app such as SketchUp to recreate the current floorplan and then draw on the changes.
When thinking about creating your open-plan space, it’s important to consider how you’ll integrate the new support needed. If an RSJ is required, you can hide it within the floor structure, which means that it won’t be on show and will make the new space look seamless.
But on the flip side, this means more work, and inevitably, additional costs. To effectively hide an RSJ you’ll often need to take up the floor of any room above, impacting another part of the house and causing more disruption.
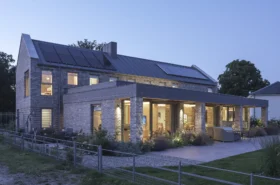
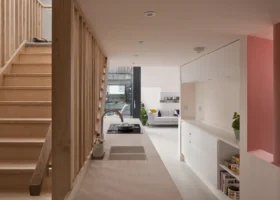
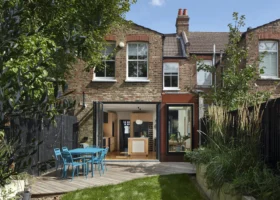
George and Rosie Woods knew that breathing new life into this rundown Victorian building – which had previously been flats – was going to be a big challenge. However, they were eager to create a home that would be warm, sustainable and offer their two children a comfortable space to grow up in. Opening up the downstairs has transformed the ground floor into a split-level kitchen-diner and living room, with bifold doors opening from two sides onto the patio. “This space was initially quite dark and dingy,” says George. Photo: James French
Another option is to leave the RSJ exposed, which often works well for more industrial-style interiors and can be used as a design feature. You’ll need to paint the beam with fire retardant paint but it can often add character to a space. Don’t forget that the beautiful wooden beams we often admire in period properties were (and still are) installed for functional reasons, used to hold up ceilings and floors rather than as a primary design choice.
In the UK, creating an open-plan layout can have implications for fire regulations, particularly regarding escape routes and containment. Always consult a building control officer or fire safety expert before proceeding with knocking through. Here are the key elements to consider:
If you are removing walls that previously separated staircases from living spaces, this has fire risk implications. For two-storey homes, an open-plan layout on the ground floor is generally allowed, but if the stairs lead directly from an open space, you may need to install fire-resistant partitions, doors or suppression (sprinkler/misting) systems. For three-storey homes, regulations are stricter, requiring a protected stairwell, suppression and escape windows.
Any structural alterations must use materials that meet fire safety standards, typically providing 30 minutes of fire resistance. This applies to new walls, floors and ceilings that separate living spaces from escape routes.
Interlinked smoke alarms are required on each level, and a heat detector is needed in the kitchen. Alarms should be mains-powered and include battery backup.
In certain cases, especially in larger open-plan layouts that affect your fire escape routes, a domestic sprinkler or misting system may be required to meet the regulations.
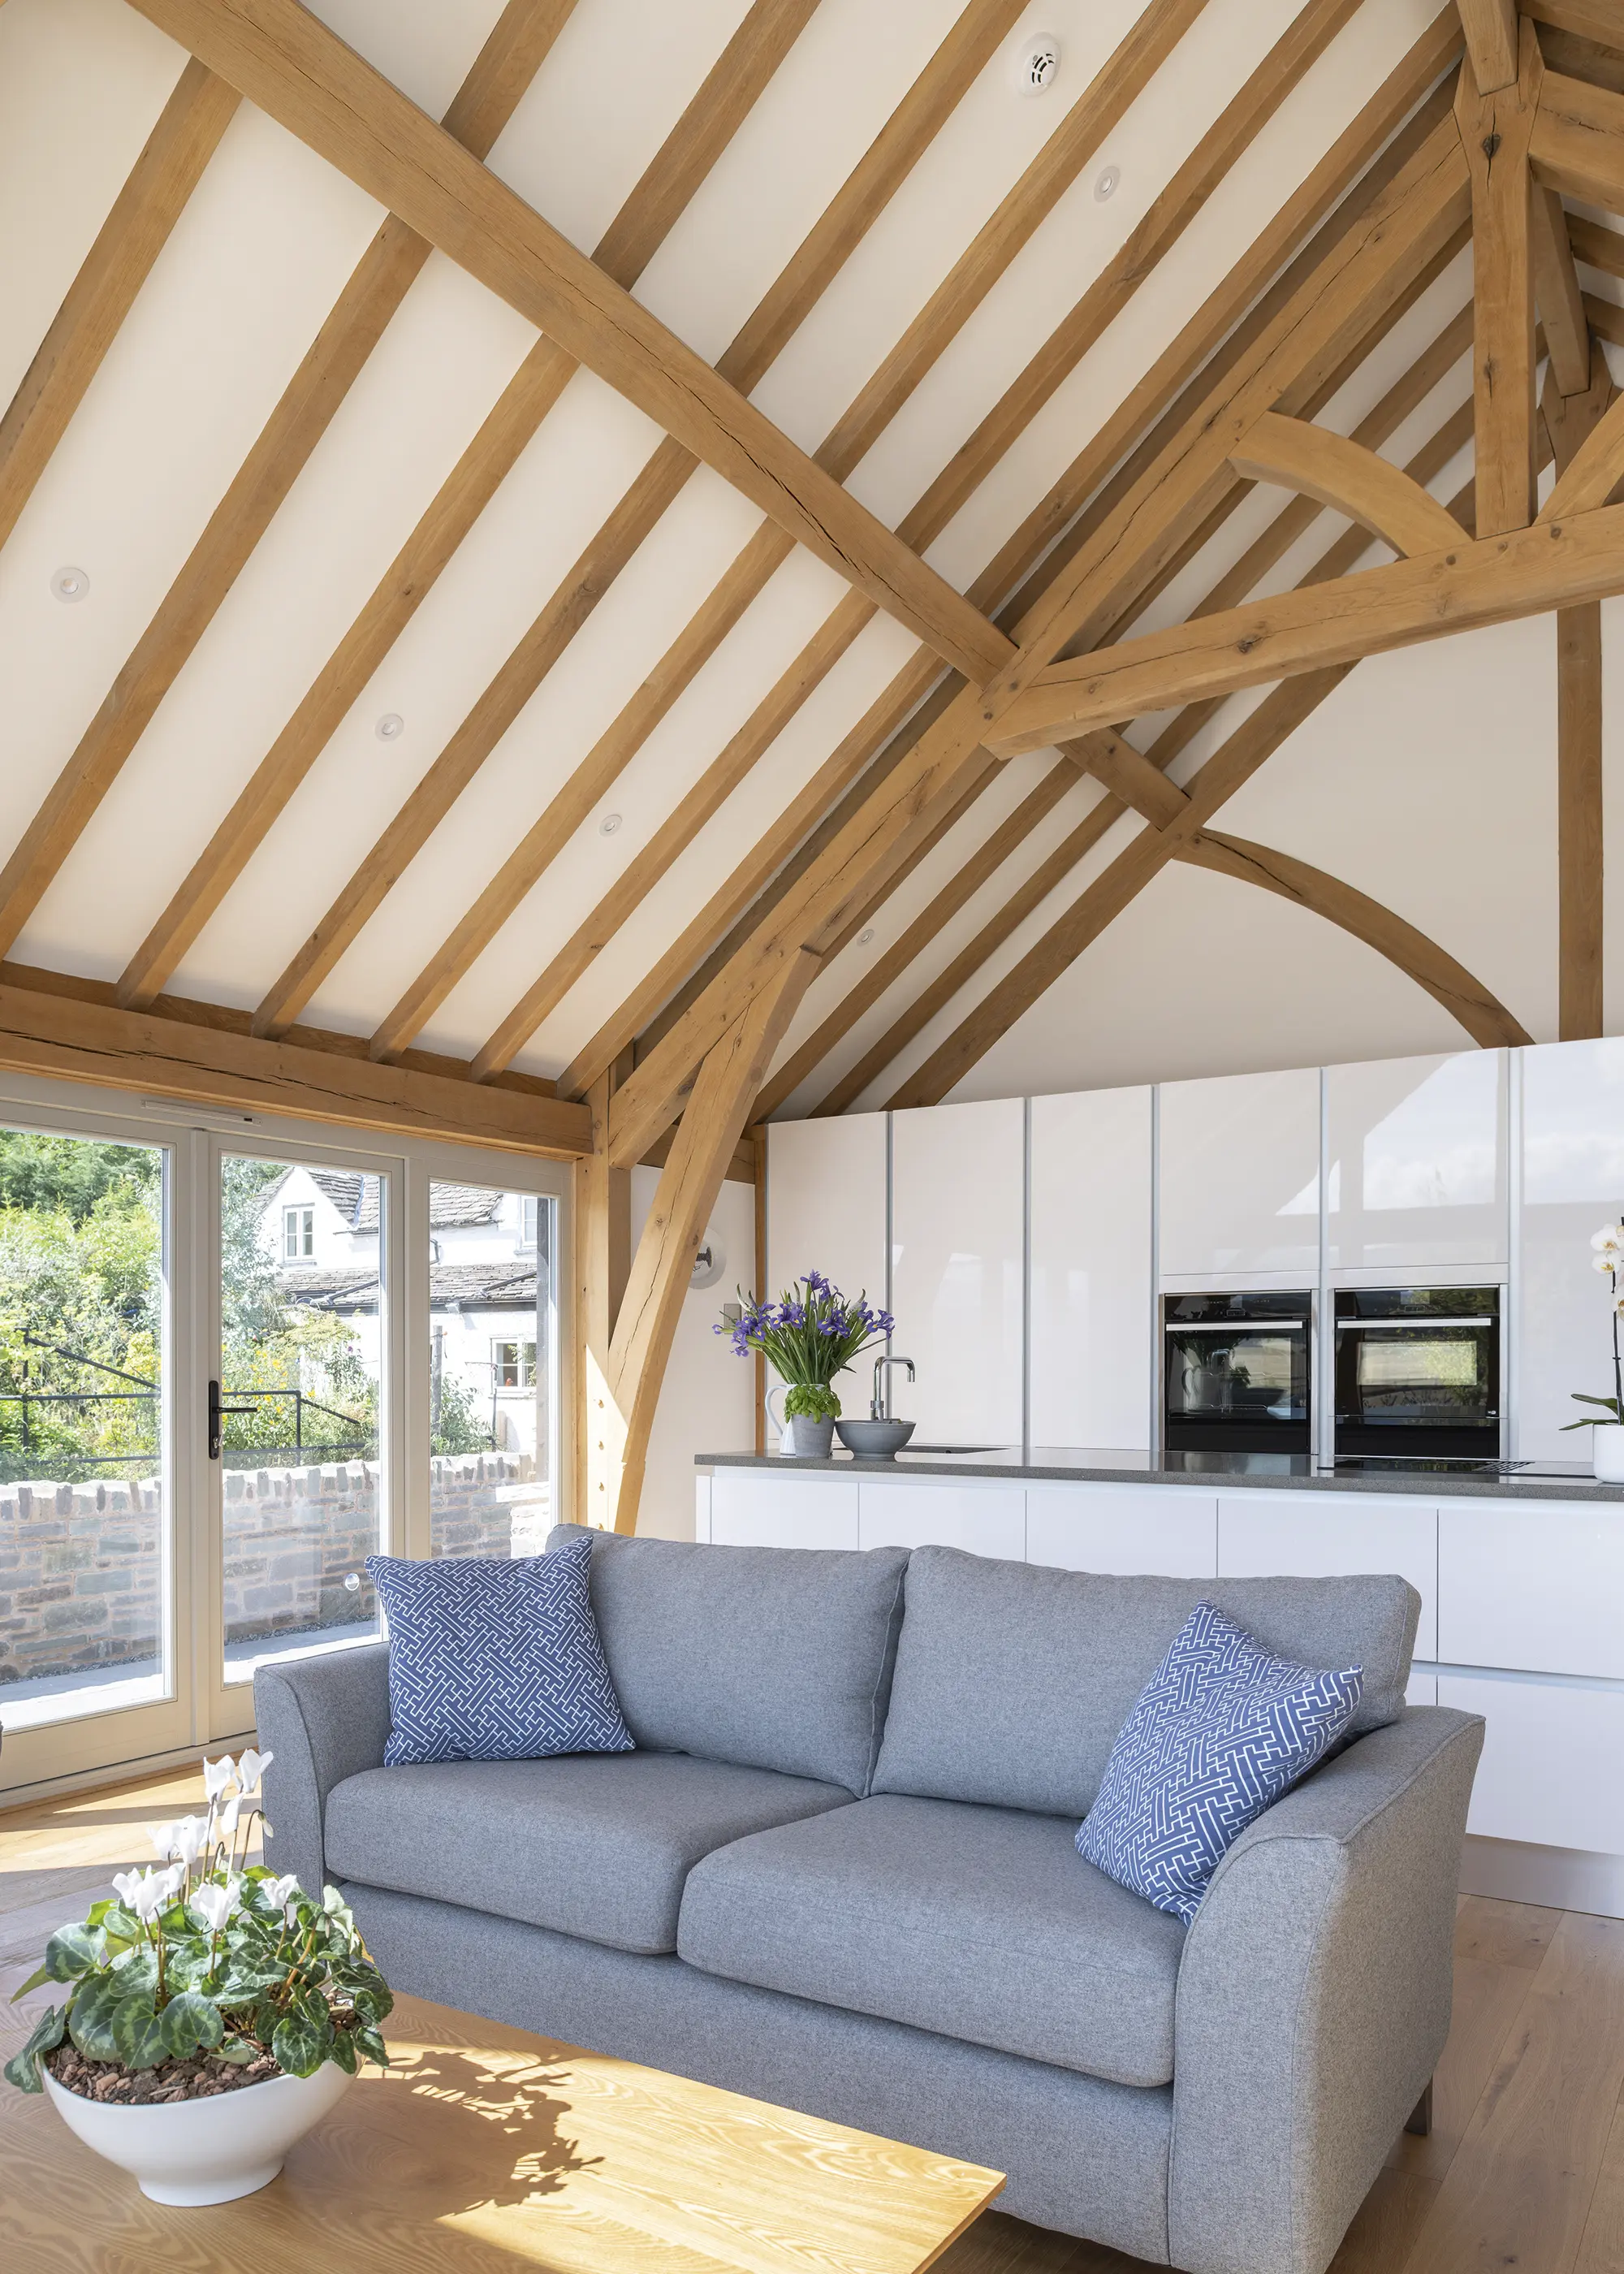
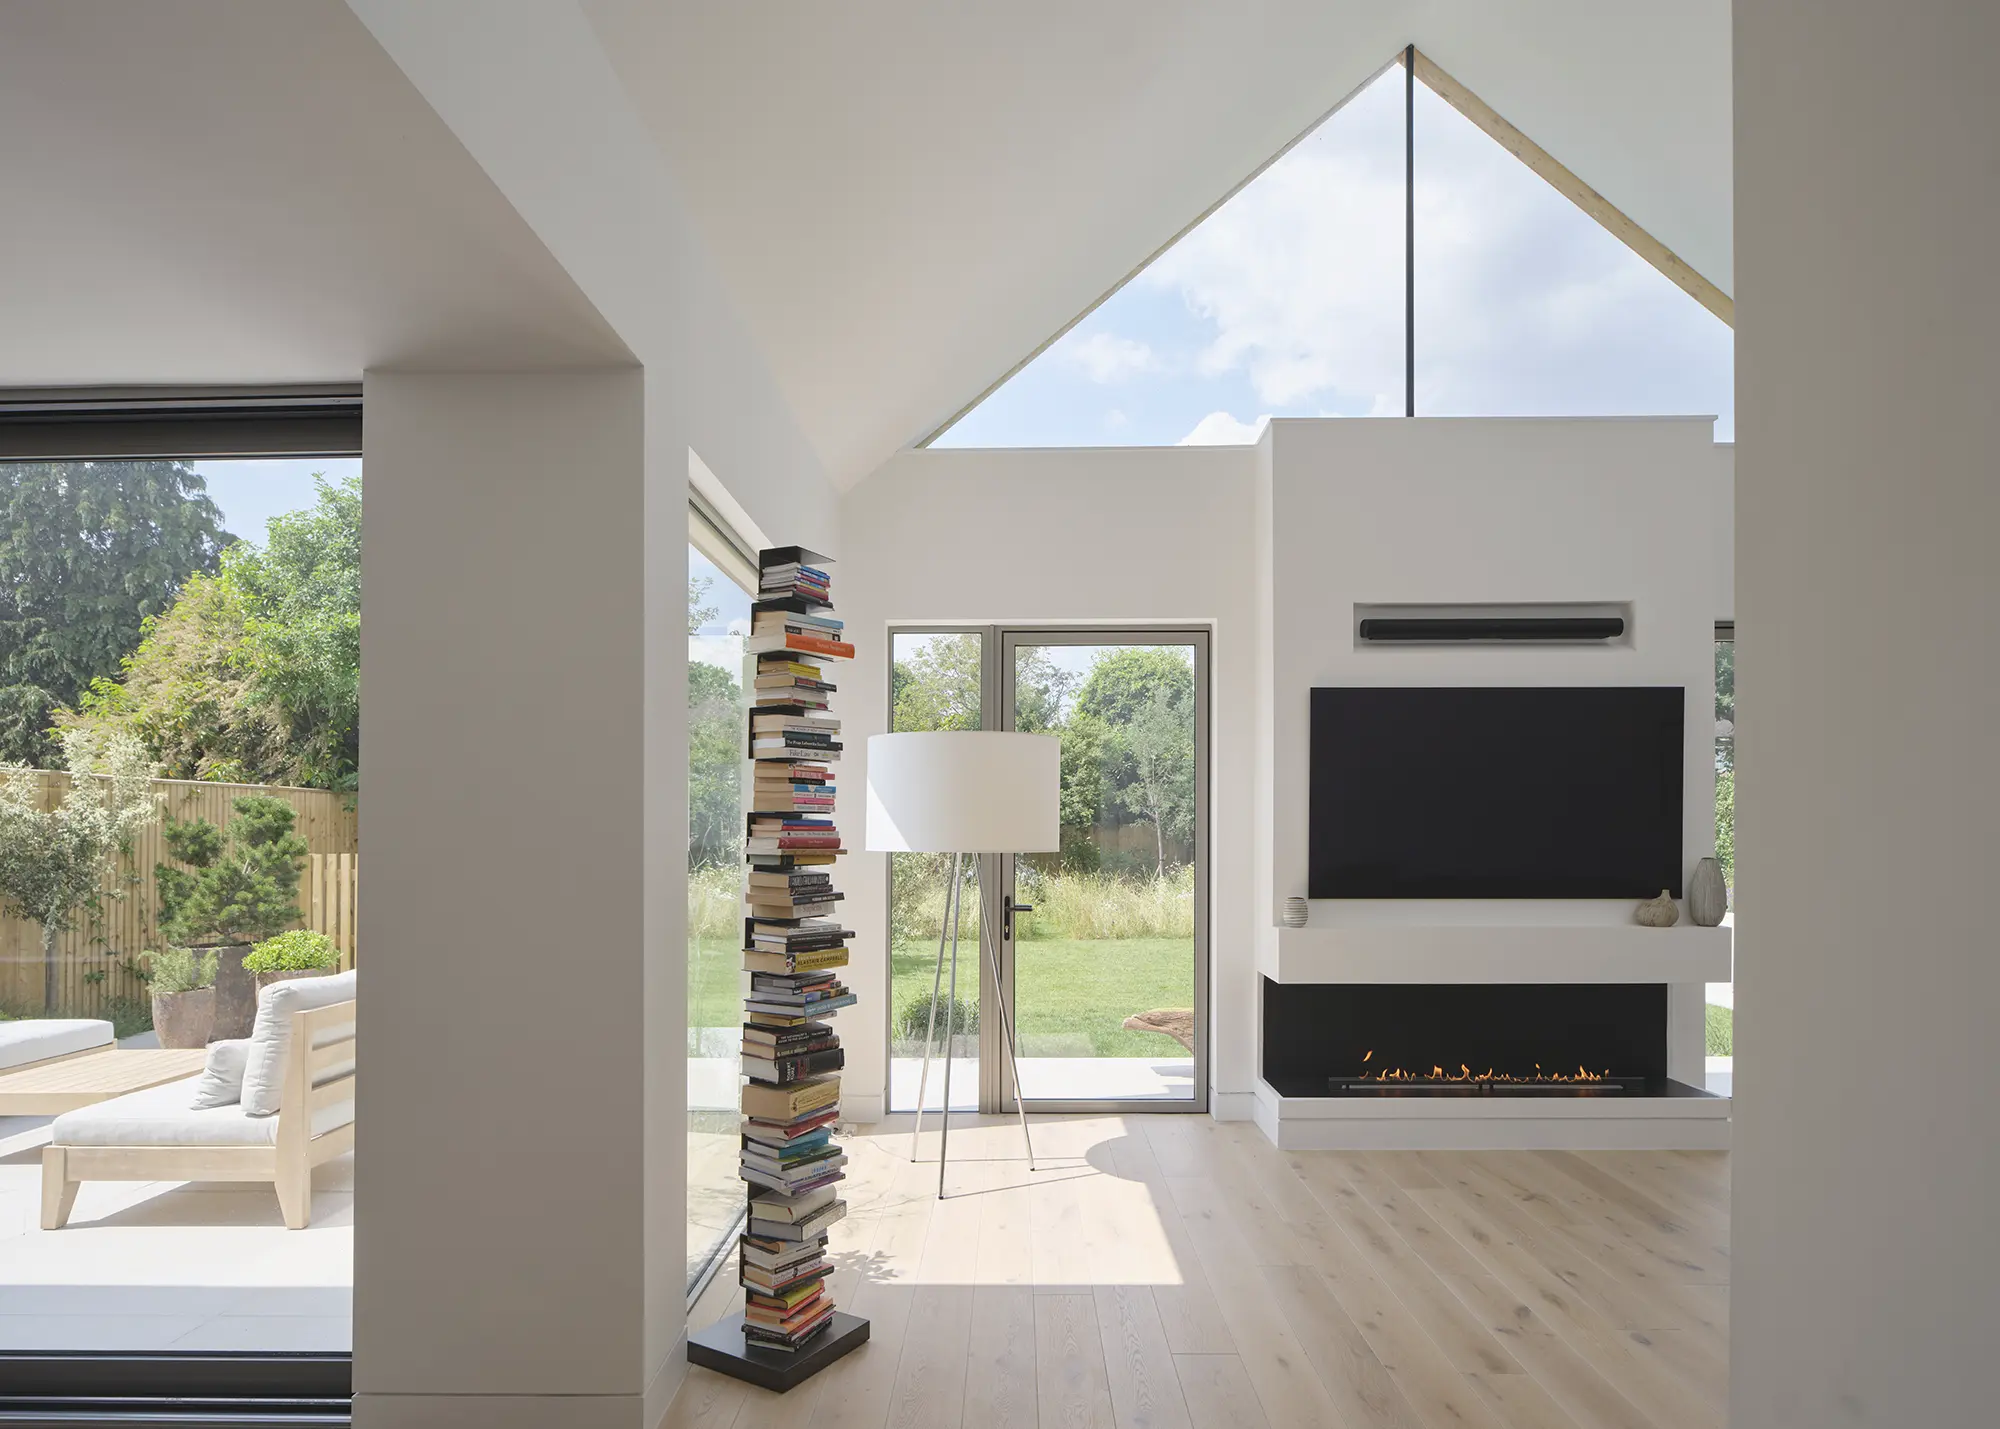
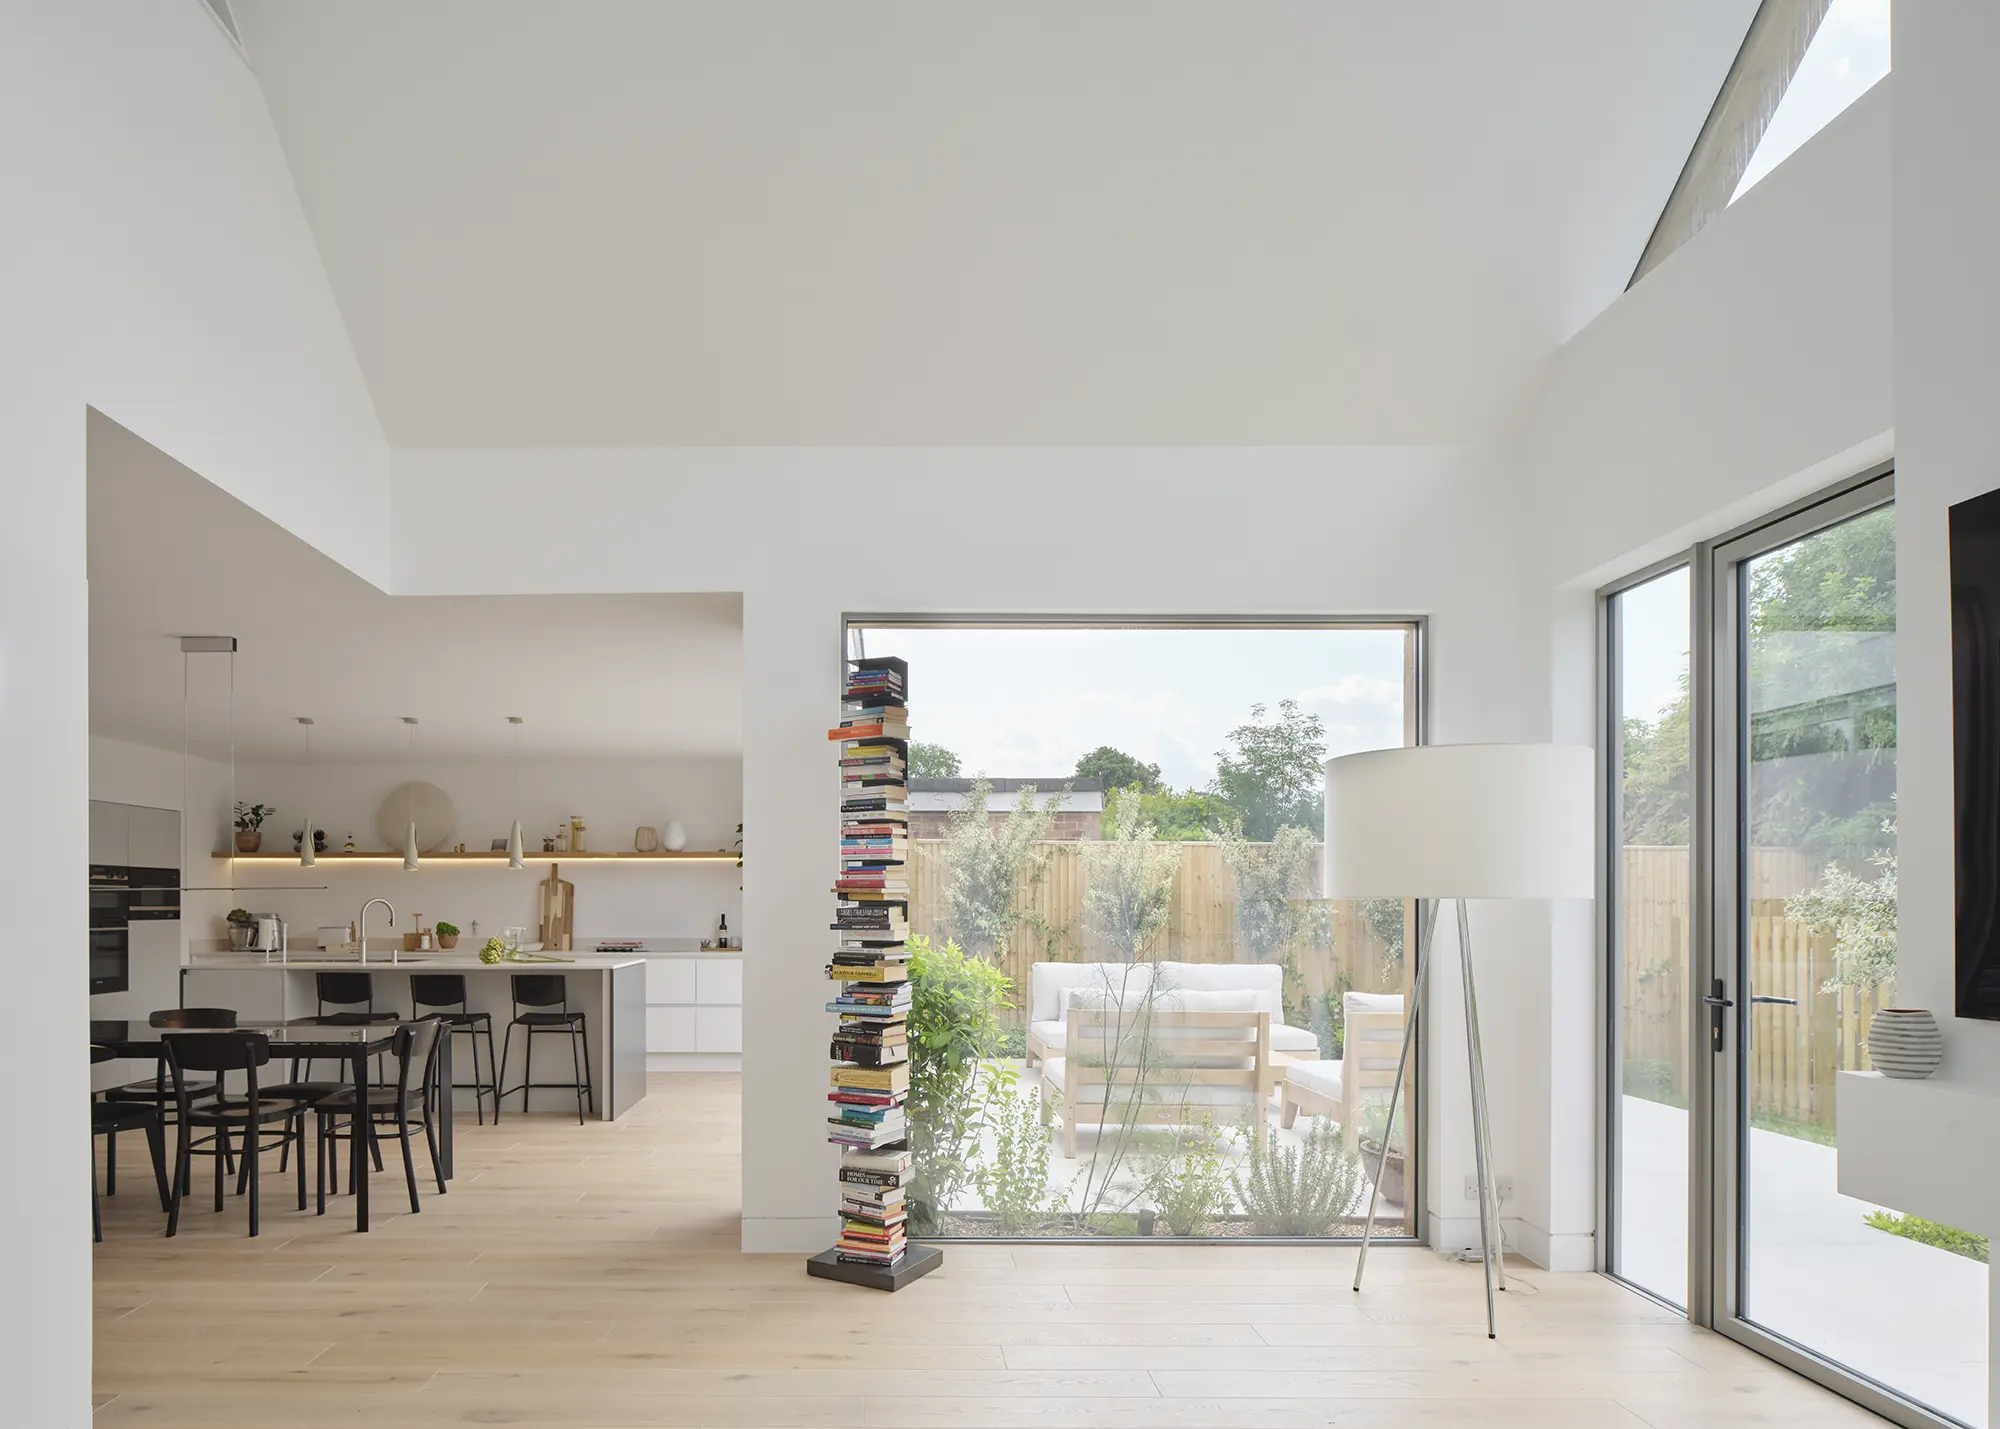
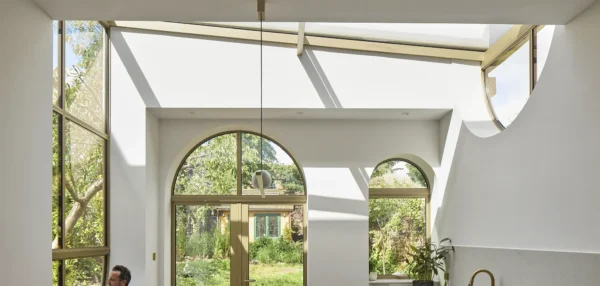
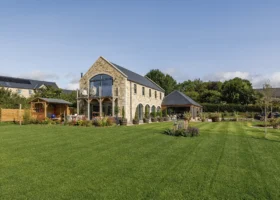
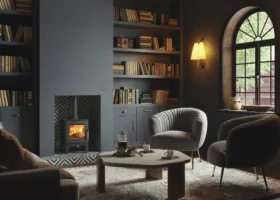
Preserving the appearance of the vaulted ceiling and having top-quality interiors was a high priority for Graham and Diane, who dismissed a mechanical heat recovery ventilation system (MHRV) because the installation would interfere with the aesthetics. This goal also drove their decision for wireless lighting and the sprinkler system
Any major structural changes affecting fire safety must comply with Building Regulations (Approved Document B) and some changes may require approval from your local authority or an approved inspector to ensure compliance.
If different rooms originally had varying floor heights, removing walls may create uneven levels. Though levelling the space out can create a seamless look, it can often be expensive as it may mean removing material, digging down and changing plumbing, electrics and pipework. Some popular options for incorporating varied raises include:
For instance, a slightly raised platform can define a seating area, while a lower level can house the dining or kitchen space. This approach works well in loft-style homes or open-plan living rooms with multiple functions.
By intentionally lowering part of the floor, you create a cosy, intimate area for relaxation while maintaining an open feel which can be highlighted with built-in seating or a well-considered lighting scheme.
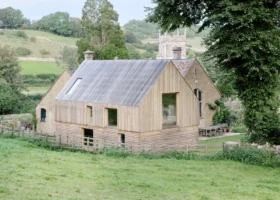
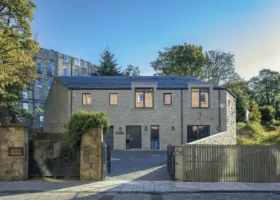
CASE STUDY Bungalow transformed into an open-plan home with a sunken living areaDarren Young undertook a dramatic and lengthy renovation project to transform a 1960s bungalow in South London into a contemporary family home. Darren had a simple brief; he wanted to add a second storey and create a spacious internal layout, with ample natural light and sliding doors that would bring the outside in. |
| Preliminaries | £15,000 (£63 per m²) |
| Foundations | £50,000 (£209 per m²) |
| Roof structure & covering | £80,000 (£335 per m²) |
| Plumbing & heating | £28,000 (£117 per m²) |
| Electrics | £40,000 (£167 per m²) |
| External works | £50,000 (£209 per m²) |
Photos: Immer Architectural Photography
For example, you can use wood in one section and tiles or polished concrete in another. This helps visually separate spaces while making the differences in level feel like part of the design scheme rather than a flaw.
Say that you had one area that is higher, you could add built-in bench seating, shelving, or a raised platform bed. This approach not only maximises the use of space but also turns the level difference into a practical design feature.
When kitting out an open-plan living space, decisions will be impacted by numerous factors, including what the area is being used for and whether you have different levels or zones. This will influence whether you go for a uniform look or use different types of flooring. Using consistent flooring will create a seamless, spacious effect, making the room seem much larger than it is.
Switching materials can really help zone a space and define separate areas; you might go for tiles in the kitchen and wood in the living area. This should also be influenced by practicality; you may wish to have tiles in the kitchen and something warmer, such as wood with a rug, in the living spaces. You may also be influenced by existing features that you wish to preserve.
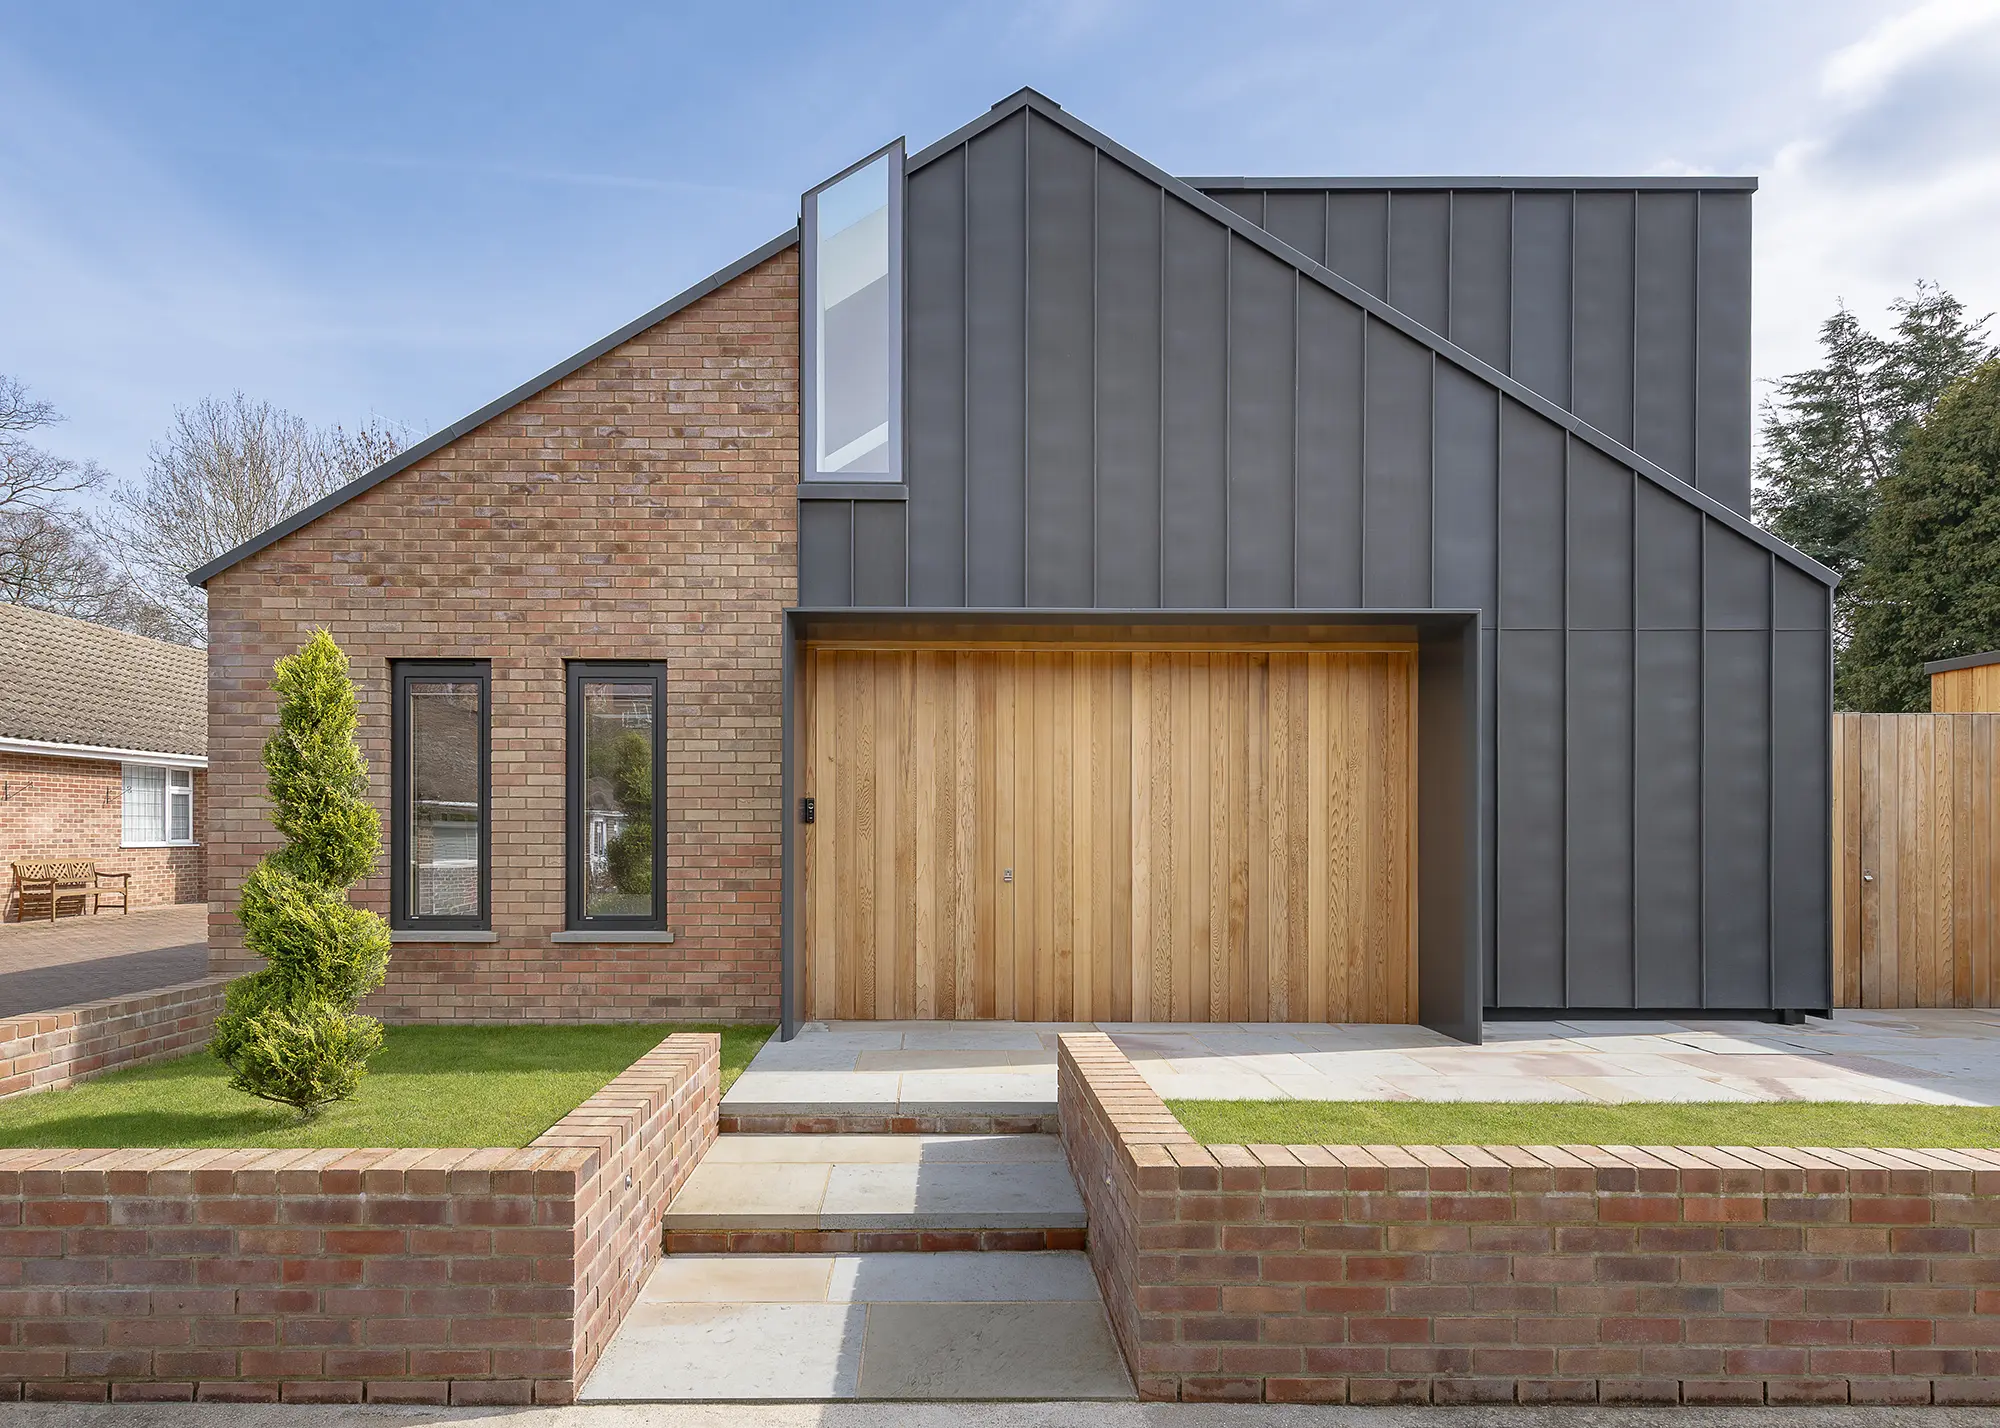
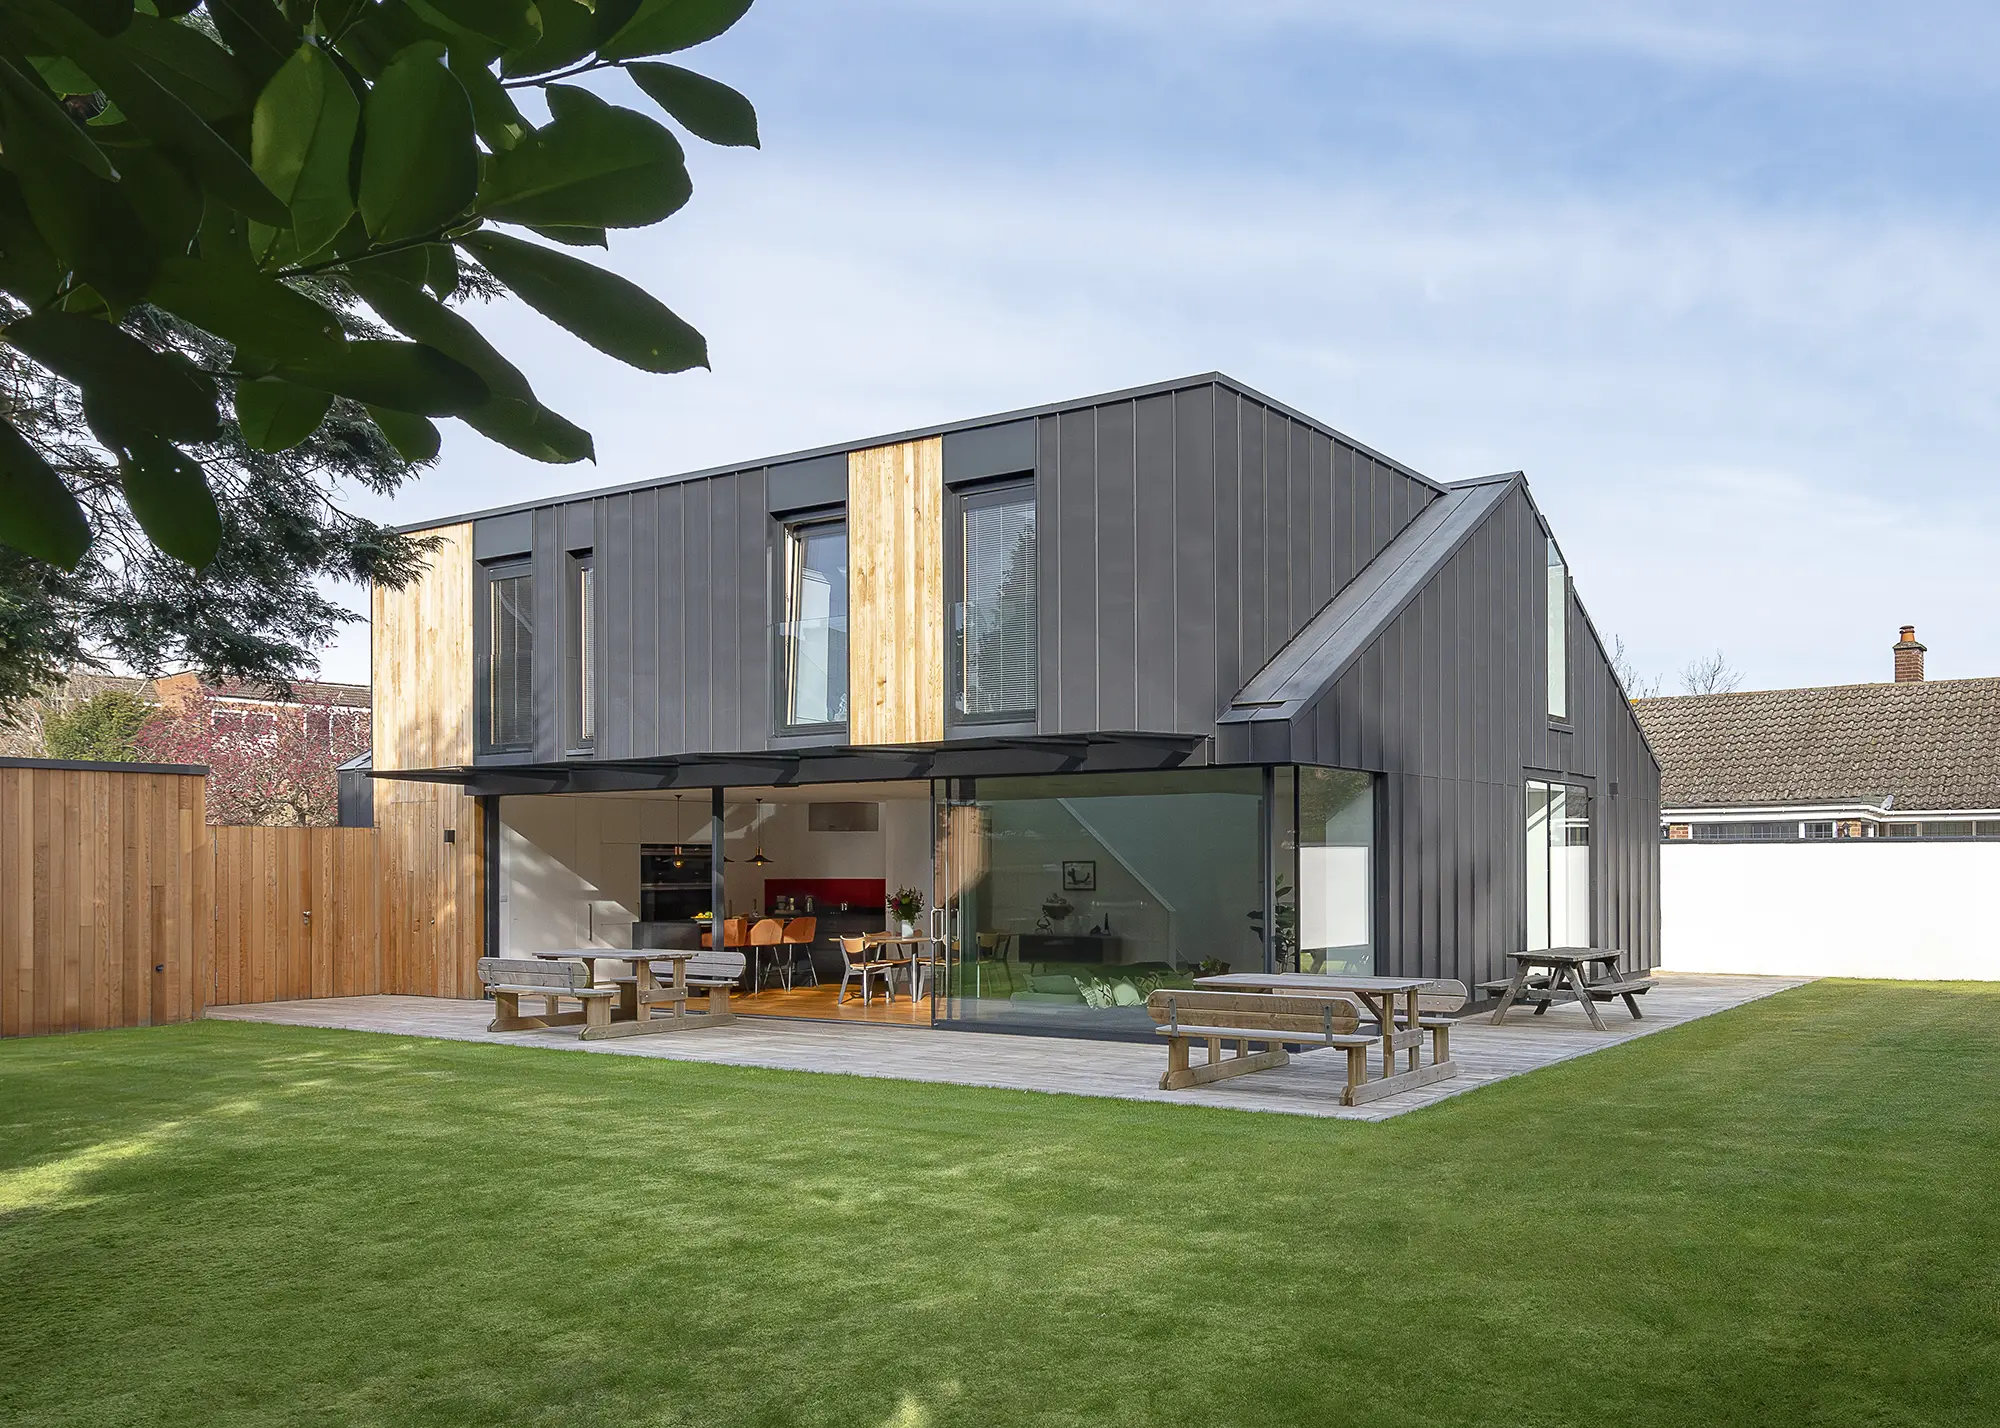
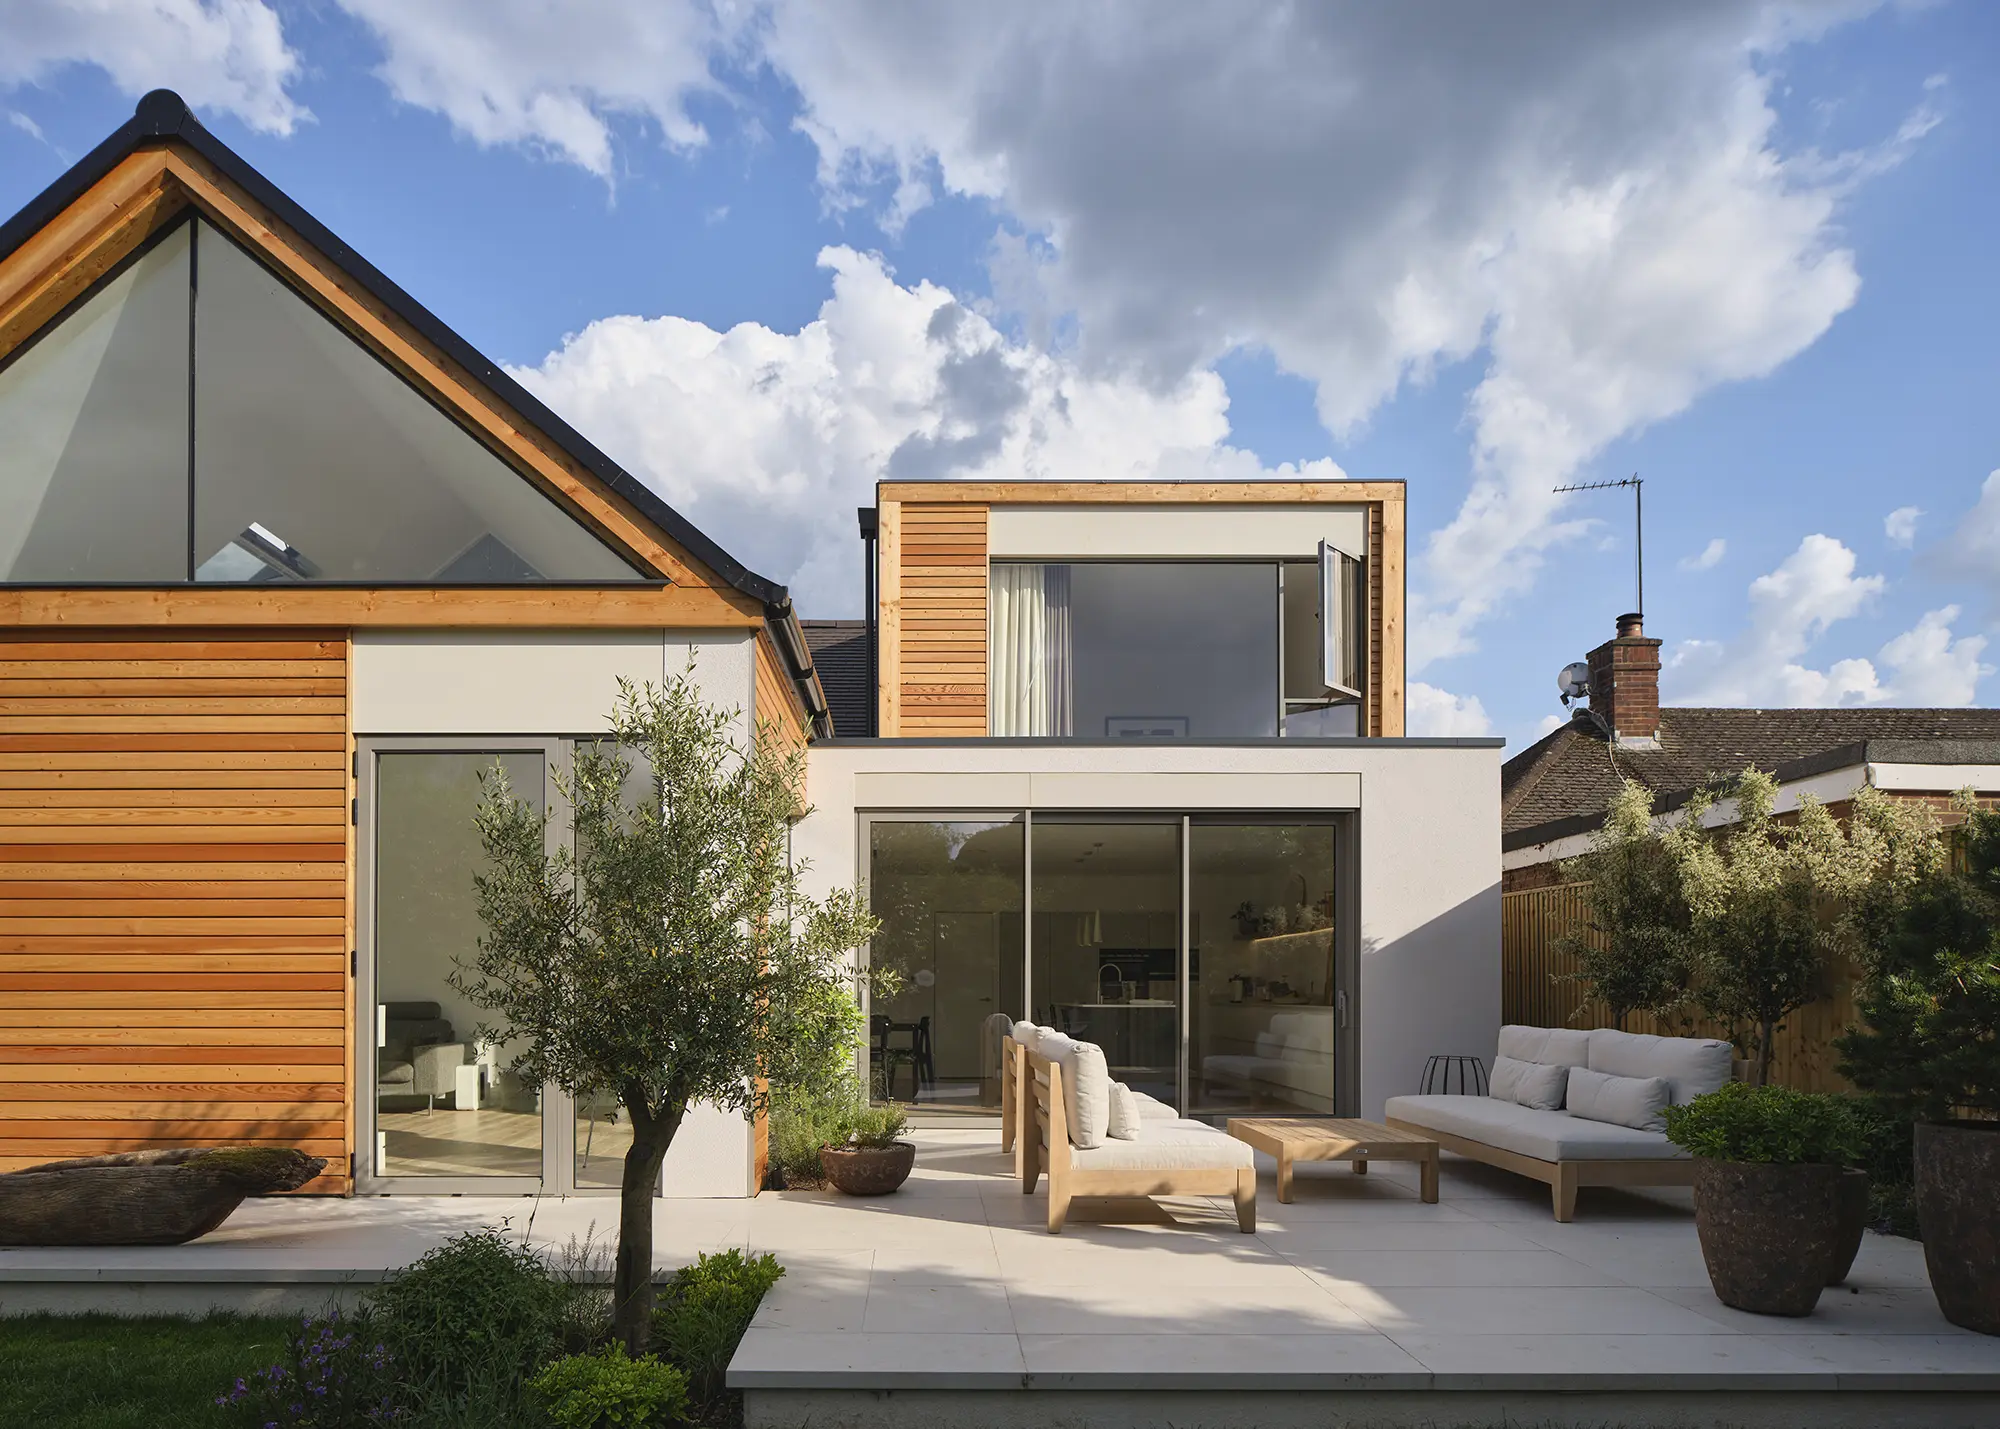
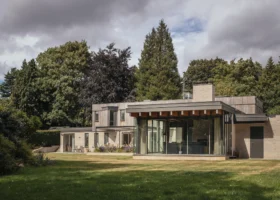
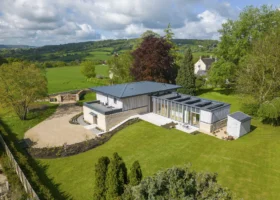
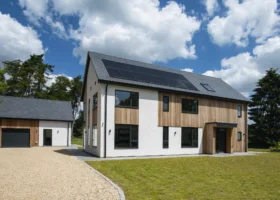
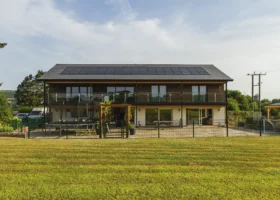
CASE STUDY Energy-efficient bungalow renovation in South West LondonNestled into a cul-de-sac in South West London, this once-vacant 1960s bungalow has been extended and renovated to create an open-plan, efficient family home. The owner worked with Sophie Bates Architects, who developed a scheme for a new, double-height living area on the ground floor.
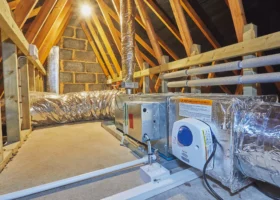
The property has also been upgraded with internal floor and wall insulation, an air source heat pump and a mechanical ventilation and heat recovery (MVHR) system, ensuring a healthy living environment with low running costs all year round. Photos: Simon Kennedy |
Lighting can really help open-plan spaces feel cohesive, especially those with varied levels. You can be clever with your setup, using the same style throughout but having lighting on separate rings to switch different zones on and off. Pendant lights, recessed lighting or LED strips along steps can help differentiate sections while maintaining a sense of unity. Consider the space’s main functions; for example, highlight different areas with task lighting in work zones and softer lighting in relaxation areas. Finally, maintaining a consistent colour palette and furniture style throughout the space helps tie everything together.
A downside of open-plan living is increased noise but you can use some simple tricks to reduce sound transfer. Solutions can include installing acoustic plasterboard or insulation within remaining walls; choosing soft furnishings (rugs, curtains, upholstered furniture) to absorb sound or zoning strategies such as half-walls or significant shelving units to define spaces without fully enclosing them.


 Login/register to save Article for later