Estimate your project costs instantly with Build It's interactive self-build cost calculator
Calculate NowGet an accurate, detailed cost breakdown of your project
Submit plans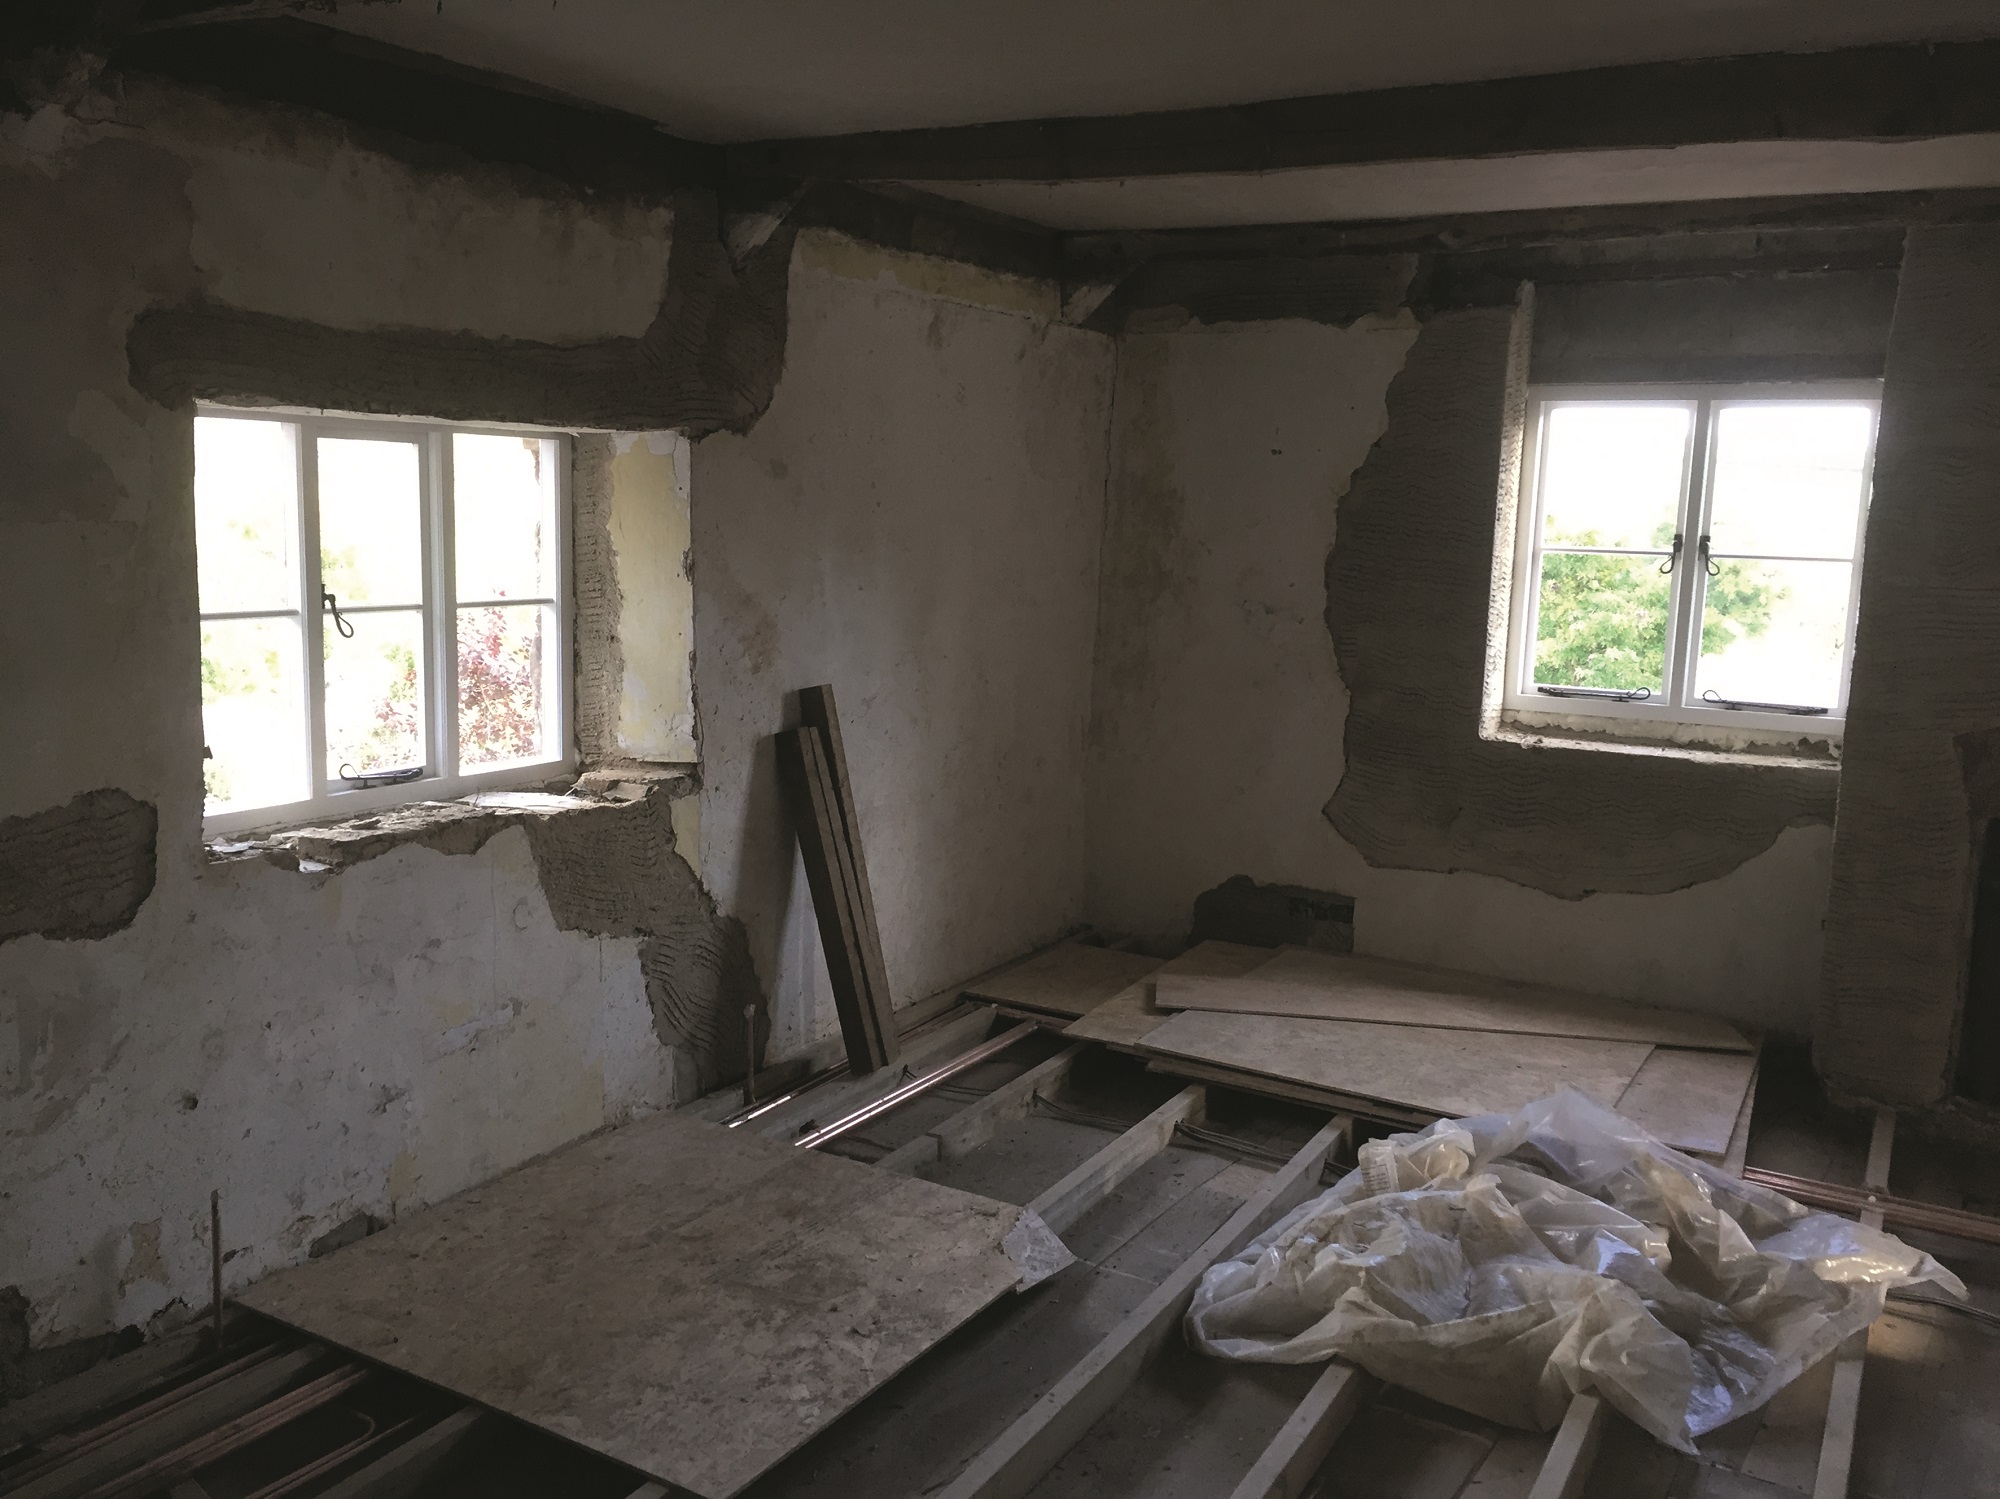

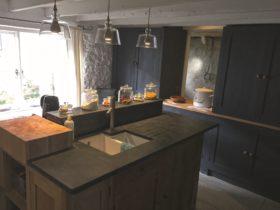
When we stripped the plaster in the kitchen we found evidence that some of the stone walls had previously been directly painted.
We think this part of the house was a butchery at one time, which probably explains the lack of an internal finish.
We decided to follow that lead and make good the stonework and pointing rather than plastering.
We’ve finished those walls with lime paint from Graphenstone and are very pleased with the result.
Other sections of kitchen walling were cob, modern brickwork or woodwool board (where we have made changes to the fireplace opening).
These have been finished with clay plaster, using our own clay from the site.
Period Renovation Blog 15: Focusing on the Interior
We’ve only applied a base coat to leave an open textured finish that links well with the stone walls. For the kitchen ceiling we fixed cork boards to the underside of the floorboards above and applied a finer clay plaster.
Upstairs, the plaster was in poor condition, so we engaged a local traditional plasterer, to repair the space
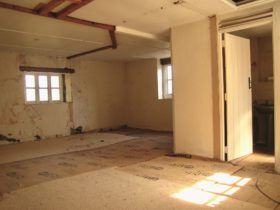
Upstairs in the rear wing, the original walls retained a lot of historic lime/earth plaster but much of it was in poor condition. There were several modern plaster patches, large areas of filler and sections where the lime/earth material had been lost.
This presented a considerable challenge because we were determined to retain as much historic plaster as possible.
As luck would have it, a very good traditional plasterer lives just across the road. He was up for the challenge so, after I had repaired damaged areas of the cob walls, he set to work.
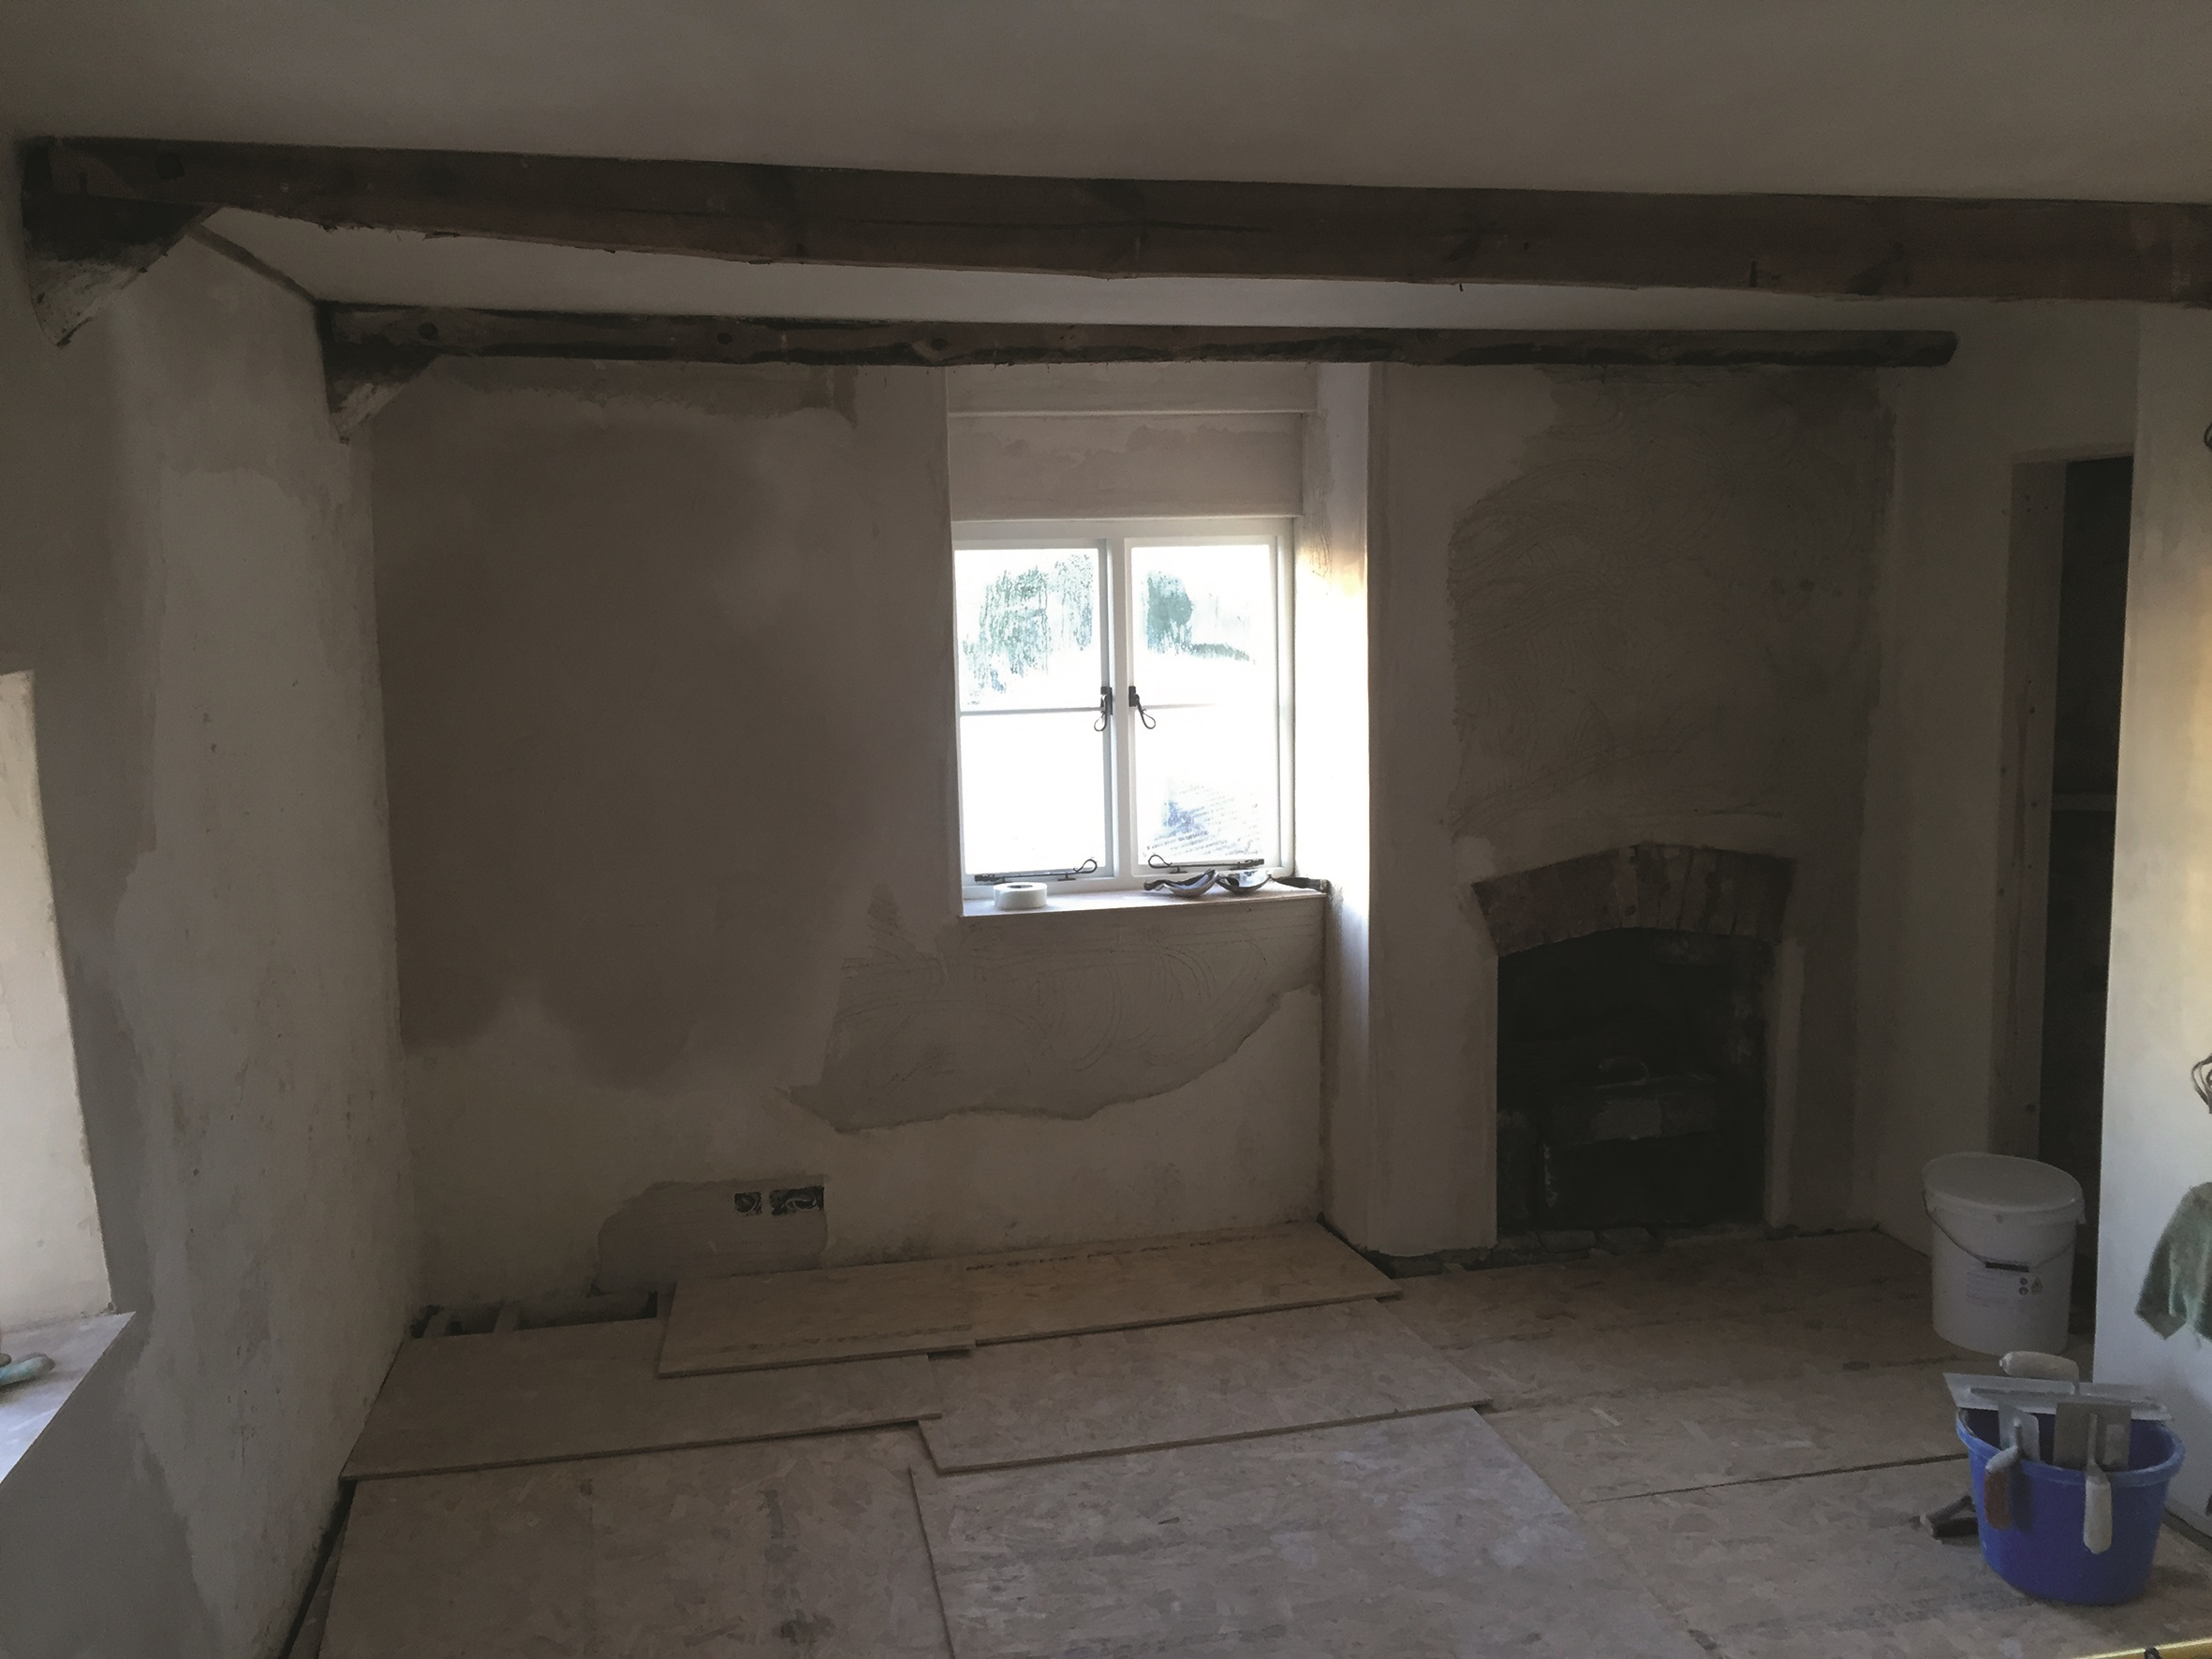
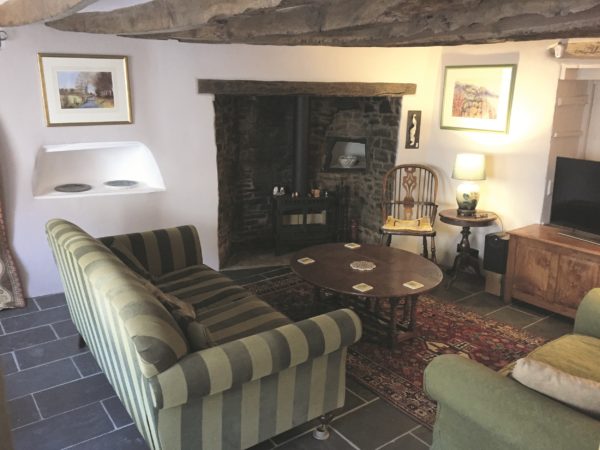
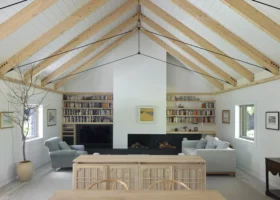
We were impressed by the finished we achieved in the upstairs bedroom. The plasterer has done a fantastic job with the space
He has patched, repaired and blended lime plaster over the old walls and trowelled the new woodwool partitions and ceiling with lime finishing plaster.
The result has exceeded all our expectations (his too!) giving us a stable, integrated finish that still has all the appealing irregularity of the historic plasterwork.
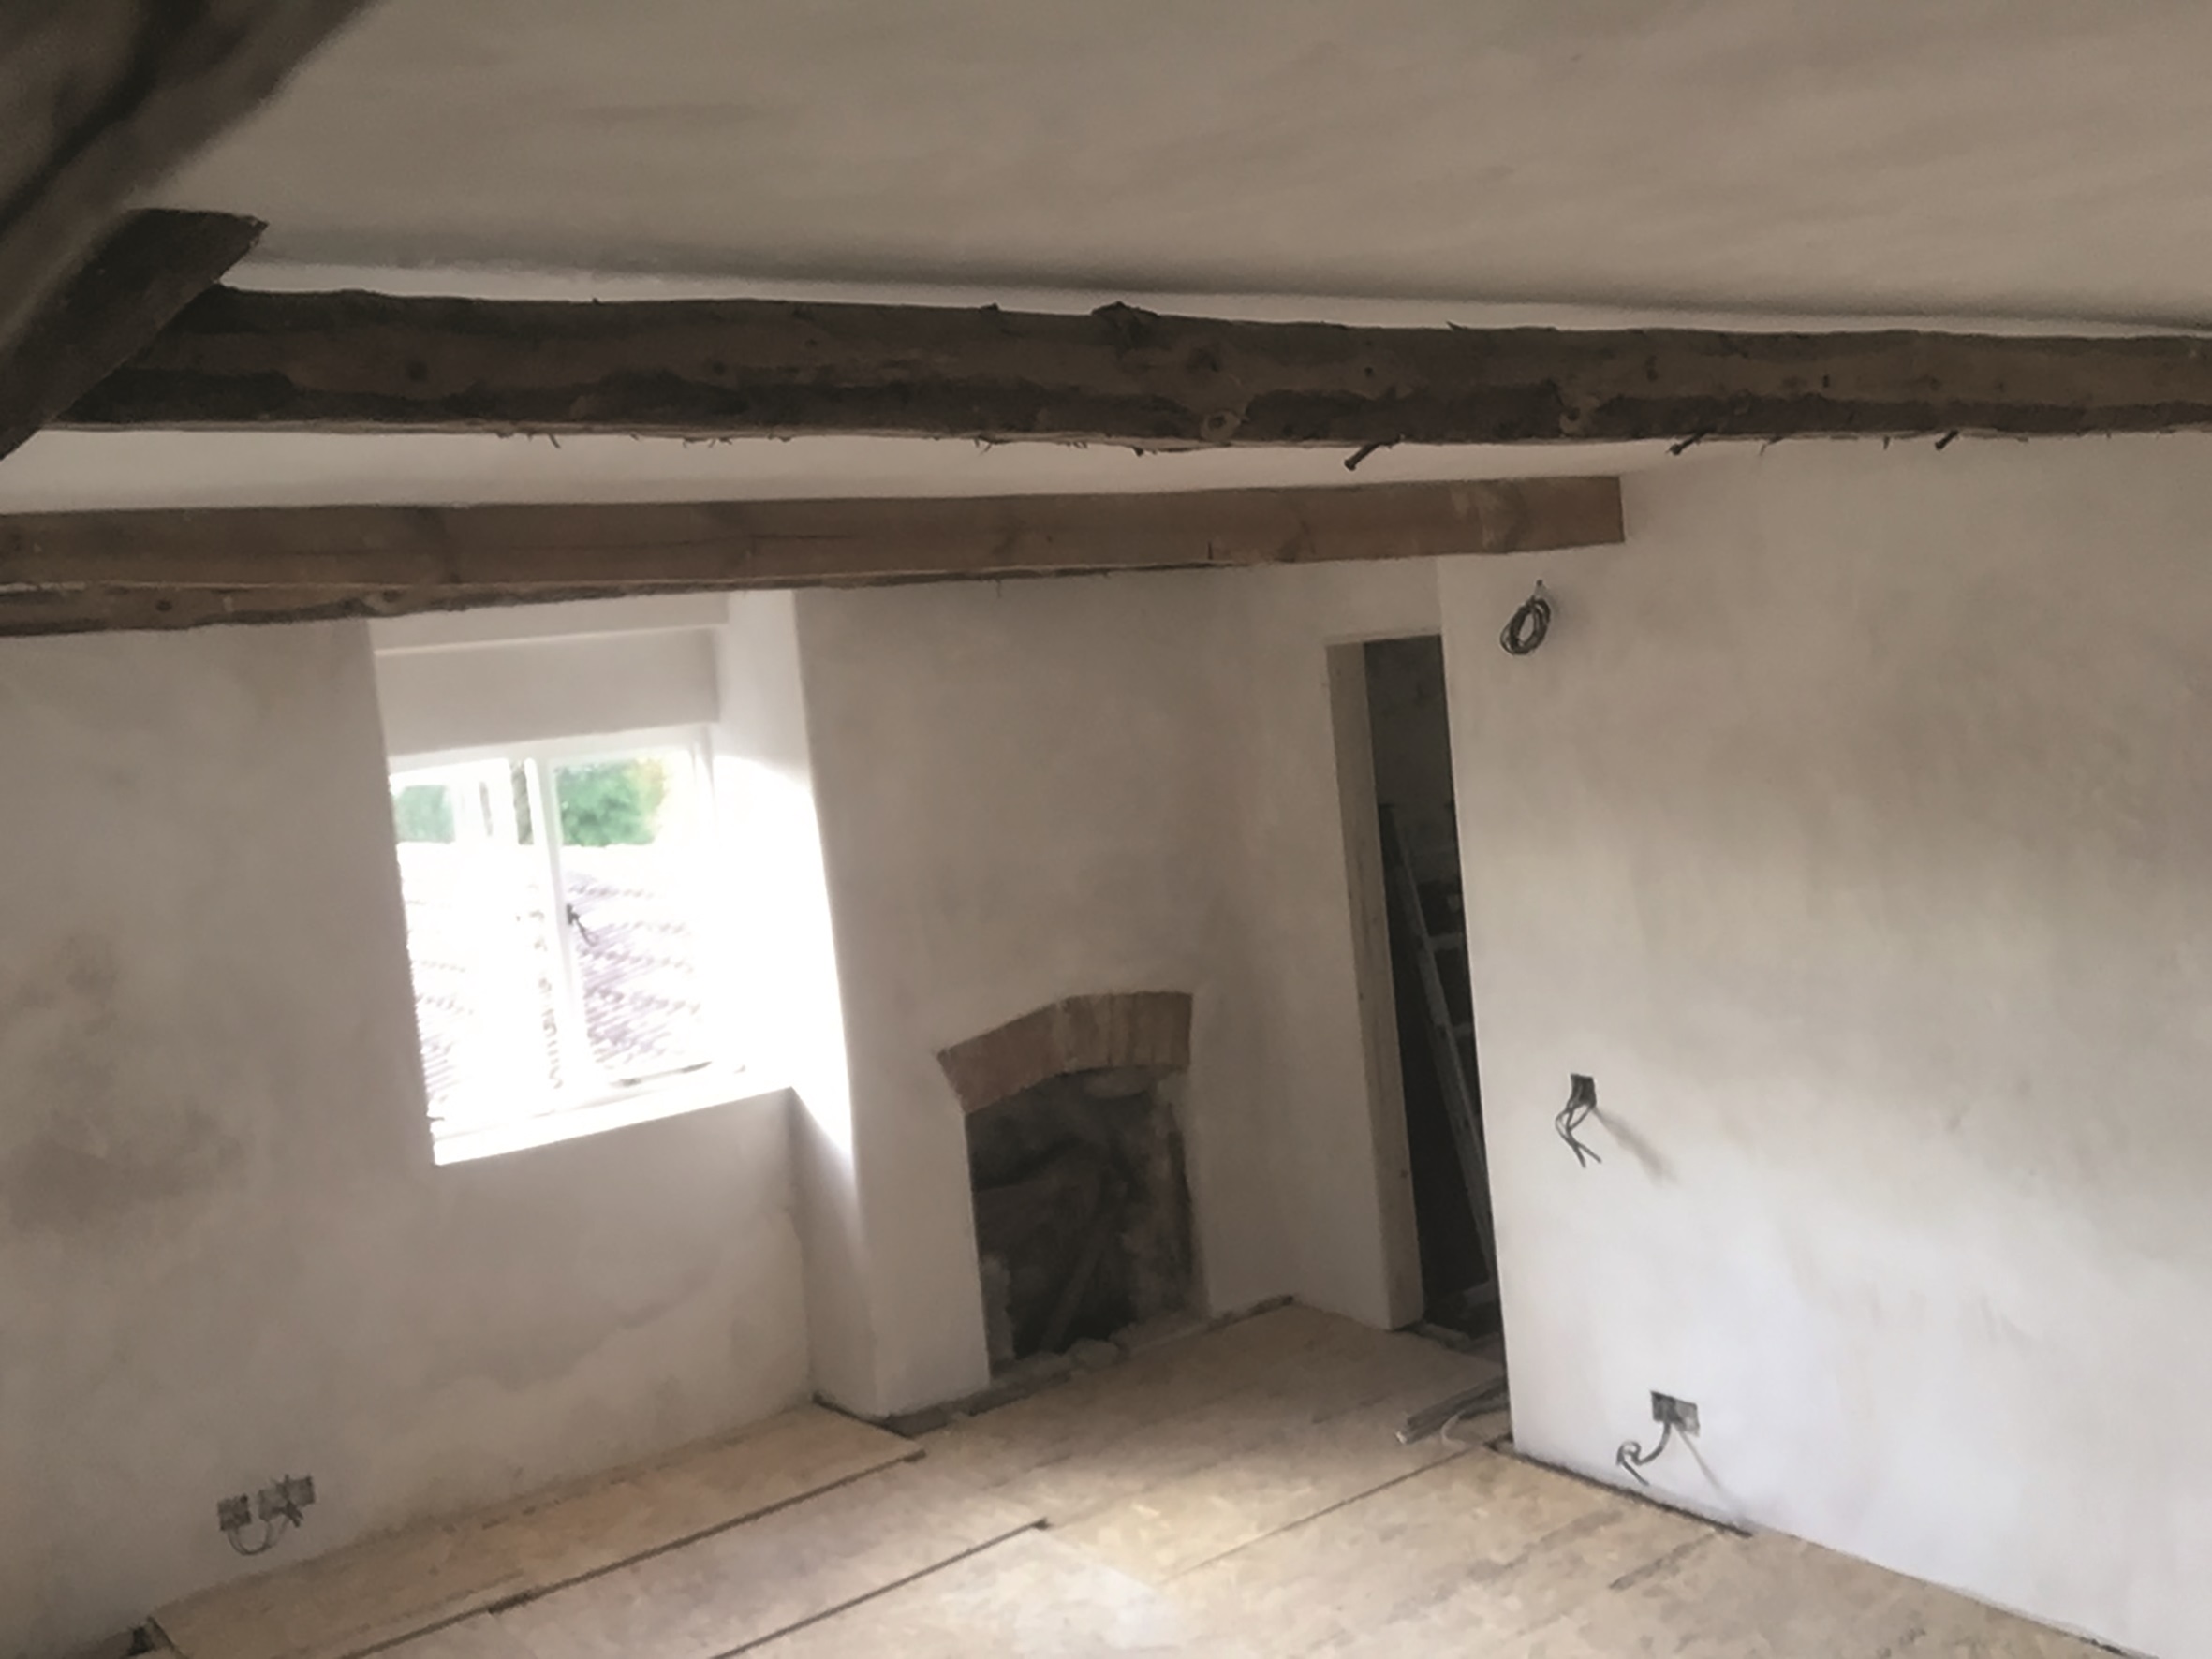
Here, you can see the patched, repaired and blended lime plaster on the old walls. The plasterer also trowelled the new woodwool partitions and ceiling with lime finishing plaster.
In the bathroom I have plastered the woodwool partitions in clay because of its exceptional moisture buffering capacity. It can manage humid environments up to 10 times better than even lime. This is already being borne out in practice – however steamy the bathroom gets, the clay walls remain completely dry.
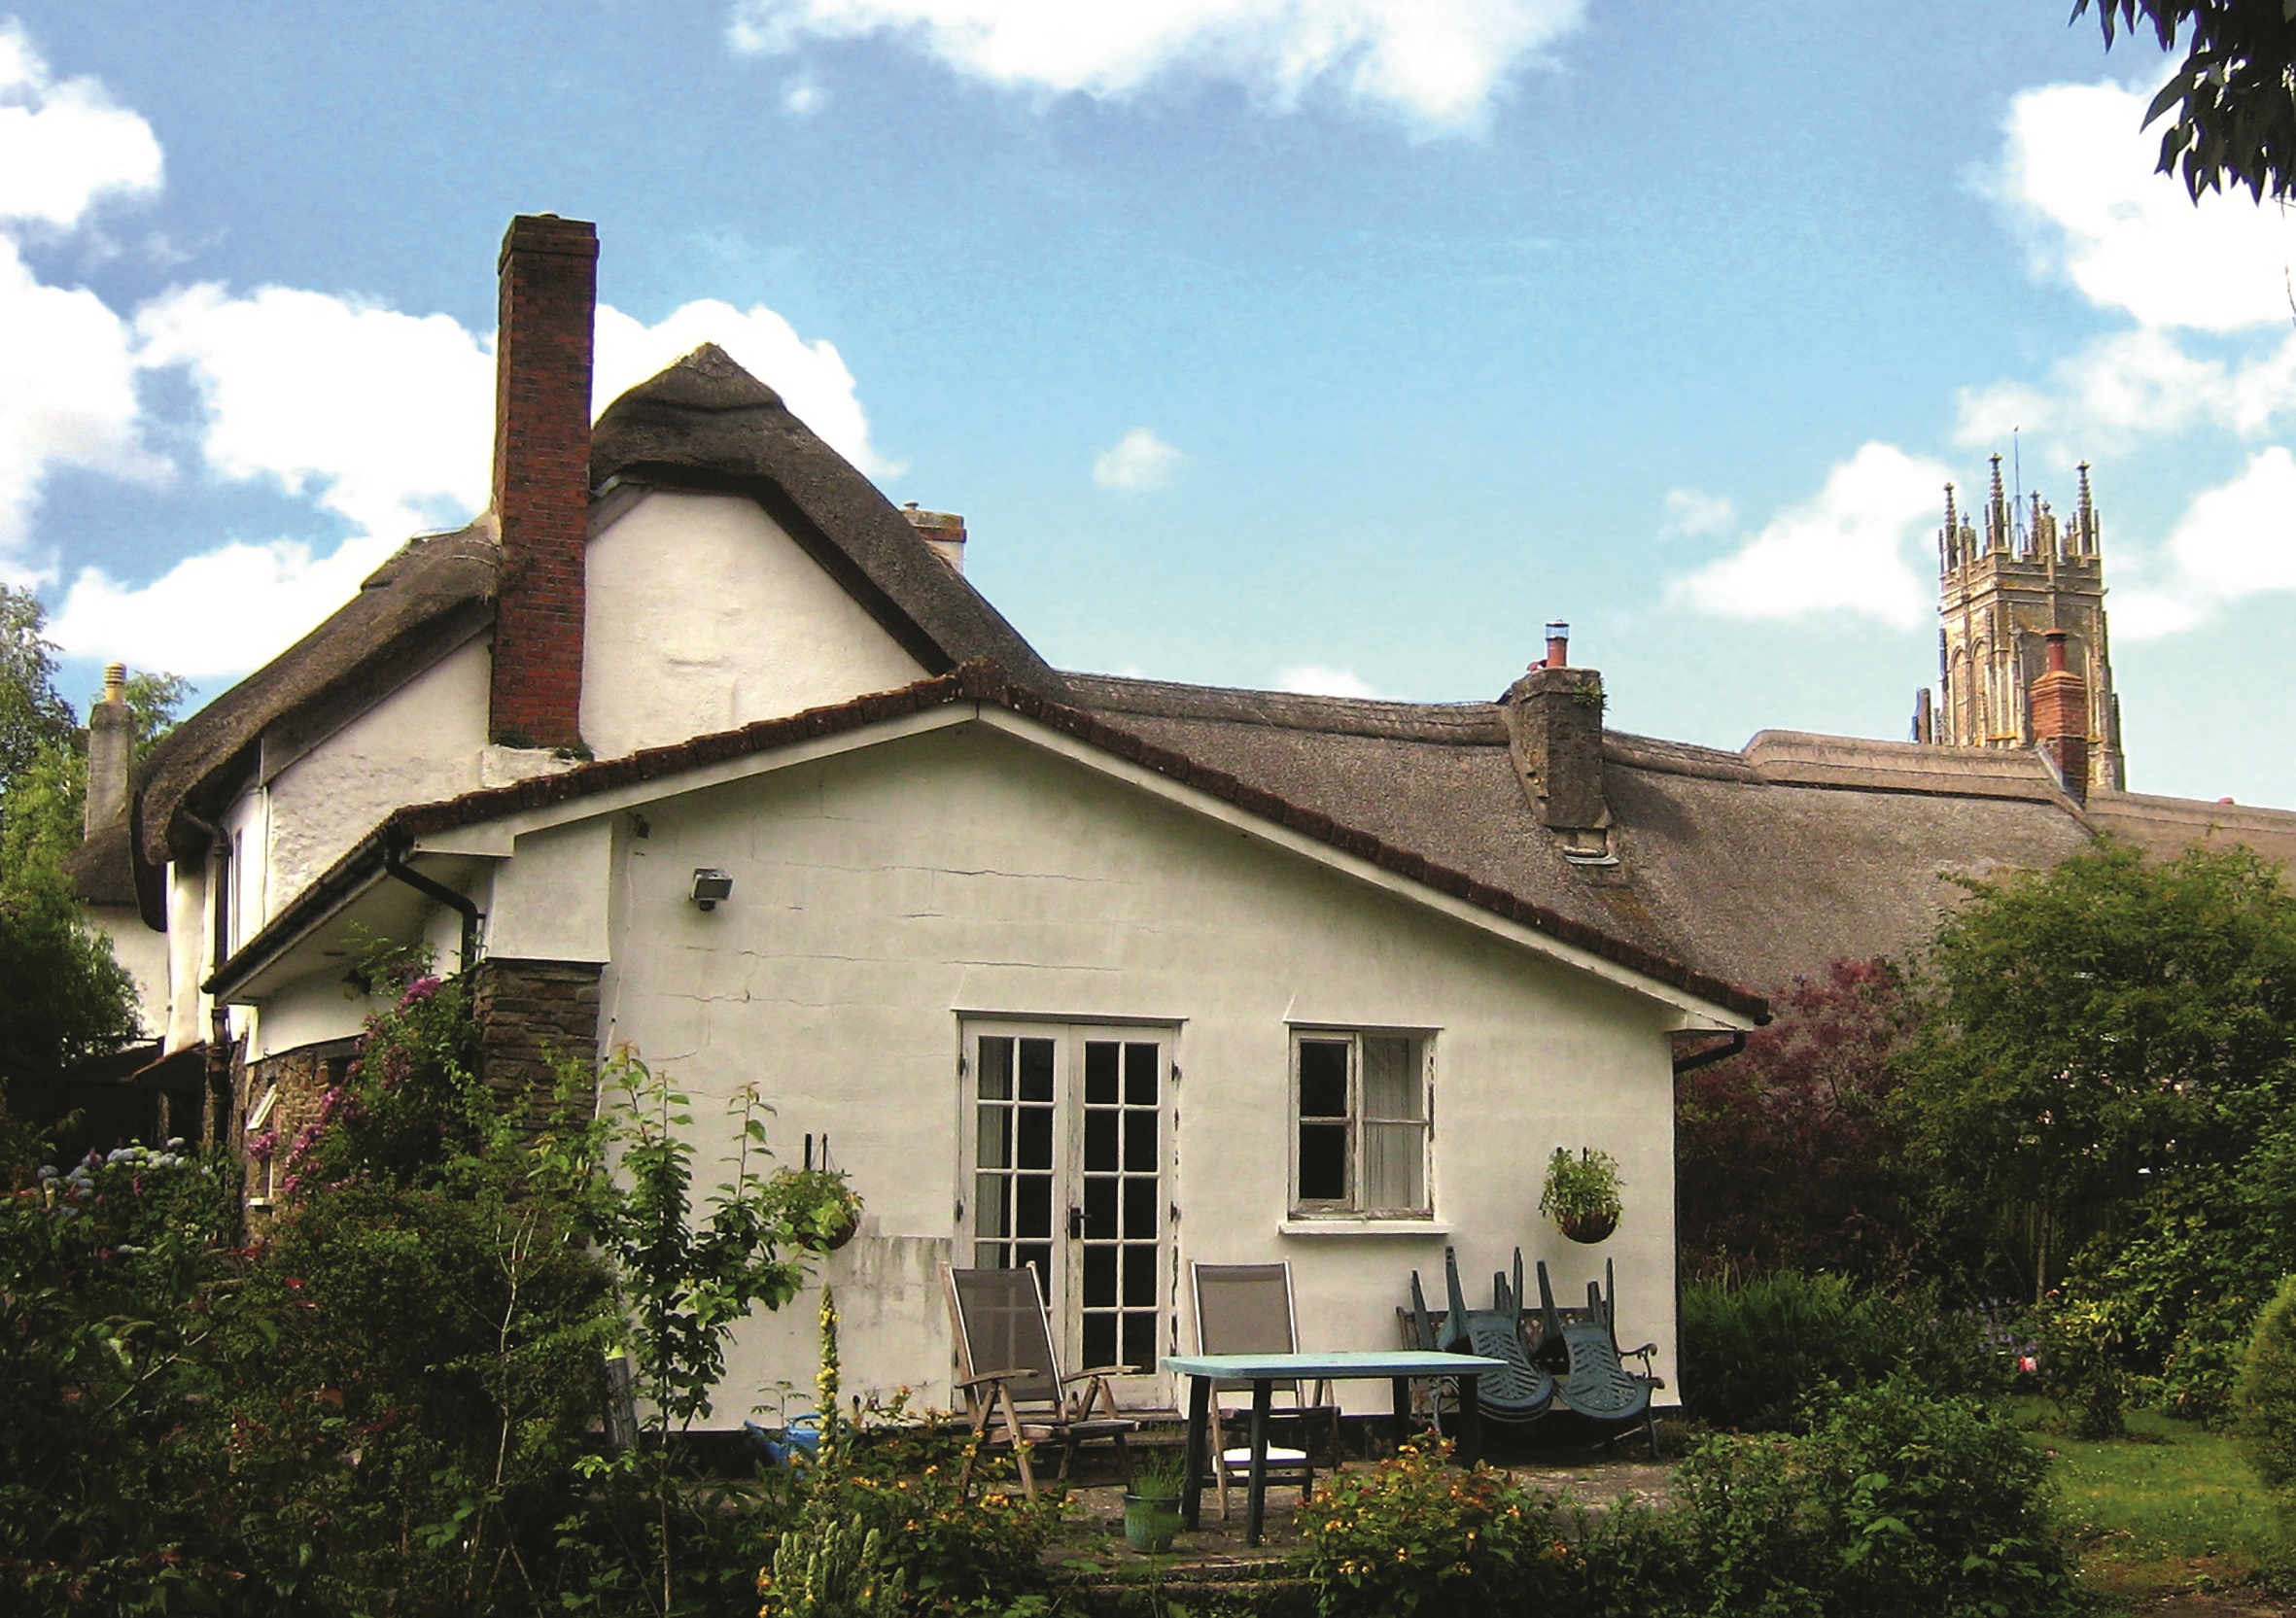
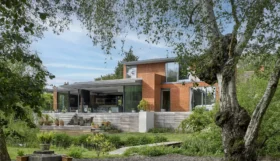
Alongside the work on site, we’ve been progressing the design for the final phase of the project. This will be to renovate/replace some very poor-quality modern additions to the rear of the house that are both unsightly and in a bad structural condition.
We plan to remove the unstable blockwork wall to the end of the 1990s annexe and rebuild it in stone with a large, fully opening section of glazing. The 1970s lean-to against the rear wall of the main range will be completely demolished and replaced with a much simpler extension on the same footprint.
The end wall of the annexe is unstable and will need to be replaced
The new element will have a shallow pitched roof with a rooflight and a fully glazed wall of bifold doors. Both this and the east slope of the annexe will have sedum roofs.
Any new wall sections will be exposed stone or lime render to complement the main house, while the glazing and sedum roofs will be clearly contemporary but have limited visual impact.
Internally, these changes will give us much more usable spaces, opening out onto external terraces and linking the existing areas of the house much better.
The extensive, south-facing glazing will bring in a lot of light and solar gain, and take best advantage of the extensive views.
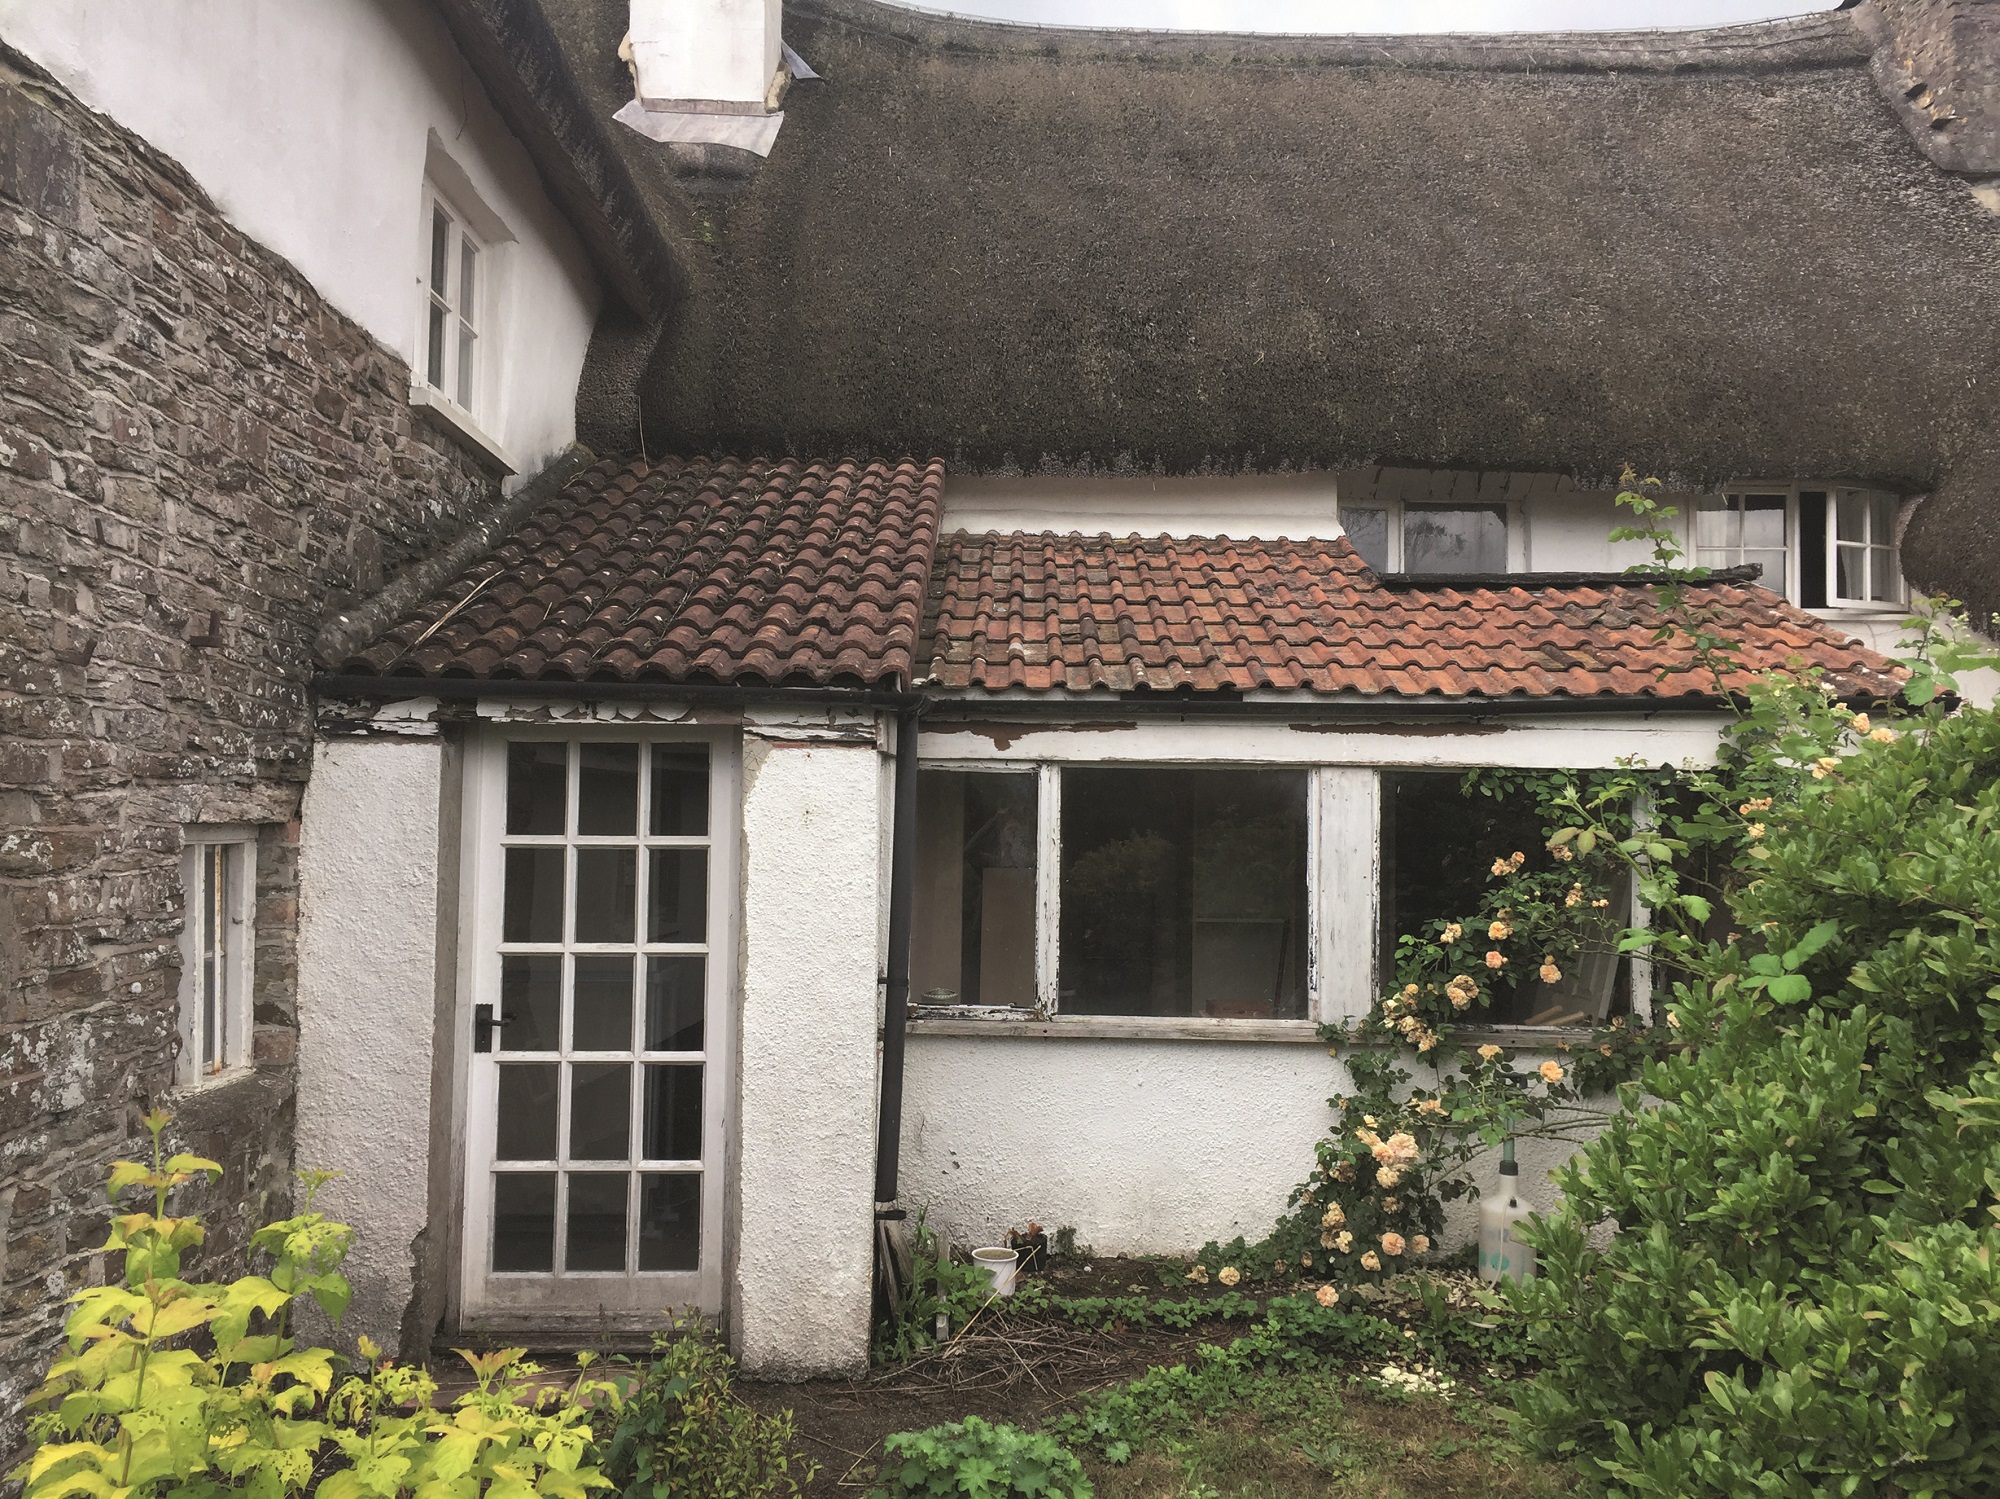
We plan to knock down the 1970s lean-to and replace it with a simpler extension
This work will need both planning permission and listed building consent. Because the house is grade II* listed and in a conservation area, we have had to take great care with the design; it will be subject to a lot of scrutiny.
We have a very good, conservation accredited architect and have consulted closely with the conservation officer, who is supportive of the scheme. Our applications have now been submitted – fingers crossed for a quicker and smoother process than last time!


 Login/register to save Article for later