- Plan ItBack
- Design ItBack
- Build ItBack
- Homes
- ProductsBack
- CostsBack
- Self Build Cost Calculator
Estimate your project costs instantly with Build It's interactive self-build cost calculator
Calculate Now - Costs & Finance
- Contracts & Warranties
- Build It Estimating Service
Get an accurate, detailed cost breakdown of your project
Submit plans
- EventsBack


 Login/register to save Article for later
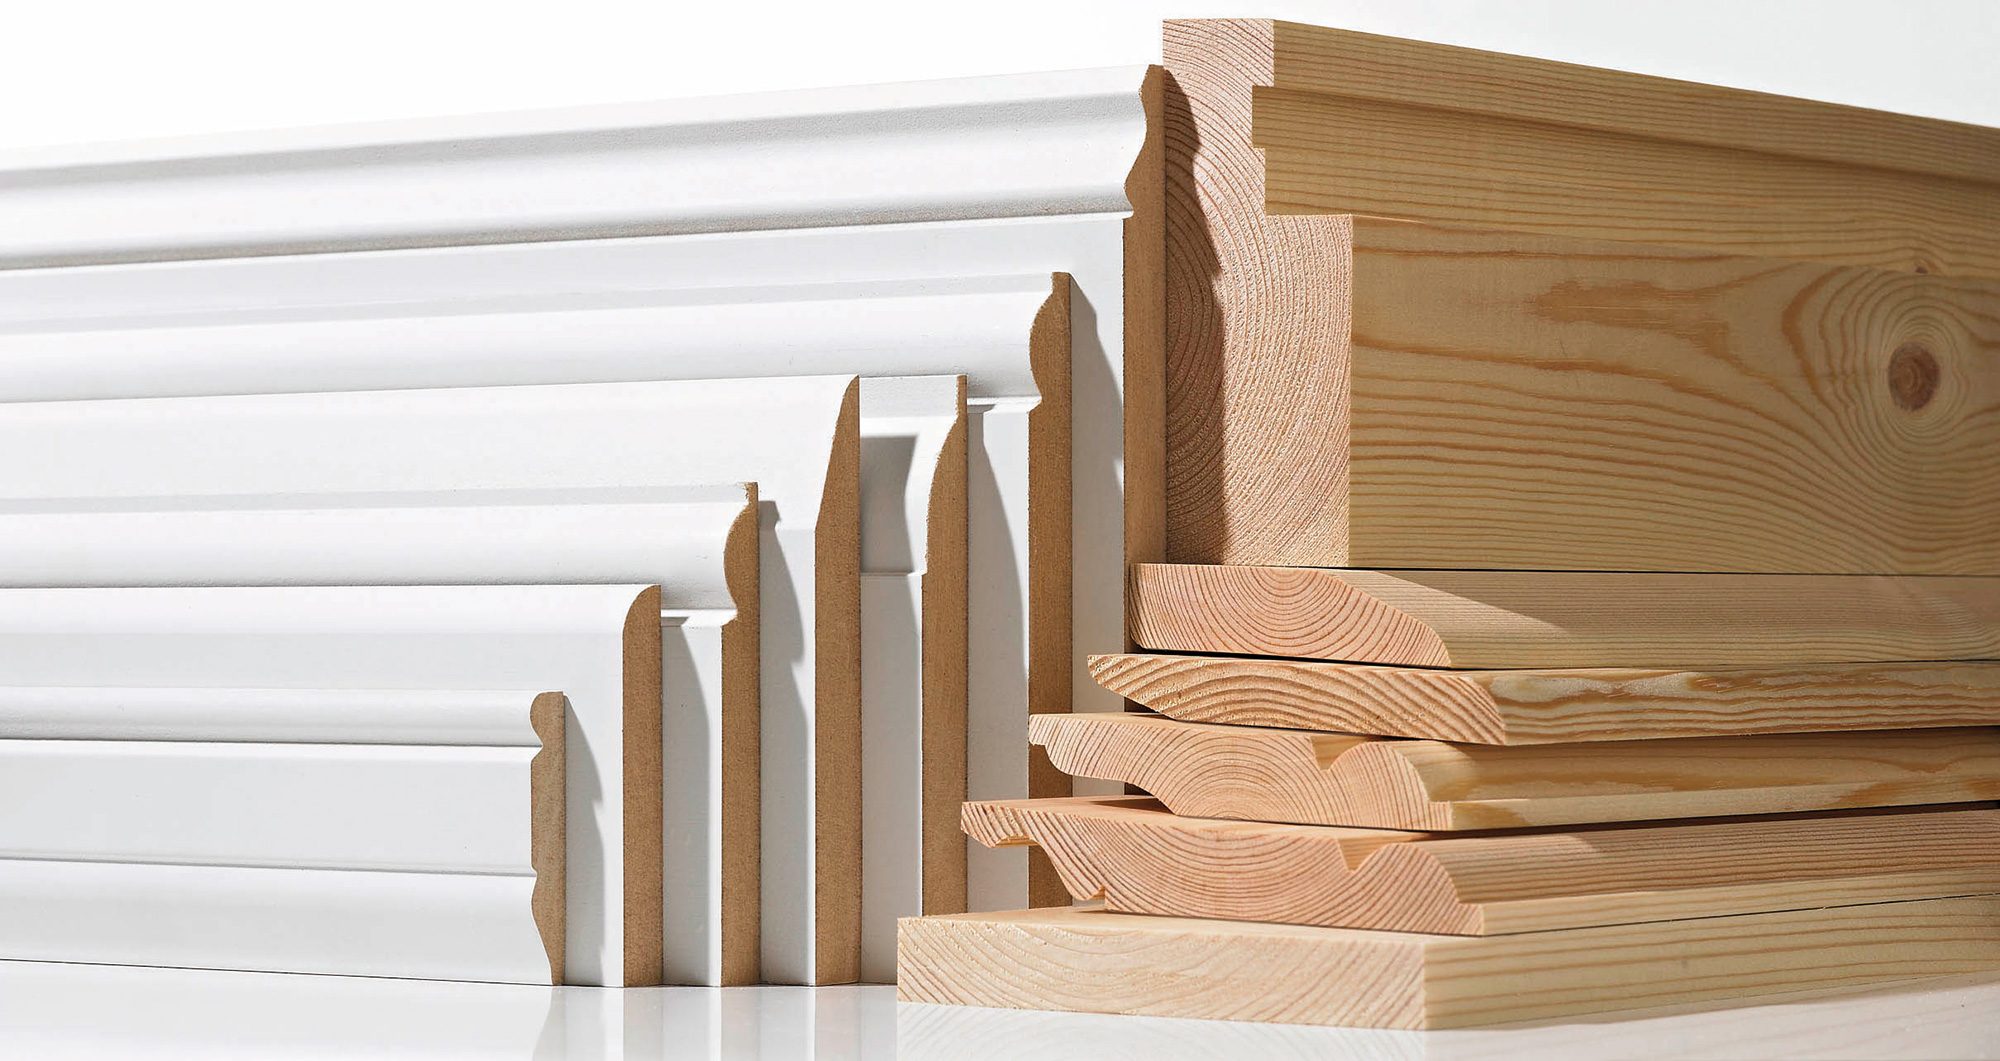
How to Fit Skirting Board

Provided you have the basic kit and are a reasonably competent DIYer, fitting skirting board is a relatively straightforward job.
It’ll take you a good deal longer than it would a skilled carpenter (expect to spend one to two days decking out a large living room with internal and external corners), but doing it yourself could save around £150 per day on labour.
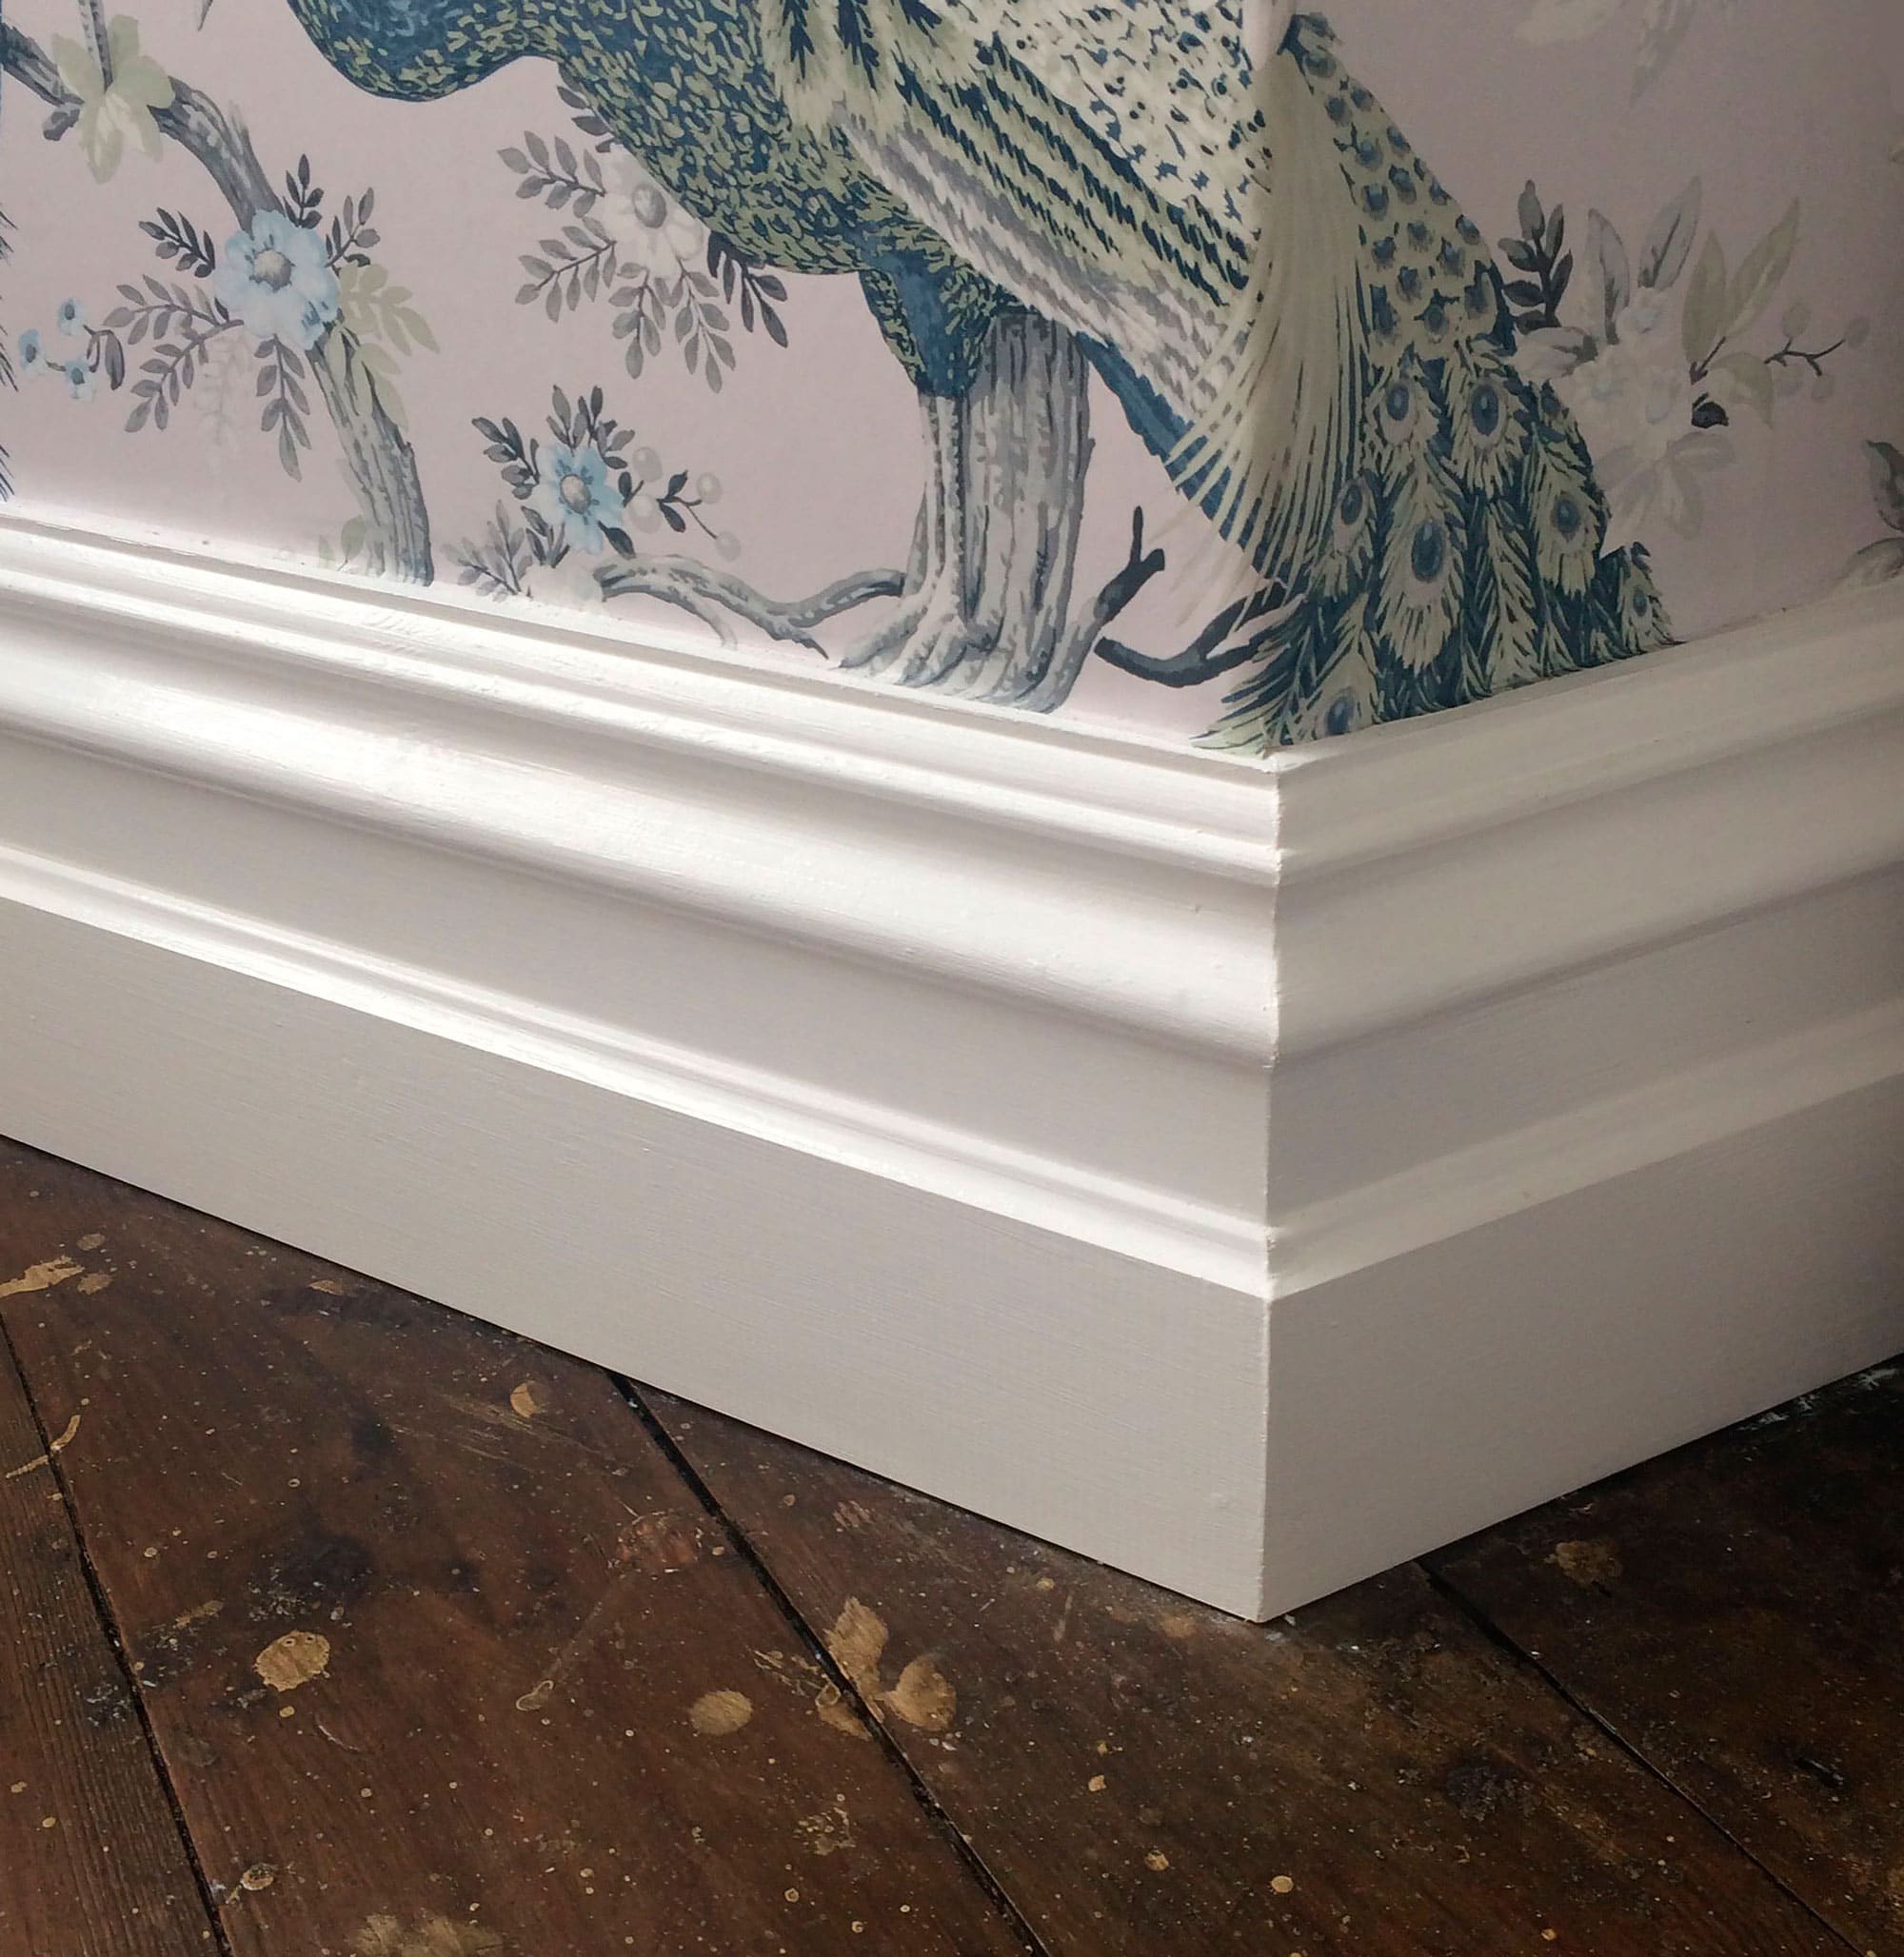
The Period MDF skirting board by Skirting World starts at £10 per 3m length. It has a large, classical design that looks particularly elegant in traditional homes. As is typical for skirting, this design is made from a hard-wearing MDF, which won’t splinter or crack.
Skirting performs a dual role in your home, offering an attractive finish by covering up unsightly junctions between floors and walls, as well as providing protection against kicks, scuffs and other bumps.
Learn more: Choosing Skirting Boards
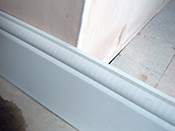
The most involved part of the process is scribing internal corners. Many DIYers leave this stage out to save time, but a quick mitred joint won’t cut it in the long run – gaps will appear as the wood dries out. If you’ve not tried scribing before, practice on a short section or cut the skirting long enough that you can try again should you make a mistake.
Project guide: Fitting skirting board
You will need |
||
|
|
|
 Step 1:
Pick a section of the wall with an external corner. Butt a length of skirting against the far wall so that it protrudes past the corner and use your pencil to mark a line along the floor where the skirting will sit
 Step 2:
Repeat step 1 for the adjacent wall. You will now have a cross marked on the floor (ours is bare at the moment as it’s due to be carpeted). Measuring to this point will give you the length of the skirting you need to cut
 Step 3:
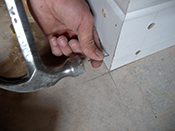
If you are fixing the skirting into studwork, try to locate the timber uprights at this stage. You may need to use a stud detector for this. Mark the location of the studs onto the floor with your pencil
 Step 4:
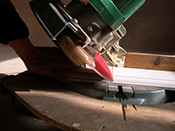
Measure the length of the first piece and use your square to mark a cutting line (at external corners, the face of the skirting should be longest and the rear should meet with the corner). Set your saw to a 45° bevel and cut
 Step 5:
Rest the skirting in position and check for length, then transfer the stud positions using a square. Measure two fixing points onto the face of the skirting – ours are at 30mm and 90mm from the bottom, but this will vary
 Step 6:
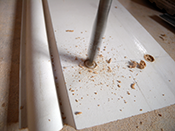
Drill pilot holes through the skirting and into the studs. Next, use a countersink or flat woodcutting bit to bore into the face of this length so that the screws will sit behind the surface. Screw the skirting into position
 Step 7:
Repeat the cutting process for the adjoining piece (making sure you cut the correct angle) and offer it up to the section you’ve already fitted. Check the join aligns correctly – if not, adjust with your plane
 Step 8:
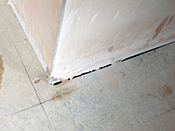
Run some wood glue along the join and push the skirting into place. Drill and screw as in step 6, then nail a couple of pins through the second piece into the first and punch below the surface
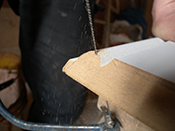 Step 9:
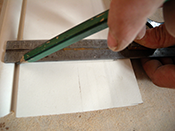
For internal corners, cut a piece of skirting down to length (in this case, the back will be the longest dimension). Cut a 45° bevel with your mitre saw. Use a coping saw to cut just inside the profile of the skirting.
 Step 10:
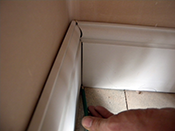
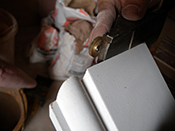
Offer the new length up to the wall and ensure it’s a snug fit with the adjacent skirting. Use a pencil to mark up for any trimming and plane off the excess. Once you’re happy with the fit, screw in place
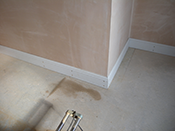 Step 11:
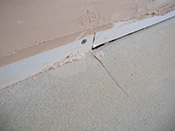
Continue the process around the room until complete. Avoid scribing at both ends of a single length of skirting, as you’ll lose accuracy. Fill the screw holes with wood filler and you’re ready to paint or varnish
This step by step guide is supplied courtesy of TradesSupermarket

You may be interested in