

- Plan ItBack
- Design ItBack
- Build ItBack
- Homes
- ProductsBack
- CostsBack
- Self Build Cost Calculator
Estimate your project costs instantly with Build It's interactive self-build cost calculator
Calculate Now - Costs & Finance
- Contracts & Warranties
- Build It Estimating Service
Get an accurate, detailed cost breakdown of your project
Submit plans
- EventsBack


 Login/register to save Article for later
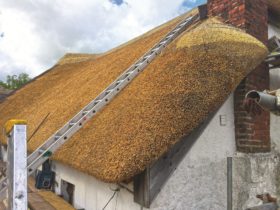
How to Build a Brick Wall: Your Step-by-Step Guide

Wondering how to build a brick wall? Bricklaying is considered one of the more approachable construction skills, so many self builders want to give it a go. But it isn’t a task to be taken on lightly, especially if you’re building structural walls.
The easiest route to great results is enlisting a good brickie. Using an experienced tradesperson may be cost-effective, too, as it’s likely to speed up the build and minimise mistakes.
Of course, if you do want to tackle an involved bricklaying project and build a brick wall yourself, it makes sense to practice. Even the most confident DIYer will need to get to grips with the process first.
Trying your hand at building a brick wall in your garden is a great place to start. You’ll learn everything from setting out the footprint and maintaining level and square to mixing the mortar, bedding the bricks and finishing joints neatly.
Before you build a brick wall, you’ll need to figure out the number of bricks required. Standard types are 215mm x 102.5mm x 65mm.
To get an accurate picture of the number of bricks required, you’ll also need to account for a 10mm mortar bed. So to come up with the correct calculations, input your brick size as 225mm x 102.5mm x 75mm for standard products.
You’ll then want to add an allowance for cuts and wastage. Typically, you might overorder by 5% for a house or garage wall where there will be structural openings (such as windows). You might get away with less on a simple garden wall.
How to Build a Brick Wall Step-by-Step
You will need
|
|
There are 11 steps in this guide to building a brick wall.
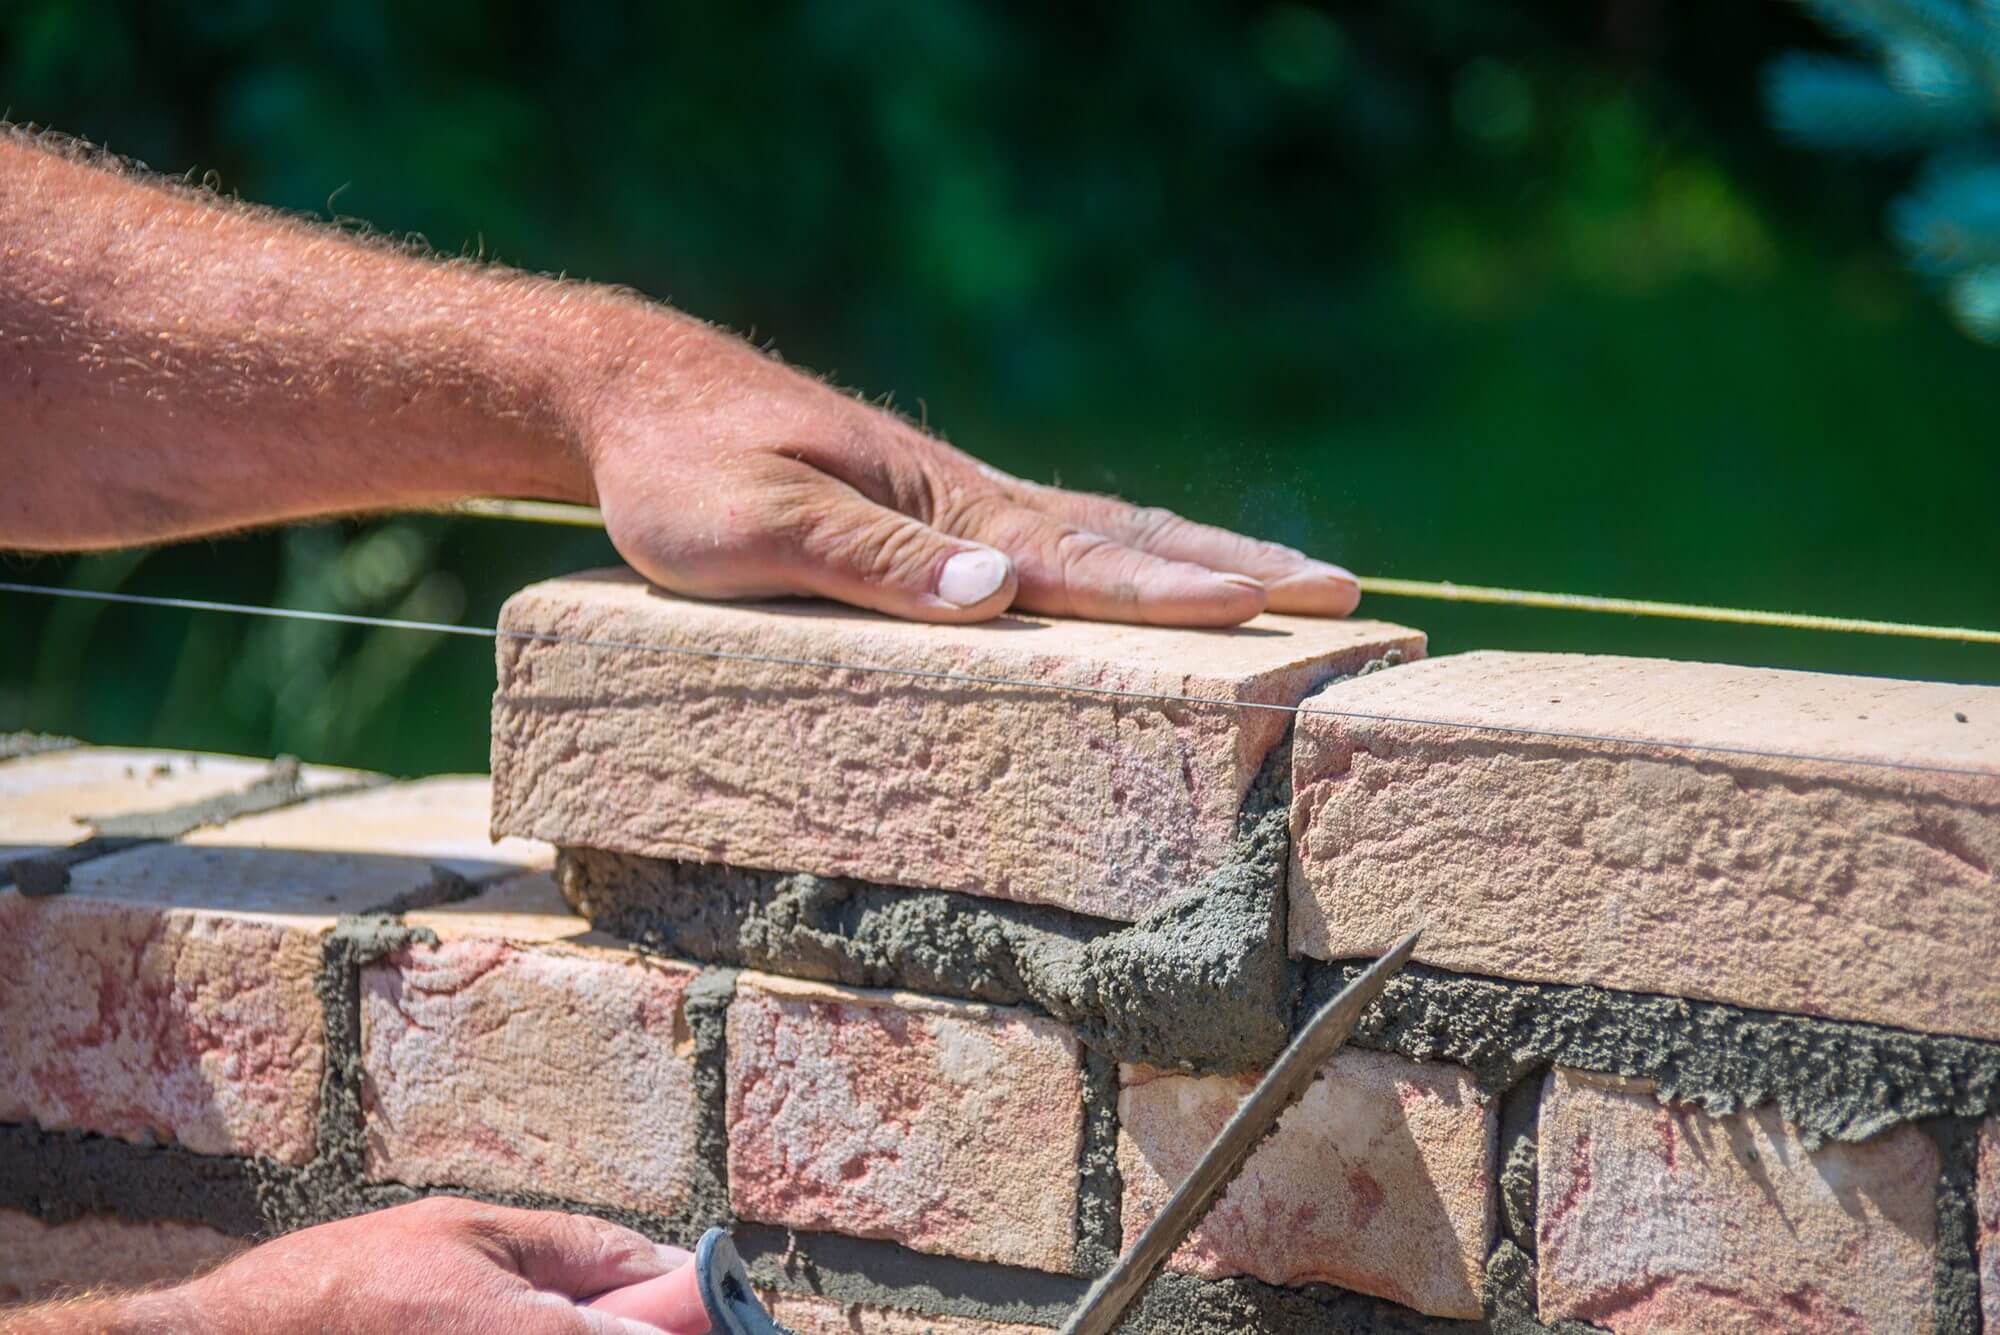
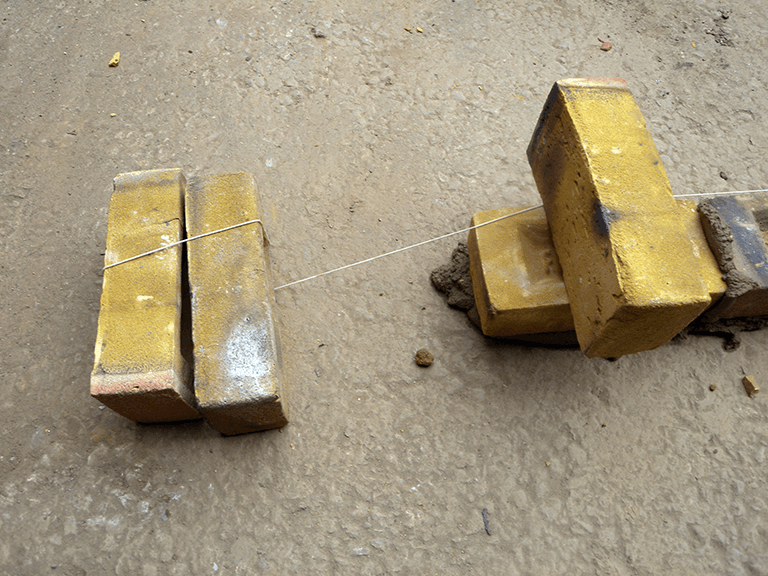 Step 1: Start your brick wall at the corners
Firstly, lay out the bricks at both ends of your wall where the pillars will start. This should be done after any necessary foundations have been prepared. Using your string line, make a straight guideline at brick height between the two outside bricks.
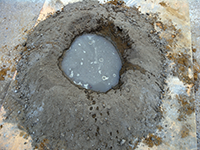
Step 2: Mix the mortar
Following this, heap five shovels full of sand and one of cement on an old board. Turn shovel to mix to a consistent colour. Form a central hollow, pour in water and mix. Repeat for a smooth, creamy texture that’s wet but not too loose.
 Step 3: Lay the first course of bedding mortar
Next you should lay a 1-2cm mortar bed along the string line. Starting at one end, lay the first brick and tap slightly to ‘bed in’. ‘Butter up’ one end of the next brick with mortar and abut it to the first. Repeat using string line as a guide.
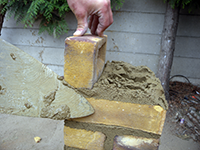
 Step 4: Create the brick pillars
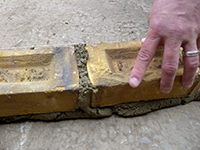
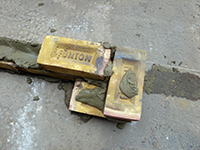
At the point where you want your pillars to start, place a brick side-on to the end of the wall. As you build up the wall, each consecutive course of pillar bricks must be laid in the opposite direction.
 Step 5: Cutting bricks
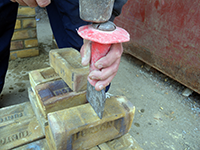
When building pillars, at certain courses you’ll need to lay half-bricks. To make a cut, place the brick on its side, locate the bolster at the split point and strike the head firmly with a club hammer. It should split cleanly first time.
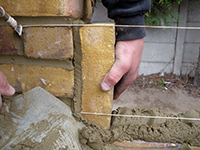
 Step 6: Keep the pillars one course ahead
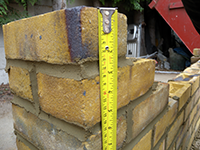
Always build at least a course higher on the pillars than the rest of the wall. Move the string line up as you build, bedding it into the mortar on the pillars. For a stretcher bond, the end of each brick should be over the centre of the one beneath.
 Step 7: Make sure you’re sticking to 10mm mortar joints
Horizontal and vertical mortar joints should be 10mm thick. With standard bricks there should be 75mm from the top of each brick to the top of the one beneath. If your bricks soak up moisture fast, you may want to ‘joint up’ (step 10) as you go.
 Step 8: Add a coping stone
You may want to add a coping stone to finish when you reach the top of the pillars. Alternatively, you could create a pleasant effect at less cost by bedding bricks into the mortar on their sides
 Step 9: Decorative brick soldier course
Adding a ‘soldier course’ is an attractive option to top the main part of a garden wall. Turn your bricks vertically lengthways and lay along the full length. Use a second, higher string line to keep a uniform finish
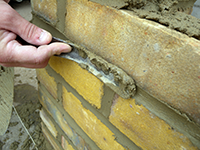 Step 10: How to finish the mortar beds
To finish the beds, use the rounded edge of a brick jointer to scrape mortar into the joints. Start with the horizonal lines and follow with the vertical – it’s easier to remove any excess mortar this way
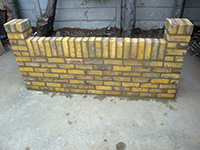 Step 11: Clean up
Lastly, give the finished wall a gentle brush over and clean up any mortar that has fallen onto the floor before it dries. You can use water to wash cement away from the floor, but be sure to keep it away from your newly-built wall!
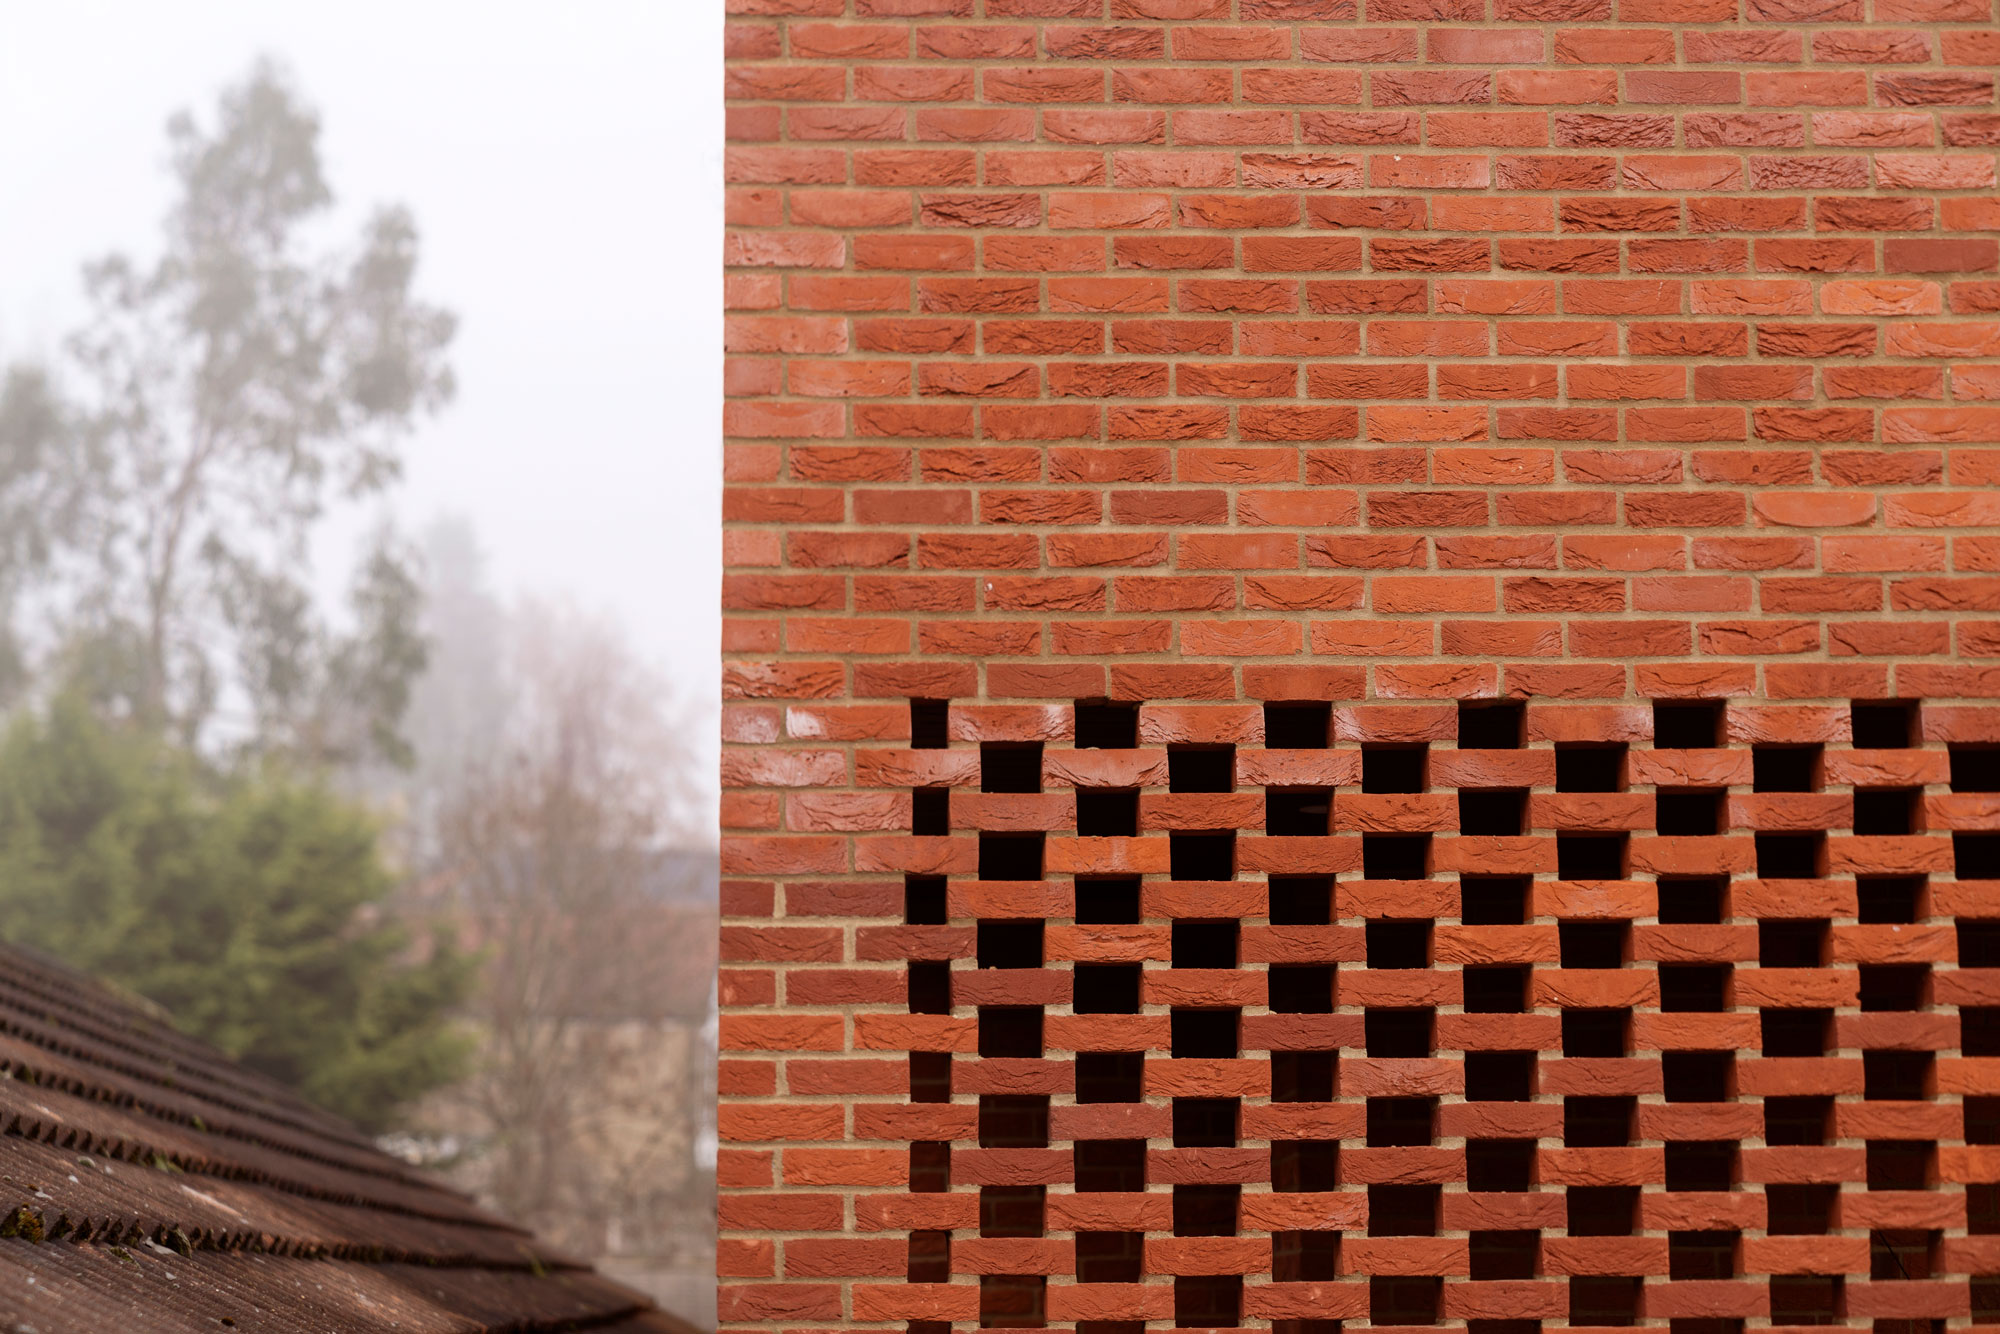
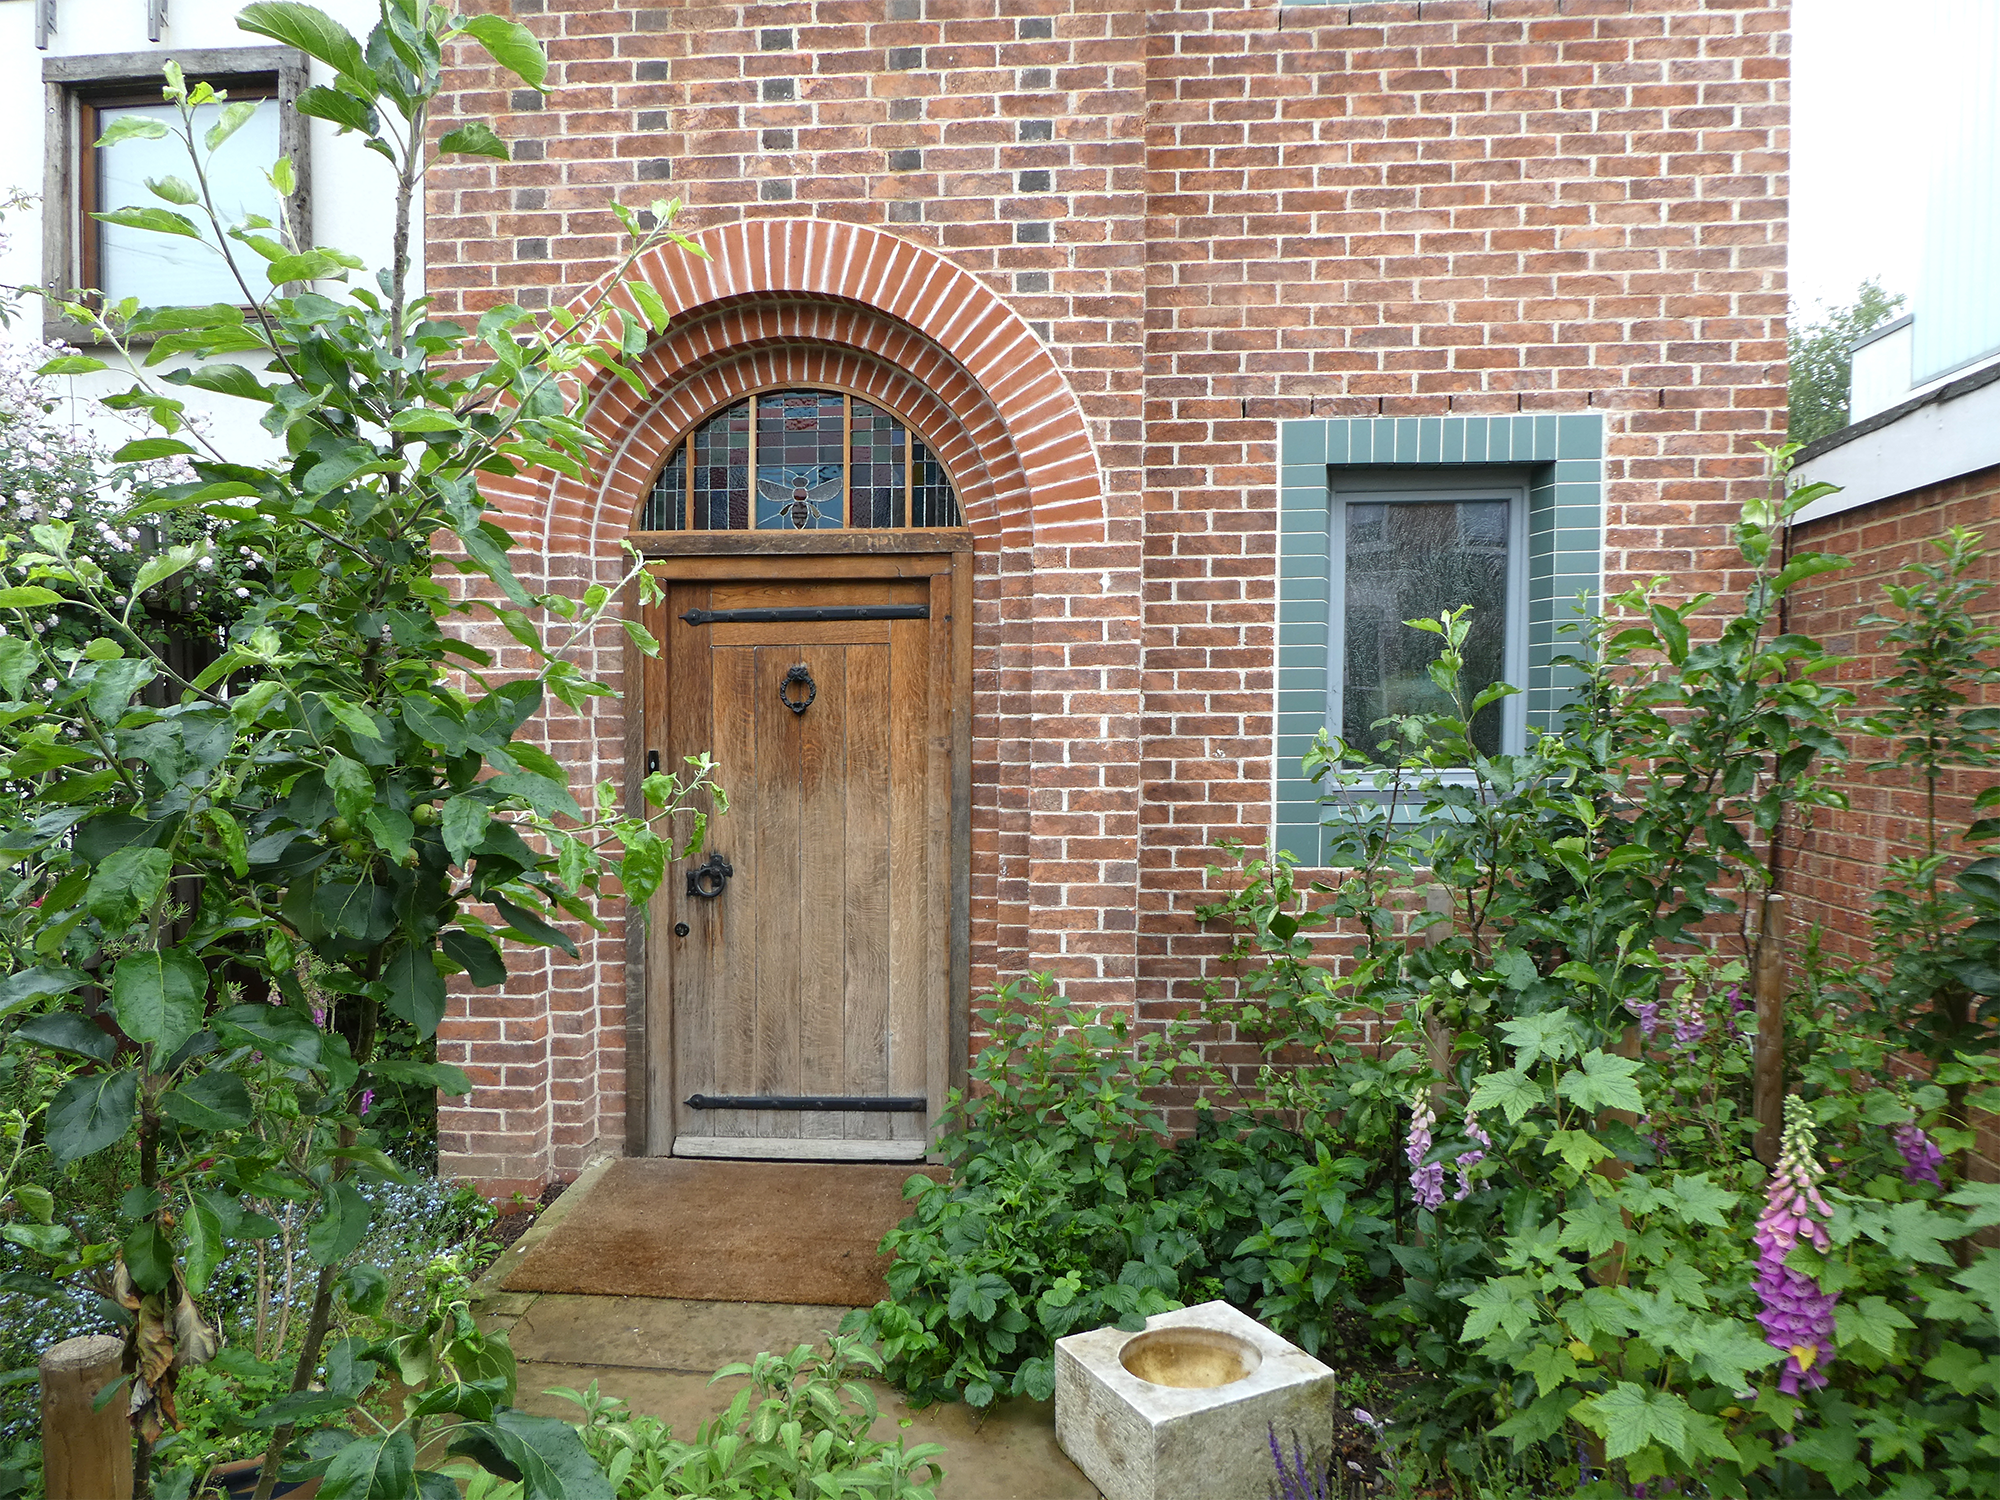
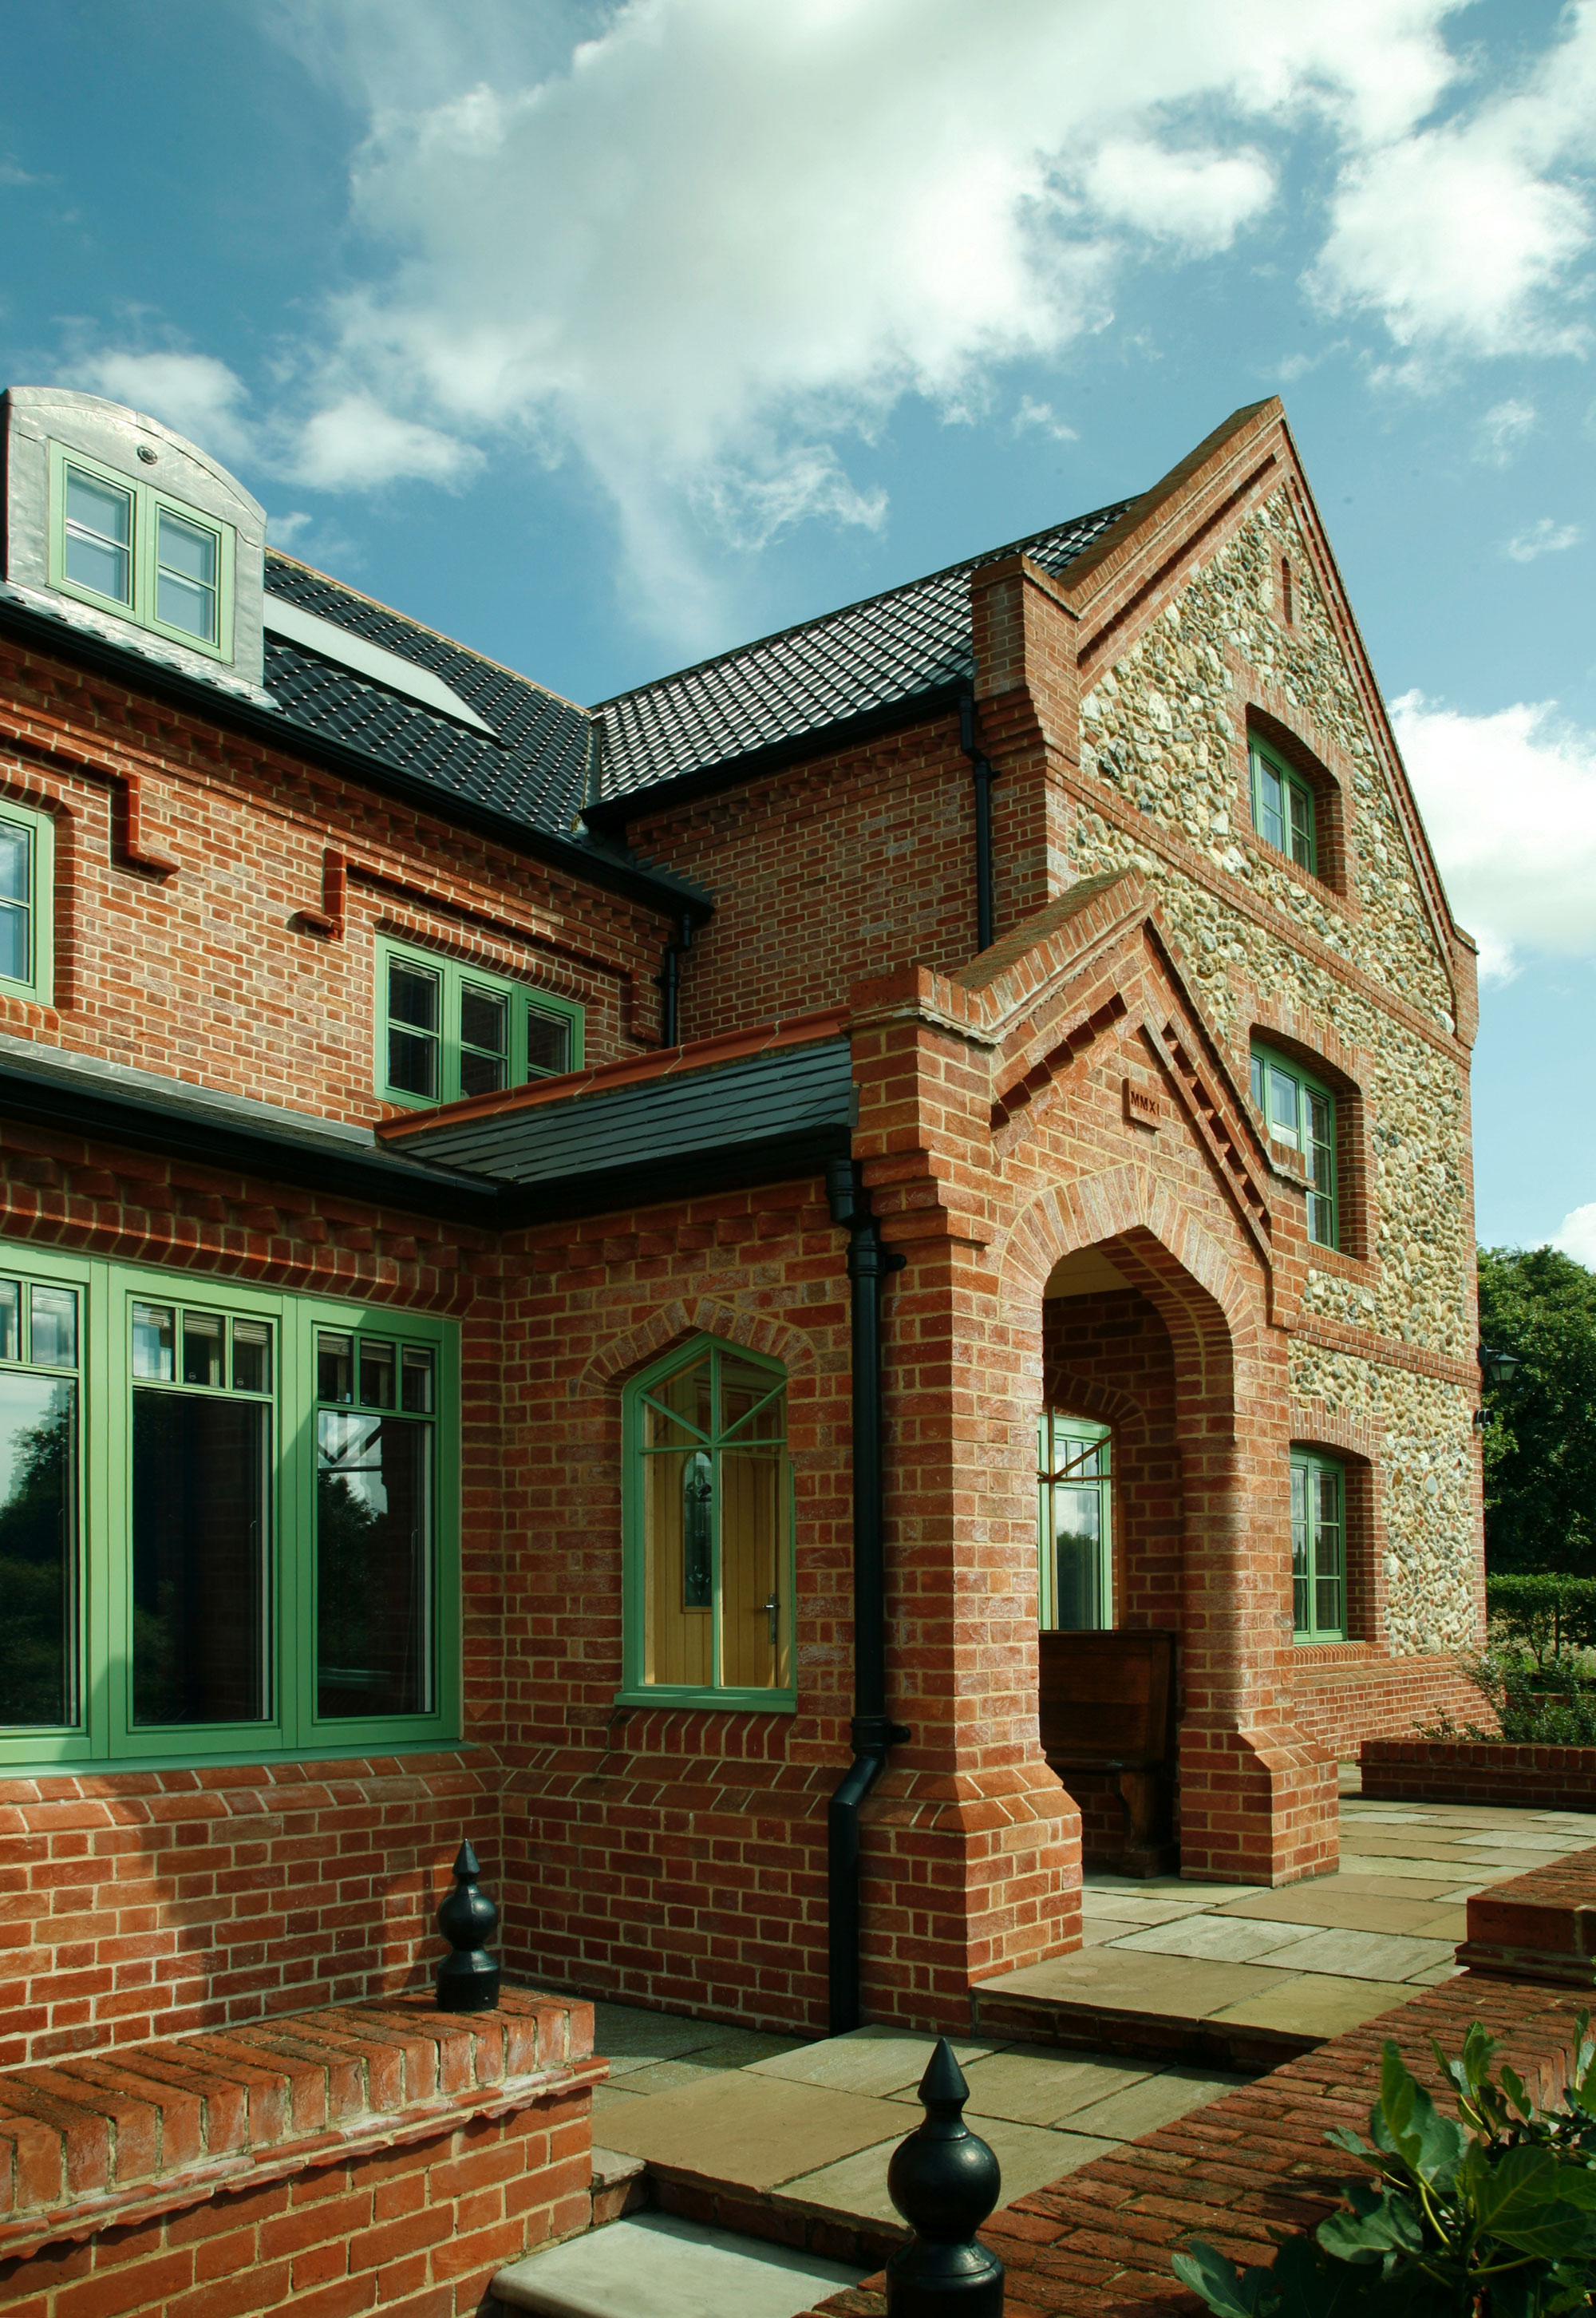
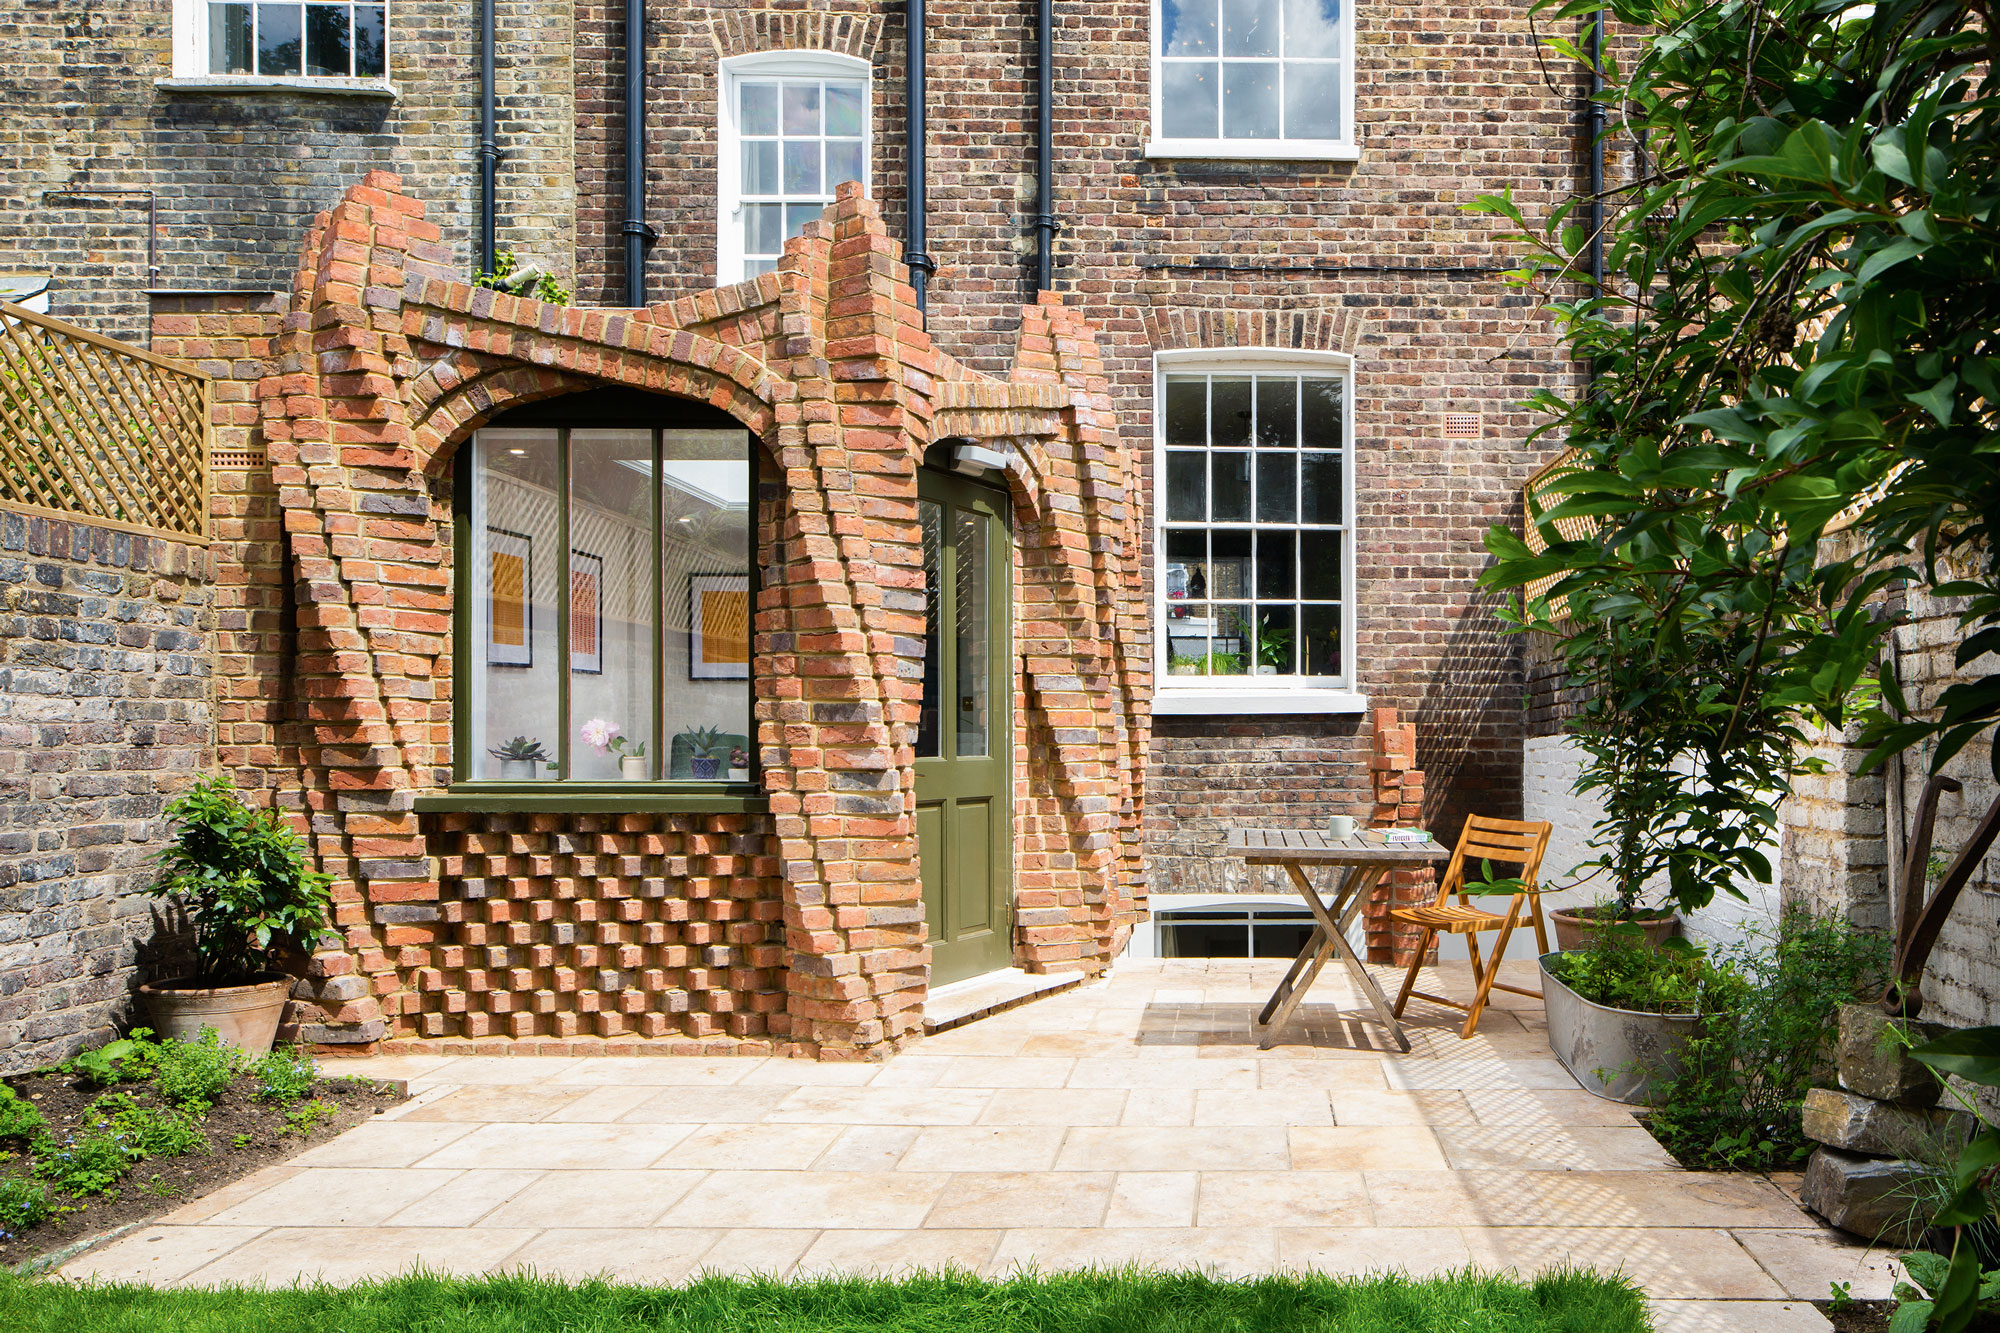

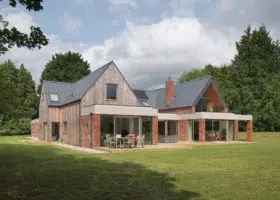
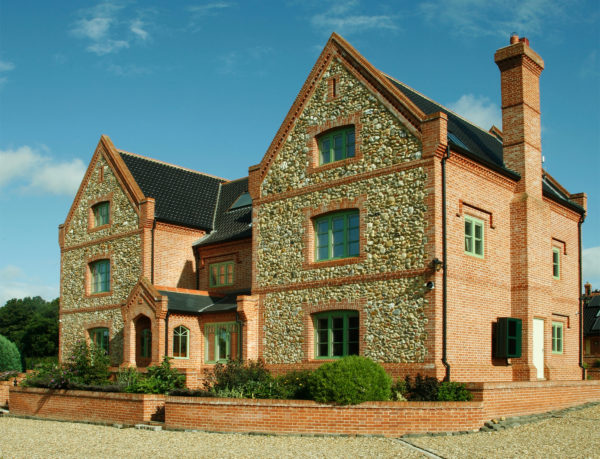
14 of the UK’s Best Masonry Homes
This step-by-step guide to building a brick wall was originally supplied by TradesSupermarket

You may be interested in


I’m building a porch wall how do I start the wall
Normal bricks or engineering bricks then what at dpc?
Thanks