- Plan ItBack
- Design ItBack
- Build ItBack
- Homes
- Products
- CostsBack
- Self Build Cost Calculator
Estimate your project costs instantly with Build It's interactive self-build cost calculator
Calculate Now - Costs & Finance
- Contracts & Warranties
- Build It Estimating Service
Get an accurate, detailed cost breakdown of your project
Submit plans
- EventsBack


 Login/register to save Article for later
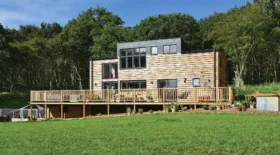
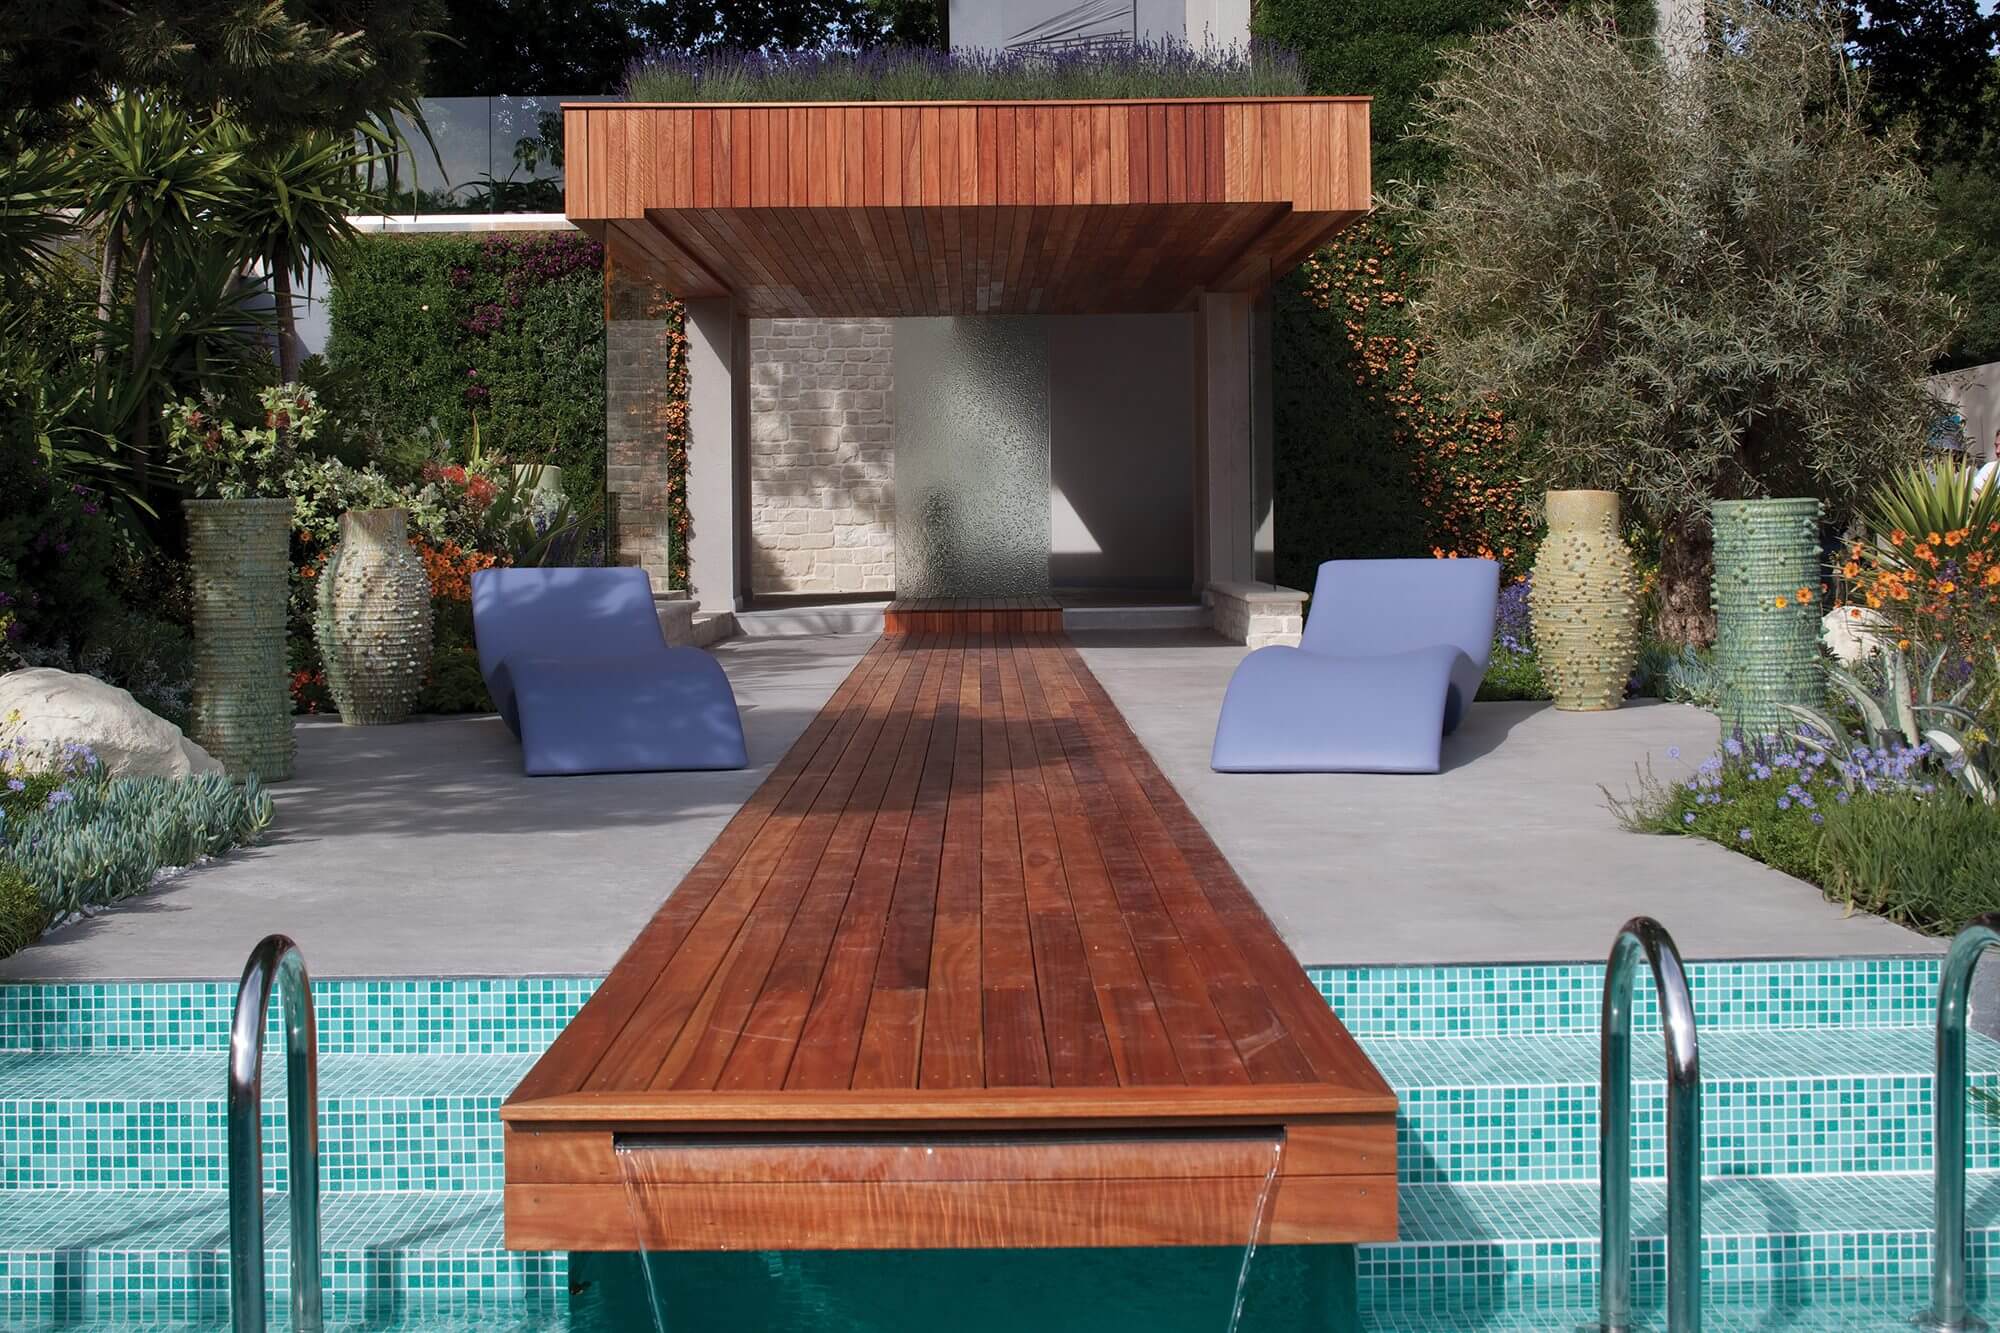
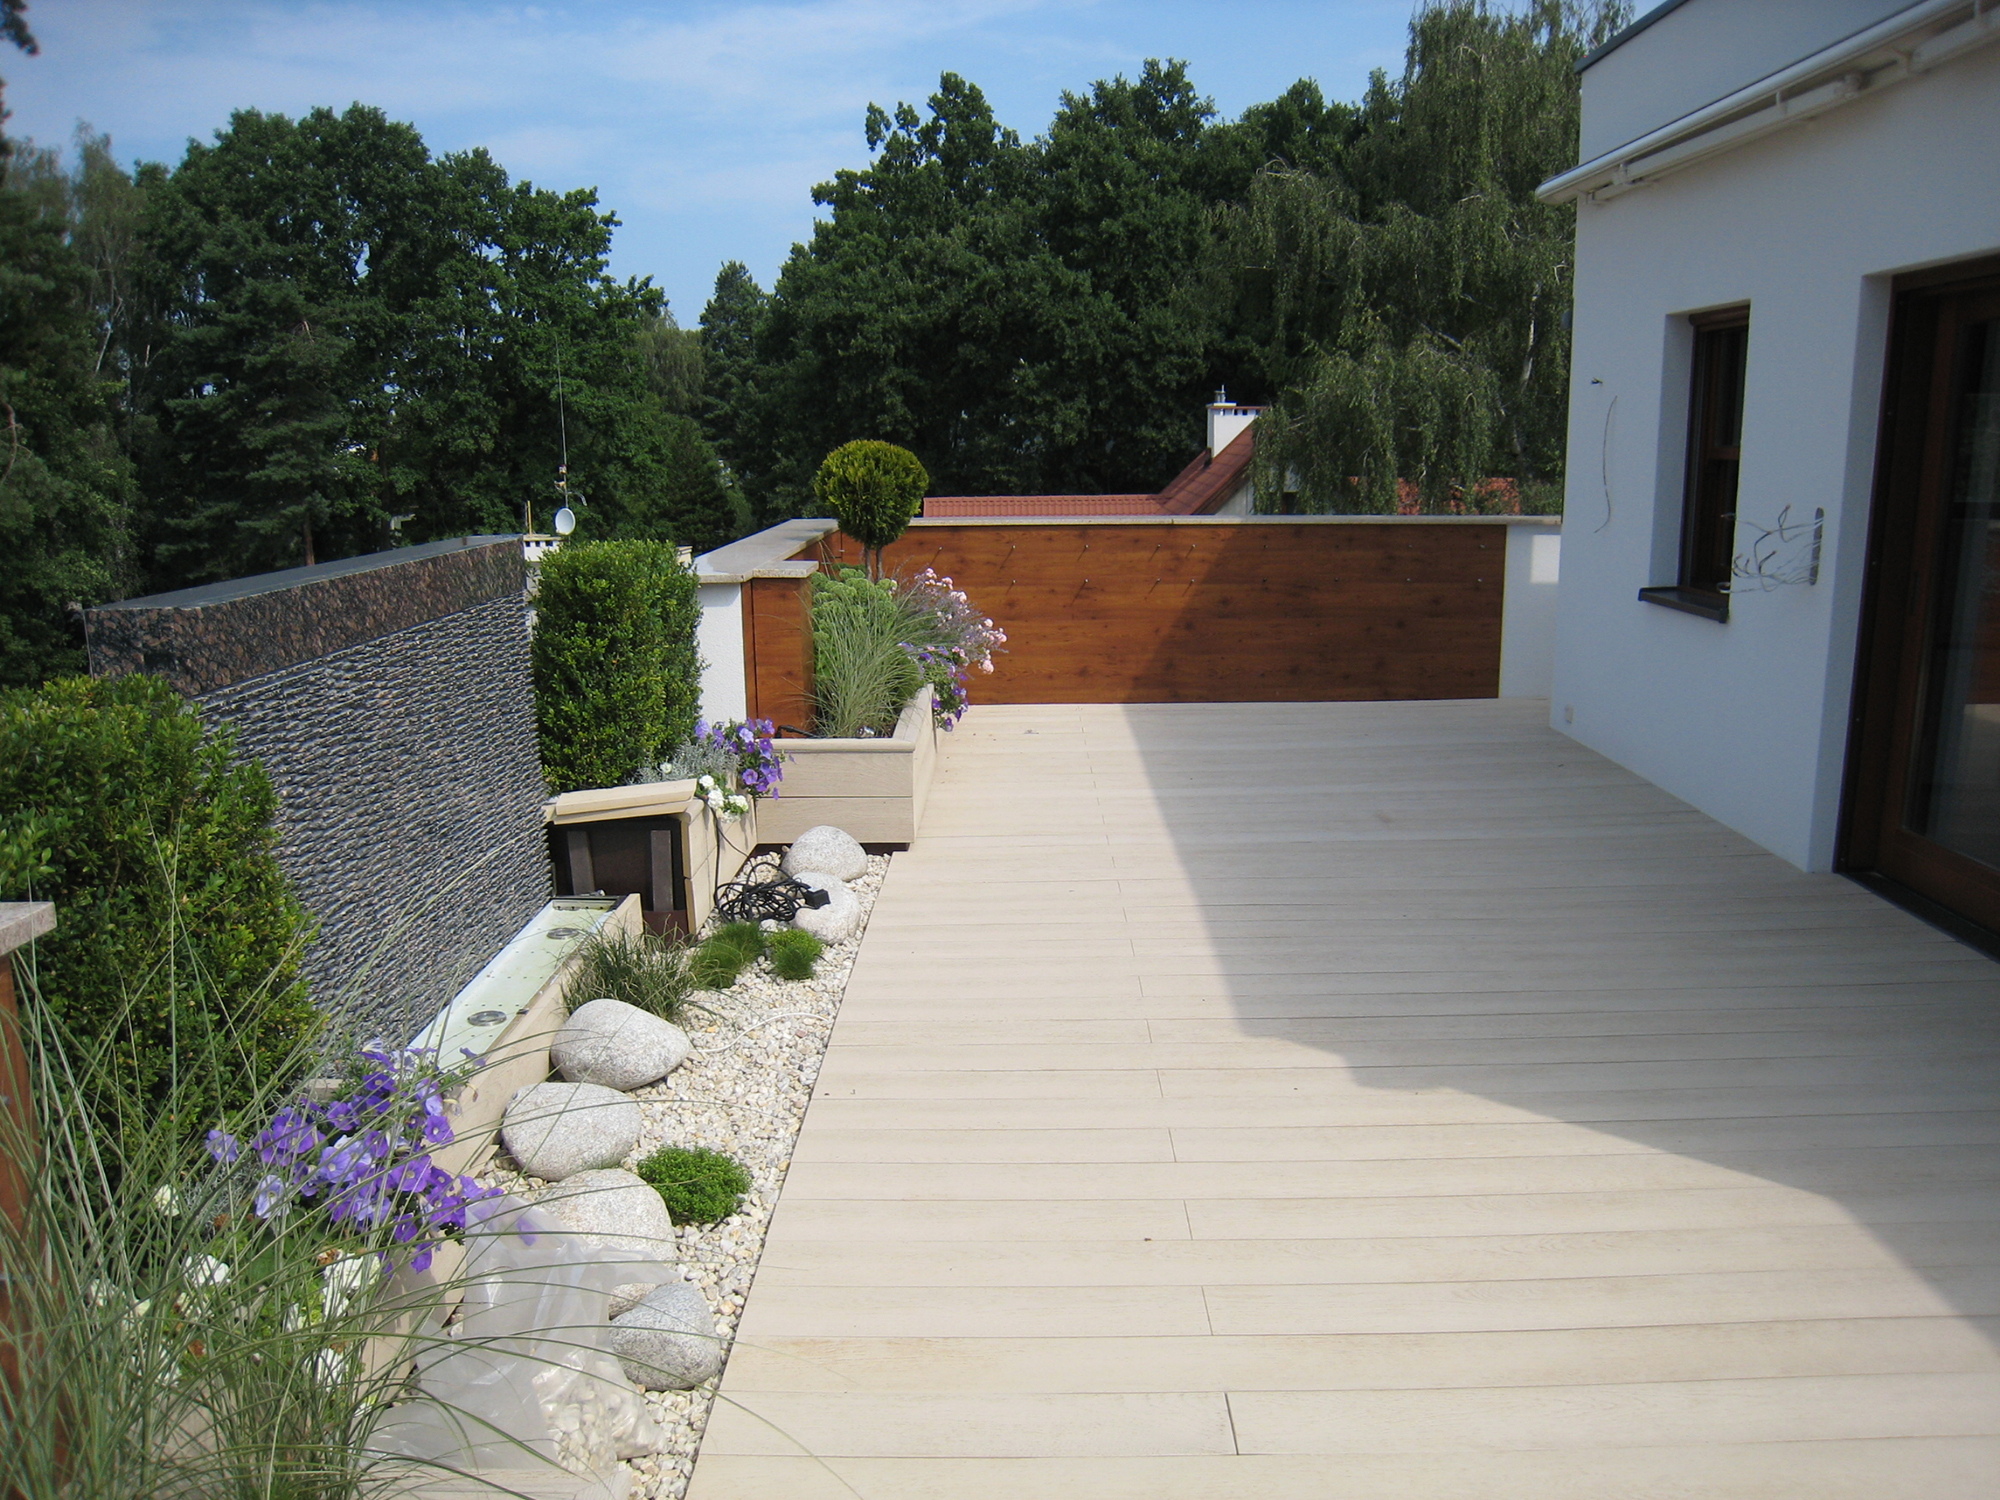
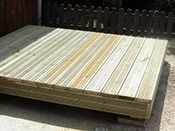
How to Build a Deck

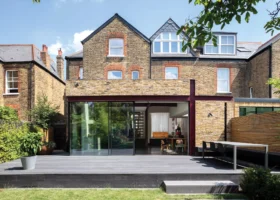
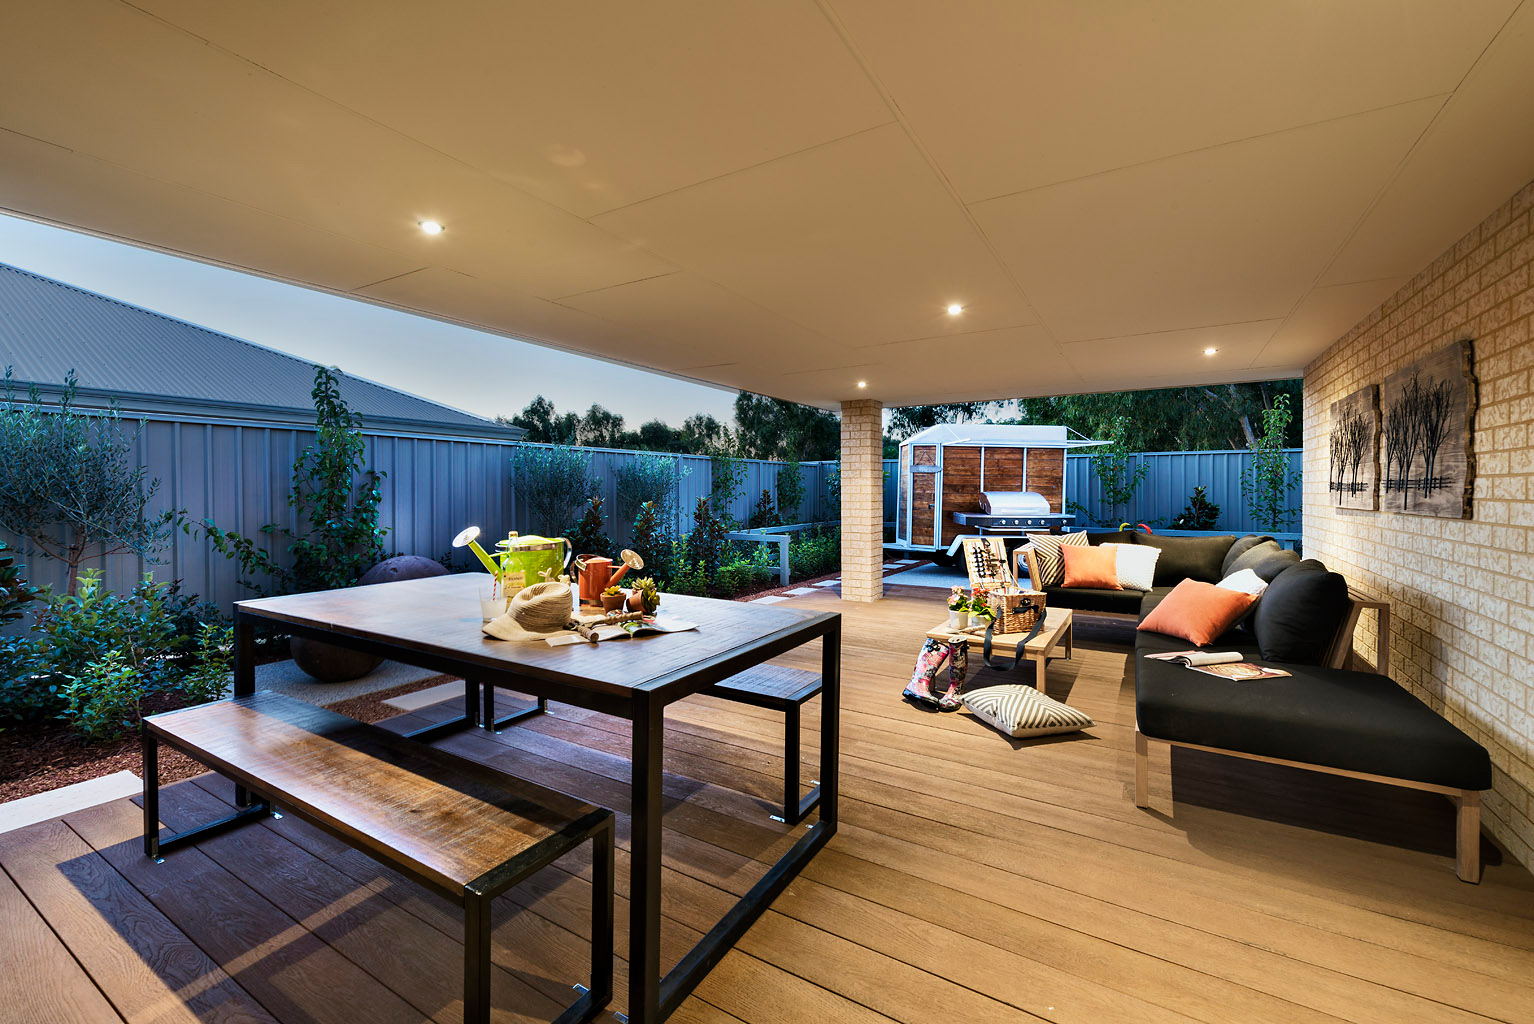
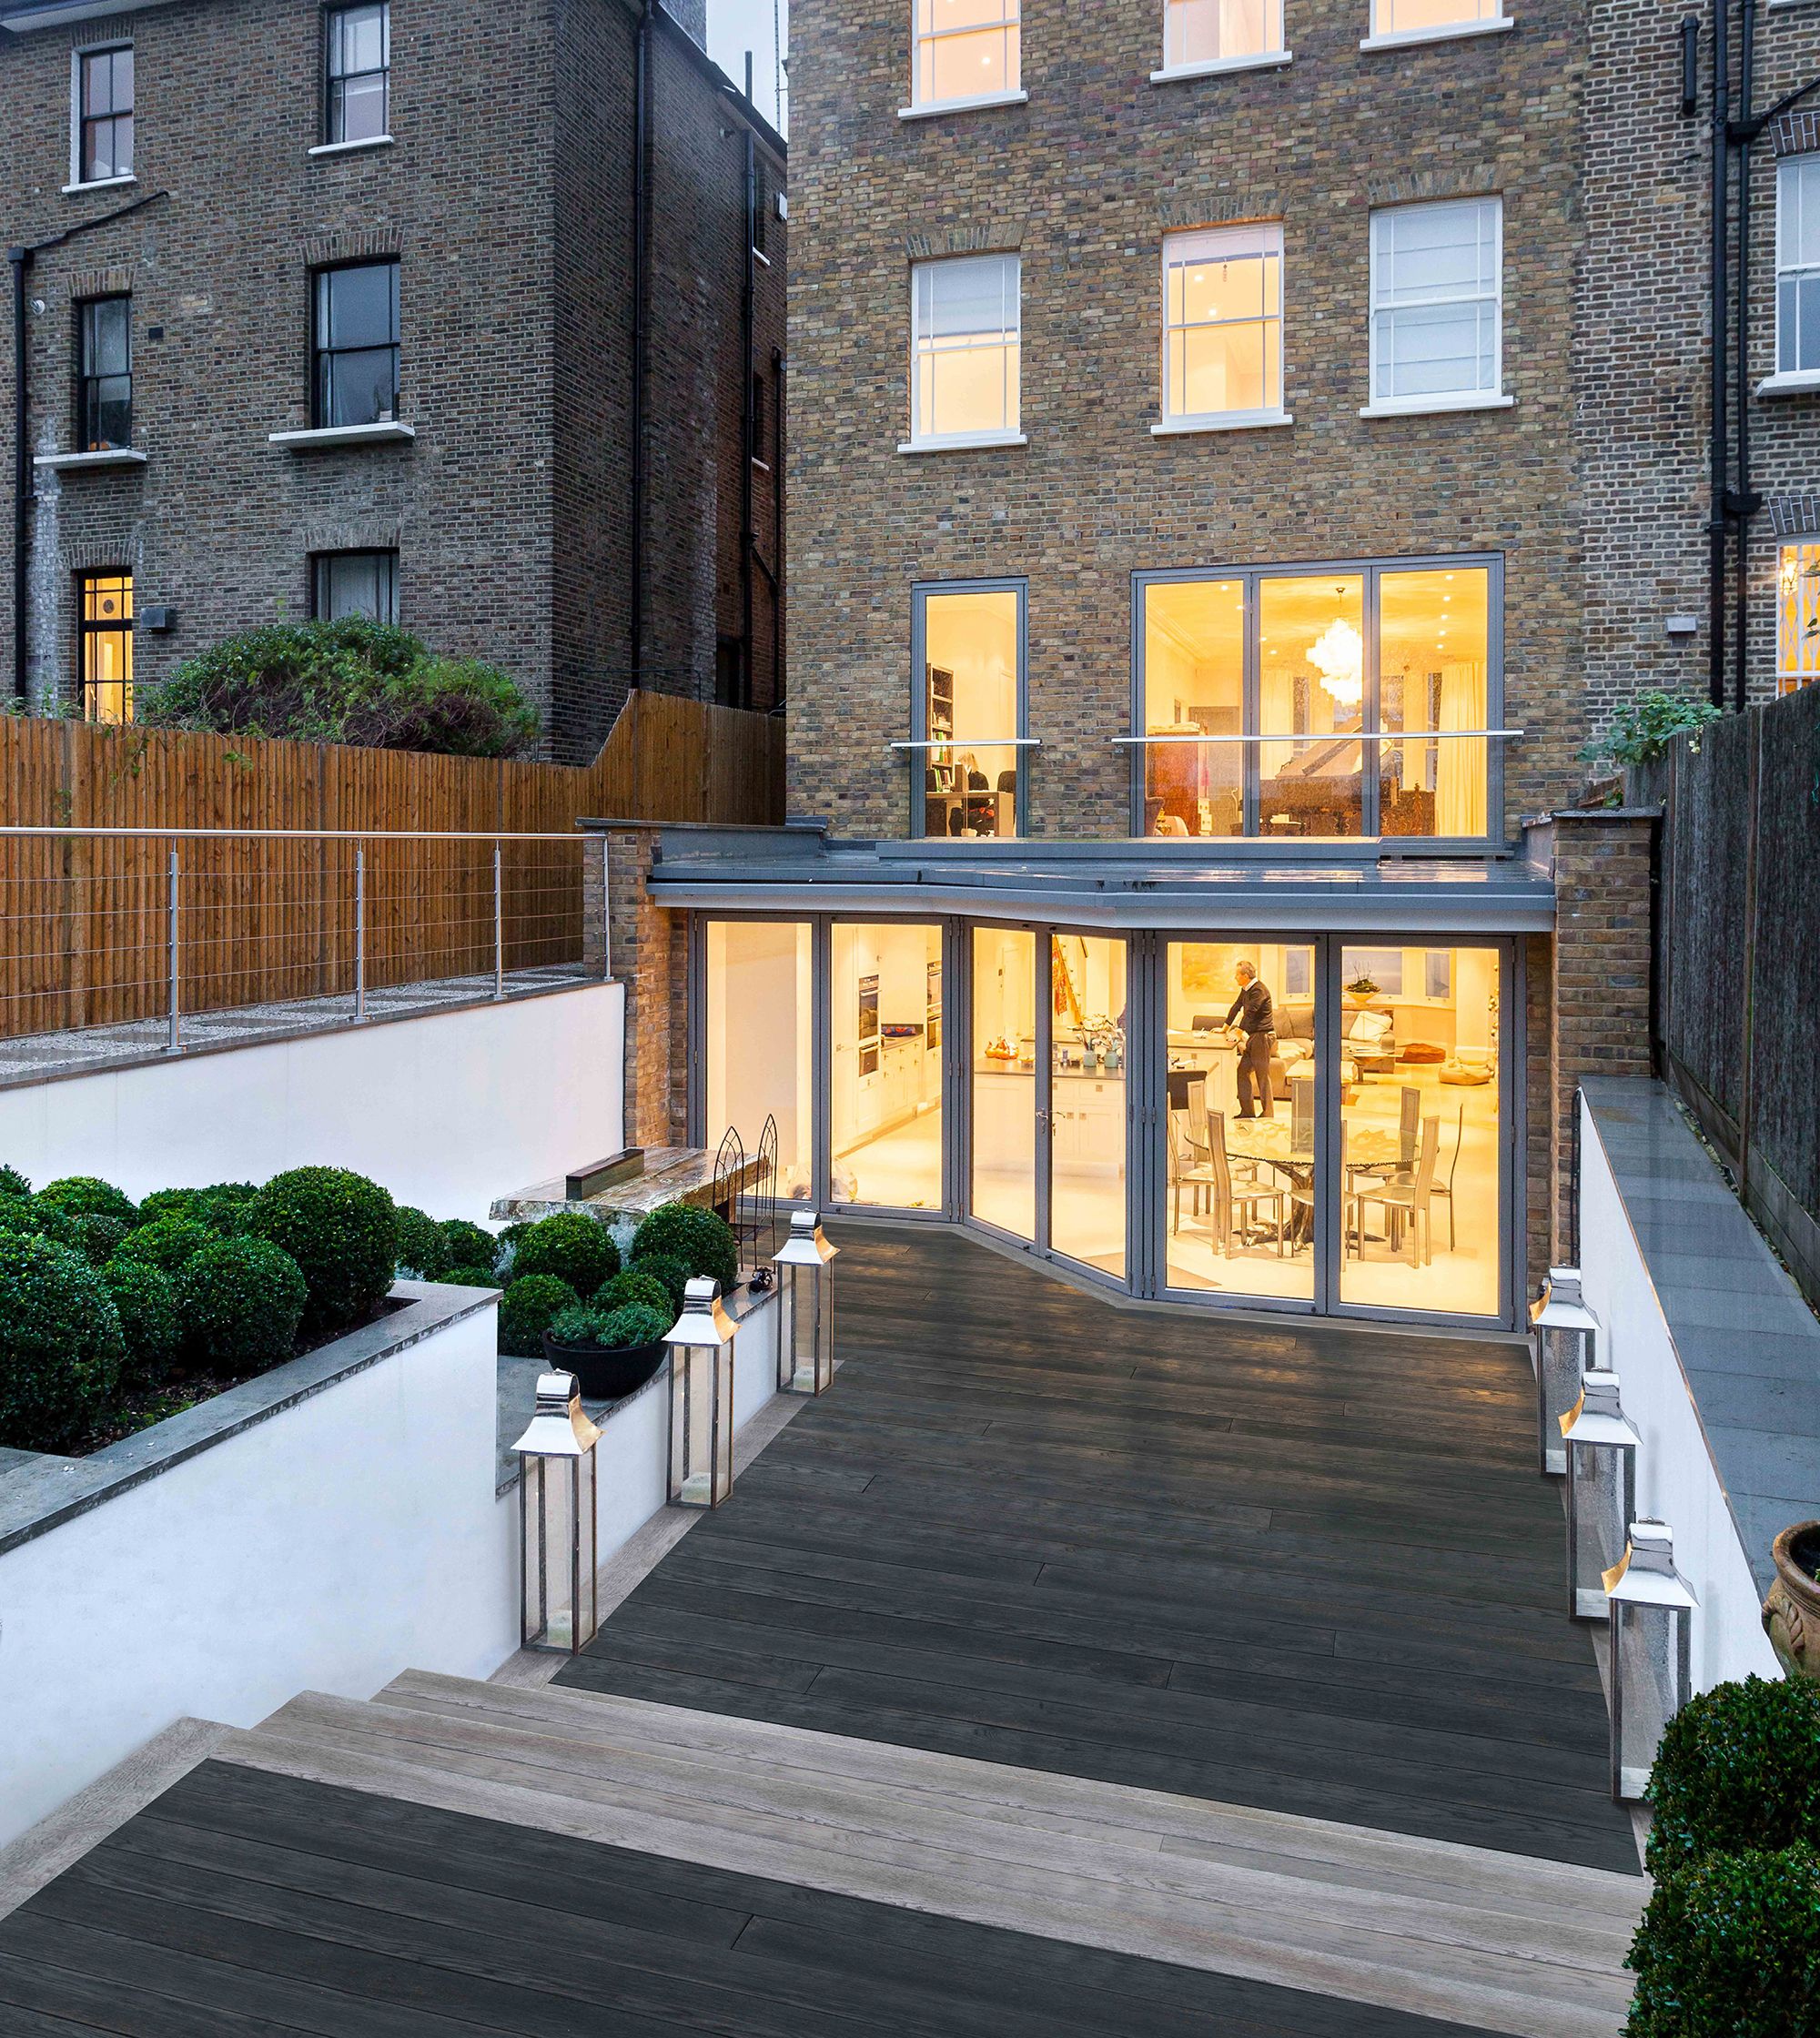
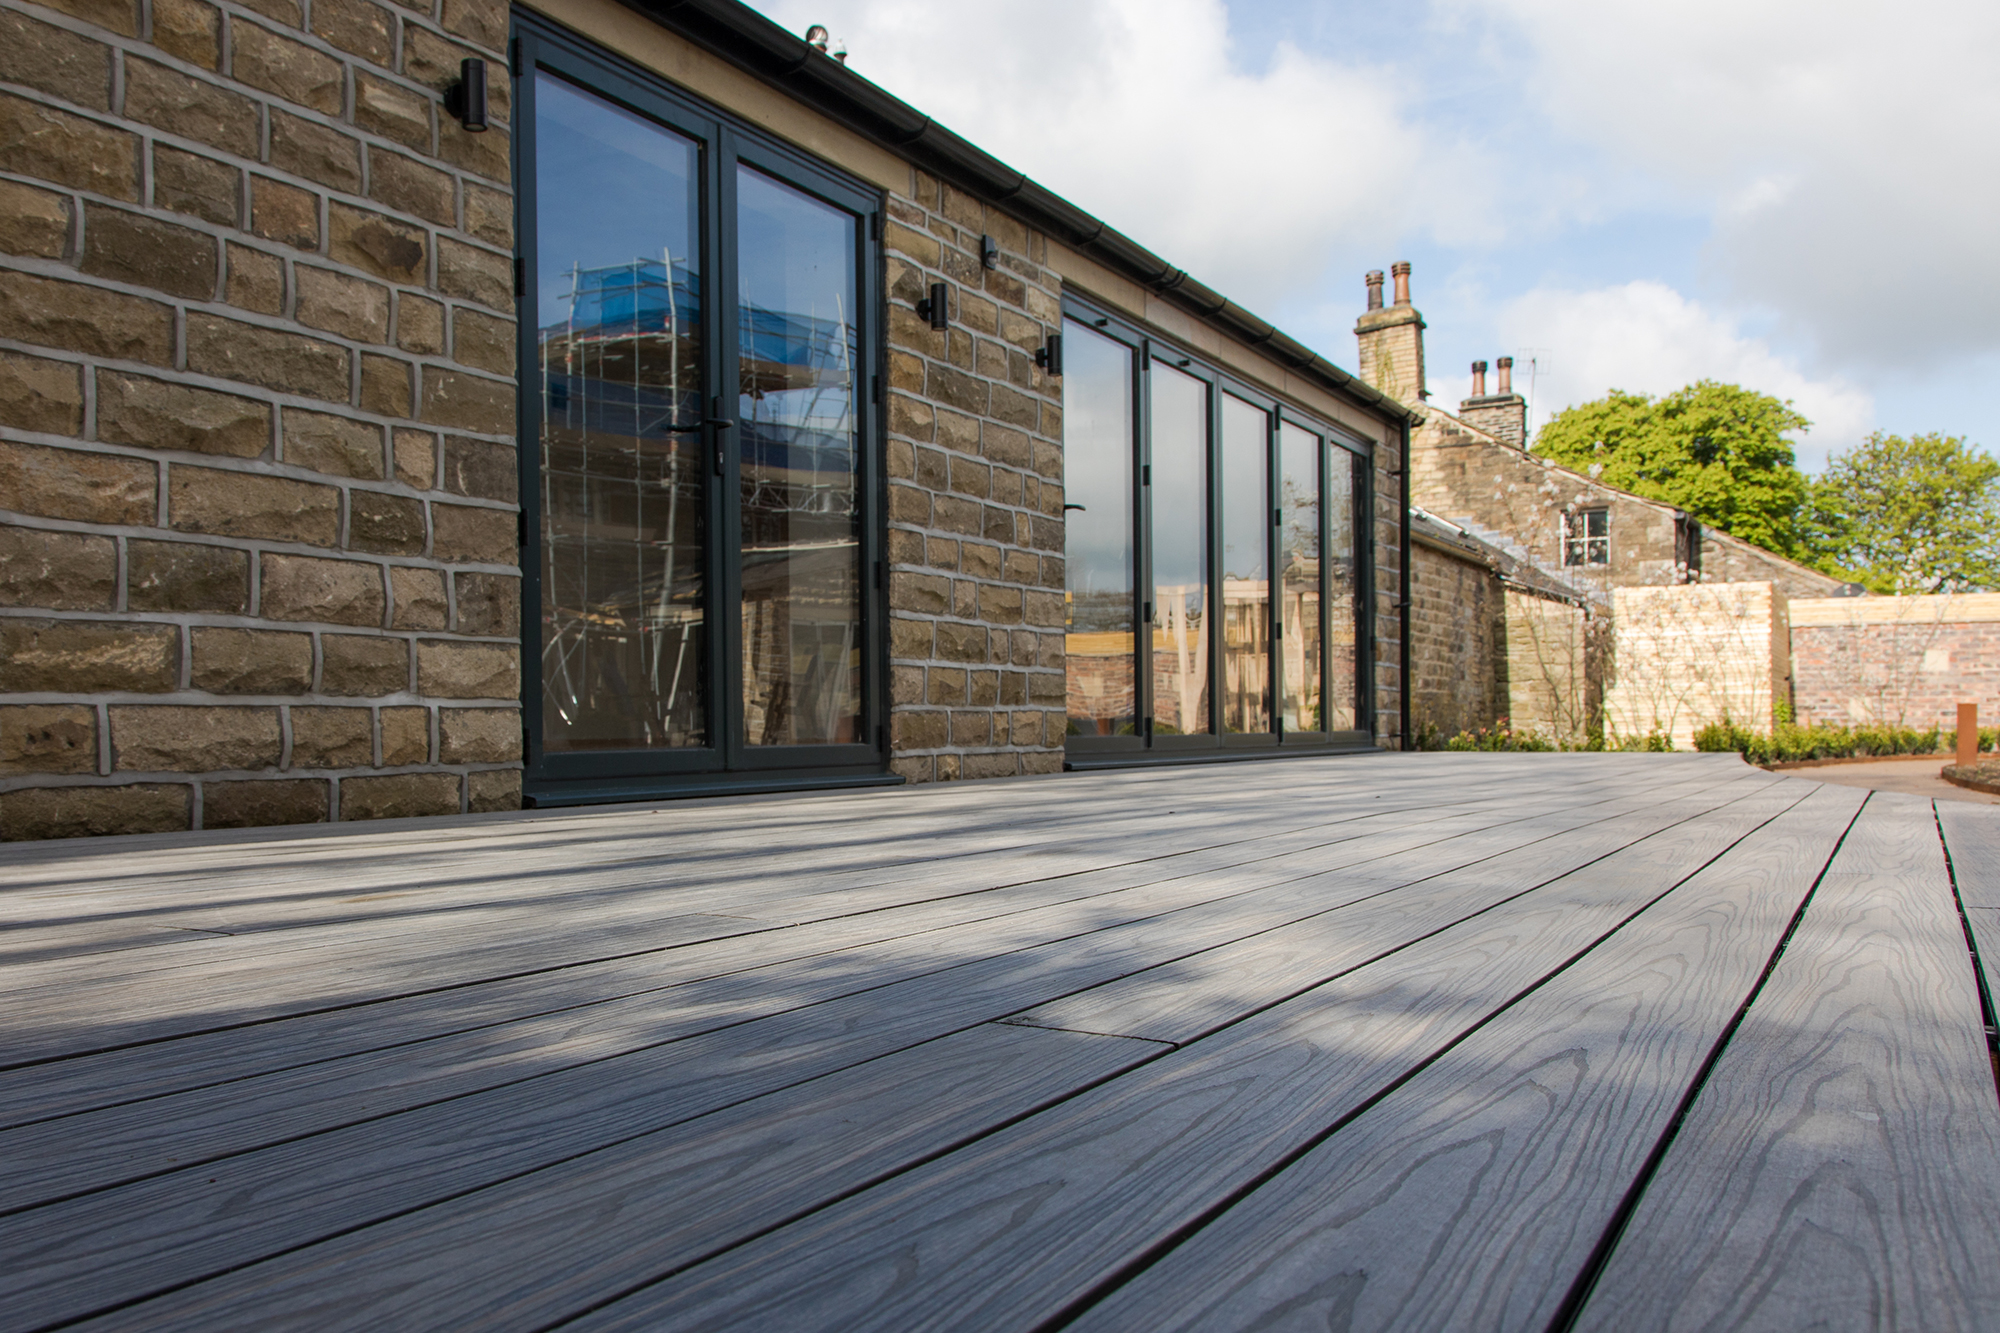
A raised timber deck can offer the perfect outdoor space, providing a seemless link between the home and garden and helping to bring the outside in. Whether you just want to relax in the sun, entertain guests or you need an attractive feature to break up a large expanse of lawn, decking could be the answer.
Learn more: Decking for your project
Building a simple timber deck is a reasonably straightforward DIY job. It also tends to be a quicker and more affordable option than investing in hardstanding patio materials, such as flagstones of block paving.
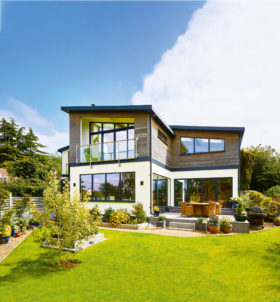
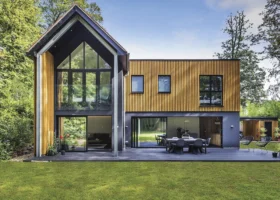
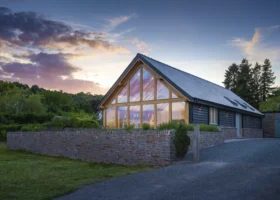
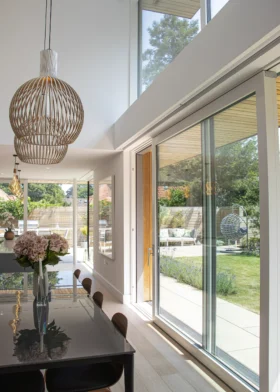
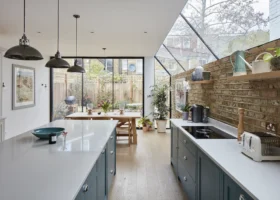
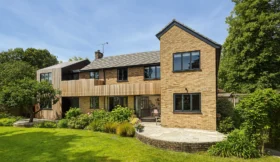
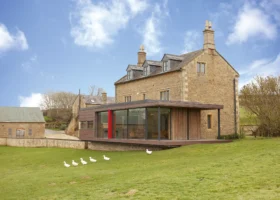
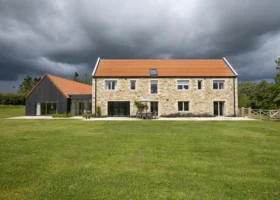
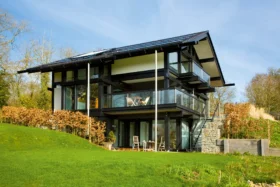
Browse the gallery for decking design ideas:
Find decking products and suppliers in the Build It Directory
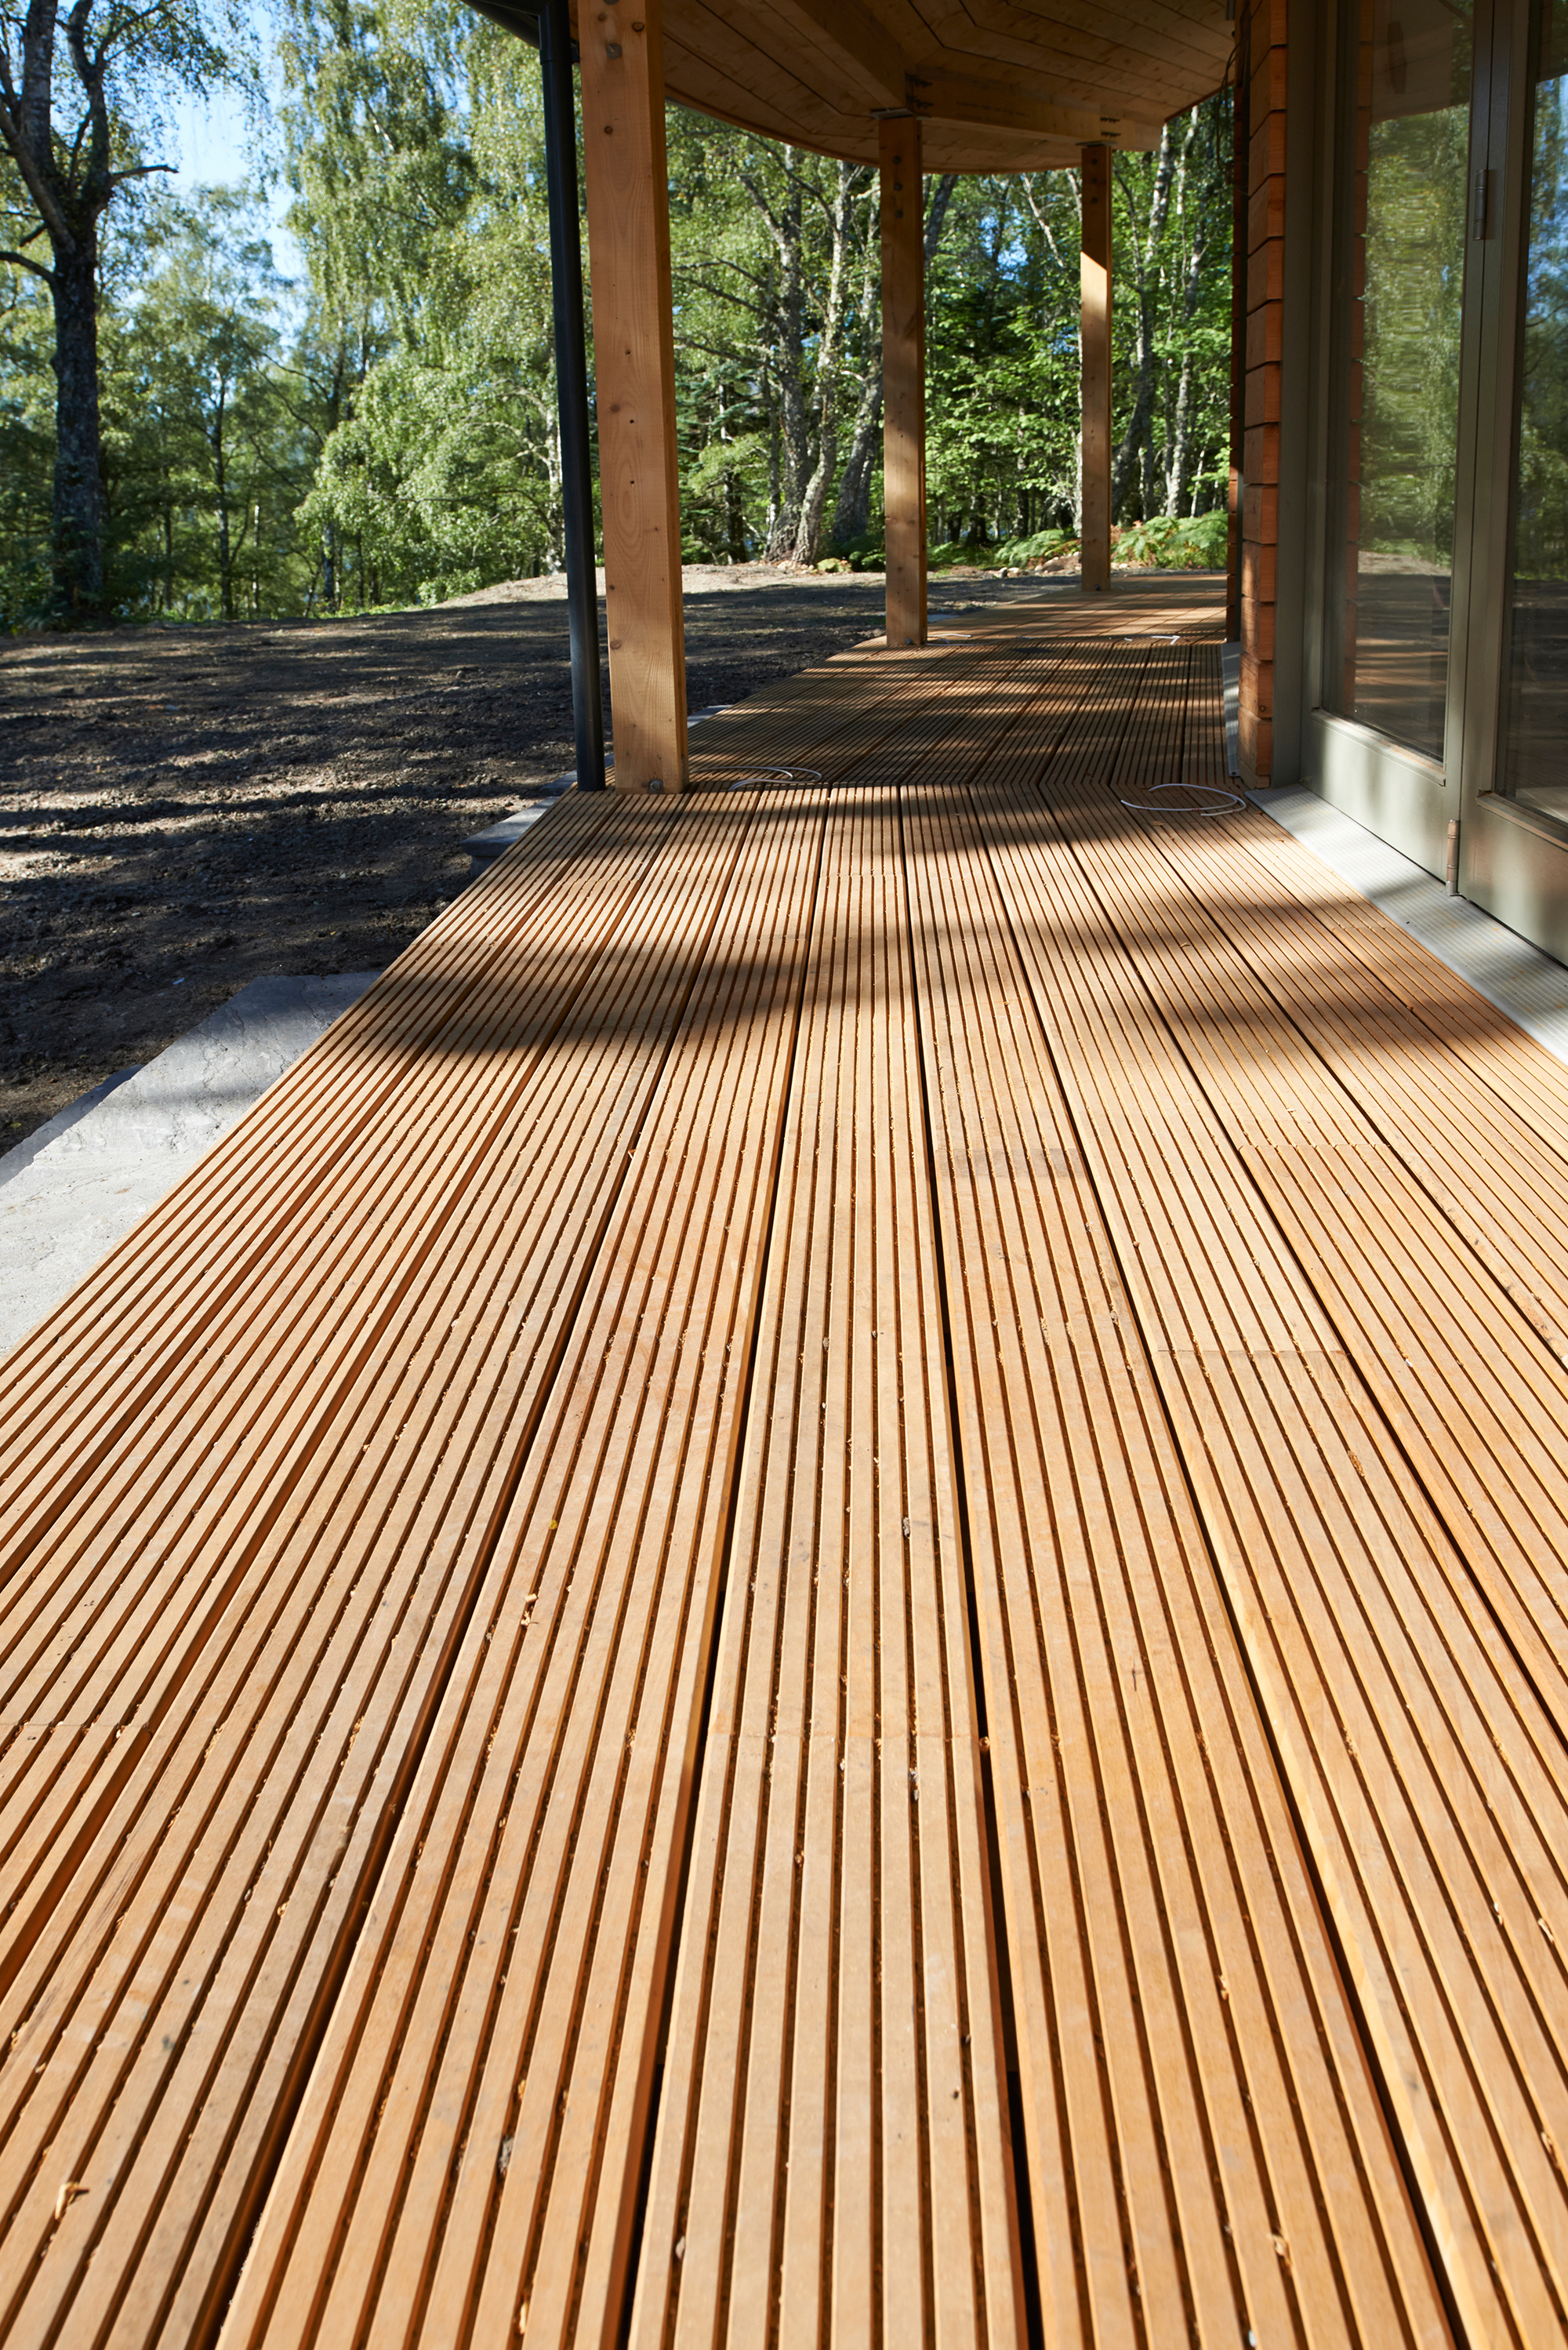
This step-by-step guide reveals the stages involved in building a raised timber deck. Many of the skills you’ll learn can also be applied to more complex projects, such as curved decks – but for elaborate designs you may prefer to call in the professionals.
For this step-by-step, we’ve used pre-finished decking boards, which typically won’t need re-treating for at least two years after installation. Before you begin, ensure you plan your deck carefully – ideally the boards plus expansion gaps (usually 5mm) should finish completely flush with the outer facings of the framework.
Project guide: Raised timber garden deck
You will need |
||
|
|
|
 Step 1:
 Step 1:
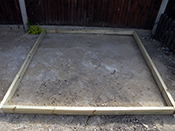
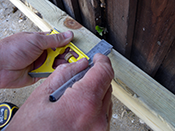
 Prepare a level, weed-free area for the deck. To create a framework, cut the 100mm x 50mm tanalised timber to the required length, then join using exterior wood screws. Check the frame is square by measuring from corner to corner. Adjust if necessary
Step 2:
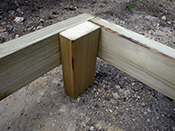
To raise the frame, cut four blocks of tanalised timber to the desired height. Screw these to the inside fo the frame at each corner, ensuring they’re flush with the top. Use at least three screws per block, as these legs will be taking all the weight
Step 3:
 Step 3:
If your deck will be sitting on grass or soil, you’ll need to place blocks or slabs underneath edge leg to spread the load and provide a level, stable base. Position and adjust accordingly, checking the frame is level with your spirit level
Step 4:
 Step 4:
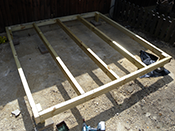
On a small deck, three joists is sufficient (one in the middle and the others at the centre-point between the edge of the frame and the centre joist). Mark across one side of the frame first, then repeat on the opposite side. On larger decks, set joists at 400mm centres
Step 5:
 Step 5:
Measure across the inside of the frame at your joist marks, then cut lengths of the tanalised timber to suit. To fix the joists, tap them in with a hammer until flush with the top, then screw them in place from the outside of the frame
Step 6:
 Step 6:
Support the joists with additional legs, spaced at 1m intervals. Follow the same method as shown in steps 2 and 3 for these legs, ensuring each is supported by a suitable block or slab
Step 7:
 Step 7:
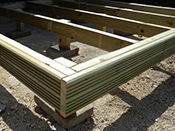
For the facing, measure the length of the outer sides of your frame and cut the decking boards to suit. Mark the cutting lines with a square to ensure a straight edge. Countersink the facing and screw to the frame, ensuring the facing is flush with the top
Step 8:
 Step 8:
To begin laying the deck, measure across the top of the frame and cut a board to length. Place the first board flush with the outside edge of the frame and facing, and perpendicular to the joists. Mark the location of each joist on the board
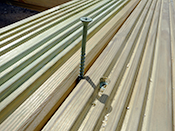
Step 9:
 Step 9:
Mark and countersink screw holes over the centre of each joist. Be sure to use a sharp countersink that will leave a clean hole. If necessary, drill a pilot hole to prevent splitting. Use at least two screws per joist for each decking board
Step 10:
 Step 10:
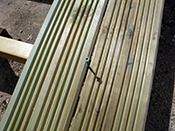
You should incorporate a 5mm expansion gap between each board (as timber expands and contracts according to outdoor temperatures). You can user a spacer to do this, such as an off-cut of wood or plastic – or simply drop a spare screw in as shown here
Step 11:
 Step 11:
Continue the process until you finish your raised timber deck. If you’ve used pre-treated decking boards, they shouldn’t need any further painting or staining
This step-by-step guide is supplied courtesy of TradesSupermarket. Main image: Q-Deck Lyptus hardwood boards