- Plan ItBack
- Design ItBack
- Build ItBack
- Homes
- ProductsBack
- CostsBack
- Self Build Cost Calculator
Estimate your project costs instantly with Build It's interactive self-build cost calculator
Calculate Now - Costs & Finance
- Contracts & Warranties
- Build It Estimating Service
Get an accurate, detailed cost breakdown of your project
Submit plans
- EventsBack


 Login/register to save Article for later
Installing the SIPs Roof

There are 6 steps in this guide
We’re entering an exciting phase of the Build It Education House project. Once you’ve topped out your new home with the roof structure, you’re basically in the dry (minus the windows and doors).
It’s only now that you can begin to see the full form of the building you’ve put months of work into designing and realising on site. What’s more, you’re tantalisingly close to being able to start the fit-out works inside and out.
Why a SIPs roof?
Quite simply, structural insulated panels felt like a natural fit for our project. We’d already chosen a modern insulating concrete formwork (ICF) walling system, attracted by its energy efficiency qualities and the fact that it works well for basements. So we wanted to complement that with a similarly high-performance roof.
SIPs is a factory-made product that can be used for the whole shell of a house – but we’re reserving the panels for our roof. They are quick to build with, which is always a plus. They also deliver excellent insulation and airtightness performance in a relatively thin profile. Ultimately, this is what tipped the scales for us over more conventional attic trusses.
We want to create a conversion-ready roof void to help future-proof the finished house. But the rather tight 8.1m ridge height available under our Plot Passport means we need to eke out every spare millimetre of head height. So this thin-profile, pre-insulated roofing system made a lot of sense.
We’ve chosen SIPCO as our panel provider, and they were responsible for the design of both the roof and the structural attic floor.
The SIPs panels arrive
Our factory-made SIPs arrived on site just over a week before the install date. Offloading them was a good hours’ work, and I was on hand to chip in with site manager Scott Hunt and the rest of the crew from Drewett & Hunt.
The panels are lightweight in comparison to many systems, but it’s still a two-person job to shift the larger ones by hand. So no gym session required this year!
It may not be that much in the grand scheme of things, but if you’re able to, helping out with a bit of labour here and there does give a sense of being part of a team. Not to mention the chance to see what’s going into your build up close.
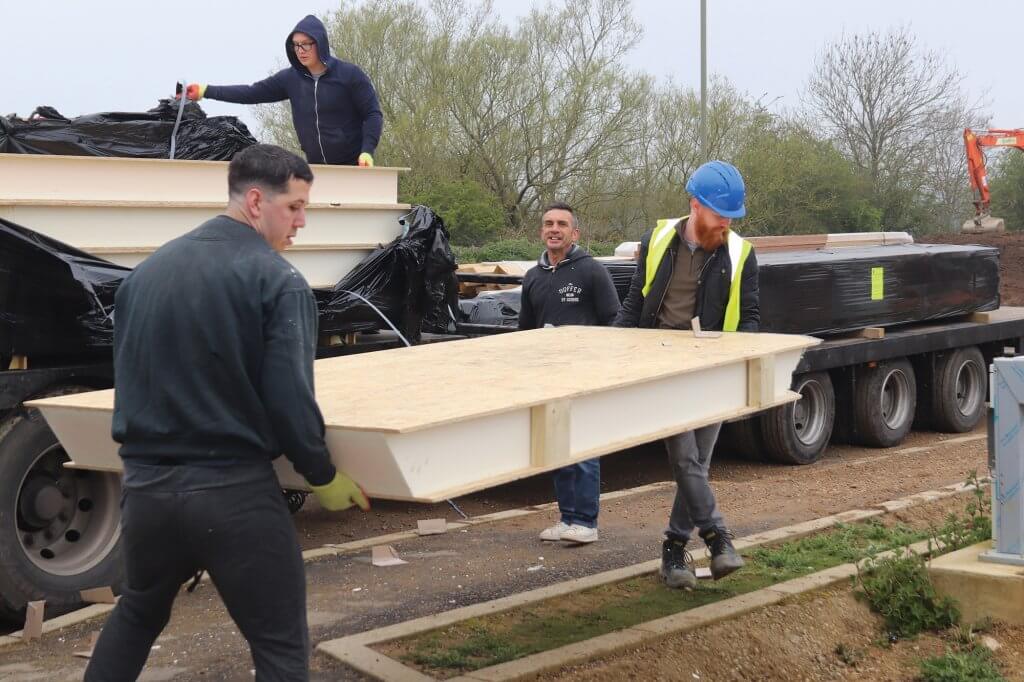
Everyone mucked in to unload the SIPs when they arrived on site, eight days prior to the install… including yours truly!
Ideally, the supplier will pack the SIPs onto the lorry in the opposite sequence to how they’ll be assembled. That way, when you unload them, they’re pre-sorted for the install team.
It’s worth running a tape measure over a few of the panels while you’re doing this to check the order is coming in as you’re expecting.
We stacked the panels down one side of the site, set off the ground on off-cuts that were used as packing for the delivery. This should protect against moisture ingress from the ground, and there’s a tarpaulin nearby in case the weather turned.
One thing I’d been anticipating was that the panels would arrive with pre-made cut-outs for the rooflights. So it was a bit of a surprise to encounter only solid panels of varying sizes, with no window opening in sight.
It soon became obvious why. While most of the panels span from ridge to eaves, SIPCO takes care of the apertures using a mix of shorter and narrower panels. They’re prefabricated to the right sizes, so they’re swiftly fixed into place. And voila – there’s the opening for your roof window.
As with most trades, it’s a good idea to get your roof installers on site prior to the job to check they’re happy with everything. That’s especially true if you’re dealing with a complex design.
When you’re hiring a crane for around £1,000 a day, you don’t want the team to arrive with their tools only to discover something critical’s not been done. Or that there are a bunch of minor issues outstanding that could have been flagged up and easily resolved.
Craning on the SIPs roof
The big day came a week later, when the crane arrived on site. Incidentally, we have to give five days’ notice to Graven Hill if we need heavy-duty plant. The crane crew consisted of two guys, one of whom was on the controls, the other on the radio.
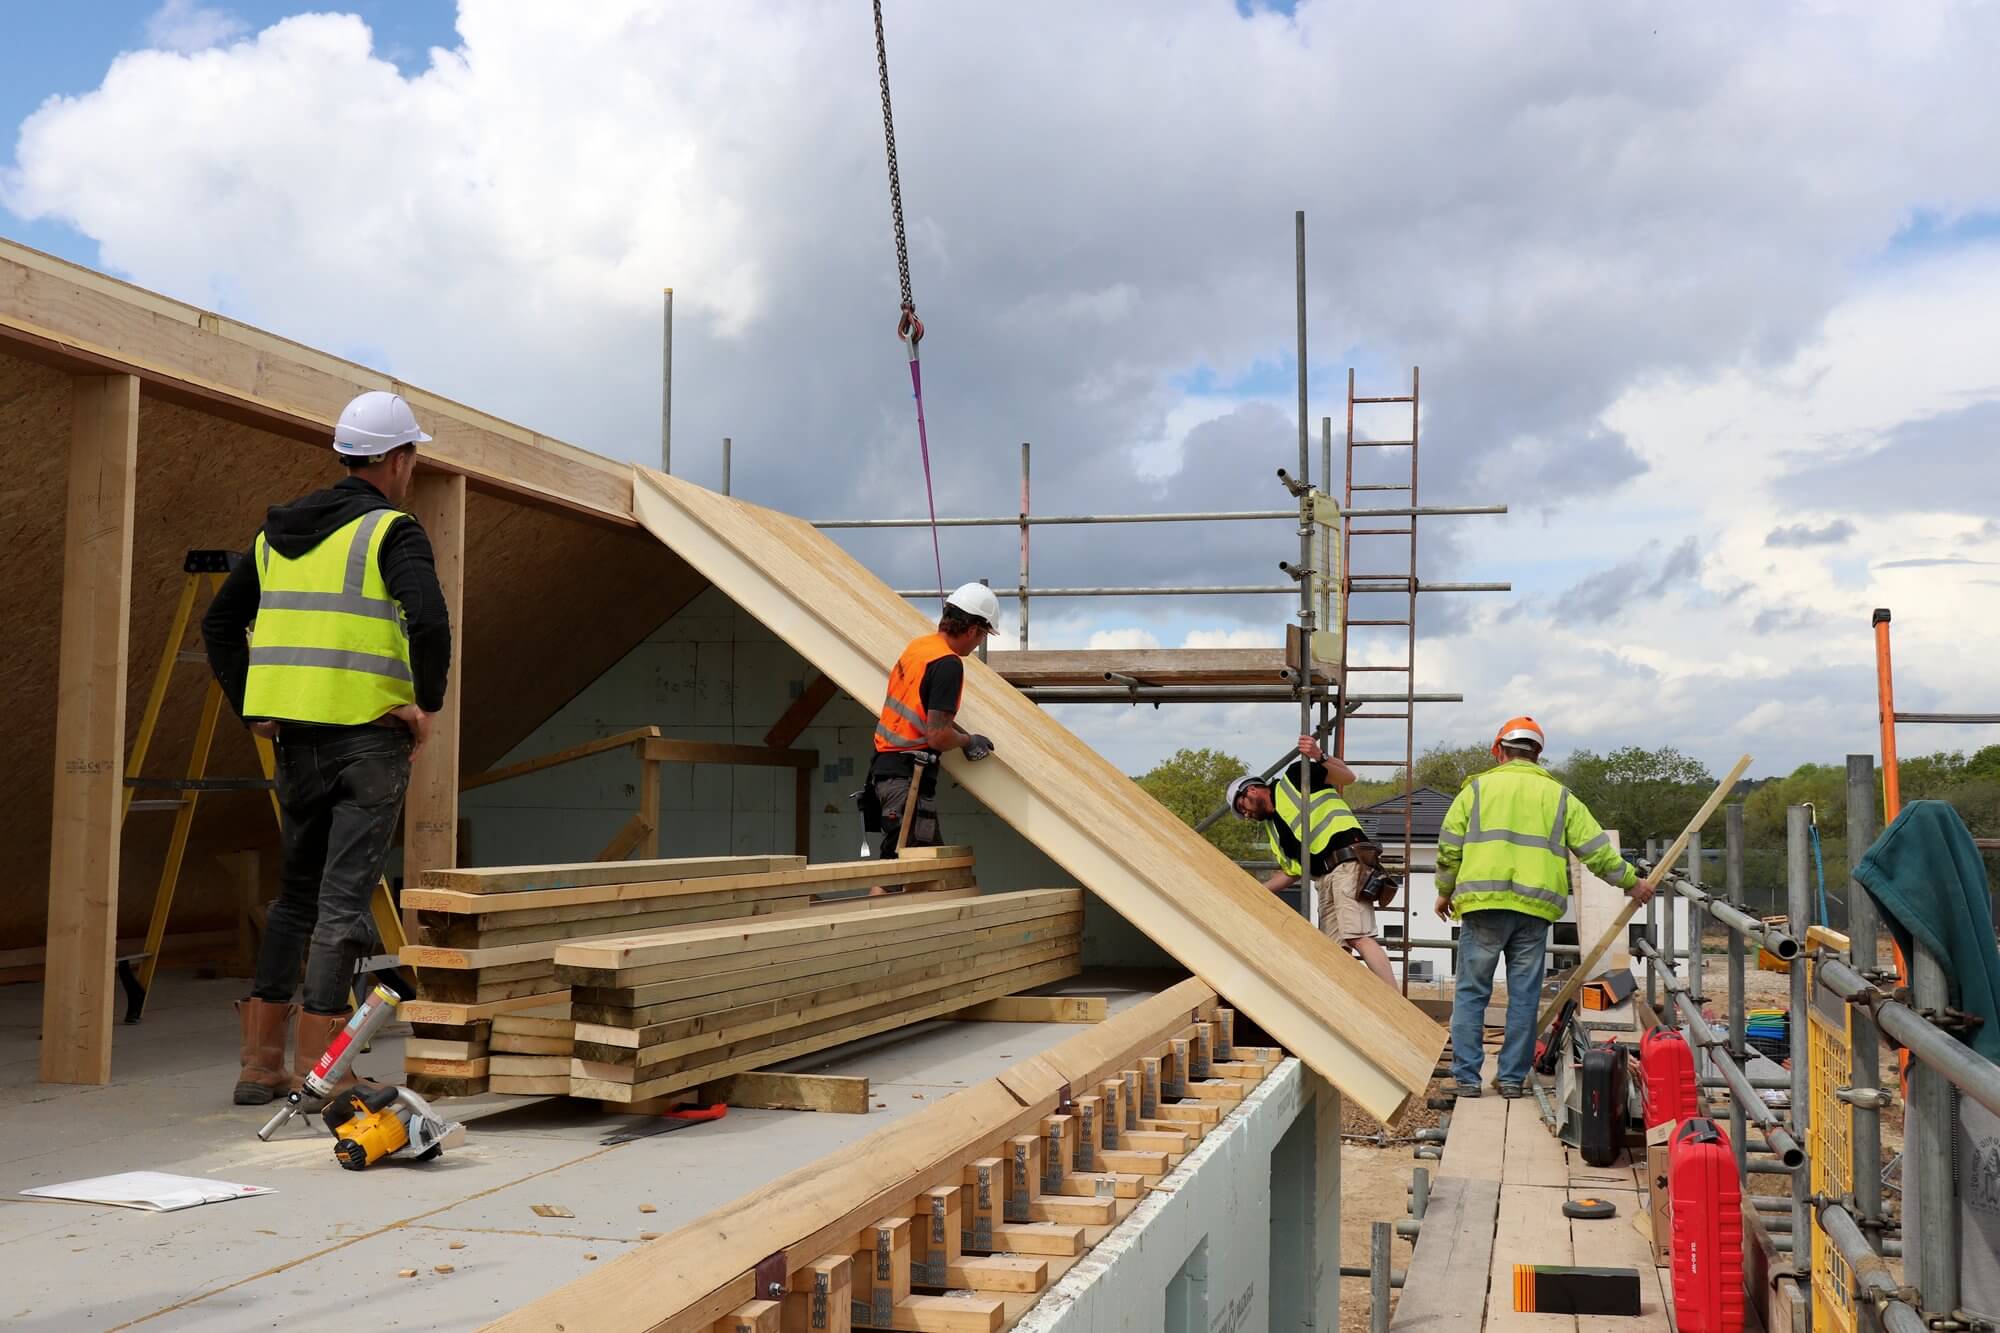
Meanwhile, SIPCO’s install team, Joinery Barn, had a team of four. Two were up top fitting the panels; and the other two on the ground prepping them to be lifted.
Before they got started on the panels, there was a bit of setup to do. This included attaching the angled fillets to the kerto eaves plates in the structural attic floor.
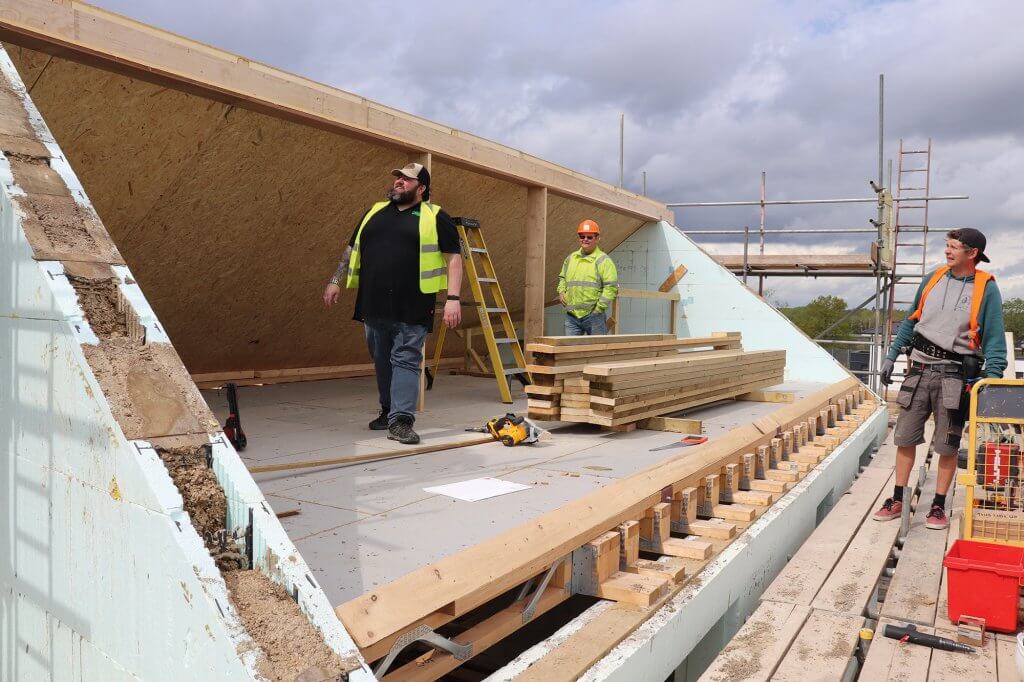
The rear of the Education House, where our pre-insulated loft space will be. This is the largest continuous section of roof. Note the temporary central supports, which helped to align the panels during installation
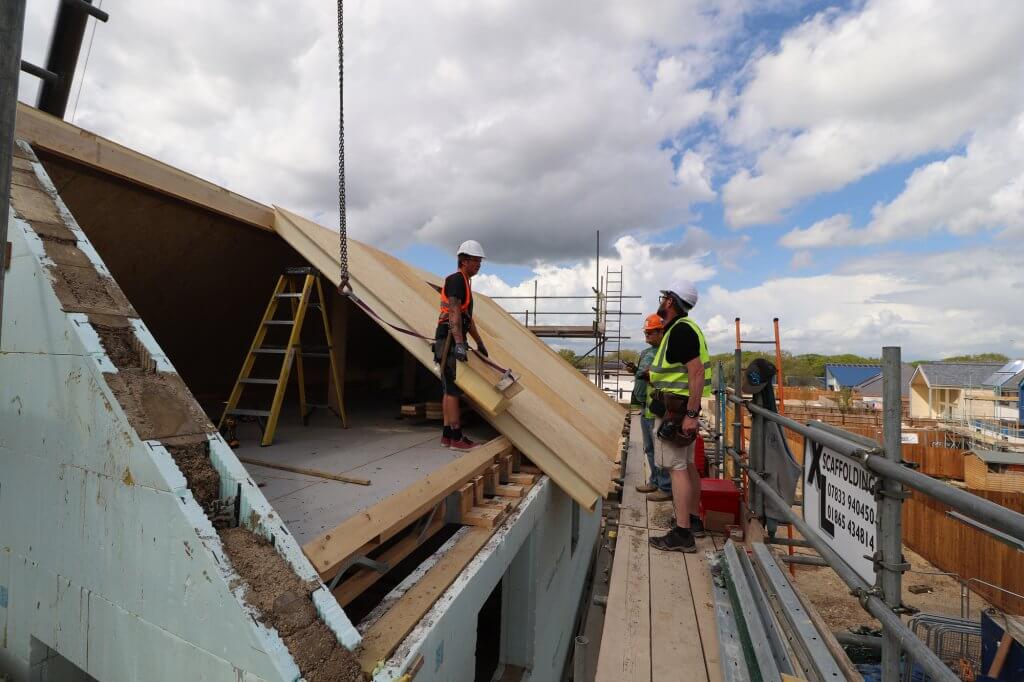
Fixing the first panel was a methodical process, too, as the team got a feel for the project. But once that was done, the pace picked up.
Watching whole sections of roof being craned on is quite exhilarating. It really is quick work: by 11am, most of one side of the main roof was in place and you got a real sense of the finished size of the ready-insulated loft.
How a SIPs roof is fitted
The install team fixed the SIPCO panels in place with long screws at the top and bottom. A timber spline is then foamed into a recess at the side of the panel and nail-gunned into position. This provides a key for the next unit to slot into.
A stay attached to the underside of the panels will notch into the eaves plates to prevent spreading. All things considered, it probably takes just as long to crane each panel up as it does to actually install it.
SIPCO provides smaller panels to quickly and easily create apertures for Velux rooflight windows etc
We did encounter a few minor glitches along the way. One was that the central ridge on the main roof was pretty flexible.
This isn’t a problem for the house itself, as it’s not doing anything structural (the panels and attic floor are providing all the stiffness). But it did make fitting the SIPs a little trickier.
So before they started on the opposite side, the roofers decided to put up a couple of temporary mid-span posts to stabilise the ridge. It did the trick, and installing the next run of panels was straightforward.
The bigger headache was at the angled gable. I could see the issue coming as more of the panels were fixed in place. Because the compound angle hadn’t been formed through the blocks, the concrete pour was going to be slightly too high on one plane.
Thankfully, it wouldn’t stop Joinery Barn getting on with the rest of their part of the job. But it did mean Scott would need to take on a bit of extra work and cut that area back slightly another day, to ensure the end panel (and our roof finish) would fit perfectly.
There were a few more fiddly bits to take care of. Joinery Barn is responsible for installing the glulam post where the apex glazing will be fitted, for instance. They’re also fitting the glulam ridge beams that support the front gables (which involved a little trimming out of the recess in the ICF).

The glulam ridge beams at the front of the house, with the pre-insulated SIPs part-installed
But by the end of day one, the whole of the main roof was in place (minus one short end panel). The three ridges had been installed and the first few panels at the front of the house were in.
Finishing the Education House roof
Unfortunately, the team didn’t quite managed to get all the SIPs panels on in one go. This was a blow for our budget, as it meant calling the crane back in for a morning the following week. Nevertheless, it did give us time to correct the gable wall. We also adjusted the scaffold slightly to allow the rest of the install to proceed as smoothly as possible.
As well as fixing those last few panels, the Joinery Barn crew installed the breather membrane. SIPs is an airtight, warm roof system, so the membrane is applied directly on top of the panels before the counter battens to create a ventilation gap (rather than above, as most tilers might expect on a traditional roof).
Joinery Barn has since returned one final time to fit the angled splines at the bottom edges of the SIPs (where they form the eaves). These will provide the fixing for our fascia and soffits.
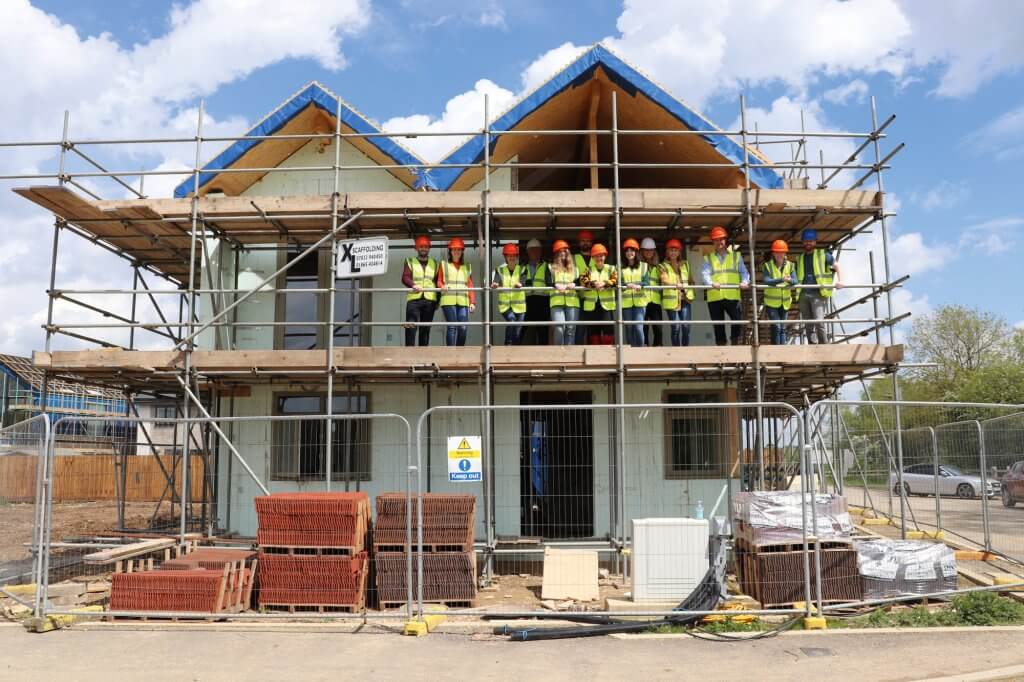
The Build It team visited site soon after installation of the SIPs roof. Short of finishing the windows (more on this next time), the Education House is basically weathertight
Chris Batesmith
You may be interested in