Estimate your project costs instantly with Build It's interactive self-build cost calculator
Calculate NowGet an accurate, detailed cost breakdown of your project
Submit plans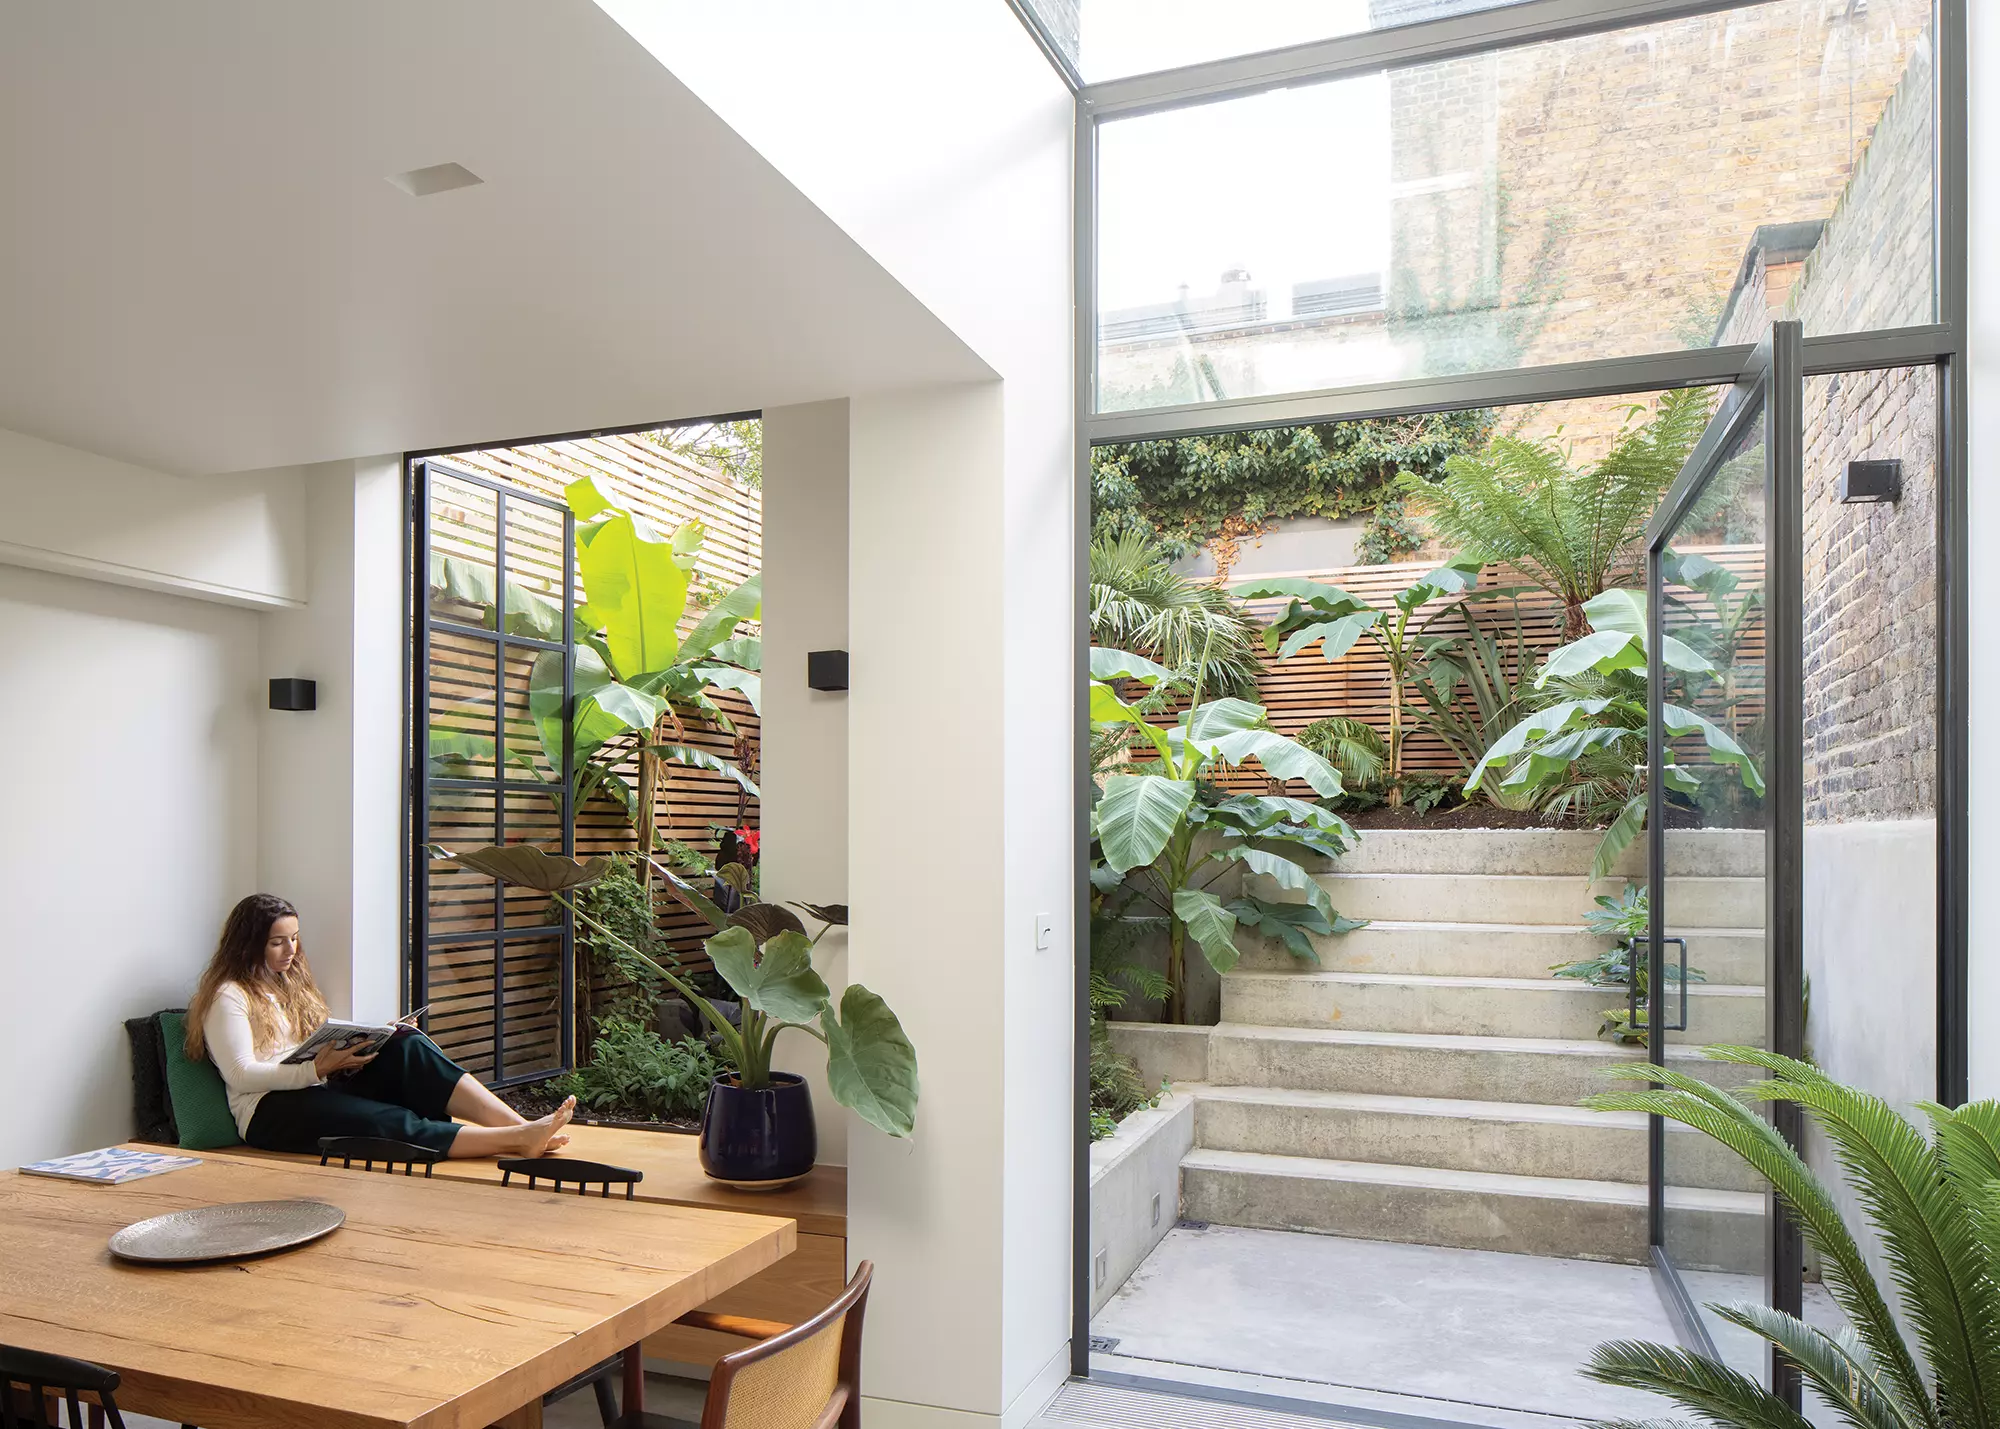

Whether you have an existing basement that can be converted into liveable space or are excavating a new one from scratch, you’ll face the same challenge: how to get light into rooms that are one storey underground.
Basements are not cheap to extend or make habitable. So, it would be a waste of money to go to through the process of creating new rooms to maximise your home if the end result is dark and dingy.
Thankfully, there are lots of clever ways to maximise light in your basement extension to avoid an unwanted gloomy room. These options will help you to make the most of the plot you’re working with, whether that be undertaking landscaping works in the garden or updating your existing light sources with new glazing.
Here, Emily Brooks takes us through some of the best examples of how you could consider bringing more light into your underground rooms.
If your basement already exists, it’ll probably be served by some kind of street-side lightwell (a sunken window). If your budget is minimal, improving this area is your best shot at bringing in more natural light; here, lots of smaller measures can really add up.
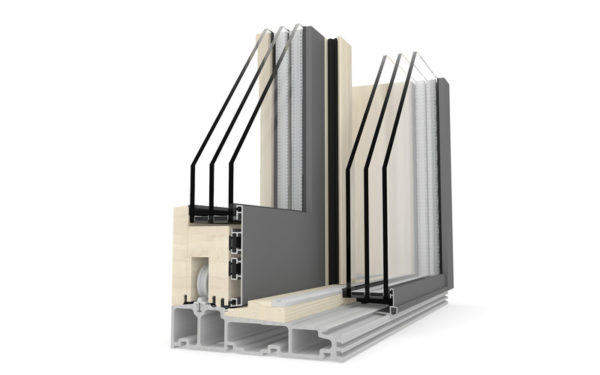
Existing openings can be made larger – replacing a smaller single window with a pair of glazed doors, for example. Meanwhile, slim framing materials, such as aluminium rather than chunky PVCu, can add quite a bit more glass in the same-sized aperture.
It is good to note that any replacement windows or doors should still be openable, so they can be used as a means of escape.
Read More: Choosing Windows: The Ultimate Guide
A 1930s house remodelled and extended by Paul Archer Design, with a new basement containing a media room, study, guest suite, storage and utility space. Light penetrates the new level through external walk-on glazing and via a new staircase with a glazed roof. Photo: Andy Stagg
In addition, ensure that any external materials are light-reflective, such as white-painted render or pale-coloured tiles and pavers. That said, it makes sense to have a darker-coloured brick course at the bottom of the lightwell, as it will better disguise dirt from any rain that splashes upwards.
Finally, make sure that anything delineating the perimeter of your property above the lightwell is as airy as possible – think slimline cast-iron railings rather than a solid brick wall.
Read More: How Much Will My Extension Cost?
Something that works to a basement’s advantage is that, if you can find a way to draw down daylight from overhead, you’ll get several times more light from the same-sized opening than if it was vertical.
Working with an architect is a good way to go about creating an effective plan for top-down light that can have significant design flair. For example, imagine a large stairwell – effectively an indoor lightwell – with a beautifully crafted slimline balustrade and open-tread steps.
This will not only throw plenty of light downstairs but create a talking-point feature at the same time. Top it off with a rooflight above the staircase, and you will make it even brighter in the basement.
Walk-over glazing, made from ultra-toughened laminated glass to take the weight of anyone on top of it, is a great idea if you don’t want to sacrifice floor space in the quest for more light. The glazing is flush with the existing floor and sits in a steel frame that ensures that structural integrity is maintained.
In terms of positioning, place it where it will capture as much light as possible from the floor above, which is usually the perimeter of the building, next to a window or run of doors, or aligned with further overhead glazing above it. Opaque glass will give privacy between floors – but you will sacrifice quality of light.
Read More: Basement Extensions: The Pros and Cons

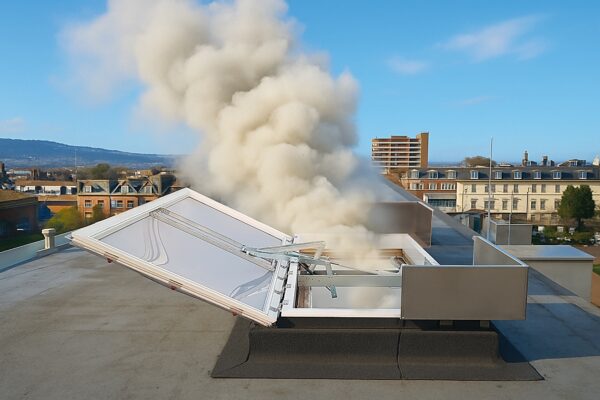
Glazing Vision walk-on rooflights set into a concrete upstand. A fritted ceramic dot-matrix pattern creates an anti-slip surface
If a section of the basement runs under the garden, you can also source walk-on glazing that’s suitable for outdoors. Anti-slip coatings are available, which may not be necessary for an internal product but are essential for outside, so that they’re safe to walk on when wet.
“Walk-on glass rooflights work well within decking, as they can sit flush with the external flooring. You can also use them with paving or other types of flooring,” says Jon Shooter, group managing director of Glazing Vision.
“Glass rooflights are installed at a one-degree angle so that they are flat to the surface, but they still allow the rain to run off them, preventing pooling and problems with dirt, mould, algae and potential leakage.”
External rooflights are more likely to get dirty, which means less daylight penetrating down below, so clean them regularly and look for high-tech glazing that stays sparkling for longer: Glazing Vision’s walk-on rooflights come with Enduroshield, a non-stick coating that’s designed to repel water and oil, for example.
Lastly, think about whether you want the option of being able to shade the rooflight inside. For example, if the basement room below is being used as a bedroom, specify a walk-on glazing system that comes with an optional integrated blackout blind, such as Roof Maker’s.
Read More: Designing a Basement Extension
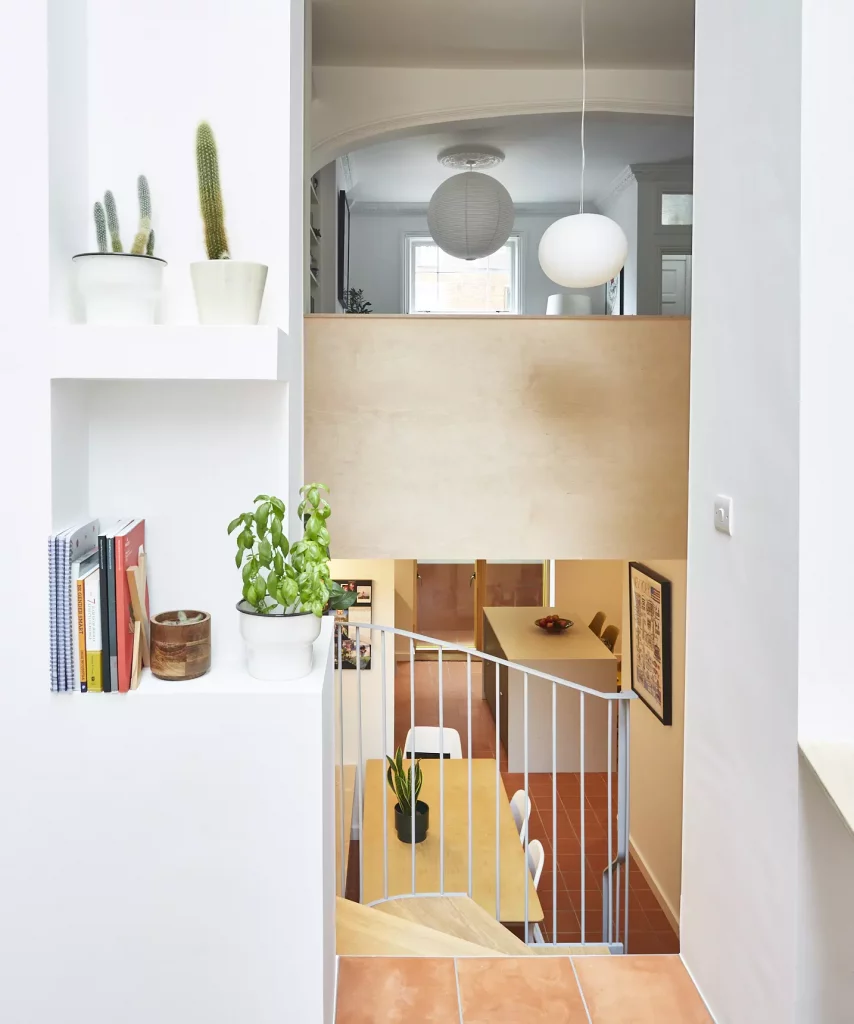
Radical Redesign by Architects ArcheaArchitects Archea came up with a radical idea to bring light to a dark basement in a house in Tower Hamlets, London. The property was a typical Victorian mid-terrace, originally two rooms deep but with a later extension at the rear. It also had a basement kitchen that was very dark and felt poorly connected to the rest of the house. The redesign involved removing half of one of the ground-floor reception rooms, creating an airy, double-height dining area in the basement. This sits next to the new kitchen, which gets light from both the adjacent void on one side, and double-glazed doors next to the lightwell at the front of the house.
The reconfigured basement also includes a new shower room tucked next to the staircase. While floor space has been sacrificed in this project, it demonstrates that it’s quality of space, rather than quantity, that counts. The lower-ground and ground-floor zone are now nicely connected both physically and visually, and the basement is flooded with natural light from front to back. |
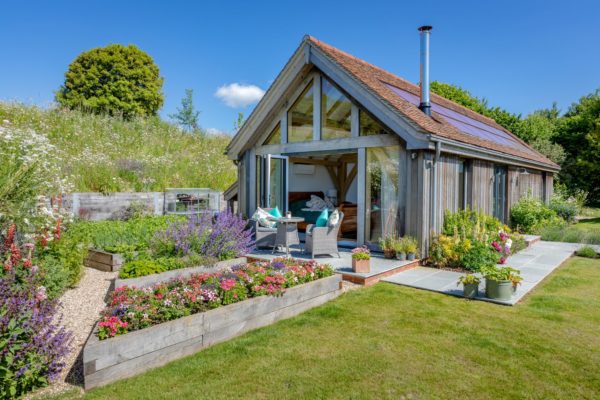
Some of the best basement designs consider external landscaping as part of a wider package of works. By excavating the part of the garden immediately next to the house down to basement level, you’ll not only better visually connect inside and out, but bring in lots of light, too – it can even feel like you’re not underground at all.
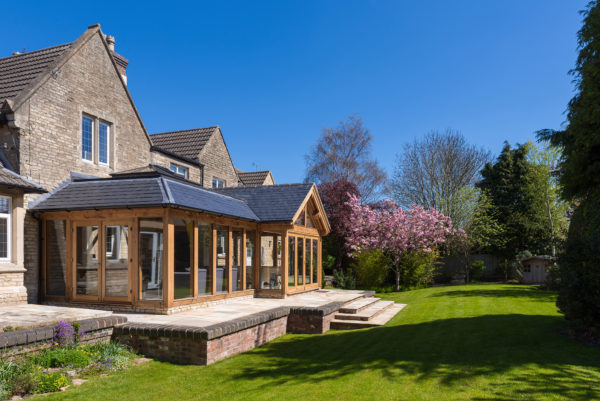
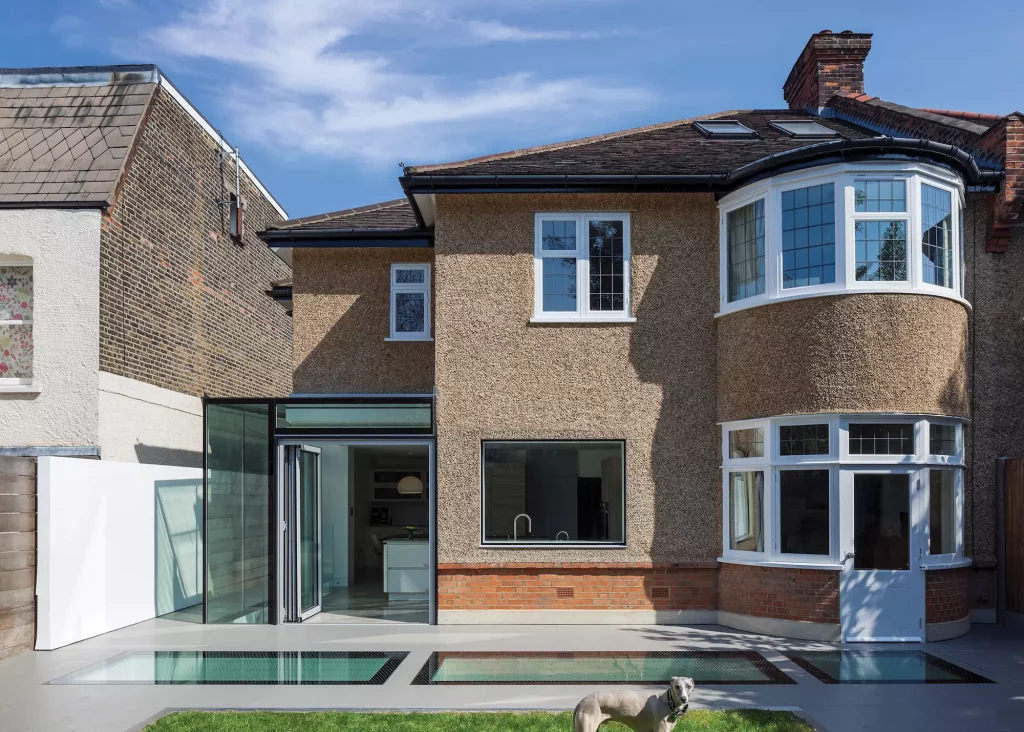
Yard architects did this in a South London house, lowering the floor in an existing but low-ceilinged basement to create much more headroom. They then added a glass box in the side-return section of the house. This all-glass roof and a large pivoting glass door make a spectacular architectural feature that brings in daylight both from above and from the rear of the property.
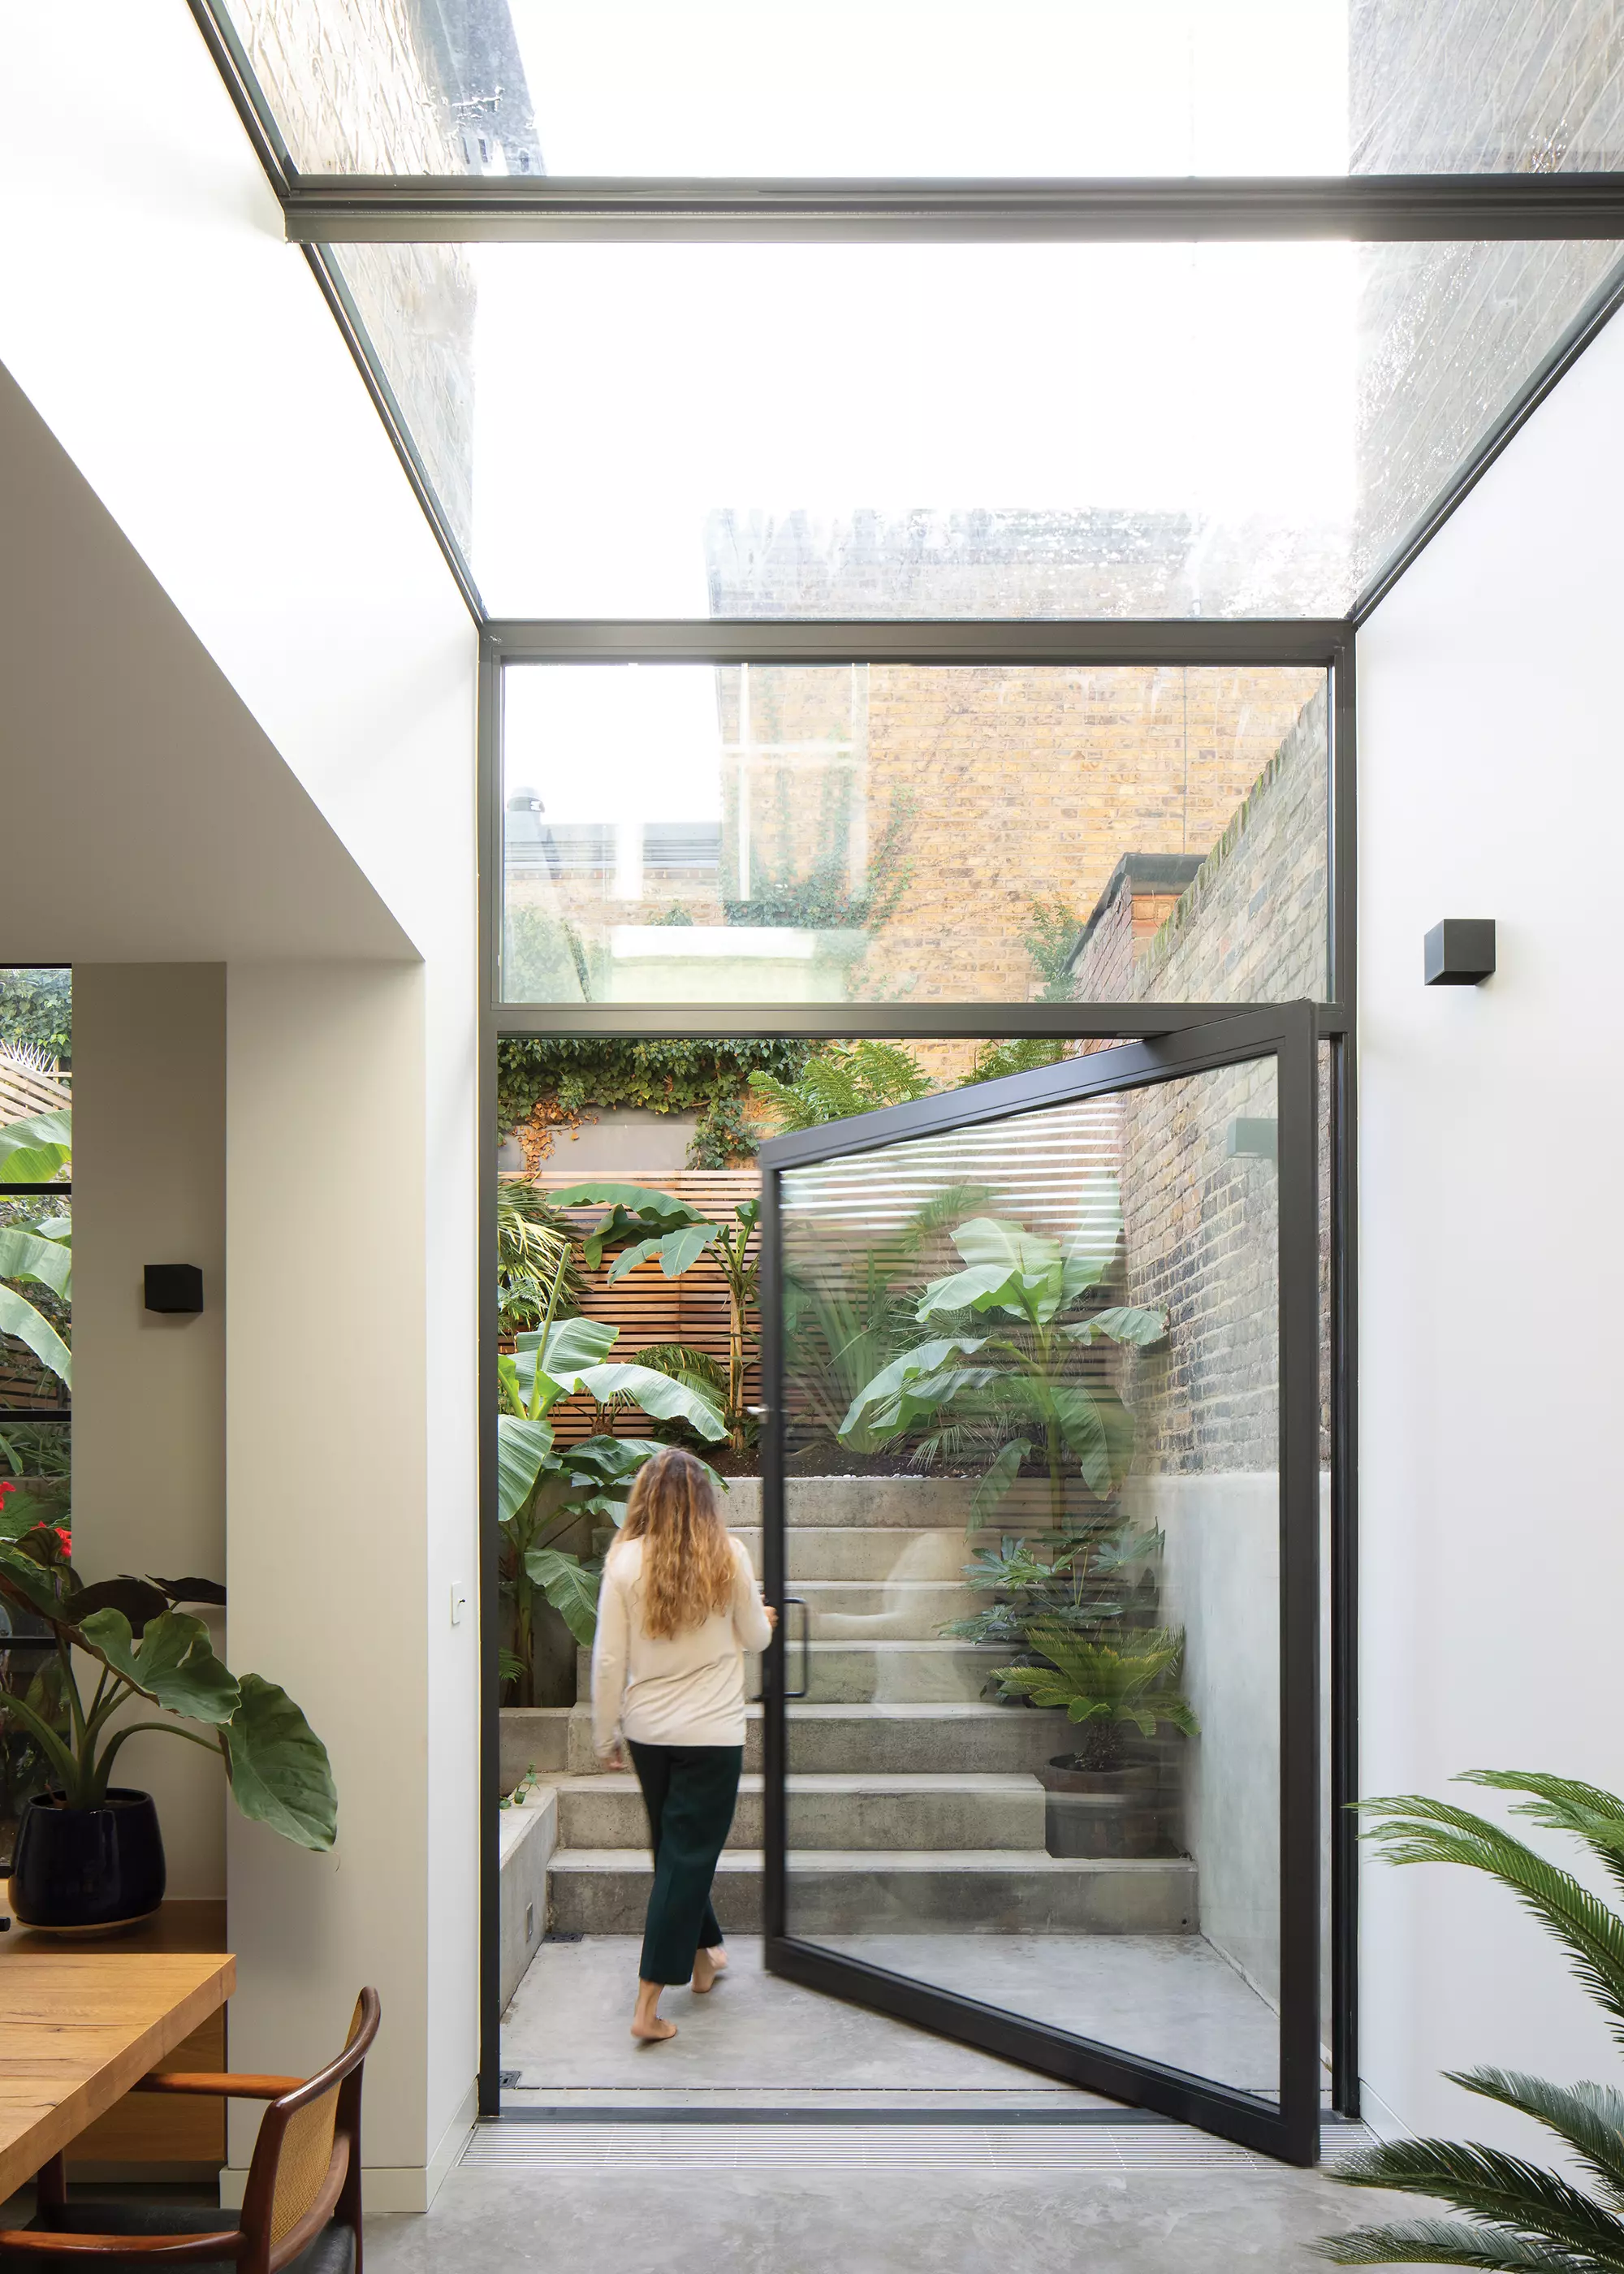
Yard architects lowered the ceiling in a once-cramped cellar and added a side-return extension with wow factor glazing to create this wonderfully light-filled space, which opens out onto a stepped courtyard. Photo: Richard Chivers
While the back half of the small garden now sits much higher up, the landscaping makes the most of the level change, with attractive steps leading up to it that are intended as both a place to perch and a way of getting from A to B.
Digging down a whole floor’s worth of height in the garden has structural implications, much like excavating a basement itself. In order to do so successfully, you’ll need a few things.
This may include getting a structural engineer to work out the loads on the excavated area’s side walls (since you’ll need to hold back whatever’s on the other side); a solution to preventing damp from penetrating; and an excellent drainage system so that water doesn’t pool in the space.
One downside of excavating the garden is that the floor above may lose its direct connection to the outside space, although there are ways around this. On a larger property you could excavate just to one side – if you have a wide side-return, for example.
Learn More: 10 Steps to Waterproof a Basement
Creating a sensible internal layout can also make sure that what precious daylight you do have is wisely used. Place spaces such as utility rooms, storage, plant rooms and WCs in the part of the plan that receives the least light, since they aren’t visited for any great length of time, and site the more well-used areas such as living spaces next to or underneath the best light source.
If you’re not going totally open plan, then glazed internal doors can also help with getting the light to flow around – choose opaque or reeded glass for zones that need privacy, such as bathrooms and guest bedrooms.


 Login/register to save Article for later